Sewing a Vacation Dress: Challenges and Triumphs

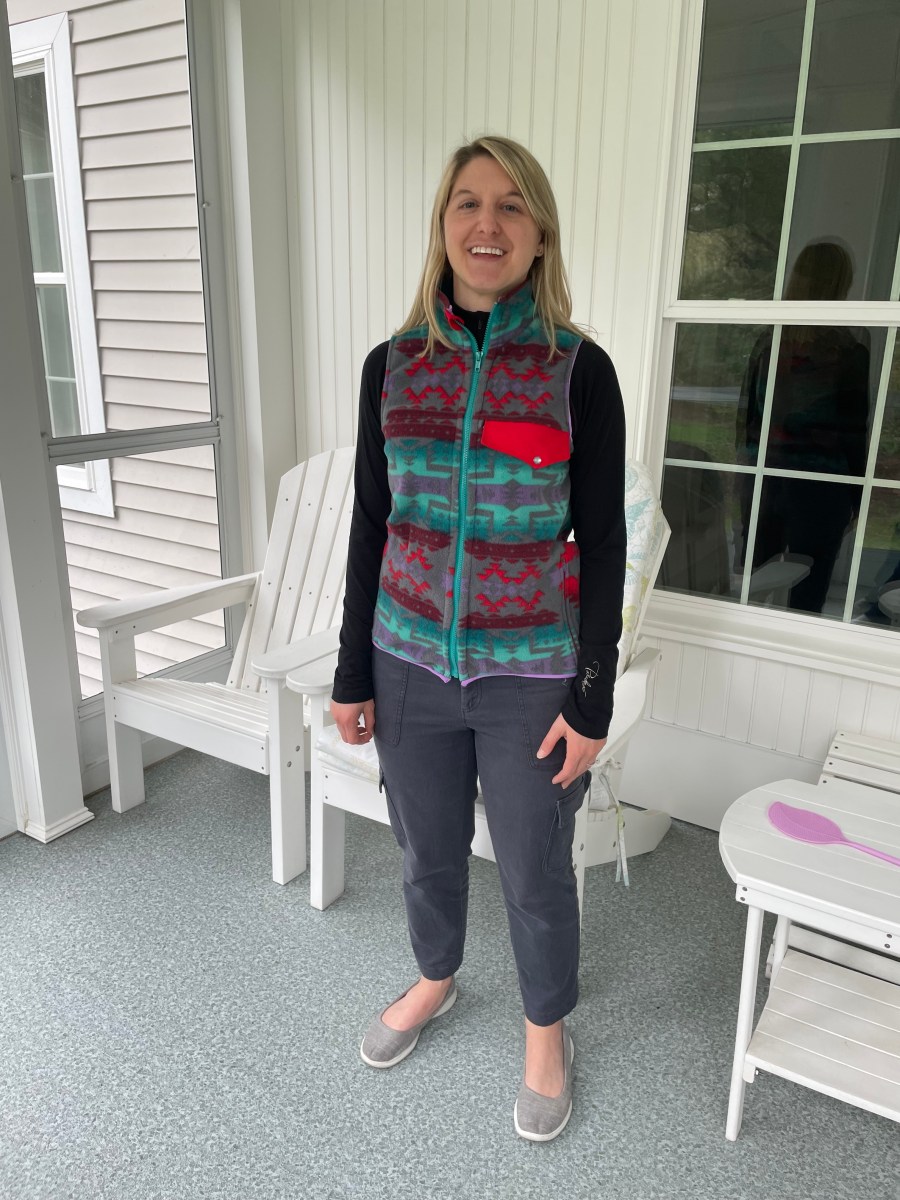
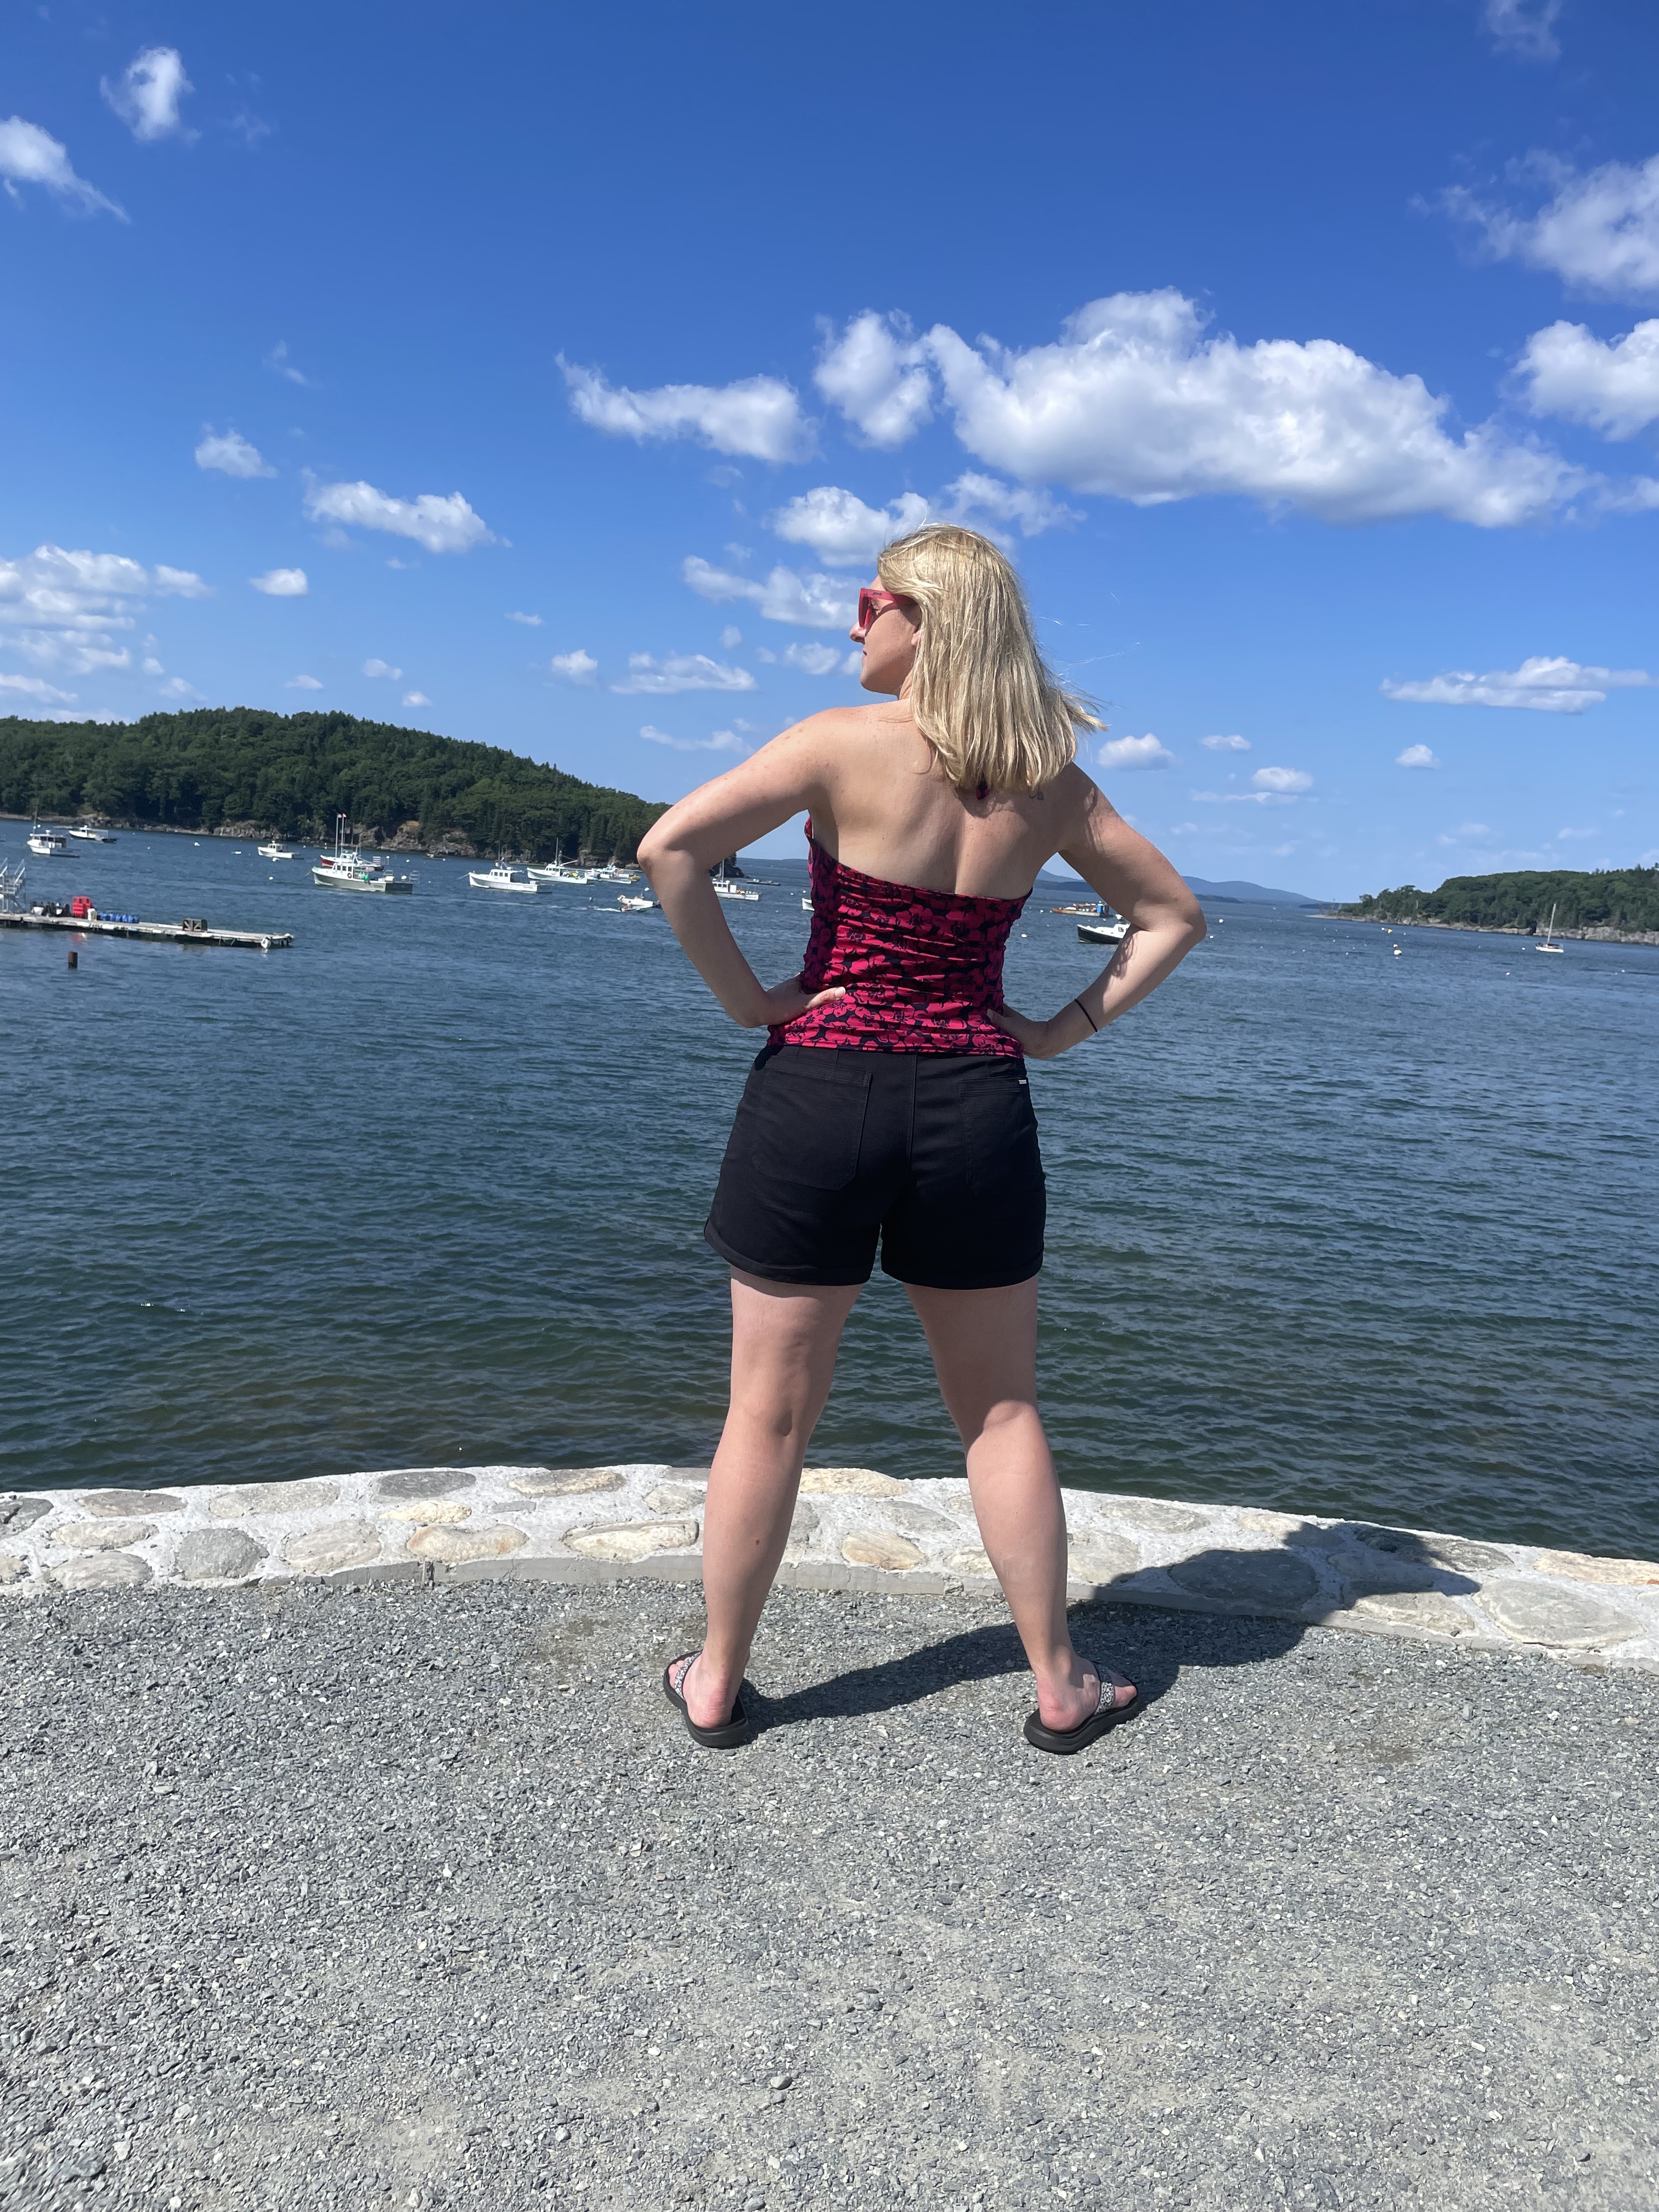
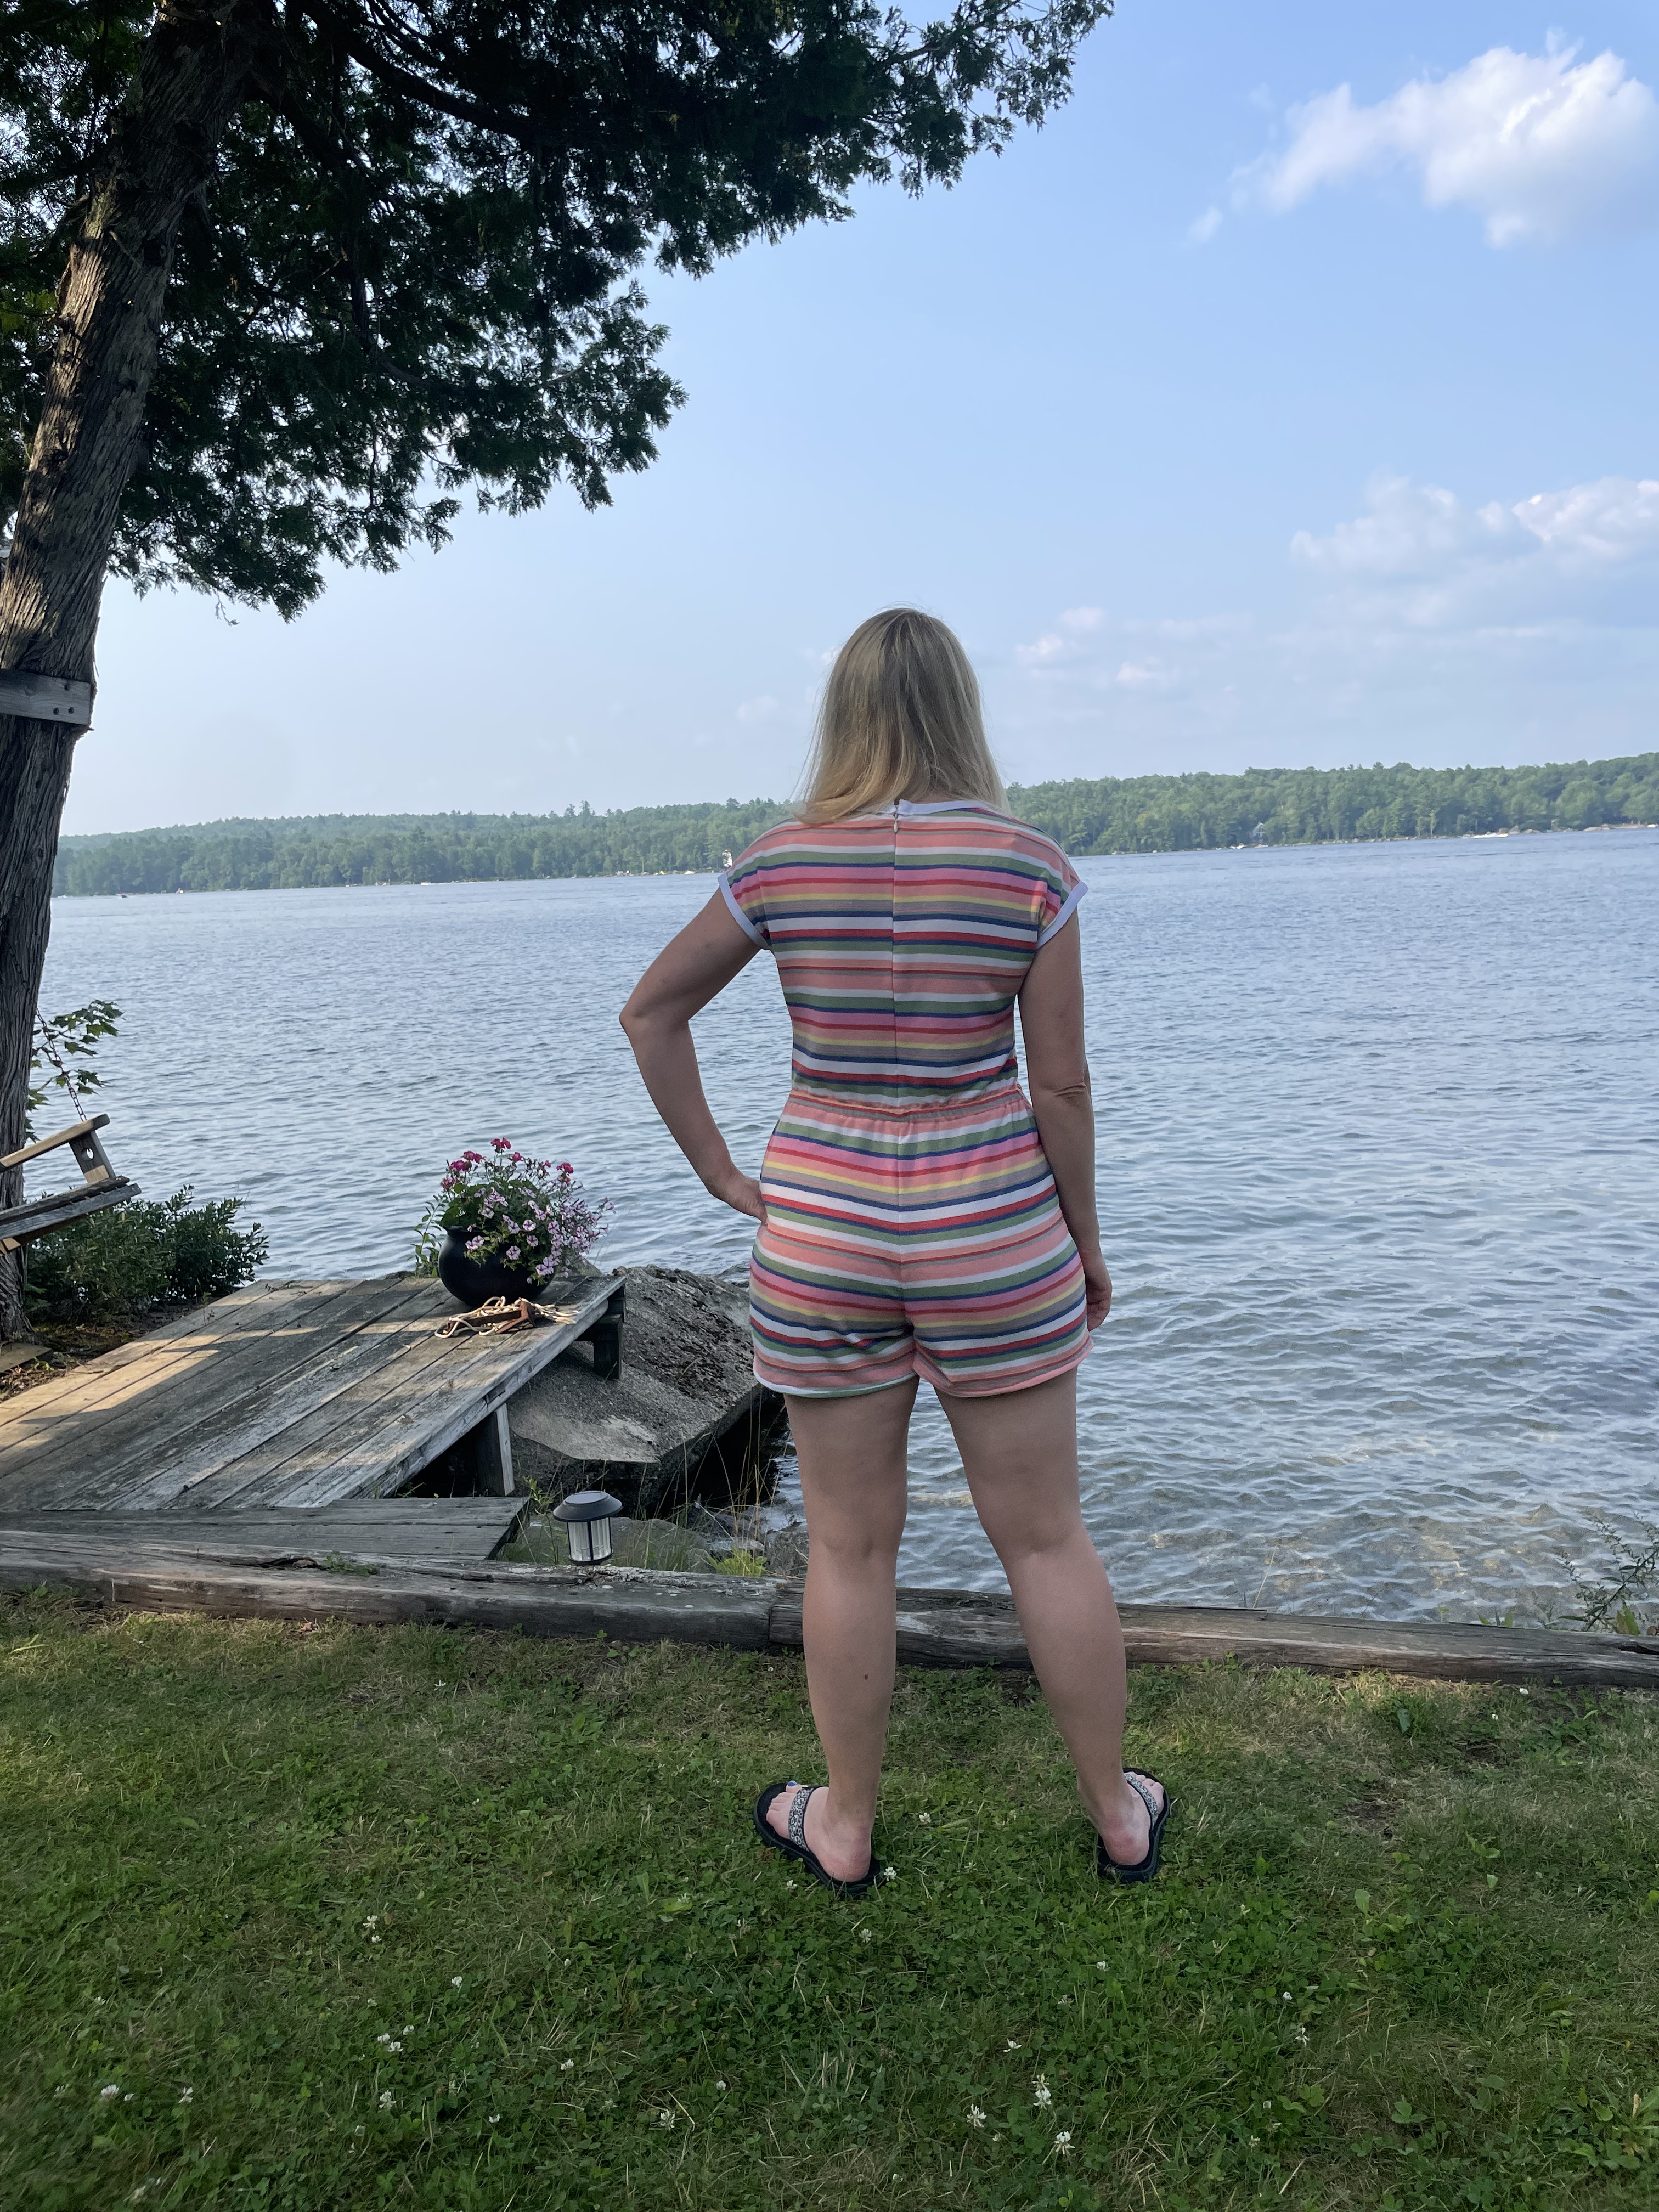
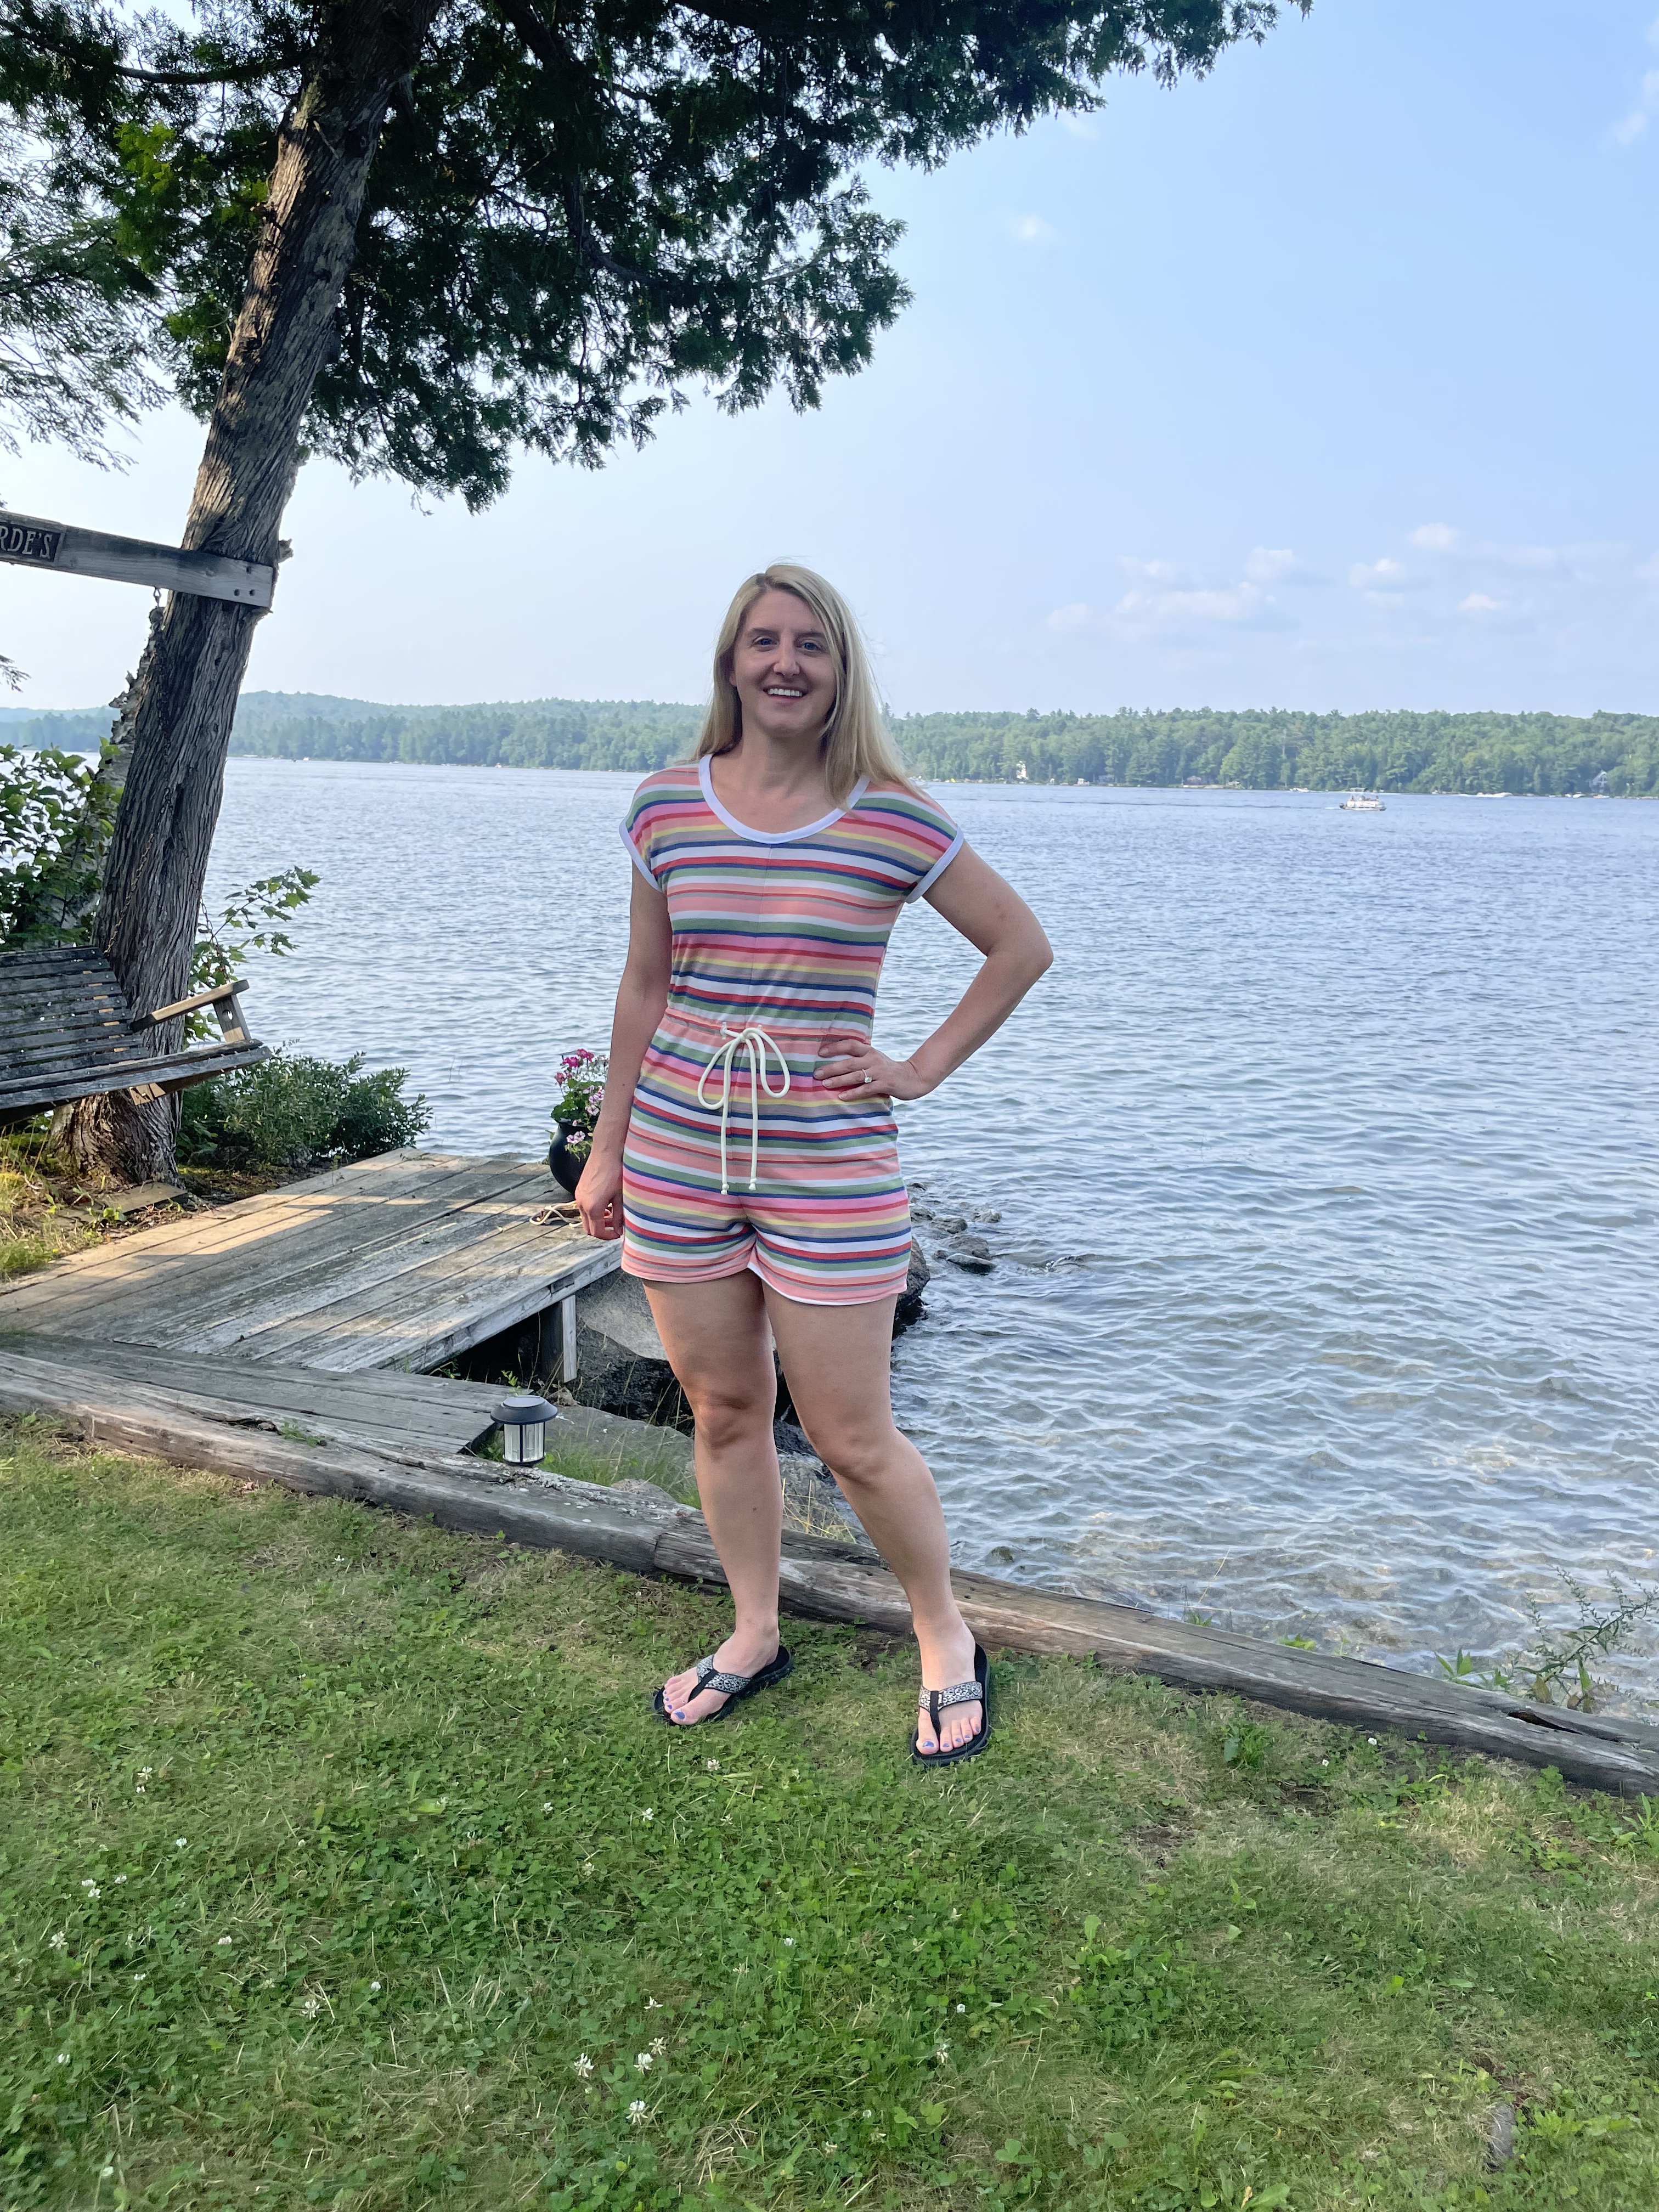
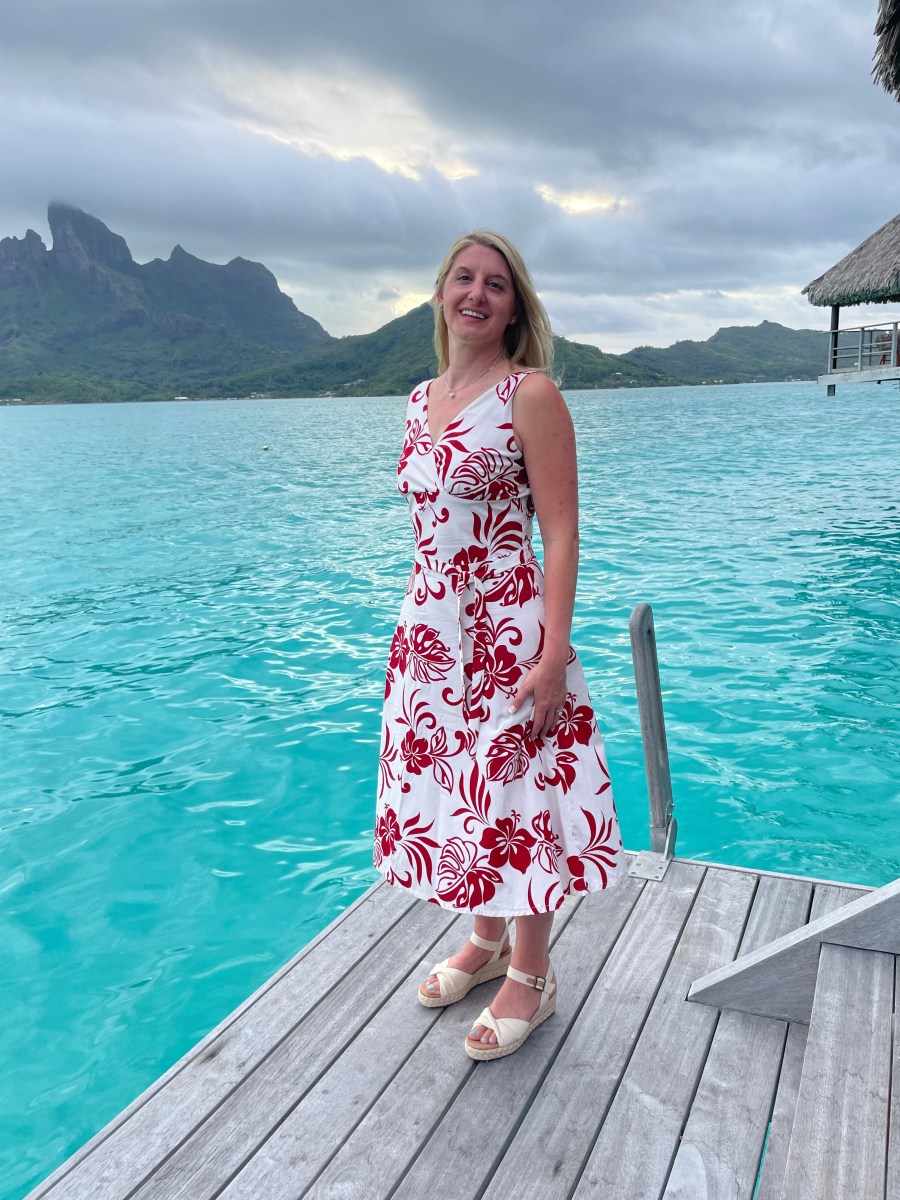
Between winter illnesses and long vacations, I’ve been unable to get near my sewing machine. But as luck would have it, I recently realized I never got a chance to write about my vacation dress from last fall. This past November I got married in French Polynesia. This seemed to be the perfect excuse to finally make use of some fabric I had bought in Hawaii a few years back. I could picture it perfectly: a summer dress using Polynesian-style fabric for another Polynesian vacation. While I had some triumphs figuring out the semi-confusing instructions on this dress, the end result was not as perfect as I hoped.

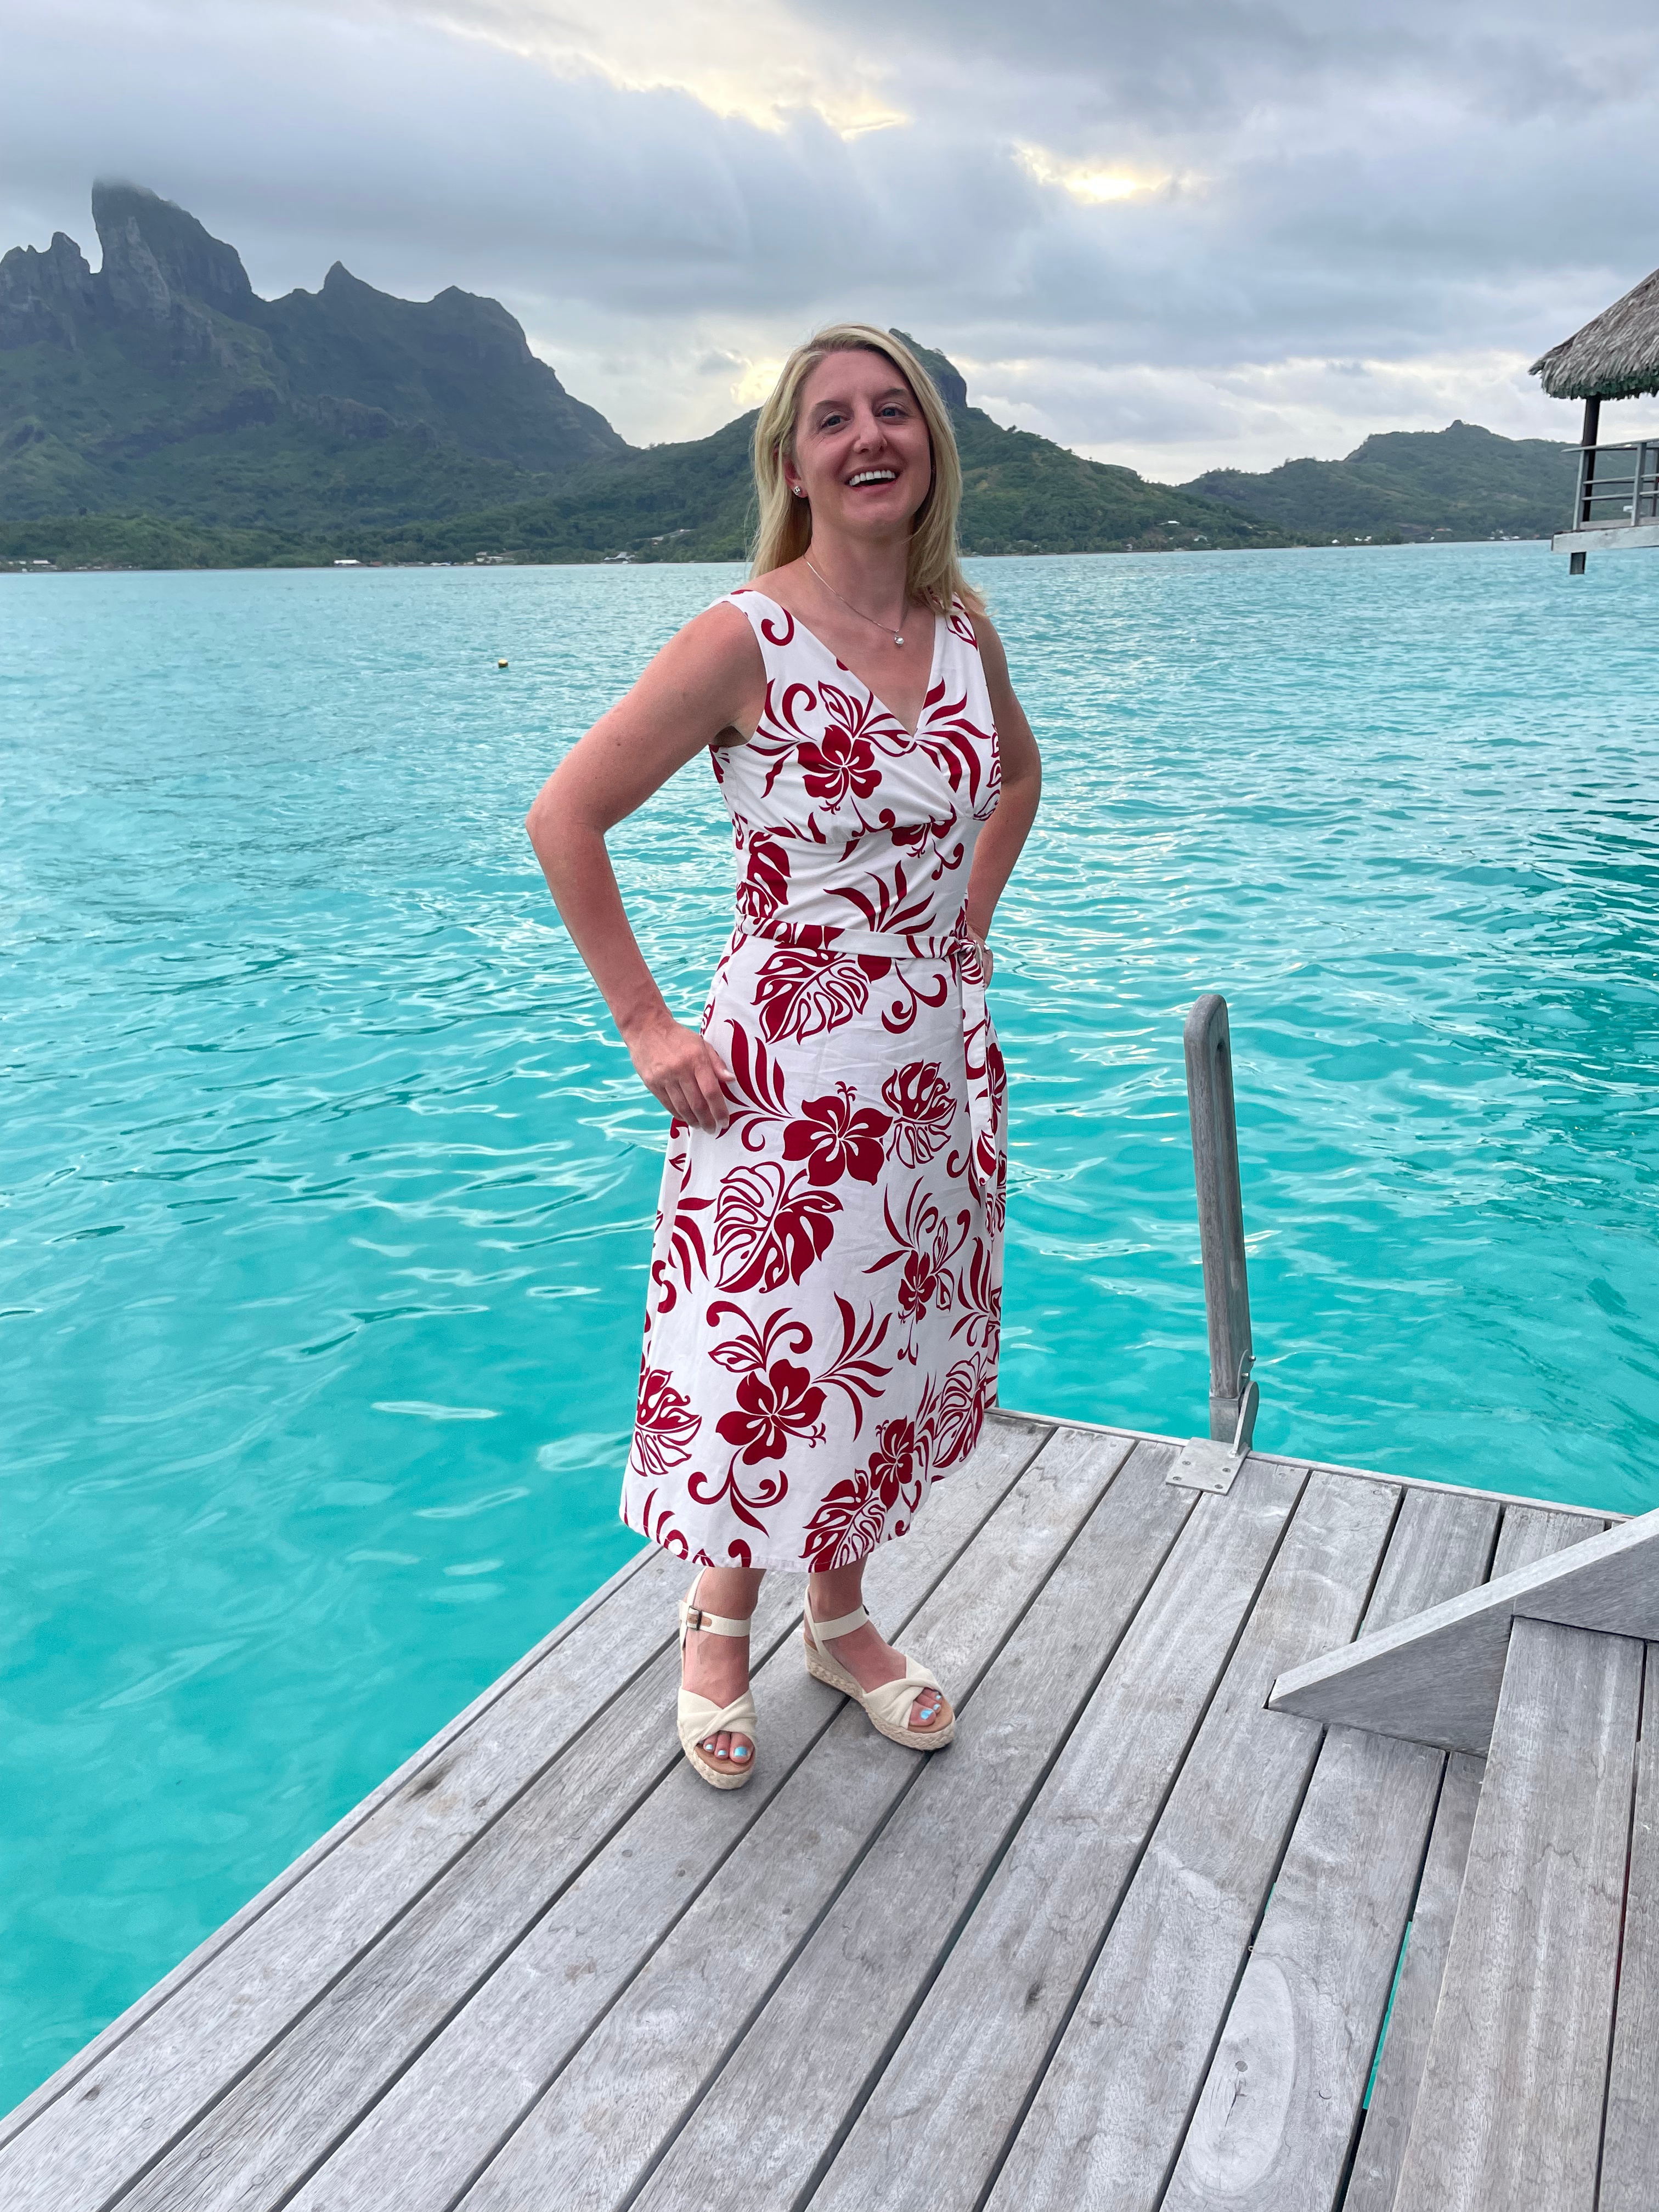
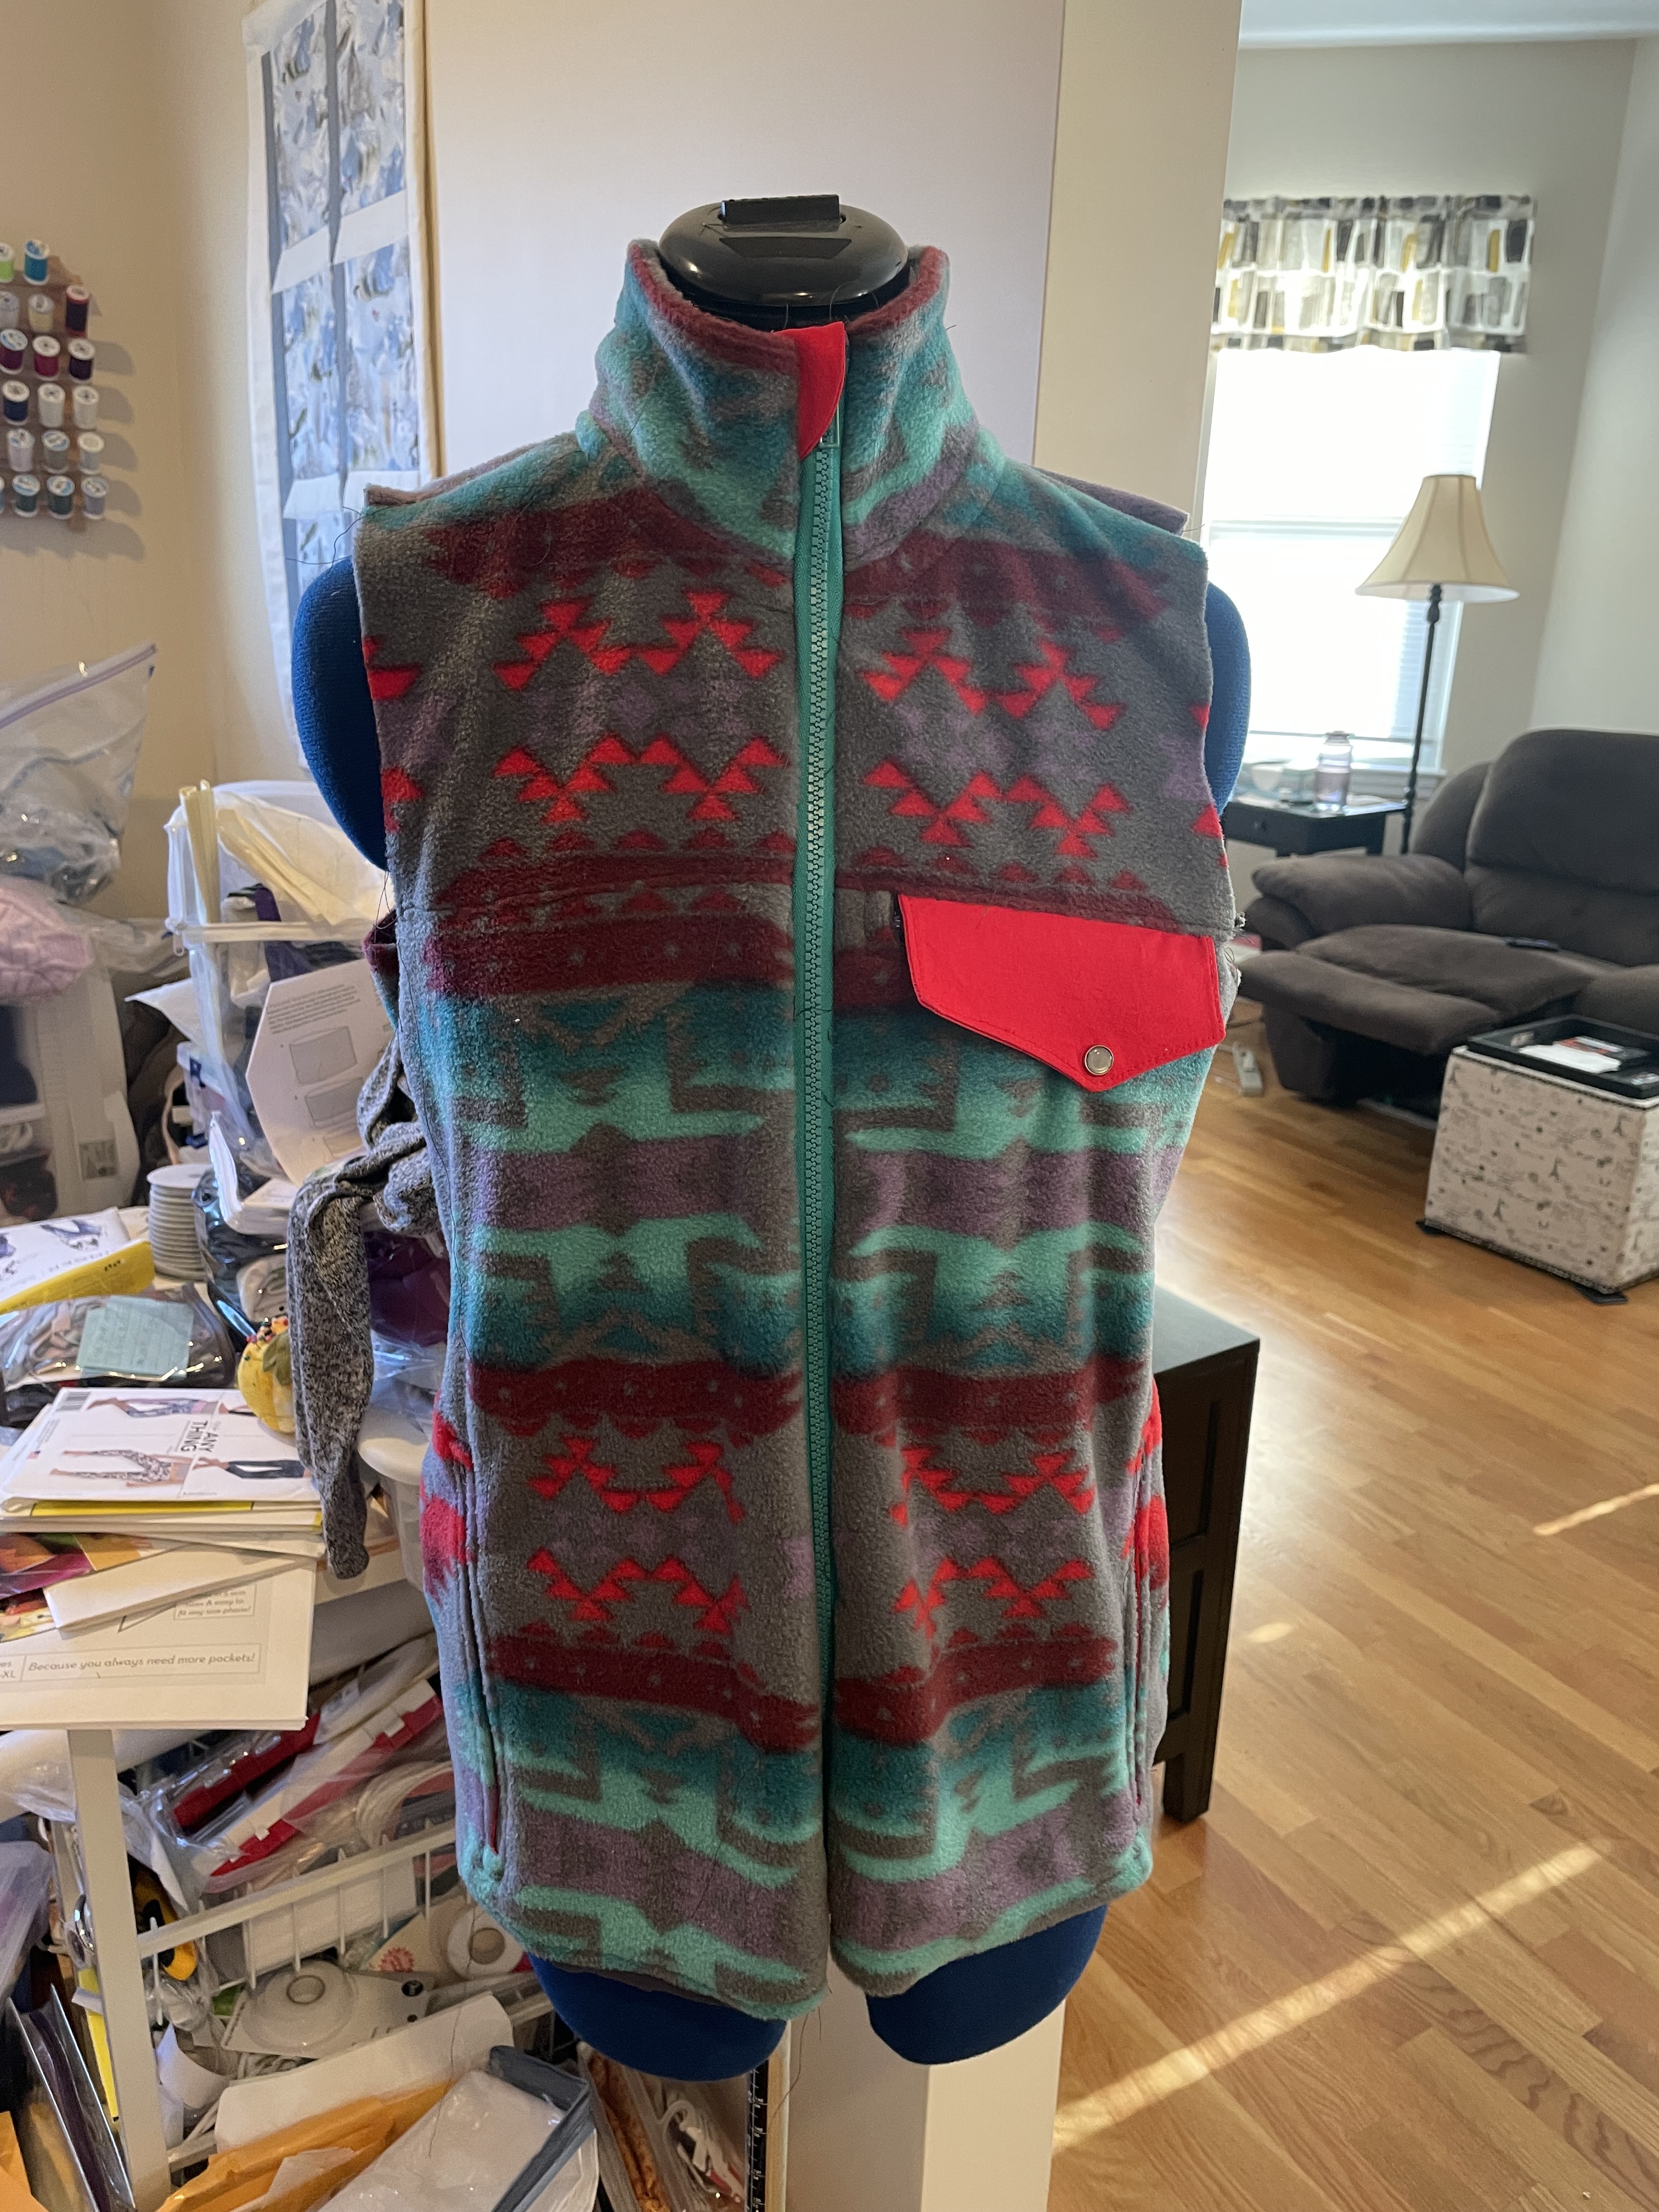
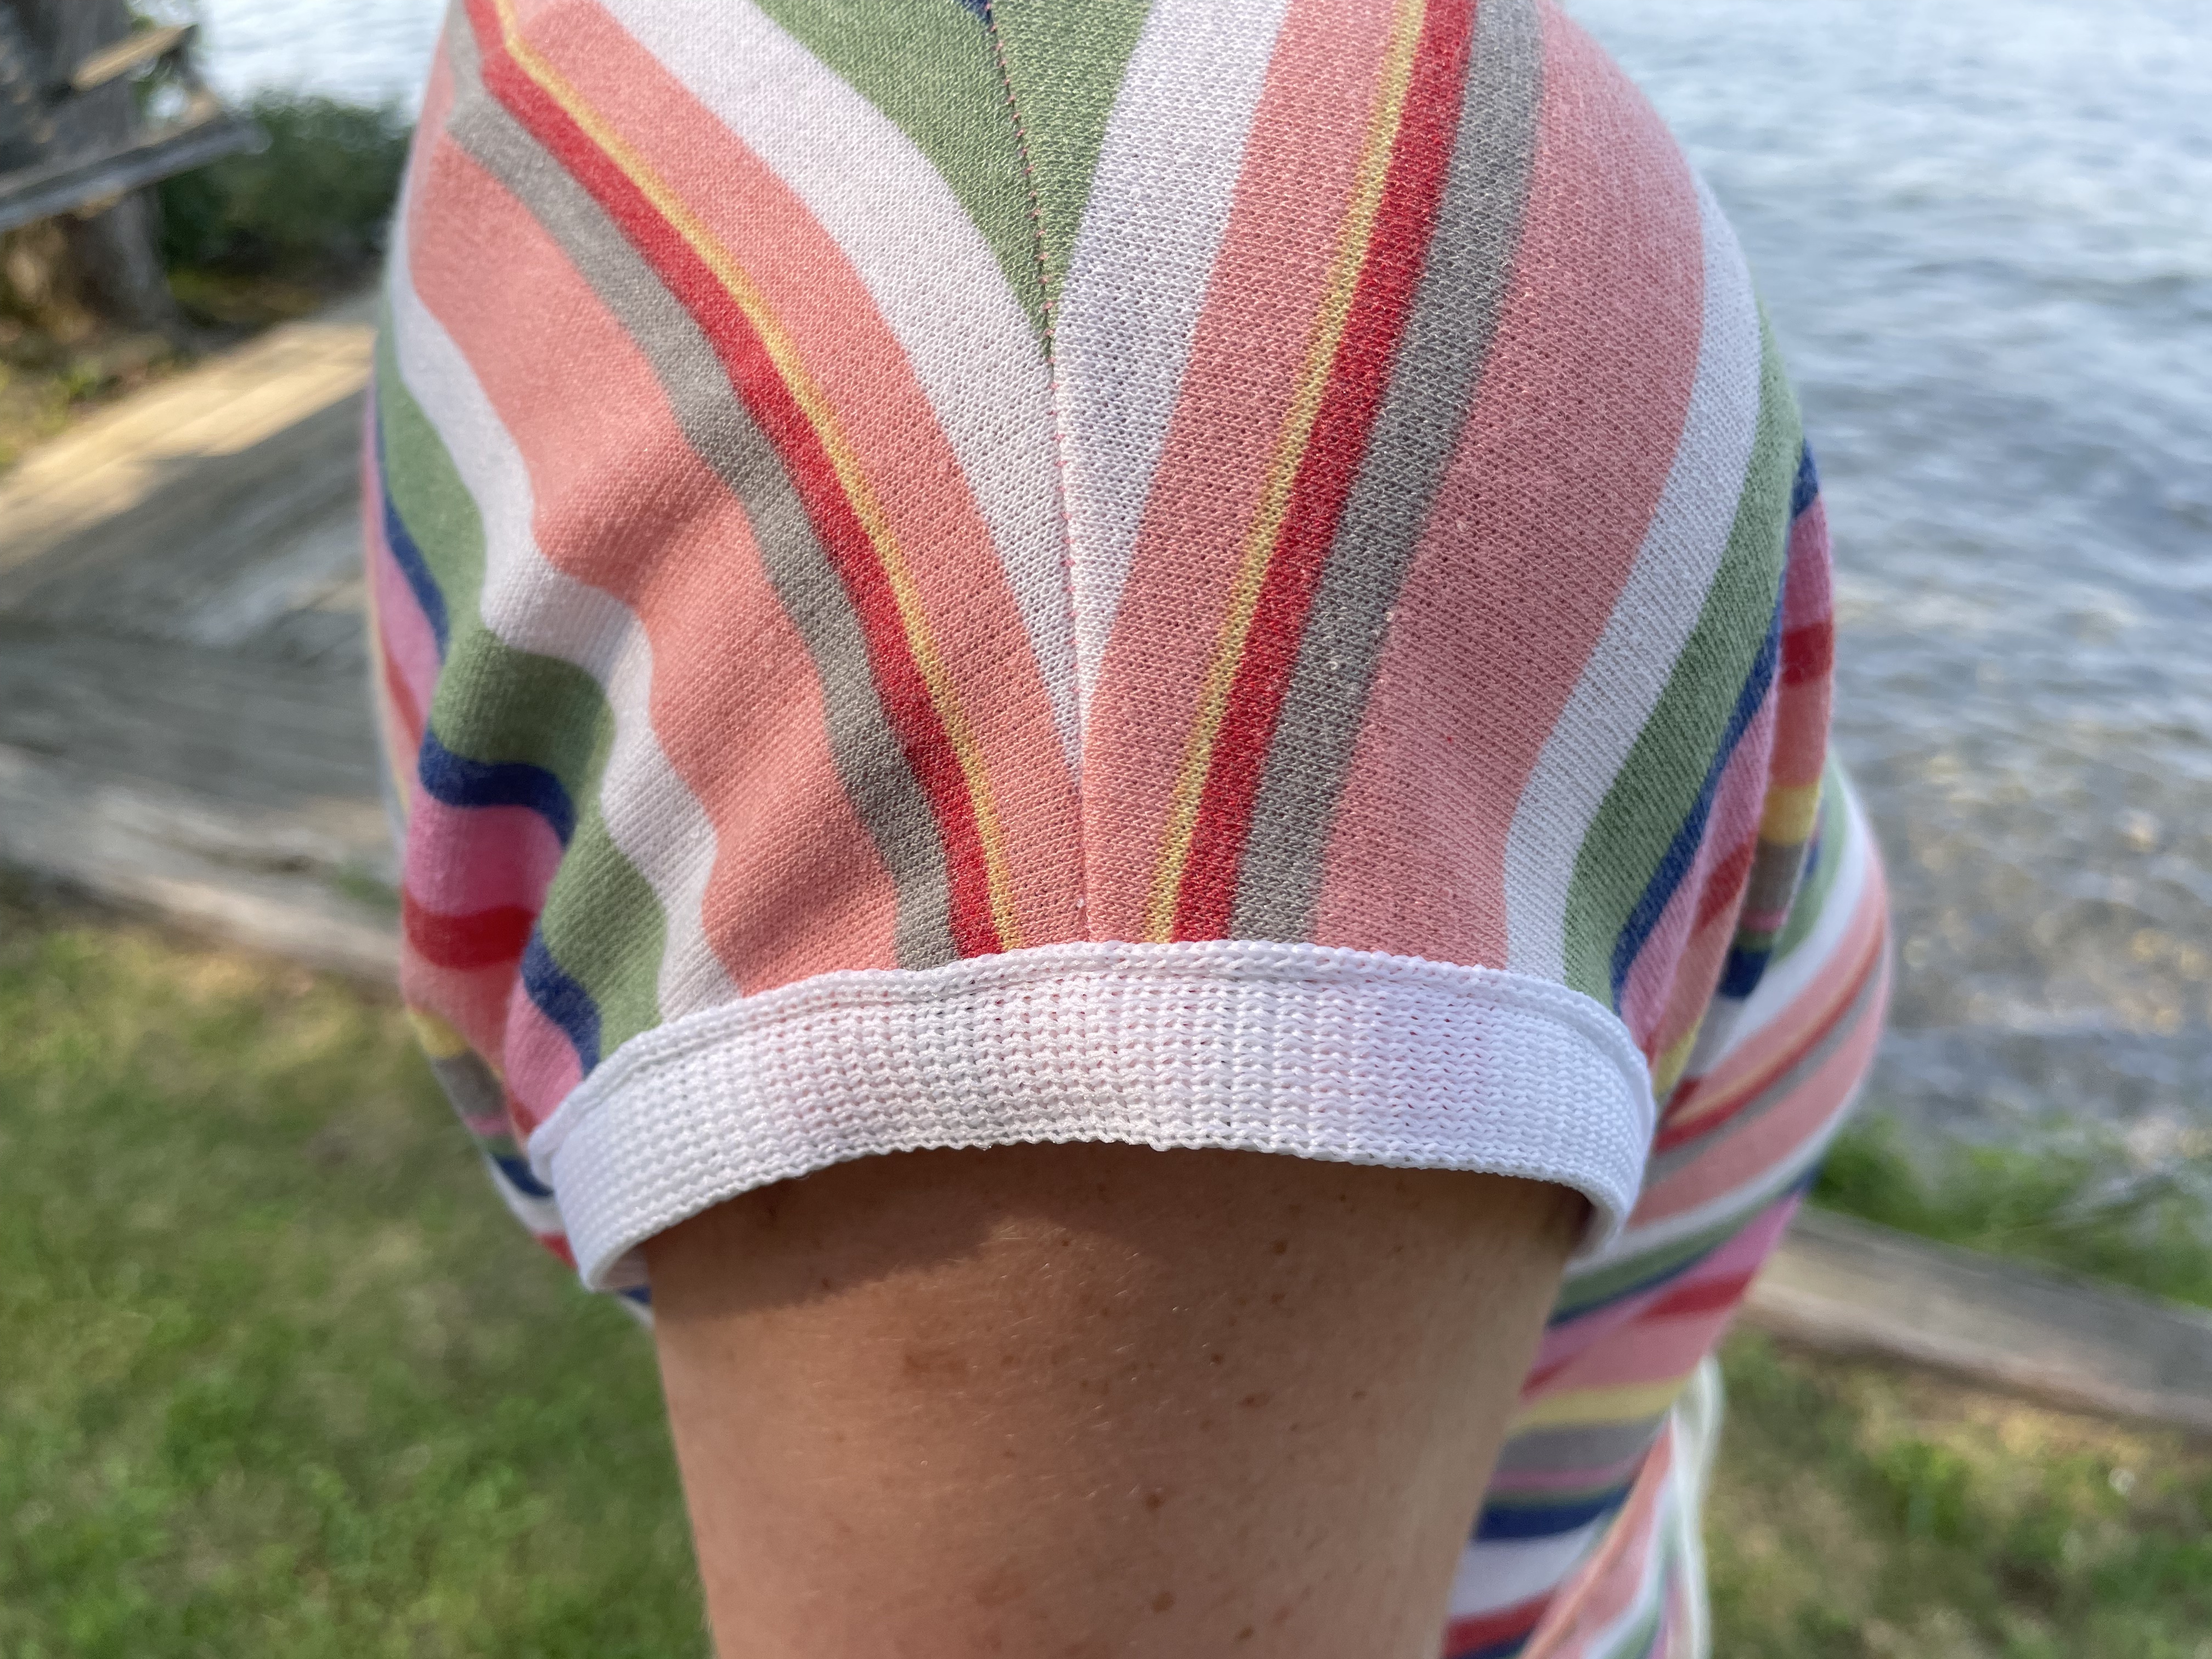
When I saw the pattern cover of New Look 6557, I figured I found the perfect pattern, since my fabric looked very similar to the photo on the front (view B). The print does fit this dress style rather well, but that is not the whole story. The first issue I ran into was when I washed the fabric for the first time. The red color bled into the white, which gave the whole thing a pinkish hue. This happened despite putting a color catcher in the washing machine. I couldn’t believe the fabric bled so much. I guess the quality on this fabric was not as great as I thought. It makes me very nervous washing this dress in the future, but I guess it’s just something I need to be aware of.

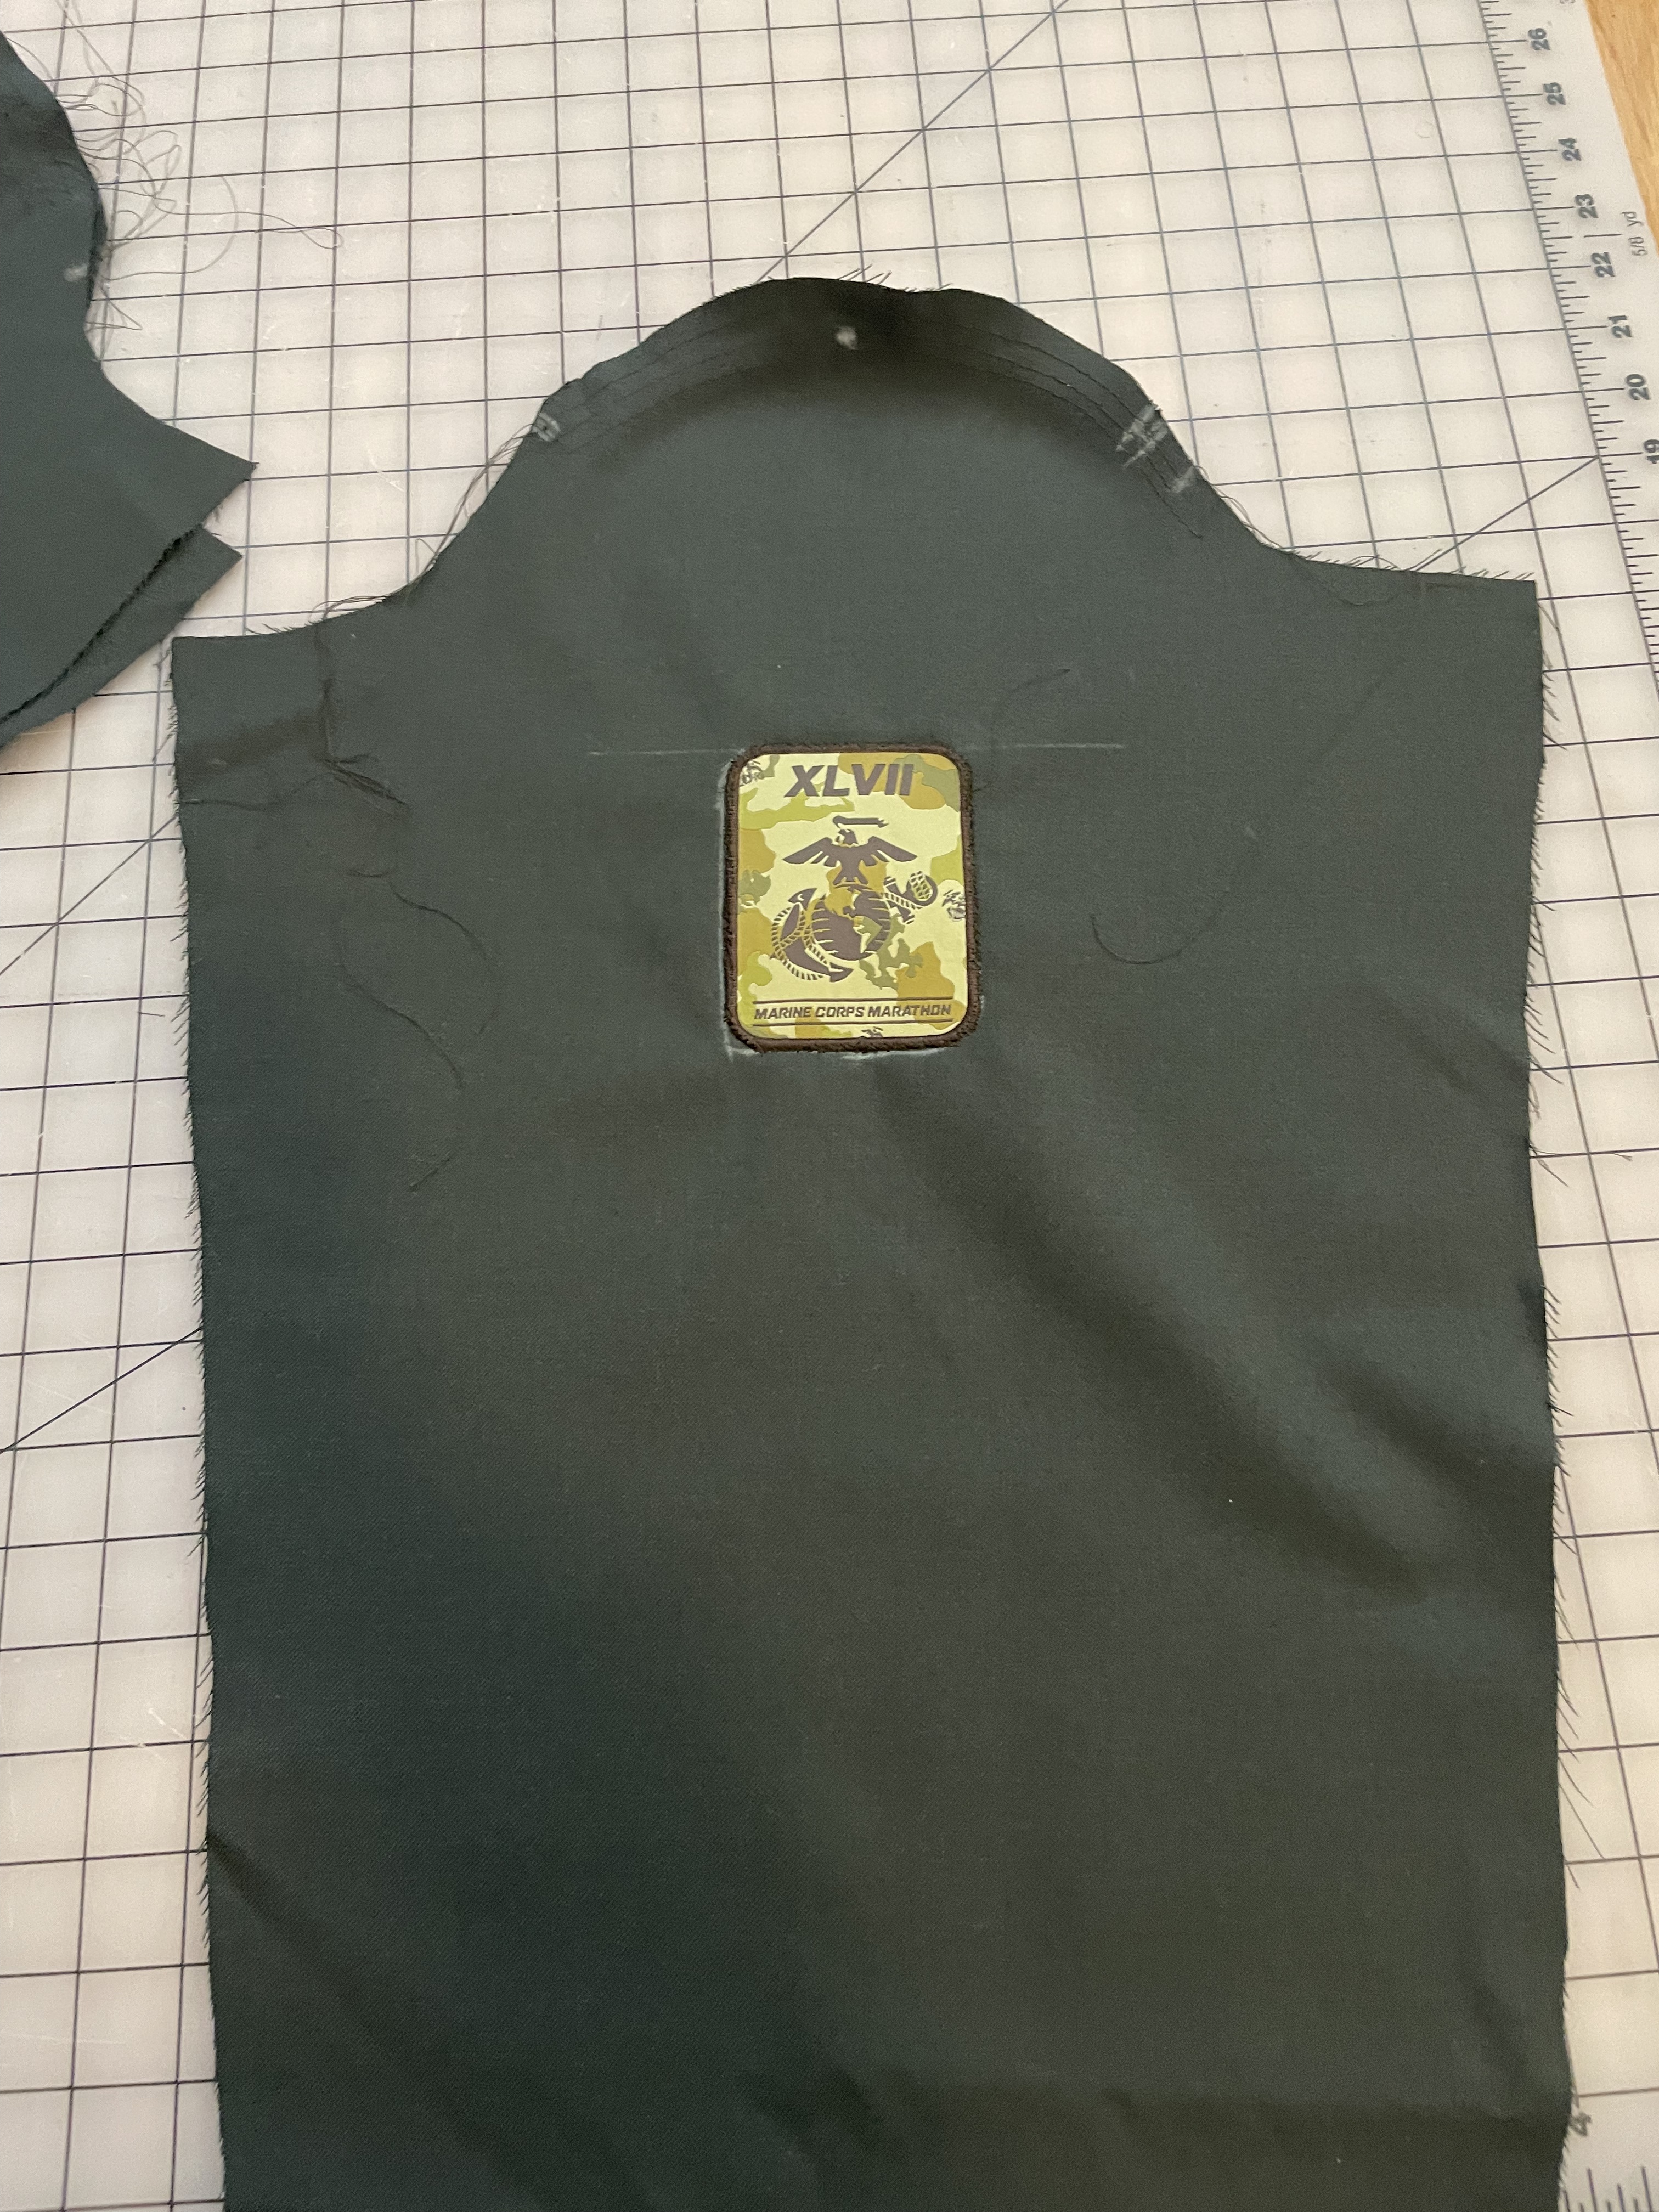
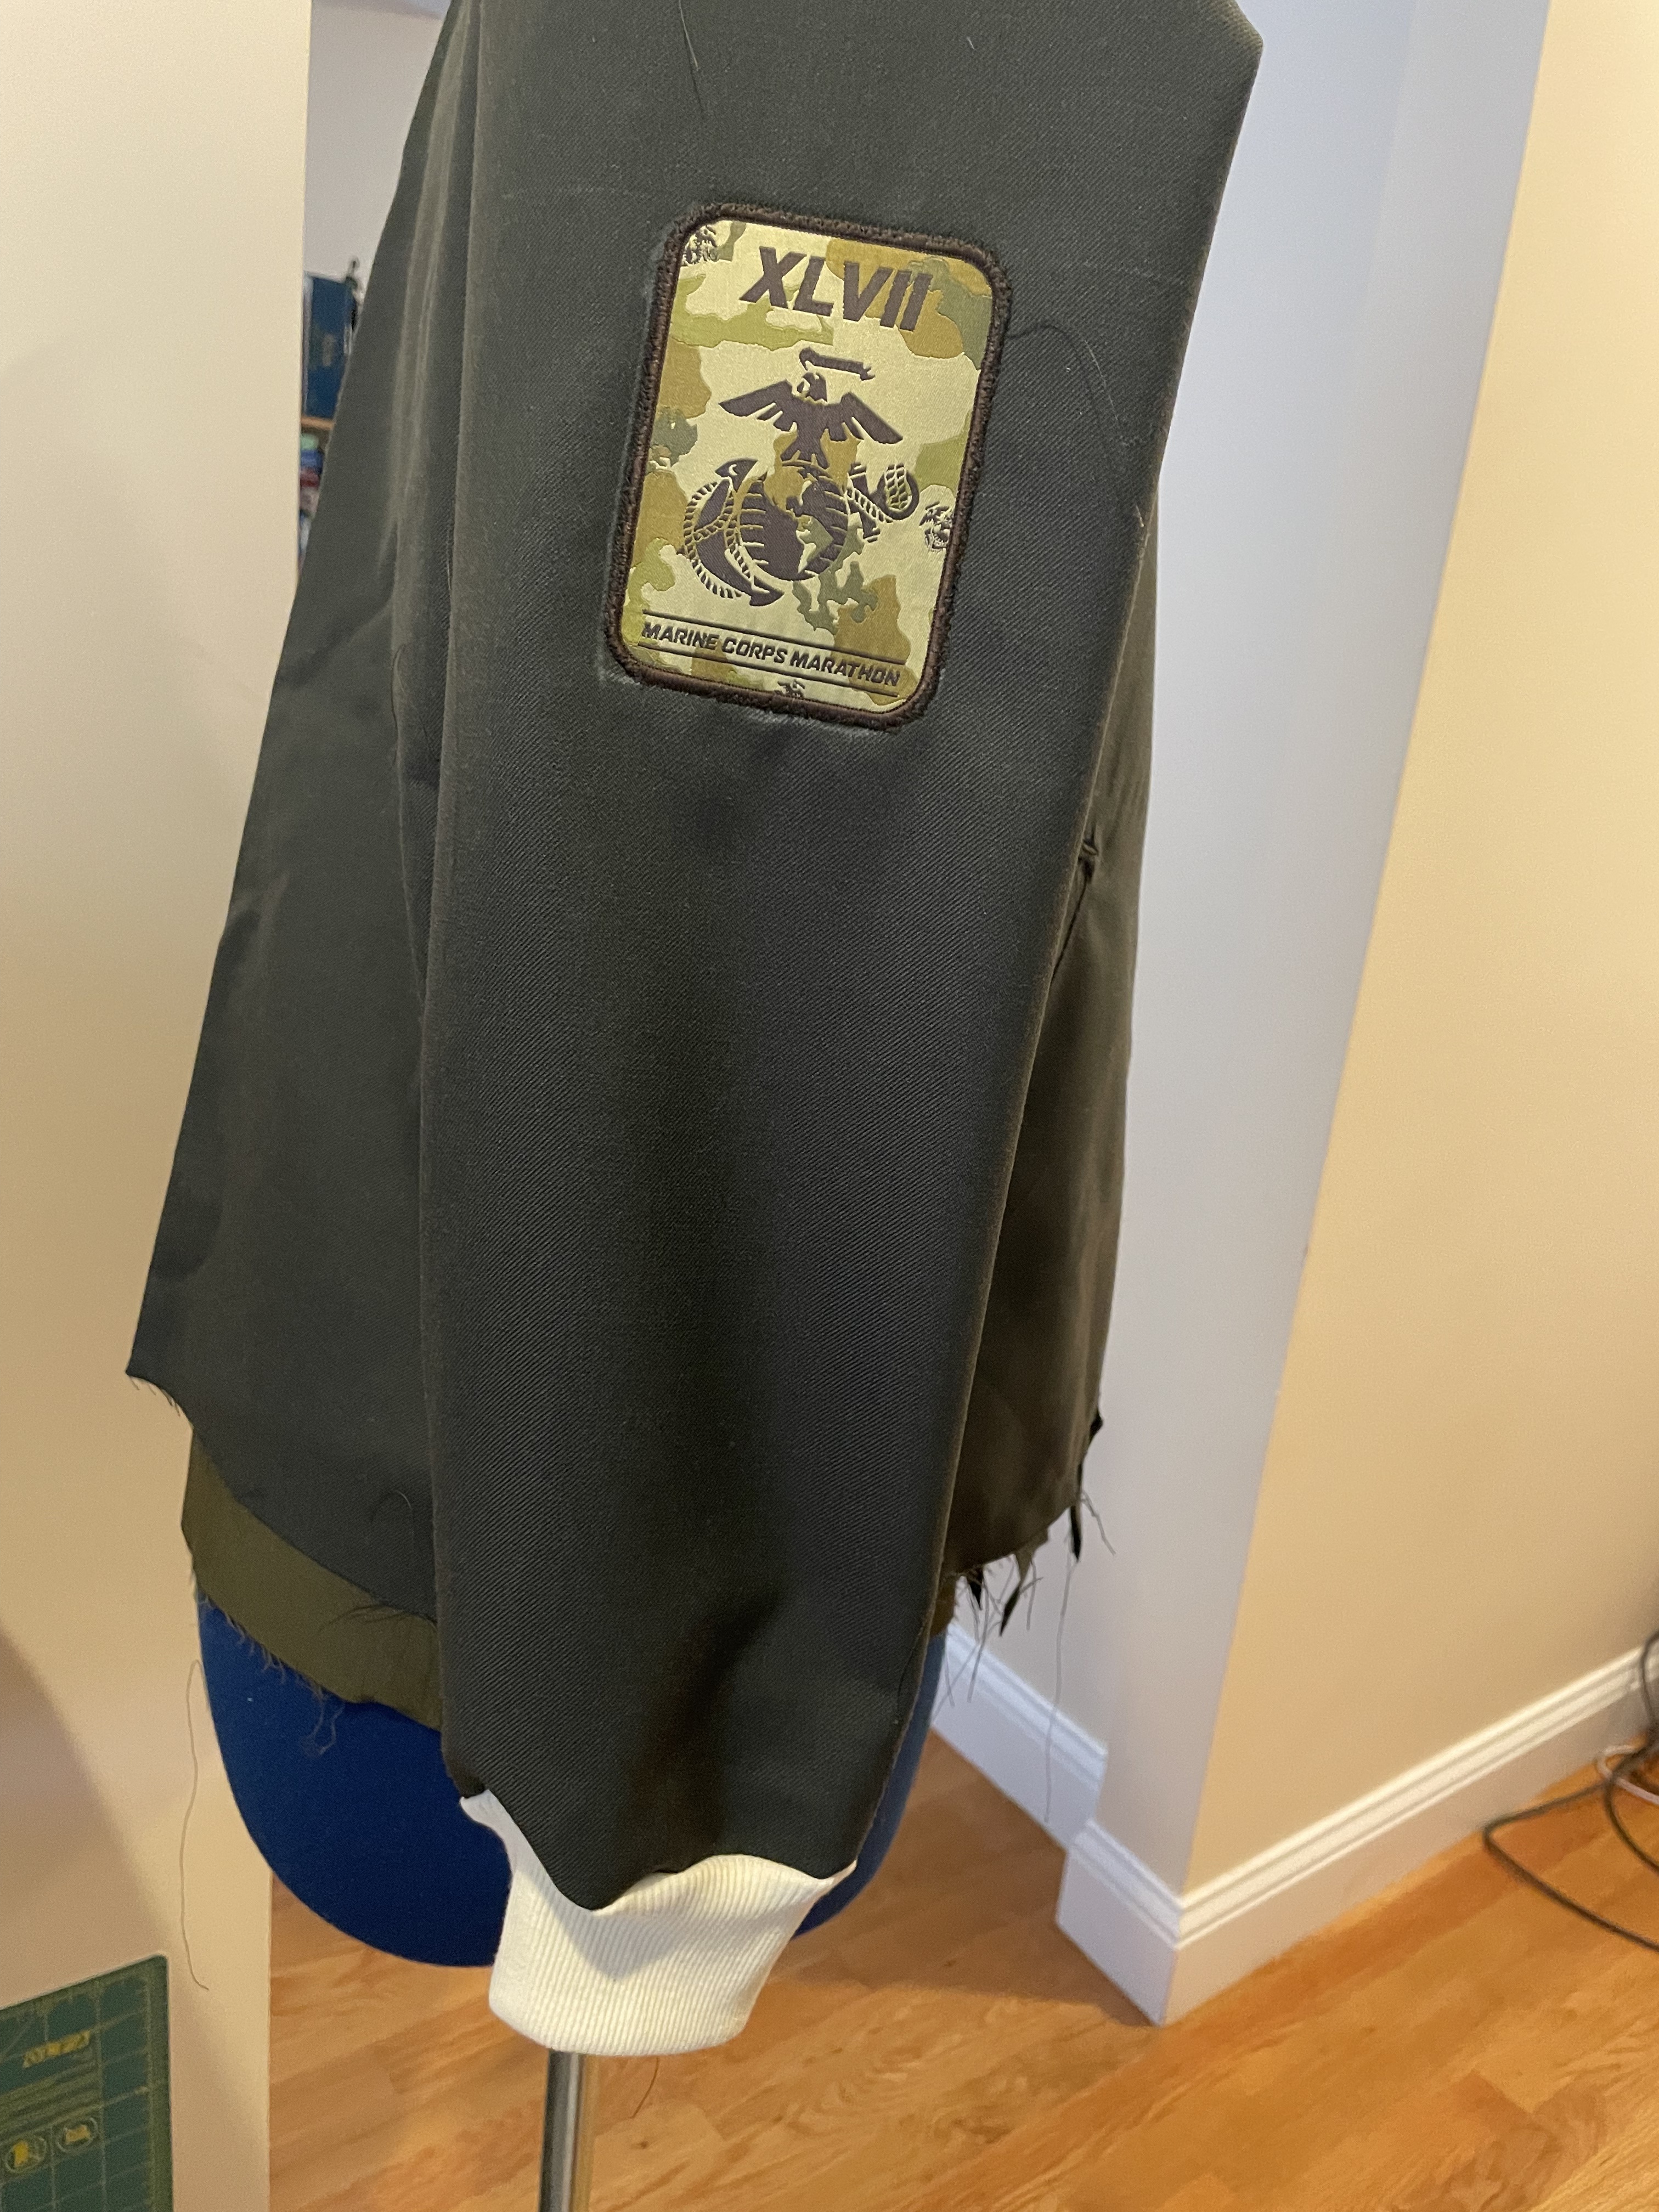
I’ve been noticing that New Look doesn’t seem to have the best instructions and illustrations to go along with them. This was apparent when I made my wedding dress and there was a similar issue here. The construction of the bodice was a bit confusing, especially around the back facing piece. I had actually cut out a bodice with some test fabric because I was unsure of the size and I’m glad I did, because not only was the sizing off, but it took several tries to figure this whole thing out. It was a bit unclear as to where the back facing piece was supposed to connect after the sides were attached to the front. I finally figured out that you had to attach it to the seam and then to the top edge, keeping the front sandwiched in between and free so it’s not sewn inside. After this is sewn, it’s flipped to the inside.

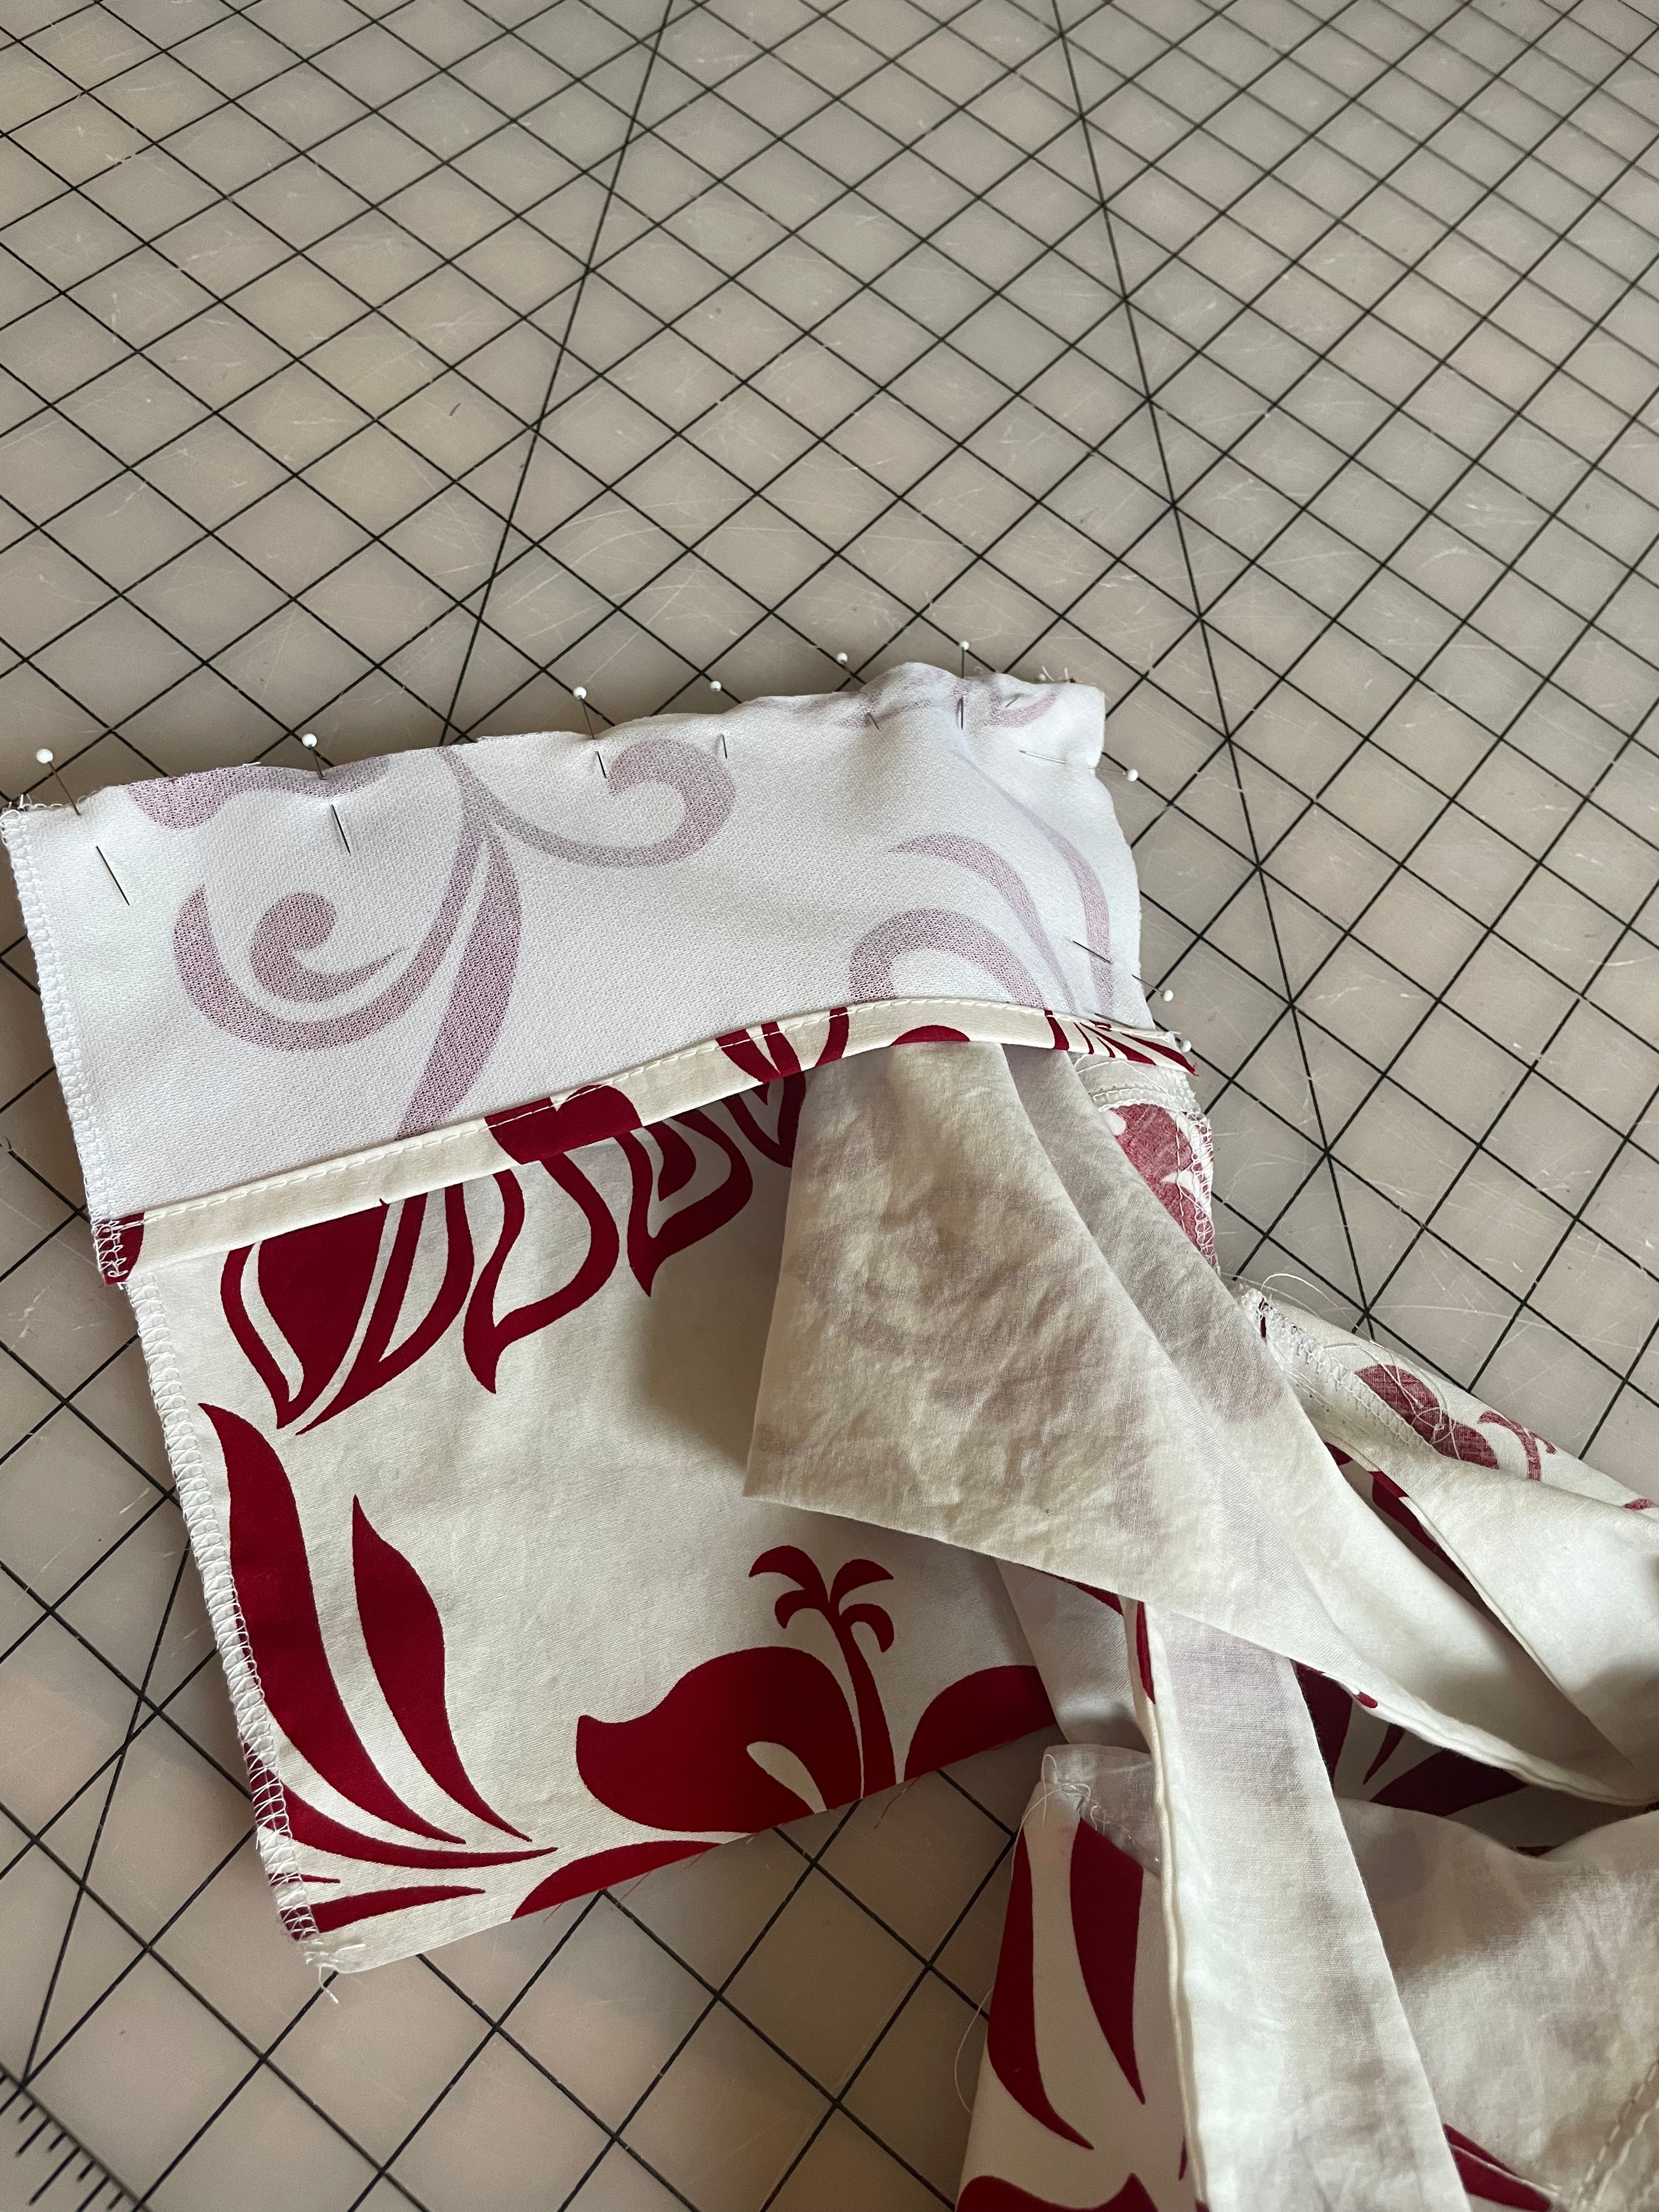
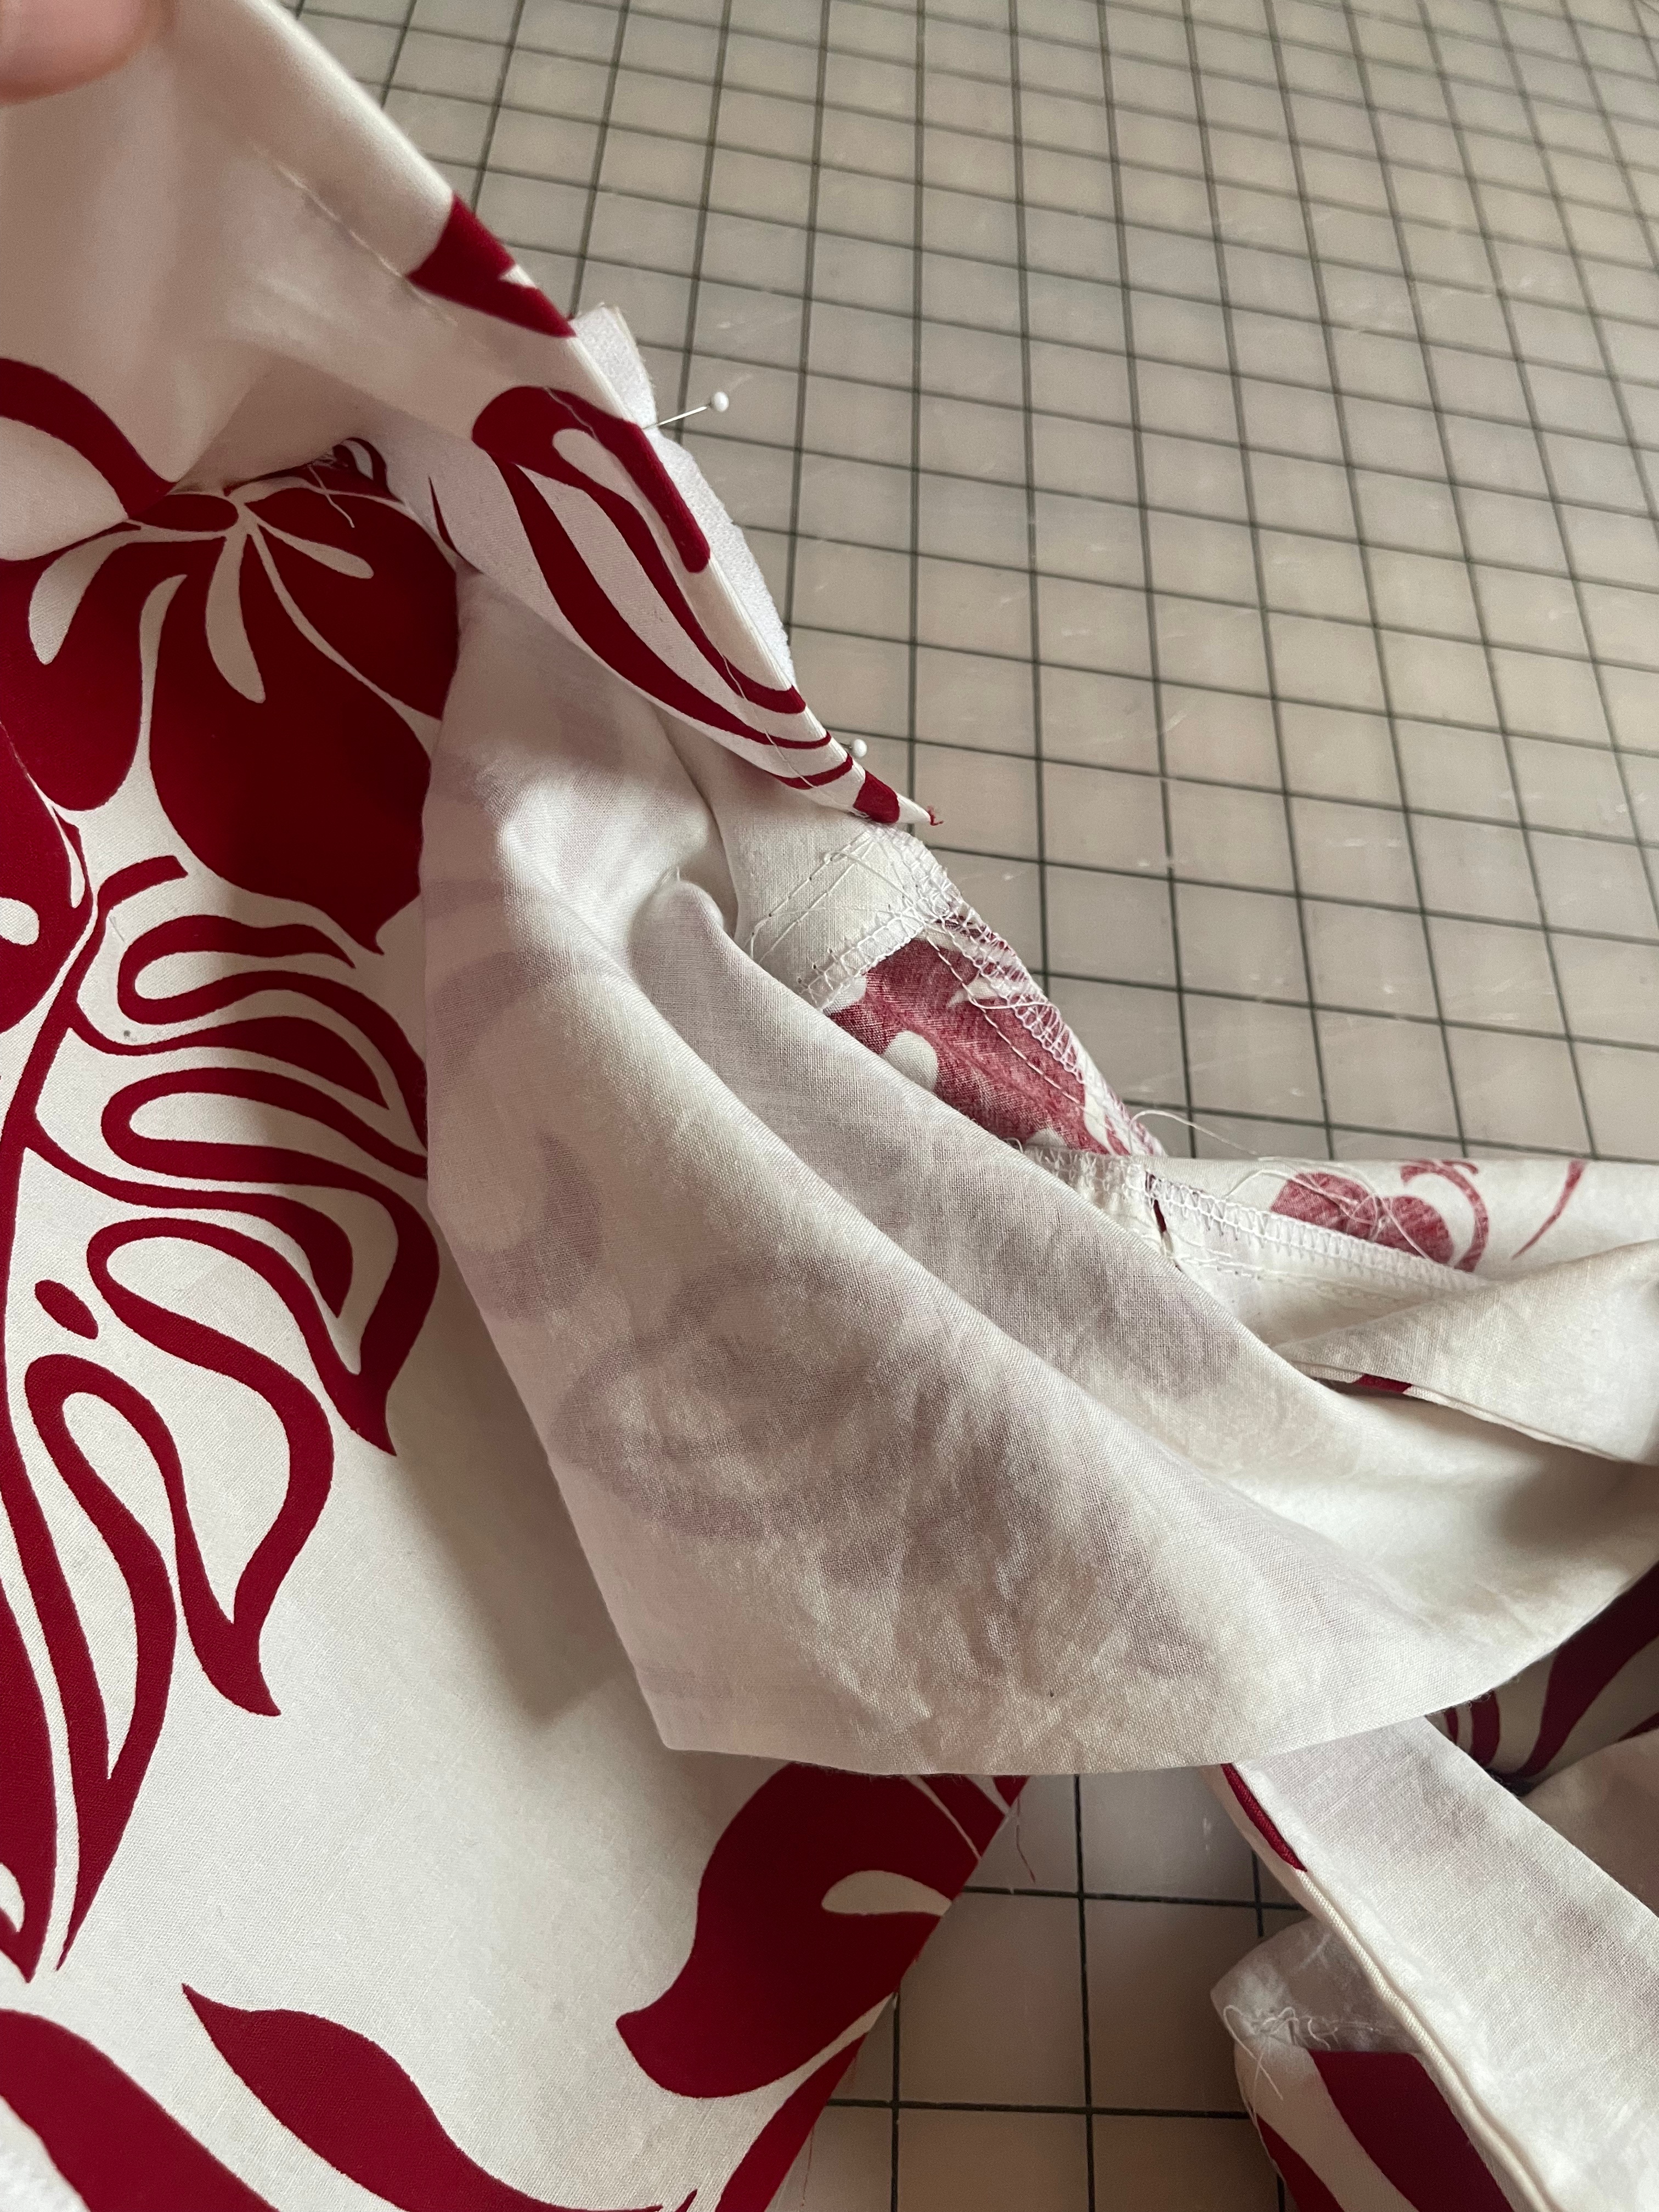
You also had to make sure the back facing has a space at the top. This is where the straps are placed and sewn in. This was one thing I really liked about this pattern – sewing the straps after the bodice has been constructed, made fitting a lot easier. I’ve made other dresses in the past where I basically had to guess the length. No matter how many times I measured, it was very stressful to ensure the straps were the right length when you weren’t entirely sure where the bodice would land on your body. Here you could try on the bodice, then place the straps in the hole, pin the right spot where they won’t fall down and sew them in from the inside seam.

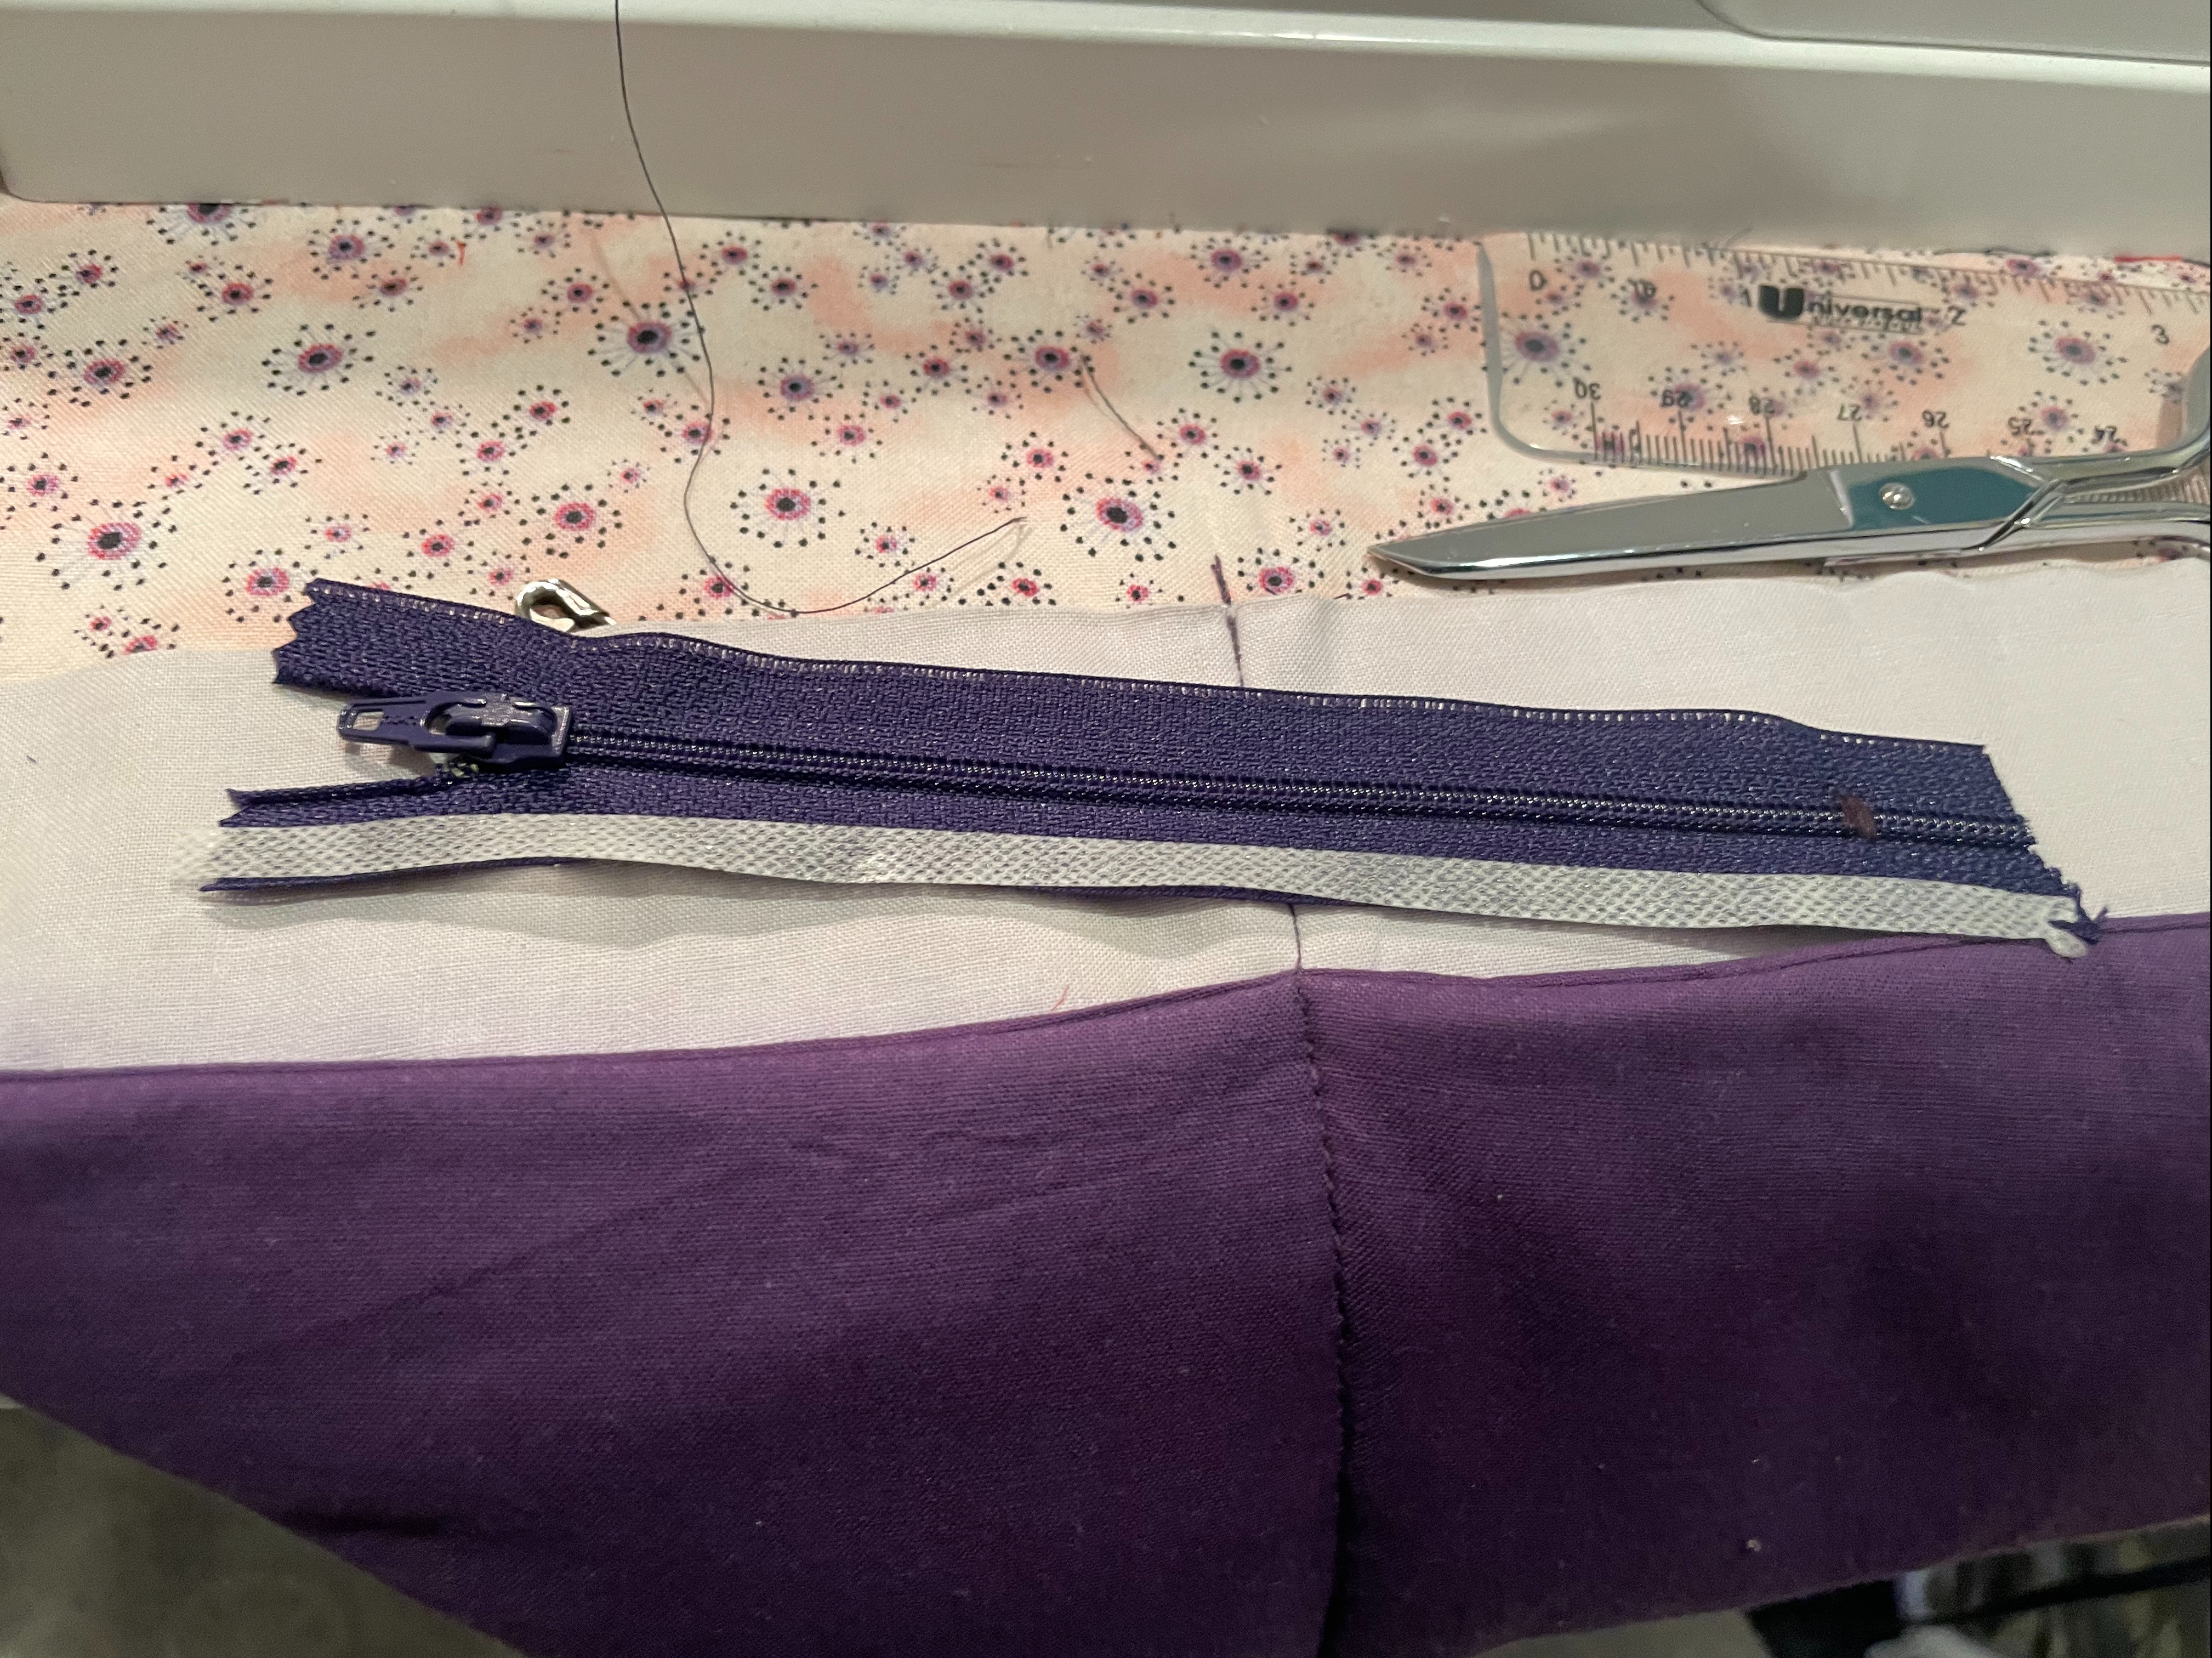
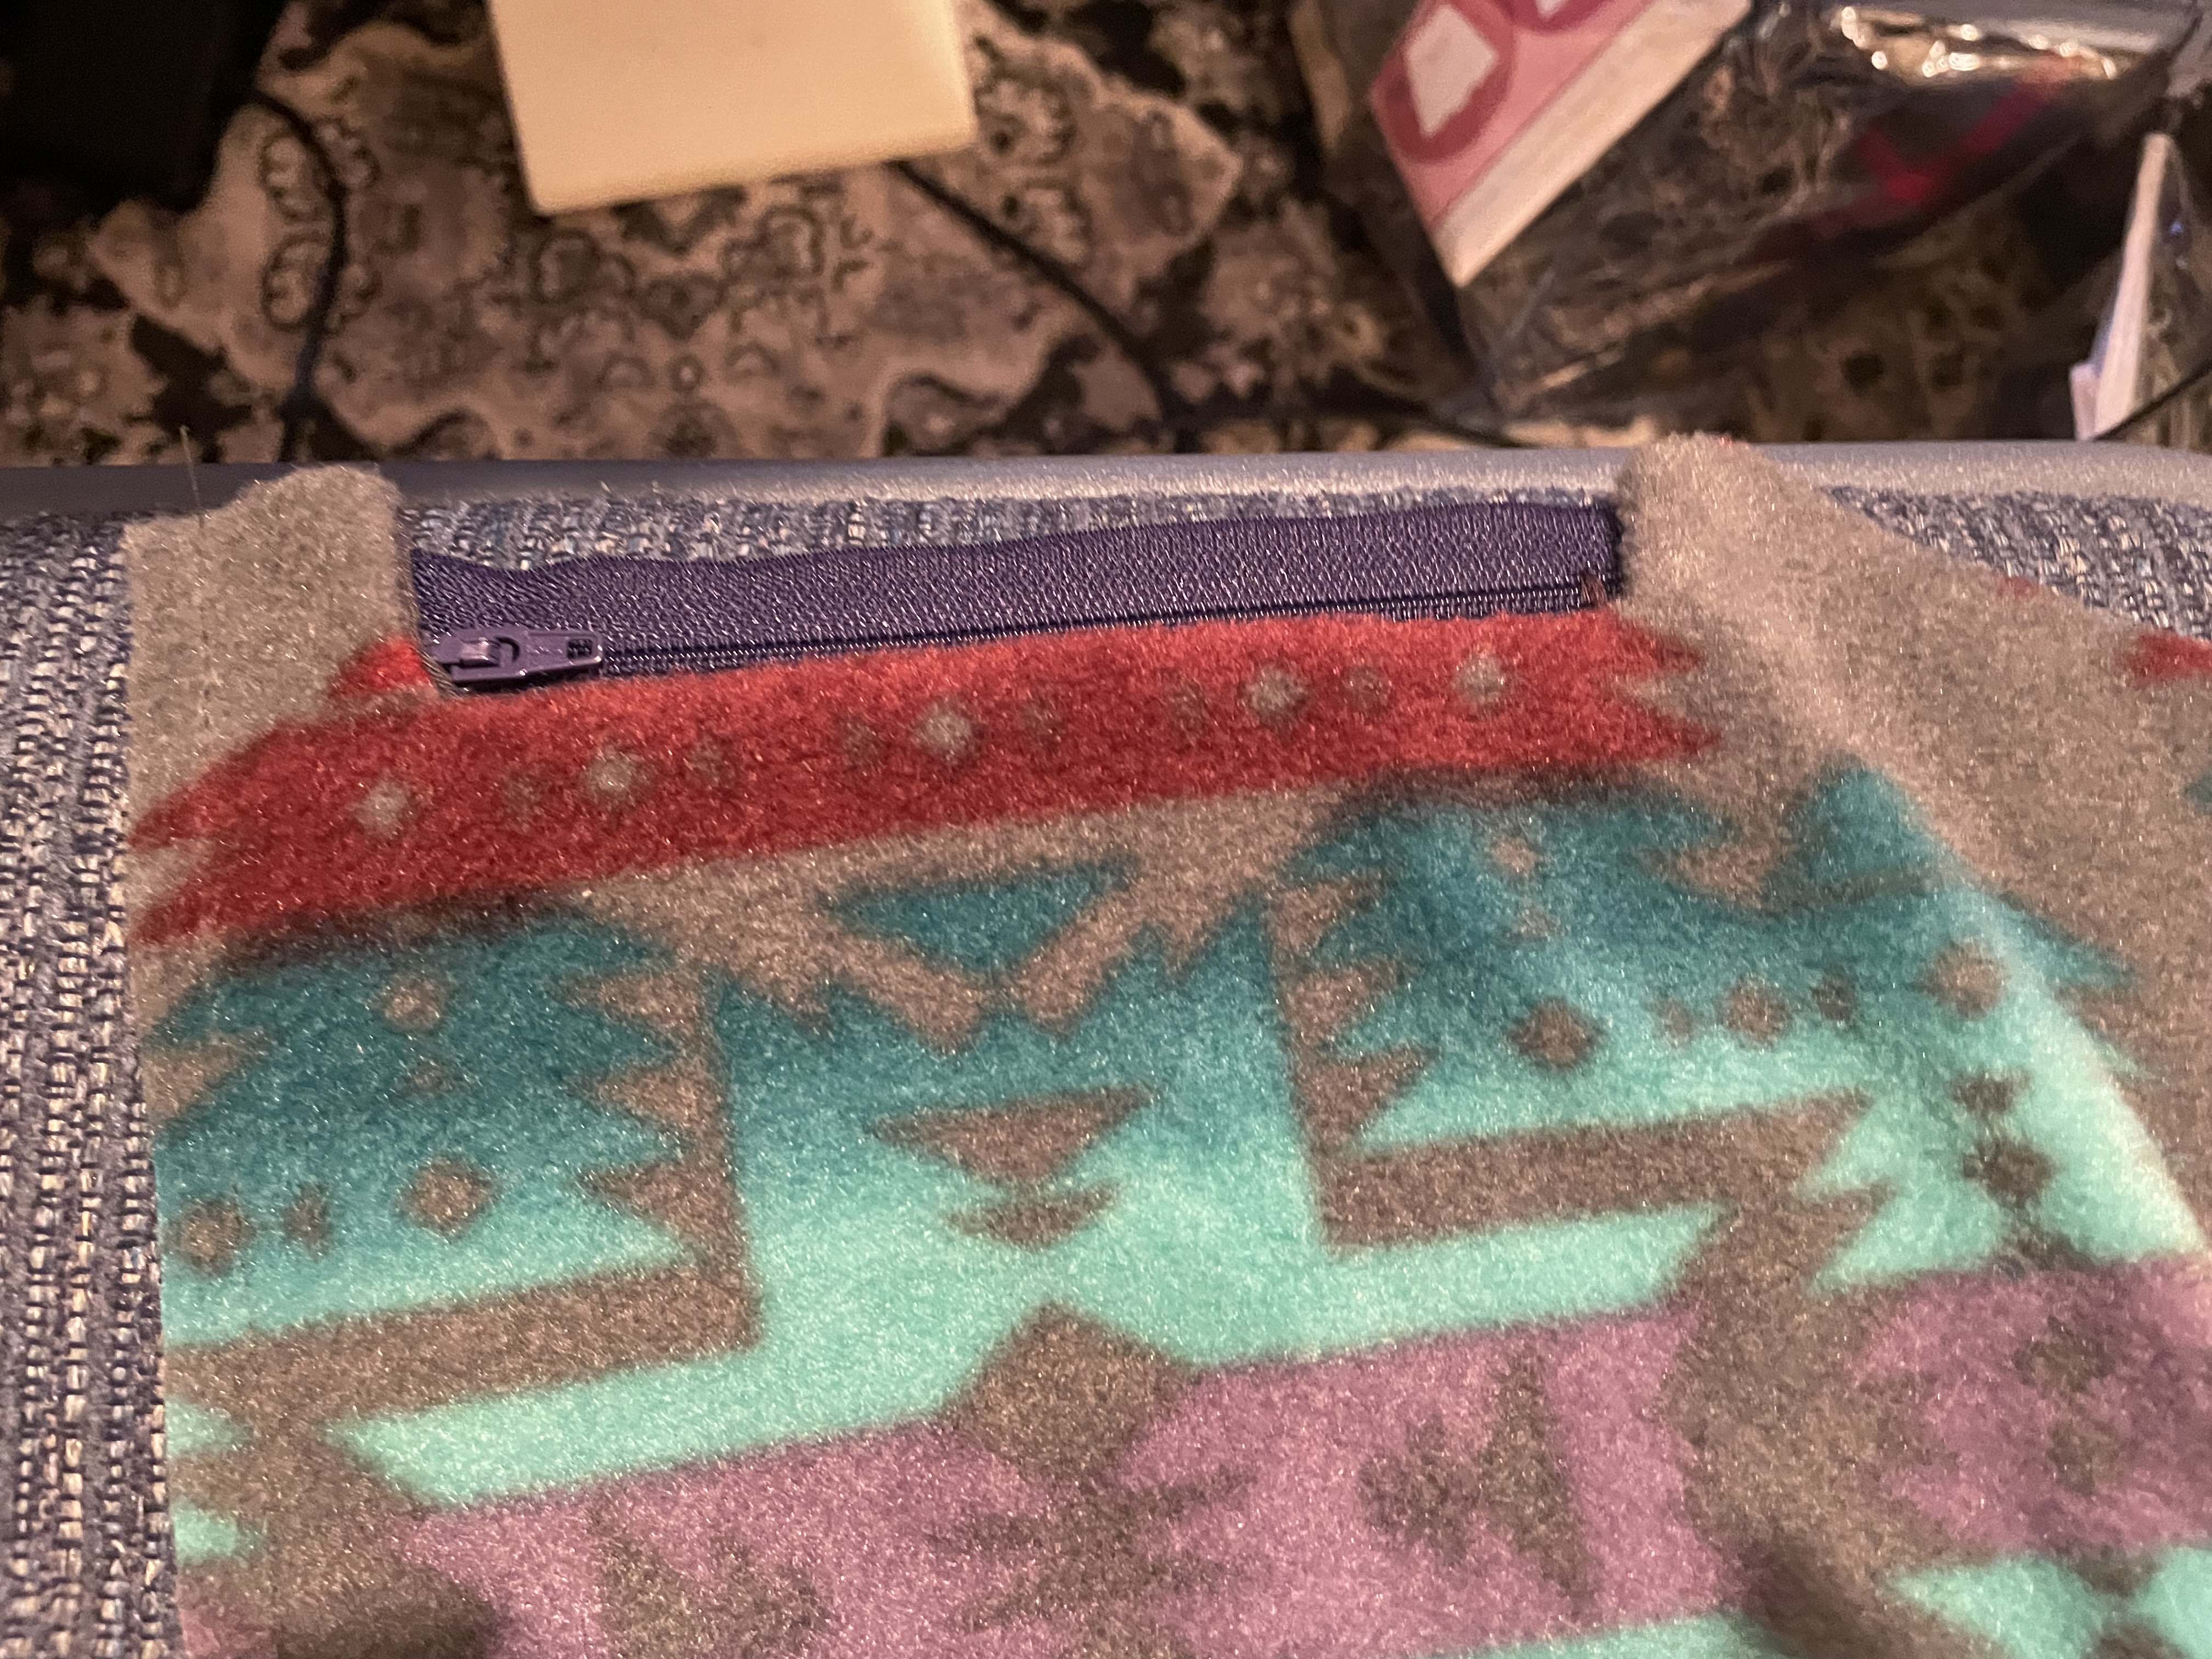
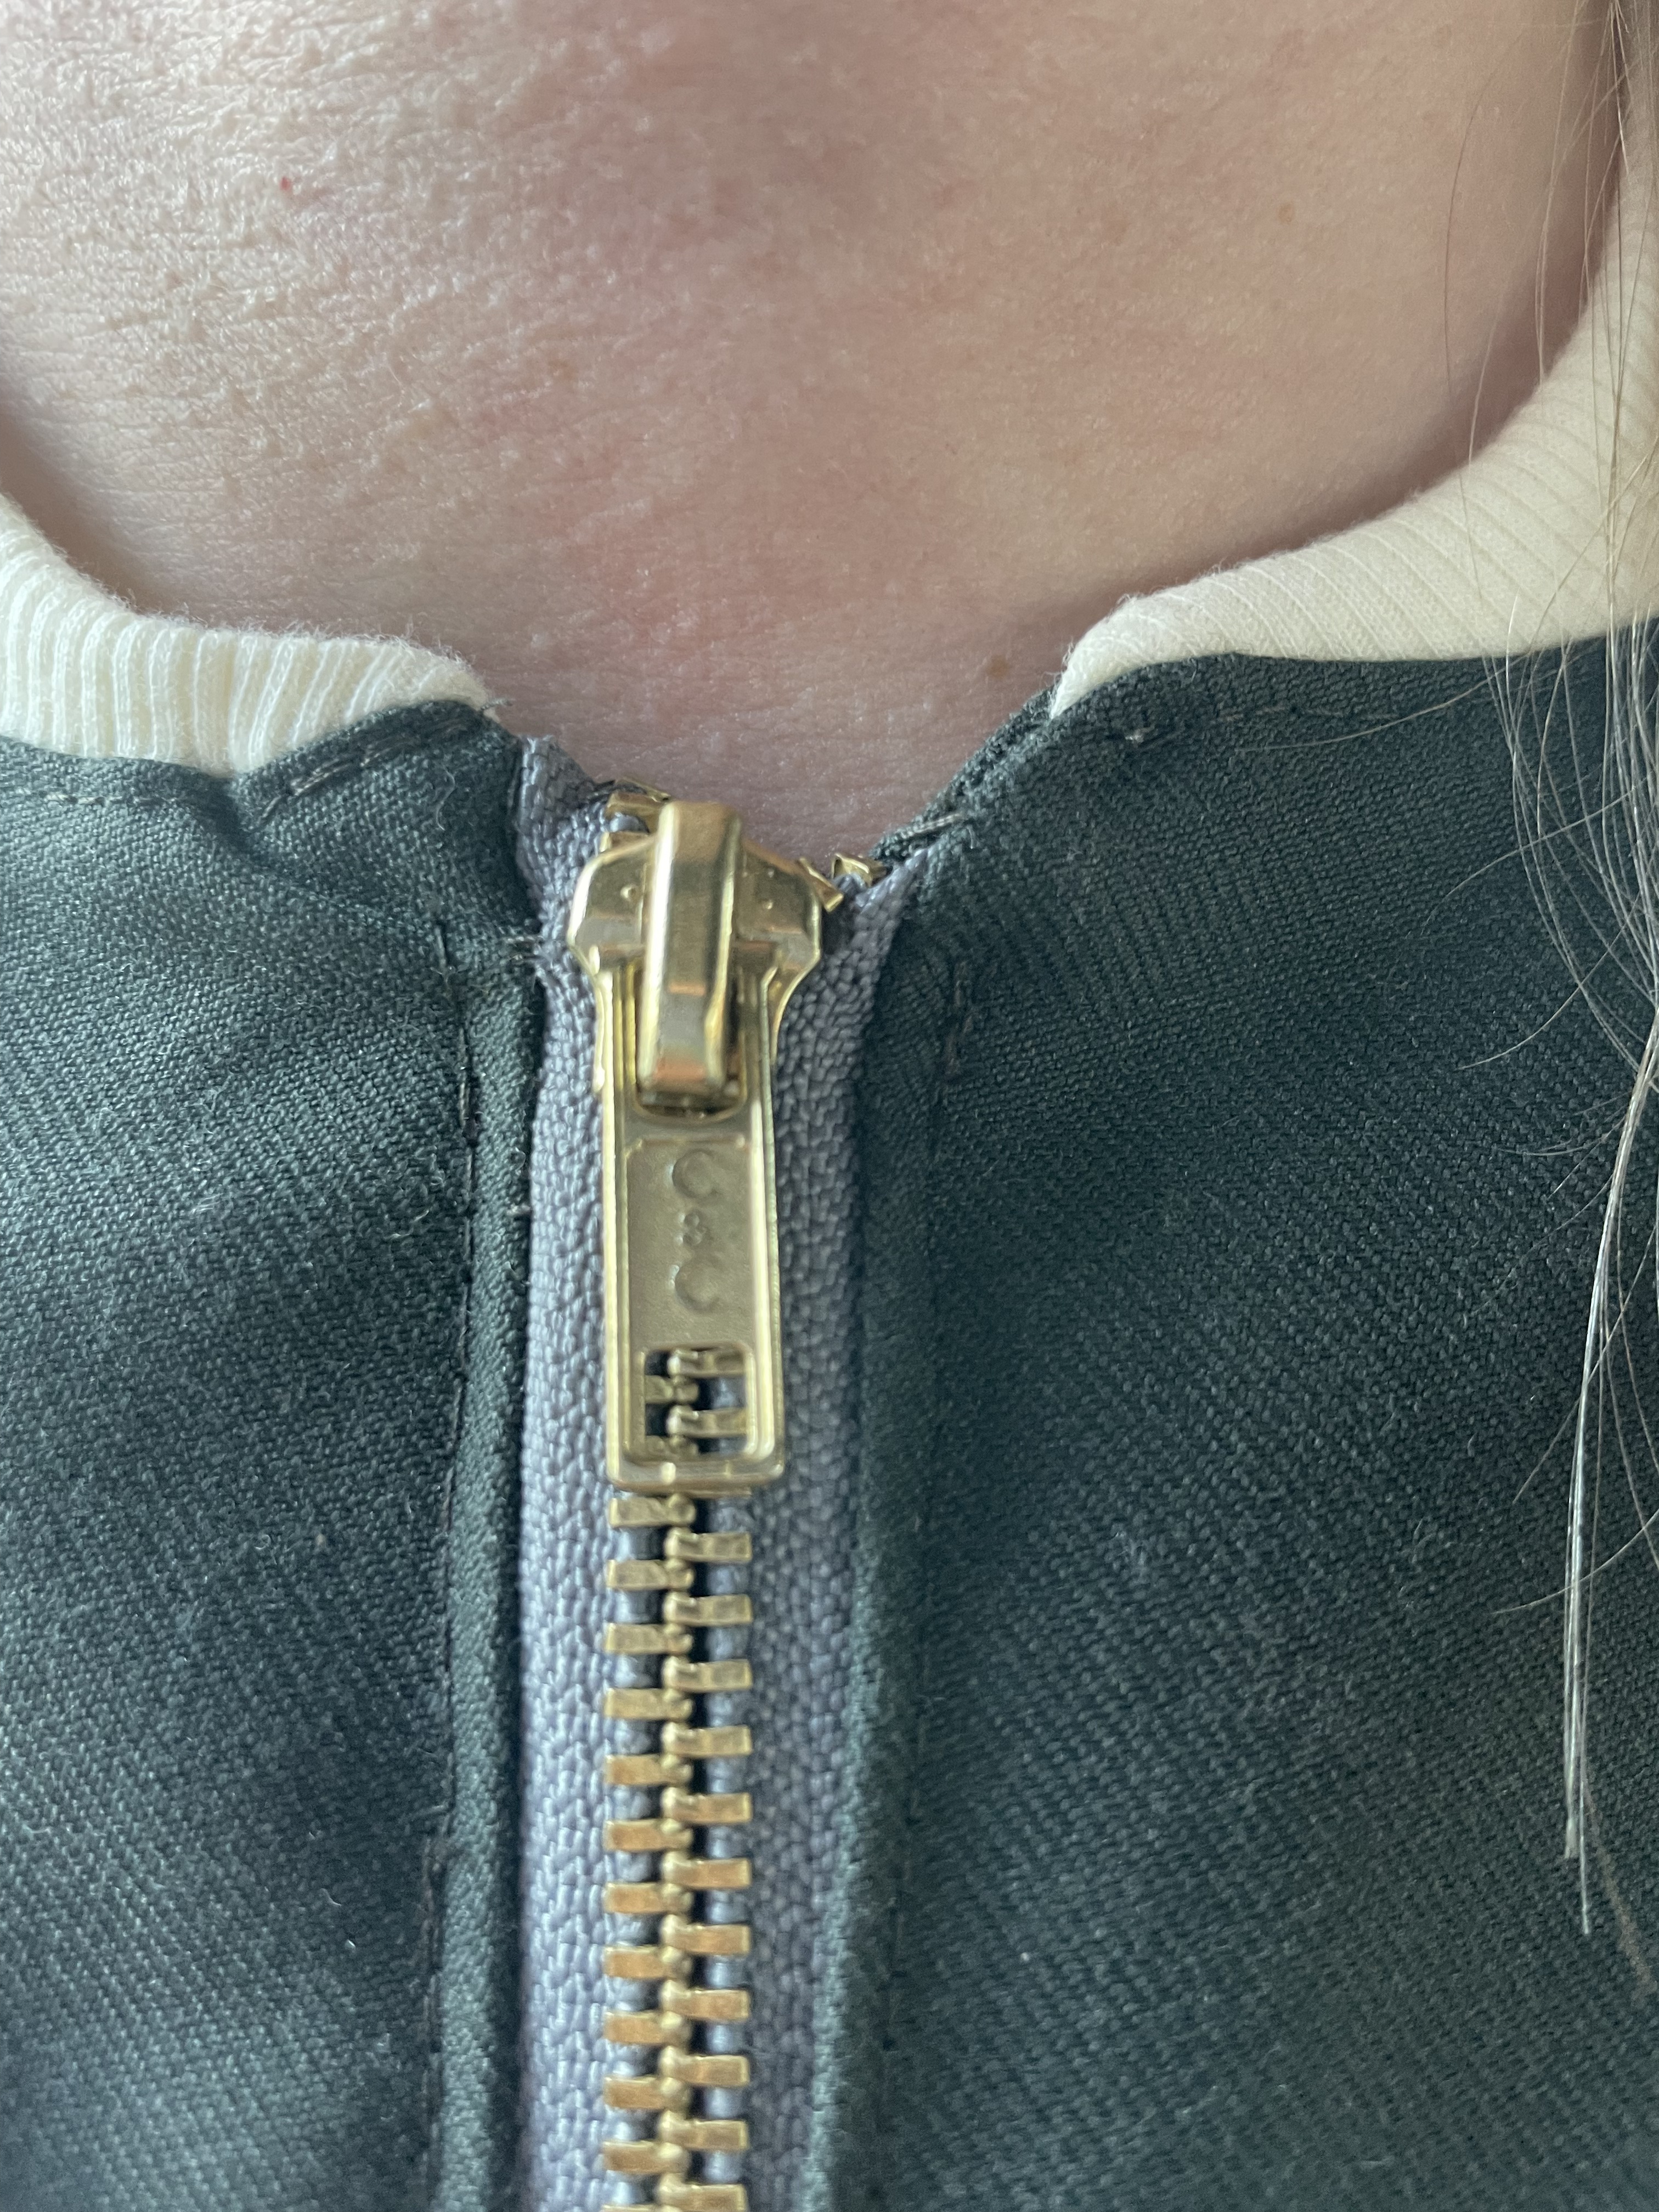
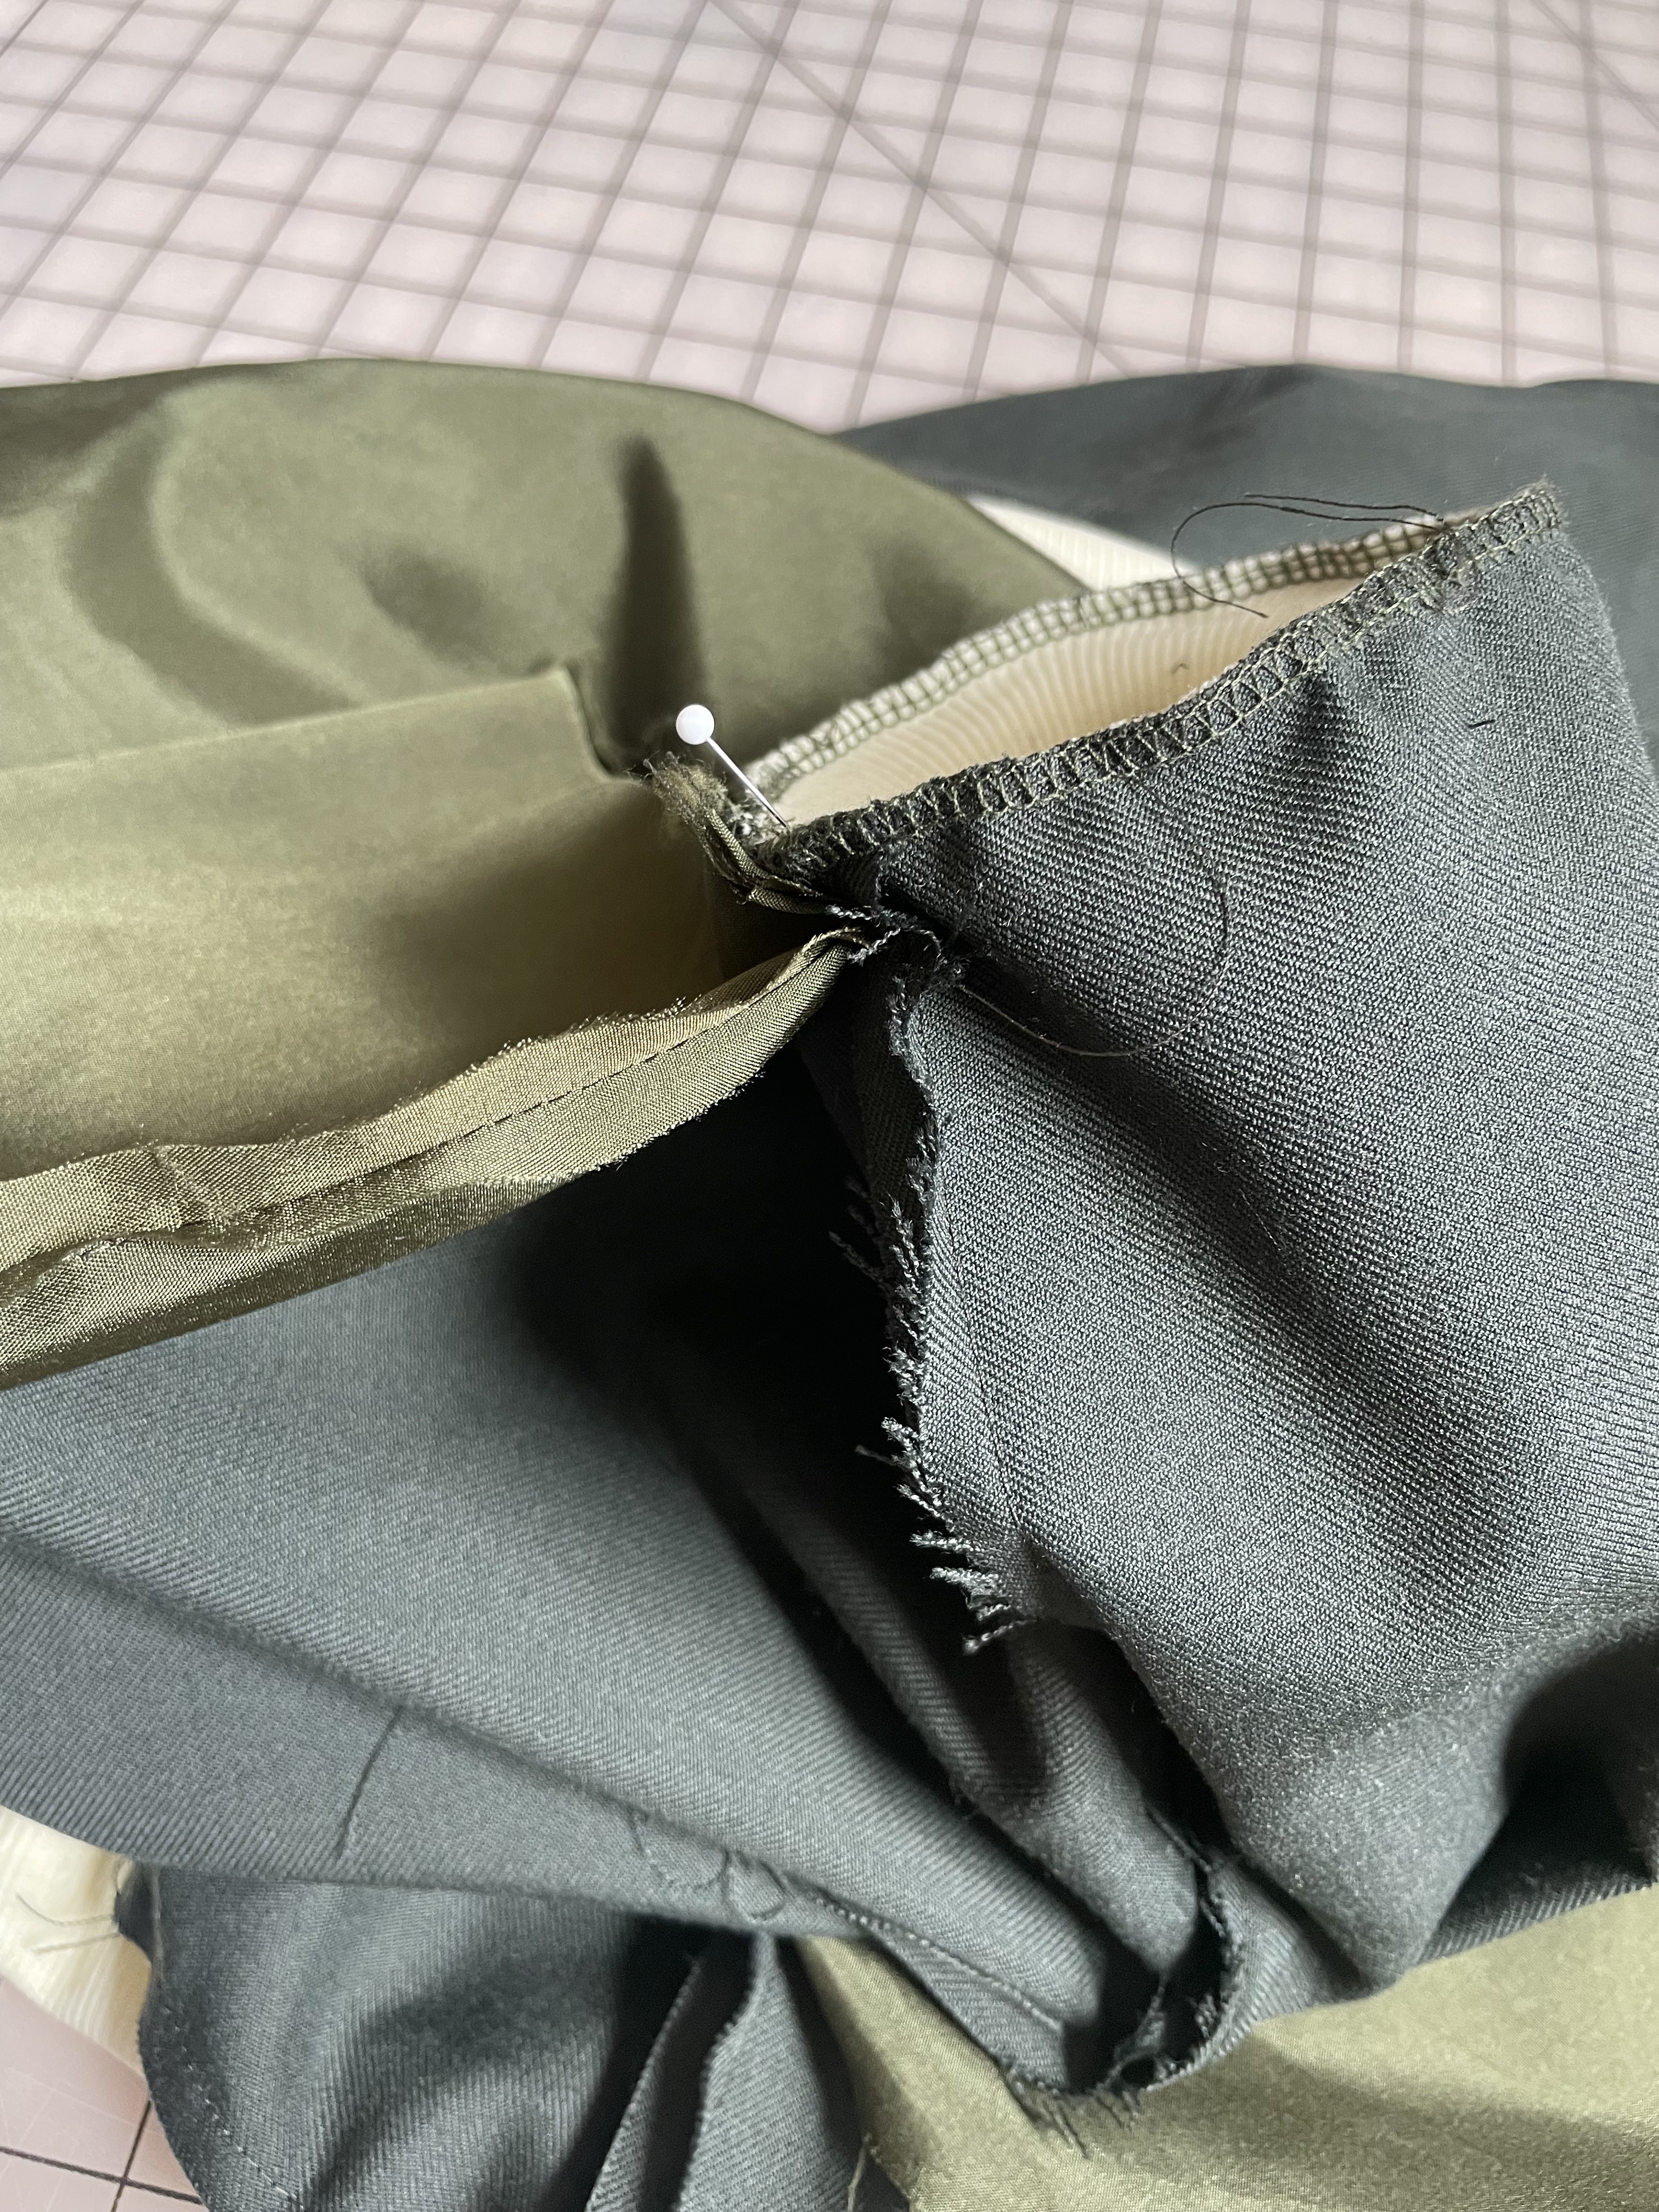
This was also my first time doing a lapped zipper. Although there were some basic instructions, I did some research to make sure I was doing everything correctly, as the measurements are very precise on each side. This is not my favorite zipper type, but I feel confident I could do this one again if needed. There is a lot of info on the internet, which is good because I wasn’t quite sure what a lapped zipper was at first.

The other issue with this dress happened when using my tailor’s chalk to figure out where the zipper would go. My mistake was using my red chalk, because obviously white wouldn’t have worked. I guess maybe yellow would have been better? Too bad I don’t own yellow chalk. Anyways, the red stained the dress, and all the brushing in the world could not get it out. No problem, I thought, I’ll just wash it again with some stain remover. Still there. I even tried using some baking soda to scrub the fabric, which lightened the stain a bit, but unfortunately I could still see it. Since I know it’s there, maybe I’ll always see it. Hopefully in time, it will fade, but another disappointment with this fabric from Hawaii.

All in all, I think this is still a great summer dress. It really fit in with my vacation wardrobe in Bora Bora. Despite this fabric being problematic (and possibly cheap) I do like this print a lot. It does remind me of my time in Hawaii and tropical vacations in general. I just wish I had anticipated the issues with the fabric before I worked with it. I guess there is a lesson here to test things out with your fabric. And always use a color catcher.

The great outdoors: Fleece vests and bomber jackets

I’ve never been one of those people who hate winter and cold weather. But this year…I hate winter and cold weather.

The last few months have been a kind of emotional roller coaster for me. This summer, I actually got a lottery invitational to the Tokyo marathon, only to struggle this fall with nerve pain that made it extremely difficult to run. I tried to help it with injections and other exercises, but it just got worse. My dream of running another world major marathon was squashed. After I made the decision to forgo the training, it seemed like a giant black cloud moved in over everything. And it hasn’t left for months. The last few years in New England, winter has been pretty tolerable, sometimes even downright pleasant. But this year, it’s been unrelenting.

The constant cold and ongoing snow and ice storms have definitely not helped the depression that set in after the holidays. I haven’t wanted to do much of anything, the outside just seems too unforgiving and my current mood has killed any ambition I had in the first place. But this weather has caused me to pull some pieces of my wardrobe that I haven’t worn in awhile. One is my winter vest made with fleece that I got in the Southwest a few years ago. I made it last year, but didn’t get a chance to write about it. And now is the perfect time to do so, with all my current projects laying around, unfinished.

I call this one, perfection in design print matching

I had been looking for a pattern that had the style of a vest I would actually want to buy. I settled for the 5 out of 4 pattern, the Aspen vest. It even had zippered pockets, which is rare to find in these sewing patterns. My last vest did not have these and it’s tough when I want to anything remotely active.

This vest did call for several types of fabric besides the fleece – there is a knit for the lining, woven fabric for the pocket flap and zipper stop and other fabric for binding the arm holes and bottom. Plus all the zippers. Getting all these things to match was a bit of a challenge, but after a few shopping trips and online orders, I got everything I needed to assemble it.

The result is great, I have a very warm vest great for winter activities or just hanging around the house. It’s great for that extra warmth when the sun doesn’t shine through the windows (like today).

The print style on the fleece is not one I wear too often, but it reminds me of my travels through New Mexico and Arizona. I love using fabric from my trips, because it’s like getting a whole new souvenir, months after the vacation.

I do love the design on this fleece, especially the bright colors

One thing I had been trying to do more of in the last year, is make clothes in line with actual fashion trends. I saw that bomber jackets were making a comeback, so I decided to try my hand at it. Especially since I already had a pattern in my inventory, the Seamwork Larkin jacket. It was great because there is a helpful sewalong video on the website, which helped me navigate making my first ever coat. What makes this jacket special was that I was able to attach a patch I received after running the Marine Corp Marathon in 2022.

I got a nice medium-weight woven fabric in green, so it would match the patch. I was able to use some yellow rib knit I already had in my stash for the cuffs, collar and bottom.

I think it all came together well, although I did have trouble finding a good zipper that matched the color. Speaking of the zipper, I also had an issue where the zipper was a bit too long for the jacket. I think partly it was the pattern, but also partly because I did shorten the length of the coat a bit. I’ve run into this issue before and with that garment, I just removed some of the teeth at the top of the zipper. Unfortunately since this was not a plastic zipper, no matter how hard I pulled with the pliers, I could not get any teeth off. And I really tried. I guess it’s good the zipper is strong and sturdy, but I basically had to just fold the zipper back into the seam, which looks a bit odd in that there is no real visible top to the zipper.

It’s still a functional coat however, and the patch on the arm looks really nice. It’s a nice way to commemorate a time where I could actually run a marathon, unlike now where I’m not even sure I can ever take part in a race again.

With my running future in limbo, the year feels a bit uncertain. However, I did decide to go ahead with my trip to Japan. Now that I have the added bonus of not having to worry about running a marathon, I am a bit more relaxed about the trip. I think it will be a good thing in the end – I’ve always wanted to go to Japan and I couldn’t just let that opportunity go by. And the fabric shopping should be fantastic.

With my running future in limbo, the year feels a bit uncertain. However, I did decide to go ahead with my trip to Japan. Now that I have the added bonus of not having to worry about running a marathon, I am a bit more relaxed about it. I think it will be a good trip – I’ve always wanted to go to Japan and I couldn’t just let that opportunity go by. And the fabric shopping should be fantastic.

Summer Sewing Projects: Halter Top, Sailor-Style Shorts, and Vintage Romper

Summertime sewing is always difficult as the weather is more geared to outdoor activities. However, I have had some luck in completing some anticipated summer projects. This year I’ve been trying to make a conscious effort to use up my stack of fabrics acquired during my past travels.

Going through my stash, I happened to find a stretchy knit with pretty flowers that would be perfect for a summer top. I had picked up this fabric as a last minute addition when I was in Montreal last summer. It caught my eye as I was about the leave the store. I’ve been seeing a lot more flowers in fashion lately so I thought it was time I made something with it. I felt the perfect top to try was the Seamwork Jovi halter top, which has a built-in shelf bra and back ties.

I really enjoyed sewing this one and the shelf bra was a nice extra challenge. I like that is has a built-in bra, although I’m not sure it looked very flattering on me without an additional bra. For this one I had to acquire plush-back elastic for the shelf bra, which was not the easiest notion to find. I think I have enough left over to make another one of these tops, which is something I definitely want to do. For the next one, I think a fabric with more stretch will work better.

The only really tricky part was attaching clear elastic to the front and back. You had to cut a notch in the elastic so that it can fit around the v-shape in the front. For my first attempt at this, I think I did pretty well. It’s not a perfect V, but the front looks pretty smooth and did not bunch up.

For my other summer makes, I finished up some nice sailor-style shorts. I had bought these cool anchor buttons on a trip to NYC a few years back. Looking for an excuse to use them, I realized they would go well with this chambray anchor fabric I had on hand. I’m not really sure where I got the fabric since I’ve had it forever, but I’ve been waiting for the perfect project to use it on.

I had tried the Kwik Sew pattern on some scrap fabric and struggled to get the front to lay flat and not puff out when I wore the shorts. I took my time with this second attempt, laying it out and basting it to make sure I saw how it would fall on me. Even with all the extra work I did in fitting it, it still doesn’t lay perfect and sometimes I need to adjust it on my hips to get it to look right. I think I did the best I could with this one and I like the overall result. The pattern is a bit challenging though.

I may have gotten lazy with the bottom hem, which I just stitched a blind hem on the machine. Hand sewing a hem is not for me. I think it still works, even though the thread wasn’t the perfect color to match the fabric. I showed this one off at a classic car show in Andover, MA. A boat show may have been better to stay on theme for these shorts, but they proved to hold up in the sweltering summer sun.

My final project is probably my favorite. A few years ago on a trip in Maine, I found a 1970s vintage pattern for a cute summer romper. I wanted to make it with retro-looking fabric and through an exhaustive search I found this rainbow terry online. The pattern called for fold-over braid and I had no idea what that even was or how to find it. I did search online and I was able to get a fold-over knit binding on Etsy that worked really well.

I love the results of this, which is an extremely comfortable summer casual outfit, perfect for lounging. There is elastic in the back and ties in the front for some slight adjustment in the waist. I went for it without making a test outfit. I figured I could just cut another one if it didn’t work out, since it didn’t use up too much fabric. I ended up nailing this one on the first try and I am especially impressed with how good the neck and arm holes look with the fold-over trim. It was stretchy and very easy to work with, which was great since I usually struggle with binding edges in general.

Matching all the stripes was slightly challenging, but not too bad since you are only cutting out 4 pieces. I did pretty well on the front and sides, the back was more of a challenge because I was sewing in a zipper.

The garment has a cute and comfortable look, but the main issue with rompers is they are a pain when you need to use the bathroom. Oh well, I still love it and may even think about making this again if ever find another fabric that will fit the project.

As mentioned, I’ve had some challenges getting the time to sew this summer. I started my quest of making cross-body bags and my first attempt was not too bad. I did struggle with binding the inside seams, especially around the zippers. I think the main issue was using bias binding that I already had, which was maybe not quite wide enough to work with. For my next attempt, I think I will make the bias binding recommended, which has an initial width of 2.5 inches. This section of the pattern instructions was very confusing to me and the instructions were not very complete, but I will review it again and try to figure out what works.

My quest to use up my travel fabric stash continues as I have my eye on a summer dress using fabric I bought in Hawaii. It’s not likely I will finish for the summer, but I may have something coming up it will work for. Yes, another trip! Maybe I’ll skip the fabric shopping on that one.