
Pattern: McCall’s M6610
 I found some gold shiny slight stretch denim at Sewfisticated Fabrics, my favorite discount fabric store for $1.99 a yard. So thought I would give making blue (well gold) jeans a shot. I actually bought two jeans patterns, but I really liked the simplicity of this one. McCall’s does a good job of writing clear and concise directions that even a beginner sewer can follow. There is also an extra insert that explains how to adjust your pattern to fit, which is actually pretty useful. This is not my first attempt at pants, and I seem to always have trouble with the sizing. Even though I measure and adjust, it always seems like my pants come out 2 sizes too big. I decided to go for a smaller size this time when I cut. This inexpensive piece of gold denim would be a perfect experiment for some other pants projects I had in mind with some really nice corduroy I had bought. But I also thought it looked kind of cool and I thought I could make it into a sort of novelty fashion jeans to wear for certain occasions. When I tried them on, they were a little tight and reminded me a little of…
Hmmm….maybe I can still make them work.
On My Back Pocket
The pattern is designed very logically and very consistent with the way most jeans are constructed. It starts with two front pockets which I used cotton muslin for, and a zipper which you will need to cut and stitch to form a new zipper stop. As much as I hated basting (and oh I HATE it so), it is really important to baste with pants. I was more 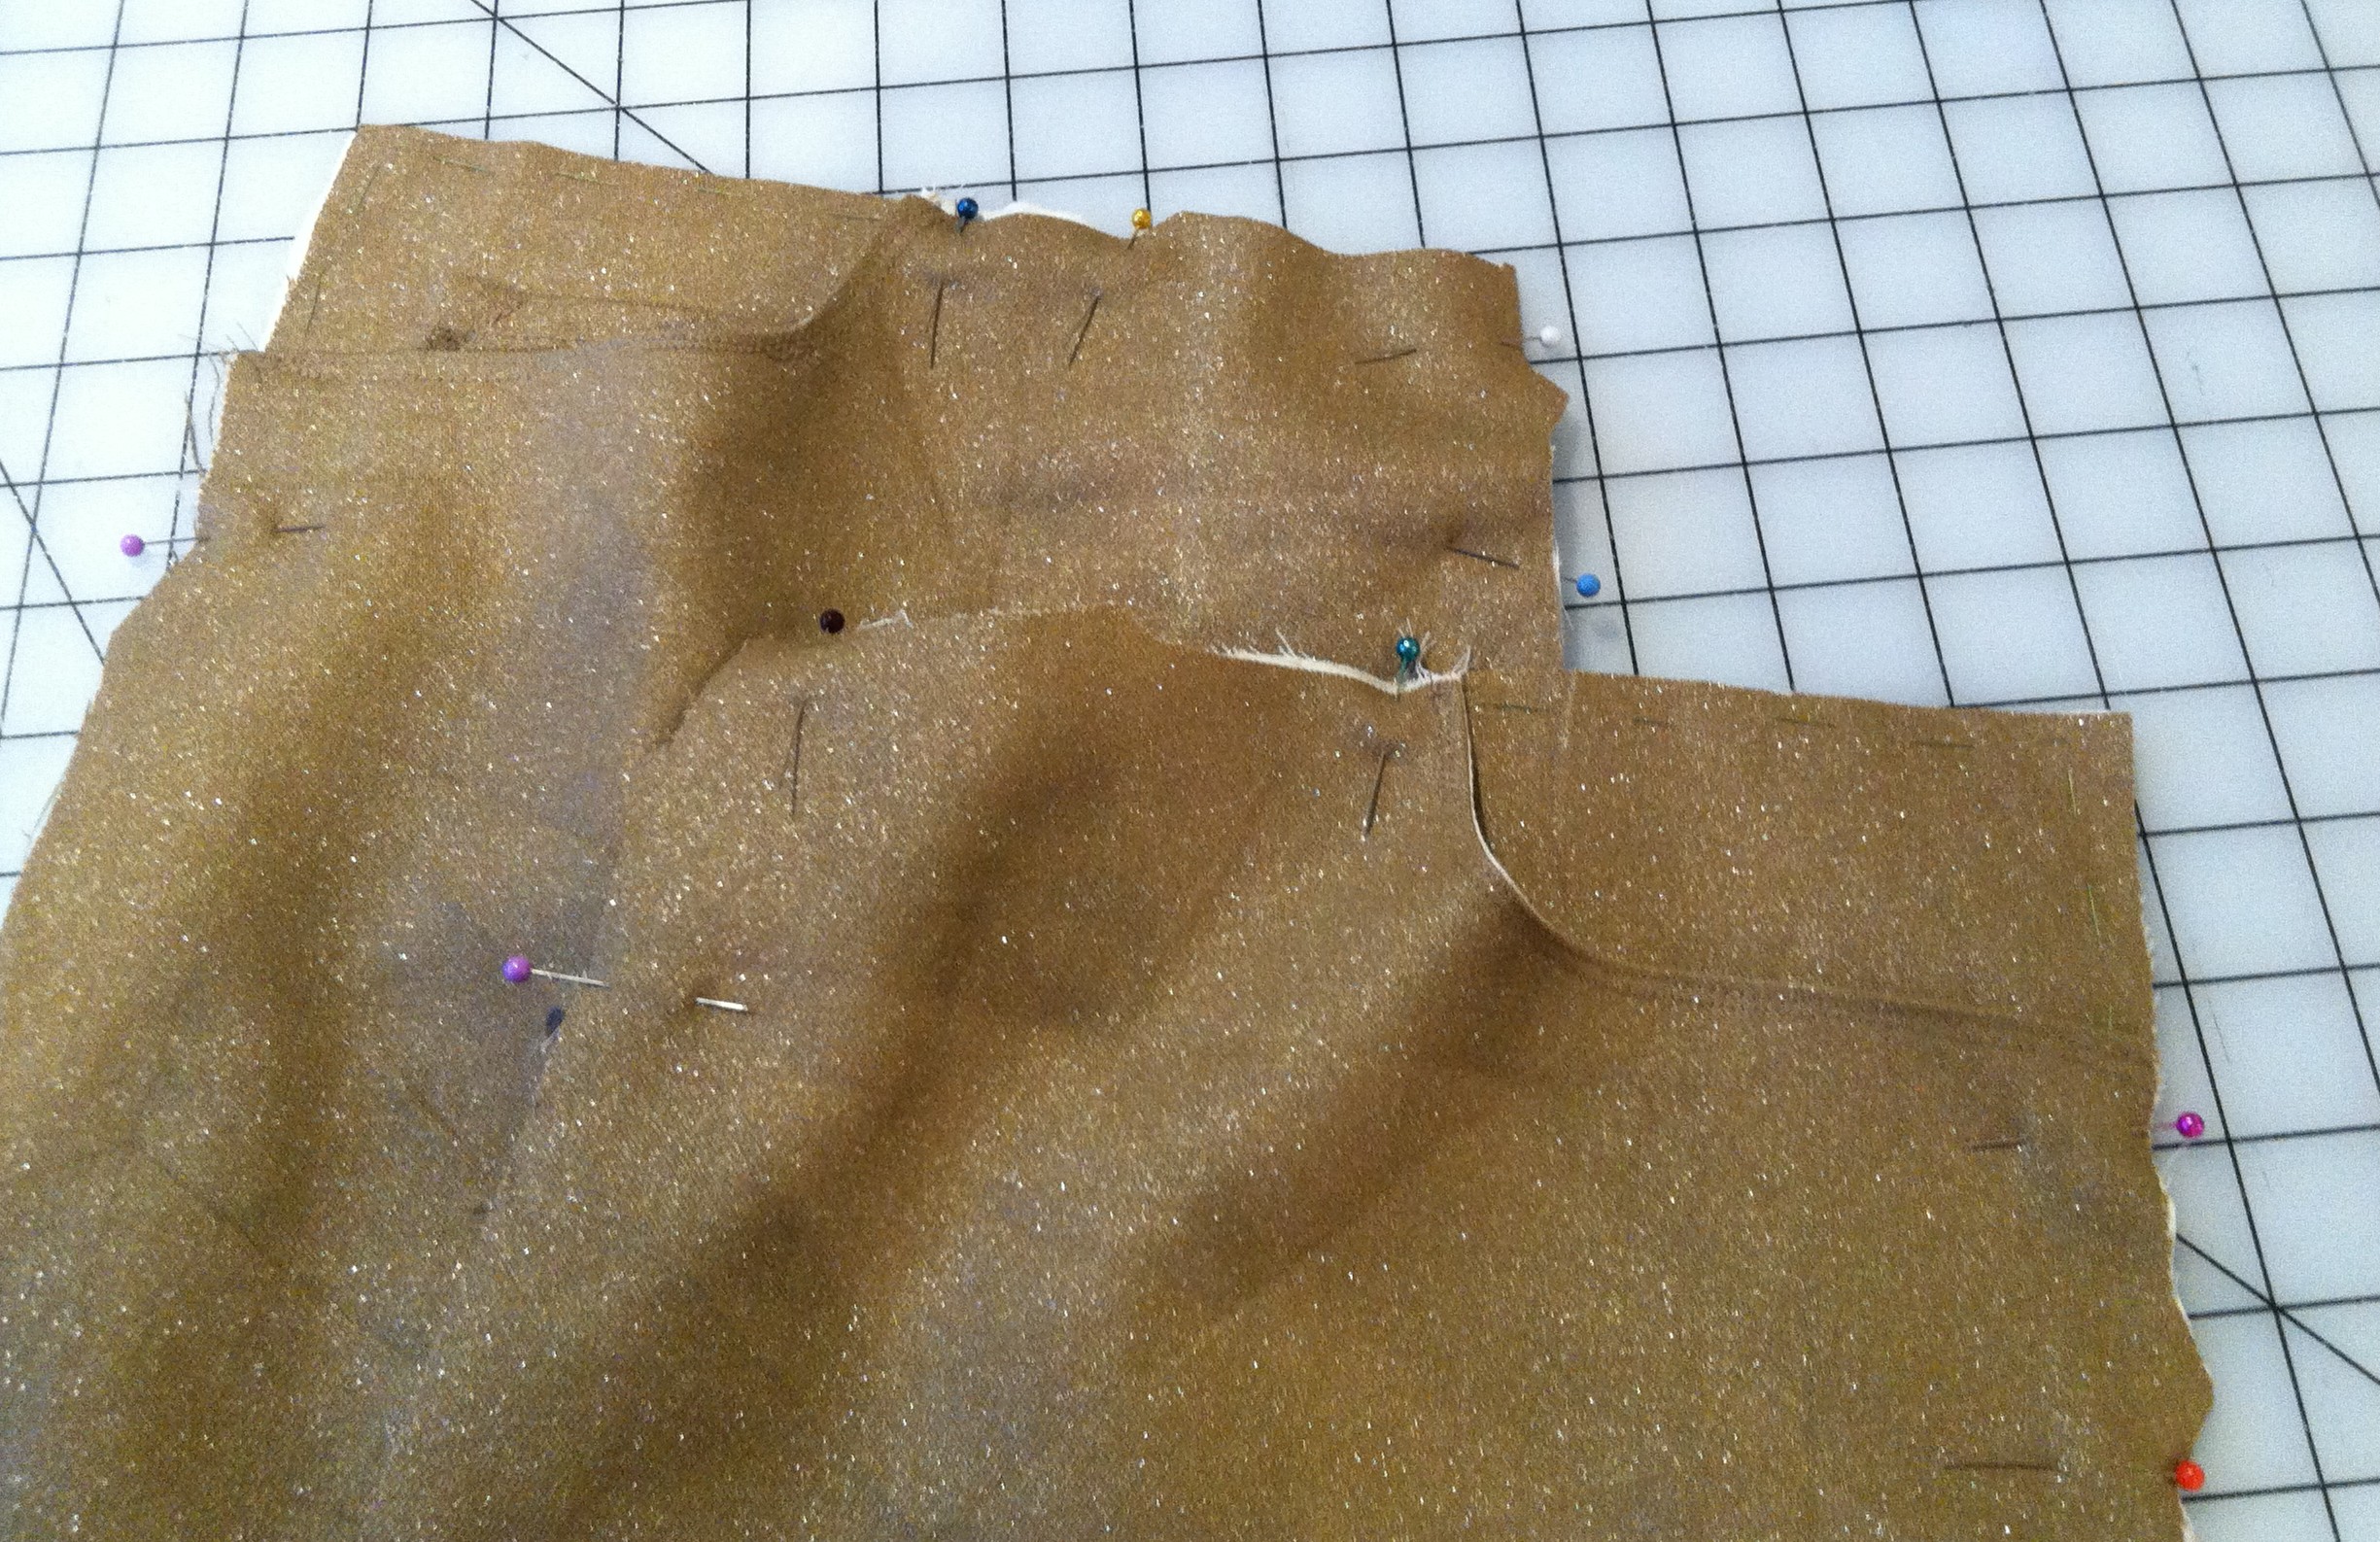 diligent with it for this project and I think it really made a difference. These also featured a mini right pocket that you see on most jeans which was an easy addition and a nice touch.
The other decision I had to make had to do with the back pockets. I kind of wanted some sort of embroidered design to give these a personal touch. I went with this fleur-de-lis design since I’ve always liked the design and it complements my French heritage. I found a picture online and traced the outline with a pencil onto some tear-away embroidery paper. I pinned the paper to the back and traced the outline with my mom’s newer sewing machine on a tight zig-zag stitch threaded  with some lovely gold thread. Then, I just tore away the paper from the back and was left with these decorative back pockets.
Another thing I learned was how easy belt loops are to make. My other pants attempts did not include them, but now that I know how easy they are, this may an addition to all my pants. It’s basically a long rectangle that is folded over from each end (the long way), sewed along both sides, and cut into 4 inch strips. Designing a pattern piece for these in the future will not be difficult.
Waistband Blues
The real issue I had with these jeans was the waistband. For a few possible reasons, the waistband ended up significantly smaller than the waist of the pants. I think there is a reason it is supposed to be smaller – probably to give a more fitted look in the waist. You are meant to ease stitch around the top of the pants and pull the thread in a little to “ease” the material to fit the waistband. There were two reasons I had trouble with this: 1) The thread continually broke when I tried to pull it, probably due to the stiff material. 2) I could not sew the waistband on without huge bunches in the fabric, which looked terrible. I had hit a real roadblock. The only thing I could think to do was cut a new waistband and give extra room so I could fit it around easier. Unfortunately I did not have enough material to cut a new waistband, so I had the idea to cut it in two pieces and sew a small seam down the middle. This was a success even if the back of the waistband now has a seam, which I don’t like. Luckily, this is just an experiment and I can use these learnings for my corduroy pants and other jeans I may make. 
The last step, which still needs to be done, is to add a buttonhole and button to the waistband. I was able to find a great button by looking through a giant vat of 25 cent buttons at a local fabric store. 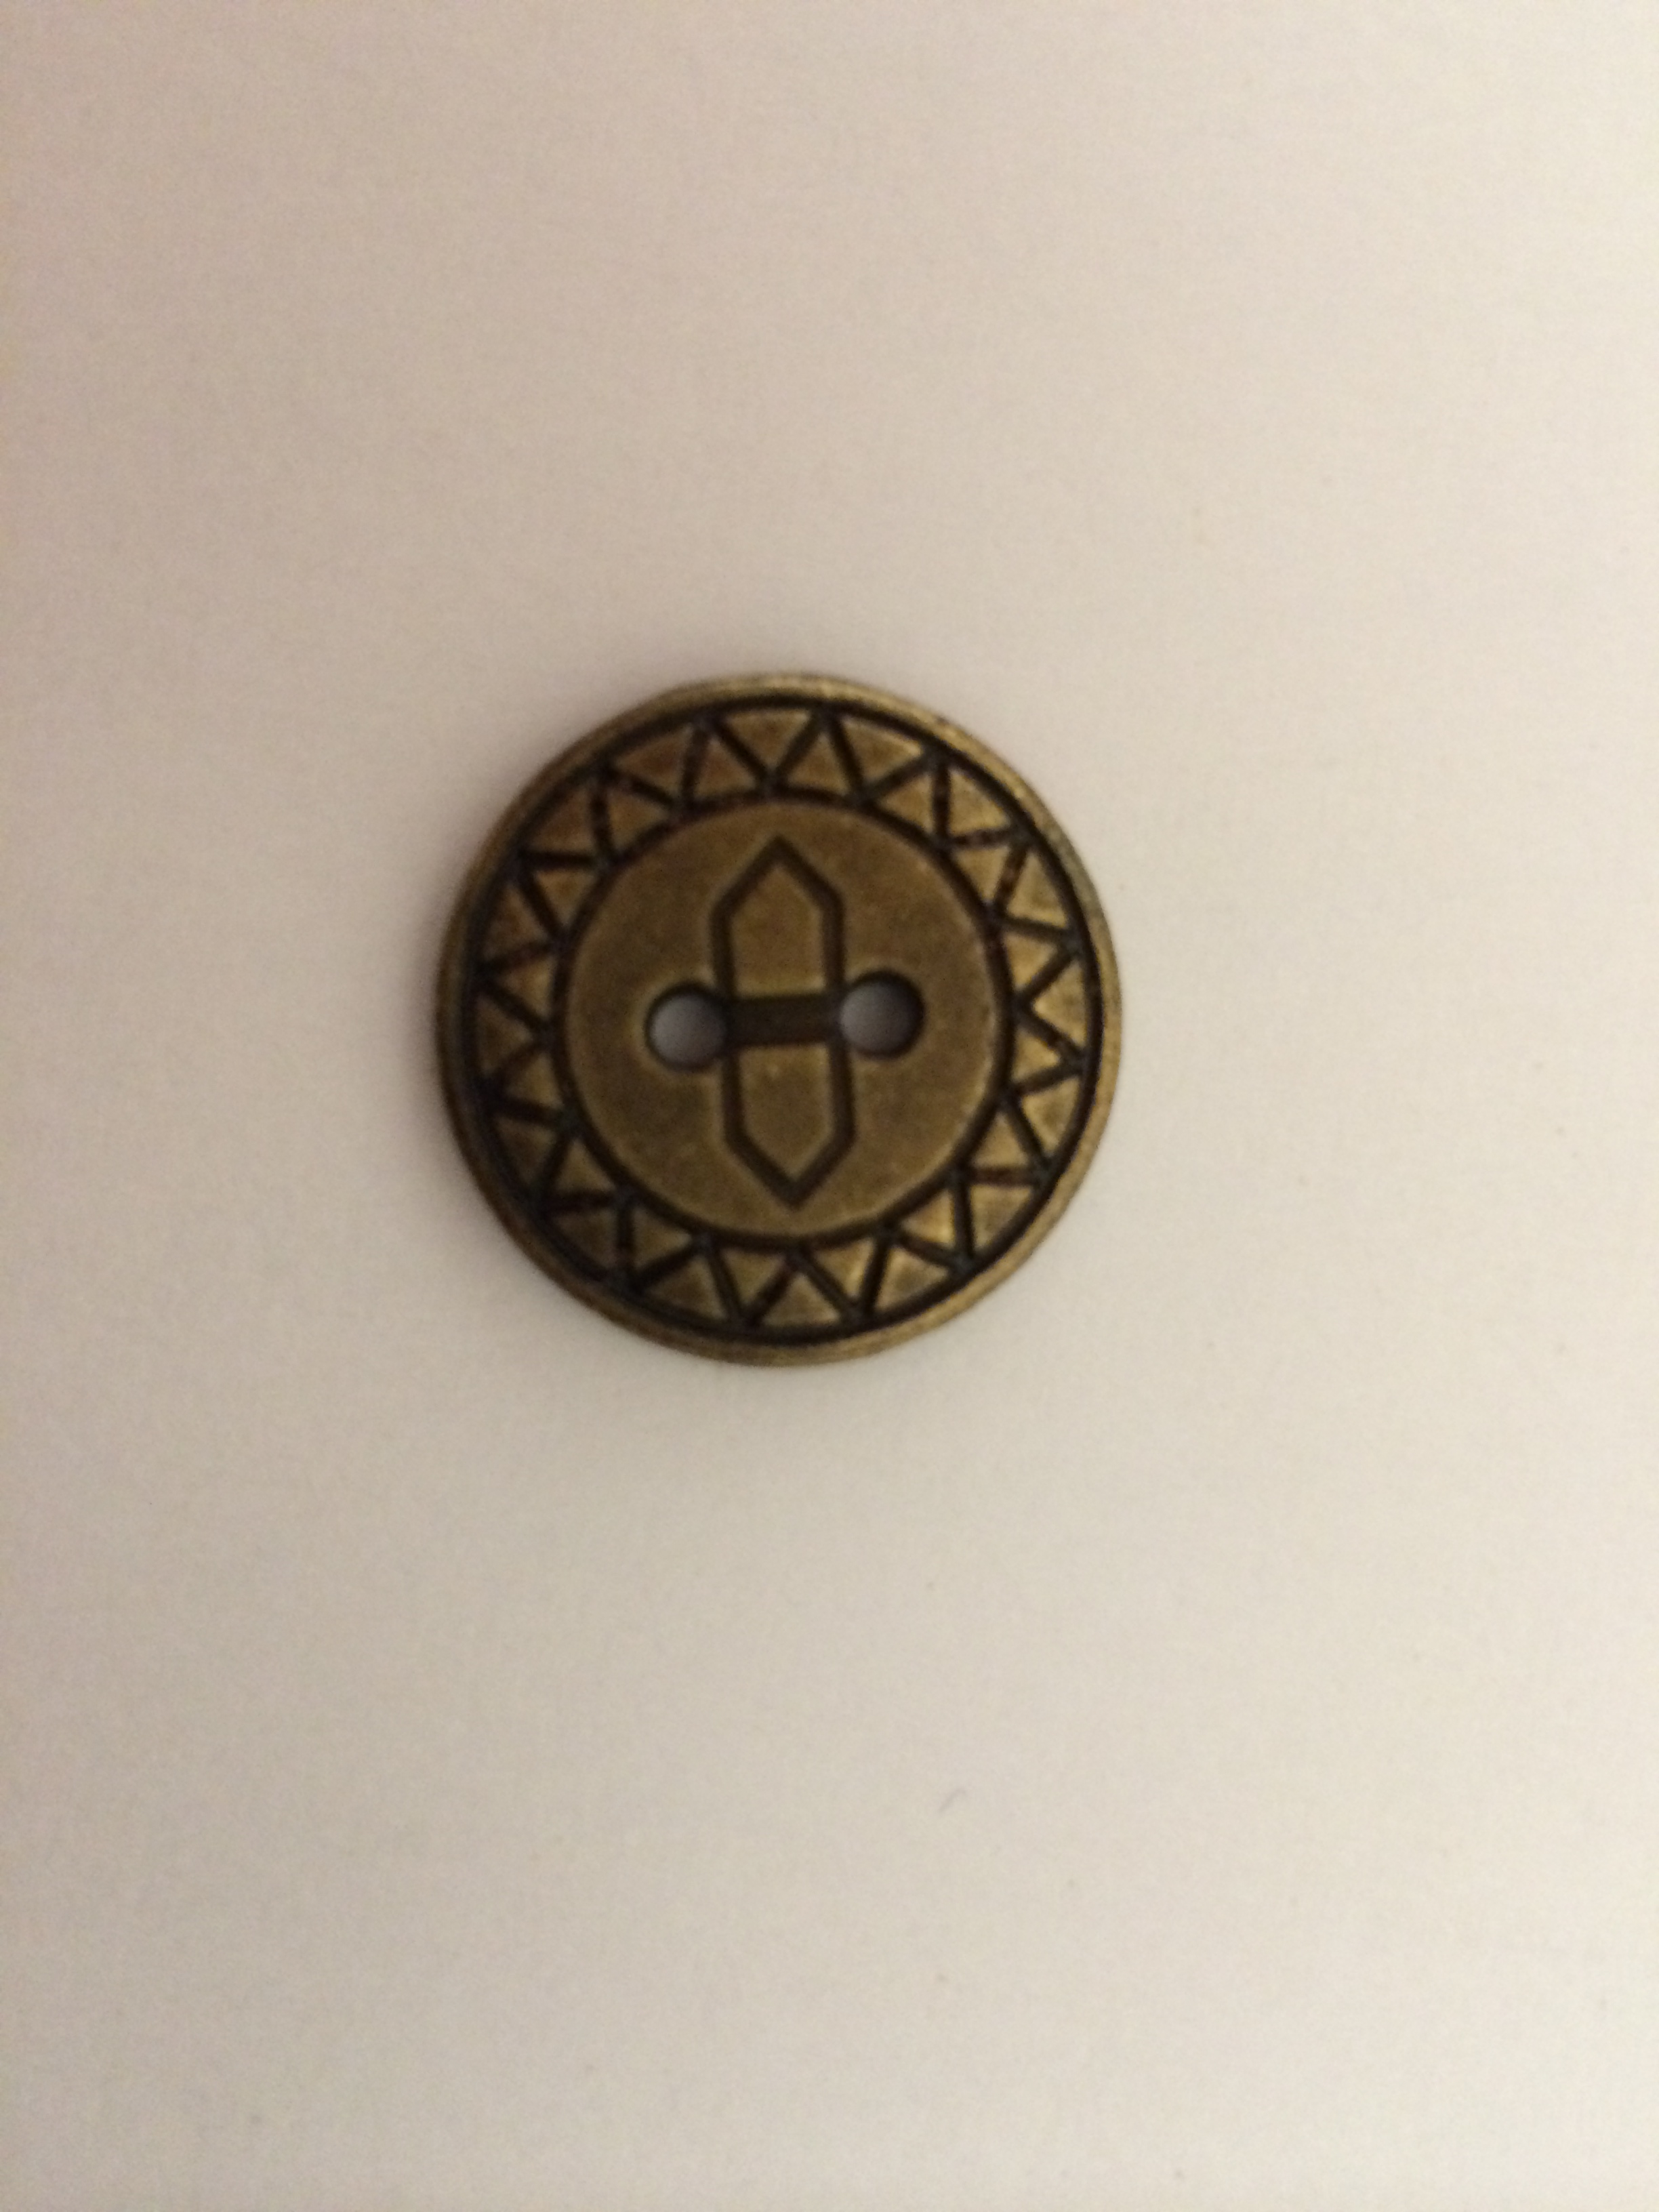 Gold-blinger jeans. If I ever need to dress like a service droid, I’ll be all set. But more importantly, I will be able to use these jeans to create a new adjusted pattern for other pants projects. More to come on that later. (Bonus: click on C3PO for a special surprise)


 gs me to this blog. I’ve been sewing off and on for about a year. I can’t stress enough that I am in no way an expert – more of a sewing enthusiast. I thought it would be great to create a place to share the projects I was working on, especially since other sewing blogs have helped me in the past. My hope is that by sharing my experiments and stories, I will reach out to anyone who enjoys the art of making clothes as I do. Maybe there will even be some useful information that will help you in your projects. I welcome all feedback, advice, and anecdotes about your experiments as well. My wish is that it can become more of a conversation about sewing, since I don’t have too many friends that share this passion.