One of my first successful projects involved some cotton knit material my aunt gave me, bust-line gathers, and this Very Easy Vogue pattern #V8571.
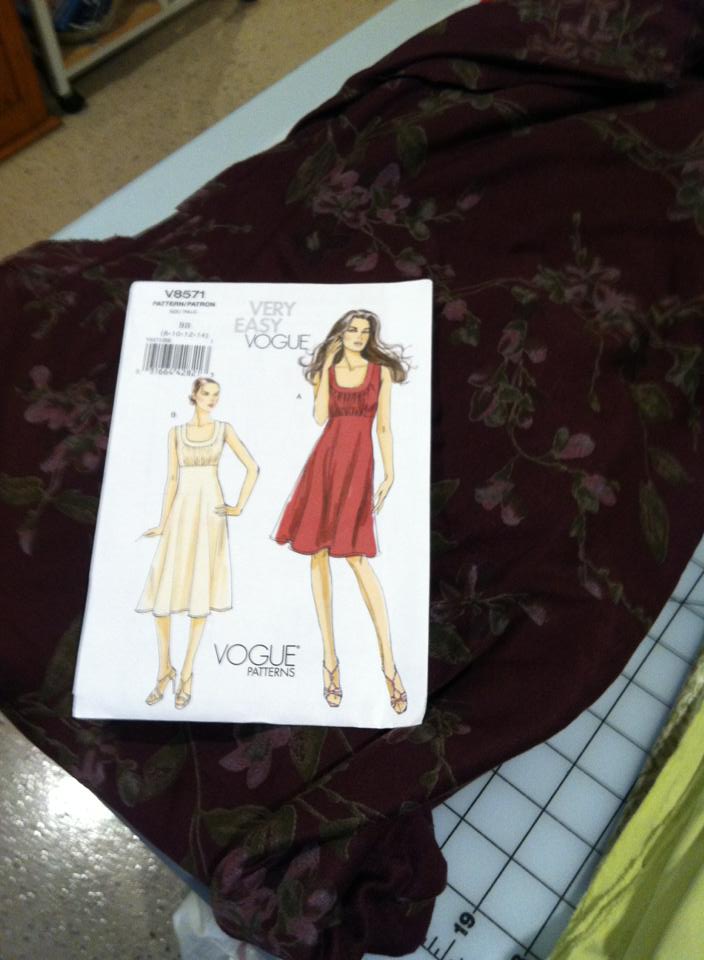
The pattern was a pretty straight forward pull-over dress with a gathered bodice and empire waist. This looks very flattering for most body types. It is for two-way stretch knits, which works best when the material can be pulled both ways. The material I had probably medium-weight, but I think this pattern will work well for lighter weight materials as well.
My mom’s serger just happened to be in the shop at the time, so I decided to try out the overlock stitch to prevent unraveling.
(This is shown as ![]() on my machine)
on my machine)
This worked great on finishing the raw edges, but it unfortunately broke my machine! My machine is from the 1980’s and since those special stitches had not been used in a while, it could not switch off double stitches, even on the simple straight stitch. This really caused an issue when I tried to fix my slightly crooked hem – there was no way I could tear out those stitches. I guess with this one I will have to live with the imperfection (machine has since been fixed).
The gathered bodice was the actually the most successful part of the dress. Since I didn’t follow the cutting directions correctly the first time, I ended up with an extra bodice that I was able to practice on. I did some light research online and jumped right in. Basically, these gathers involve using loose, long stitches where the threads can be pulled to “pucker” the material a bit. A lot of websites said to adjust your stitch length to about 5 or 6, which was unfortunate for me because my old machine only goes to 4. I was starting to worry that I would need to do this by hand. I loosened the tension a few settings down from where I was working and attempted with the size 4 stitch. I also made the decision that it was best to tie off the ends by hand instead of reinforcing by machine, so I kept the threads long at both ends. The next important step is the parallel lines. After you make the first stitch line, you make another stitch line about 1/8 to 1/4 of an inch (mine was probably in between) from the original. I repeated this process so these stitches were at the top and bottom of the bodice, front and back.
Now the part I was looking forward to. I pulled two threads on one side, starting to create the ruffles. I pulled slowly until the material bunched on the end, then slid the material down to even it out. I pulled the other side as well, to create some sort of symmetry. When I was satisfied I could do this accurately, I worked on the real bodice. After I was happy with the amount and size of the ruffles, I was able to manually tie the ends of each stitch line. Then I sewed my neckline in and voila!

And the final result….a dress that is flattering for most body types, all for the cost of some thread (thanks to my aunt Sue of course).

Important note: Make sure when you are making your gather stitches, they stay parallel and never cross over one another. If this happens you will never be able to pull the material effectively. Always remember: never cross the seams!!!