

Pattern: Burda Young 6651, view C
Skills acquired:
- Shirring
Let me start out by saying that this experiment had started over the summer, when I somehow didn’t realize I had cut out a child’s dress as my bathing suit coverup. I guess I should have noticed the pattern is called Burda Young, but the picture of adults on the front really threw me off. Burda patterns have always confused me – it’s like they make the directions difficult on purpose so that you get more of a sense of accomplishment. It doesn’t help me out – I’ve never been able to fully figure out one of these patterns.
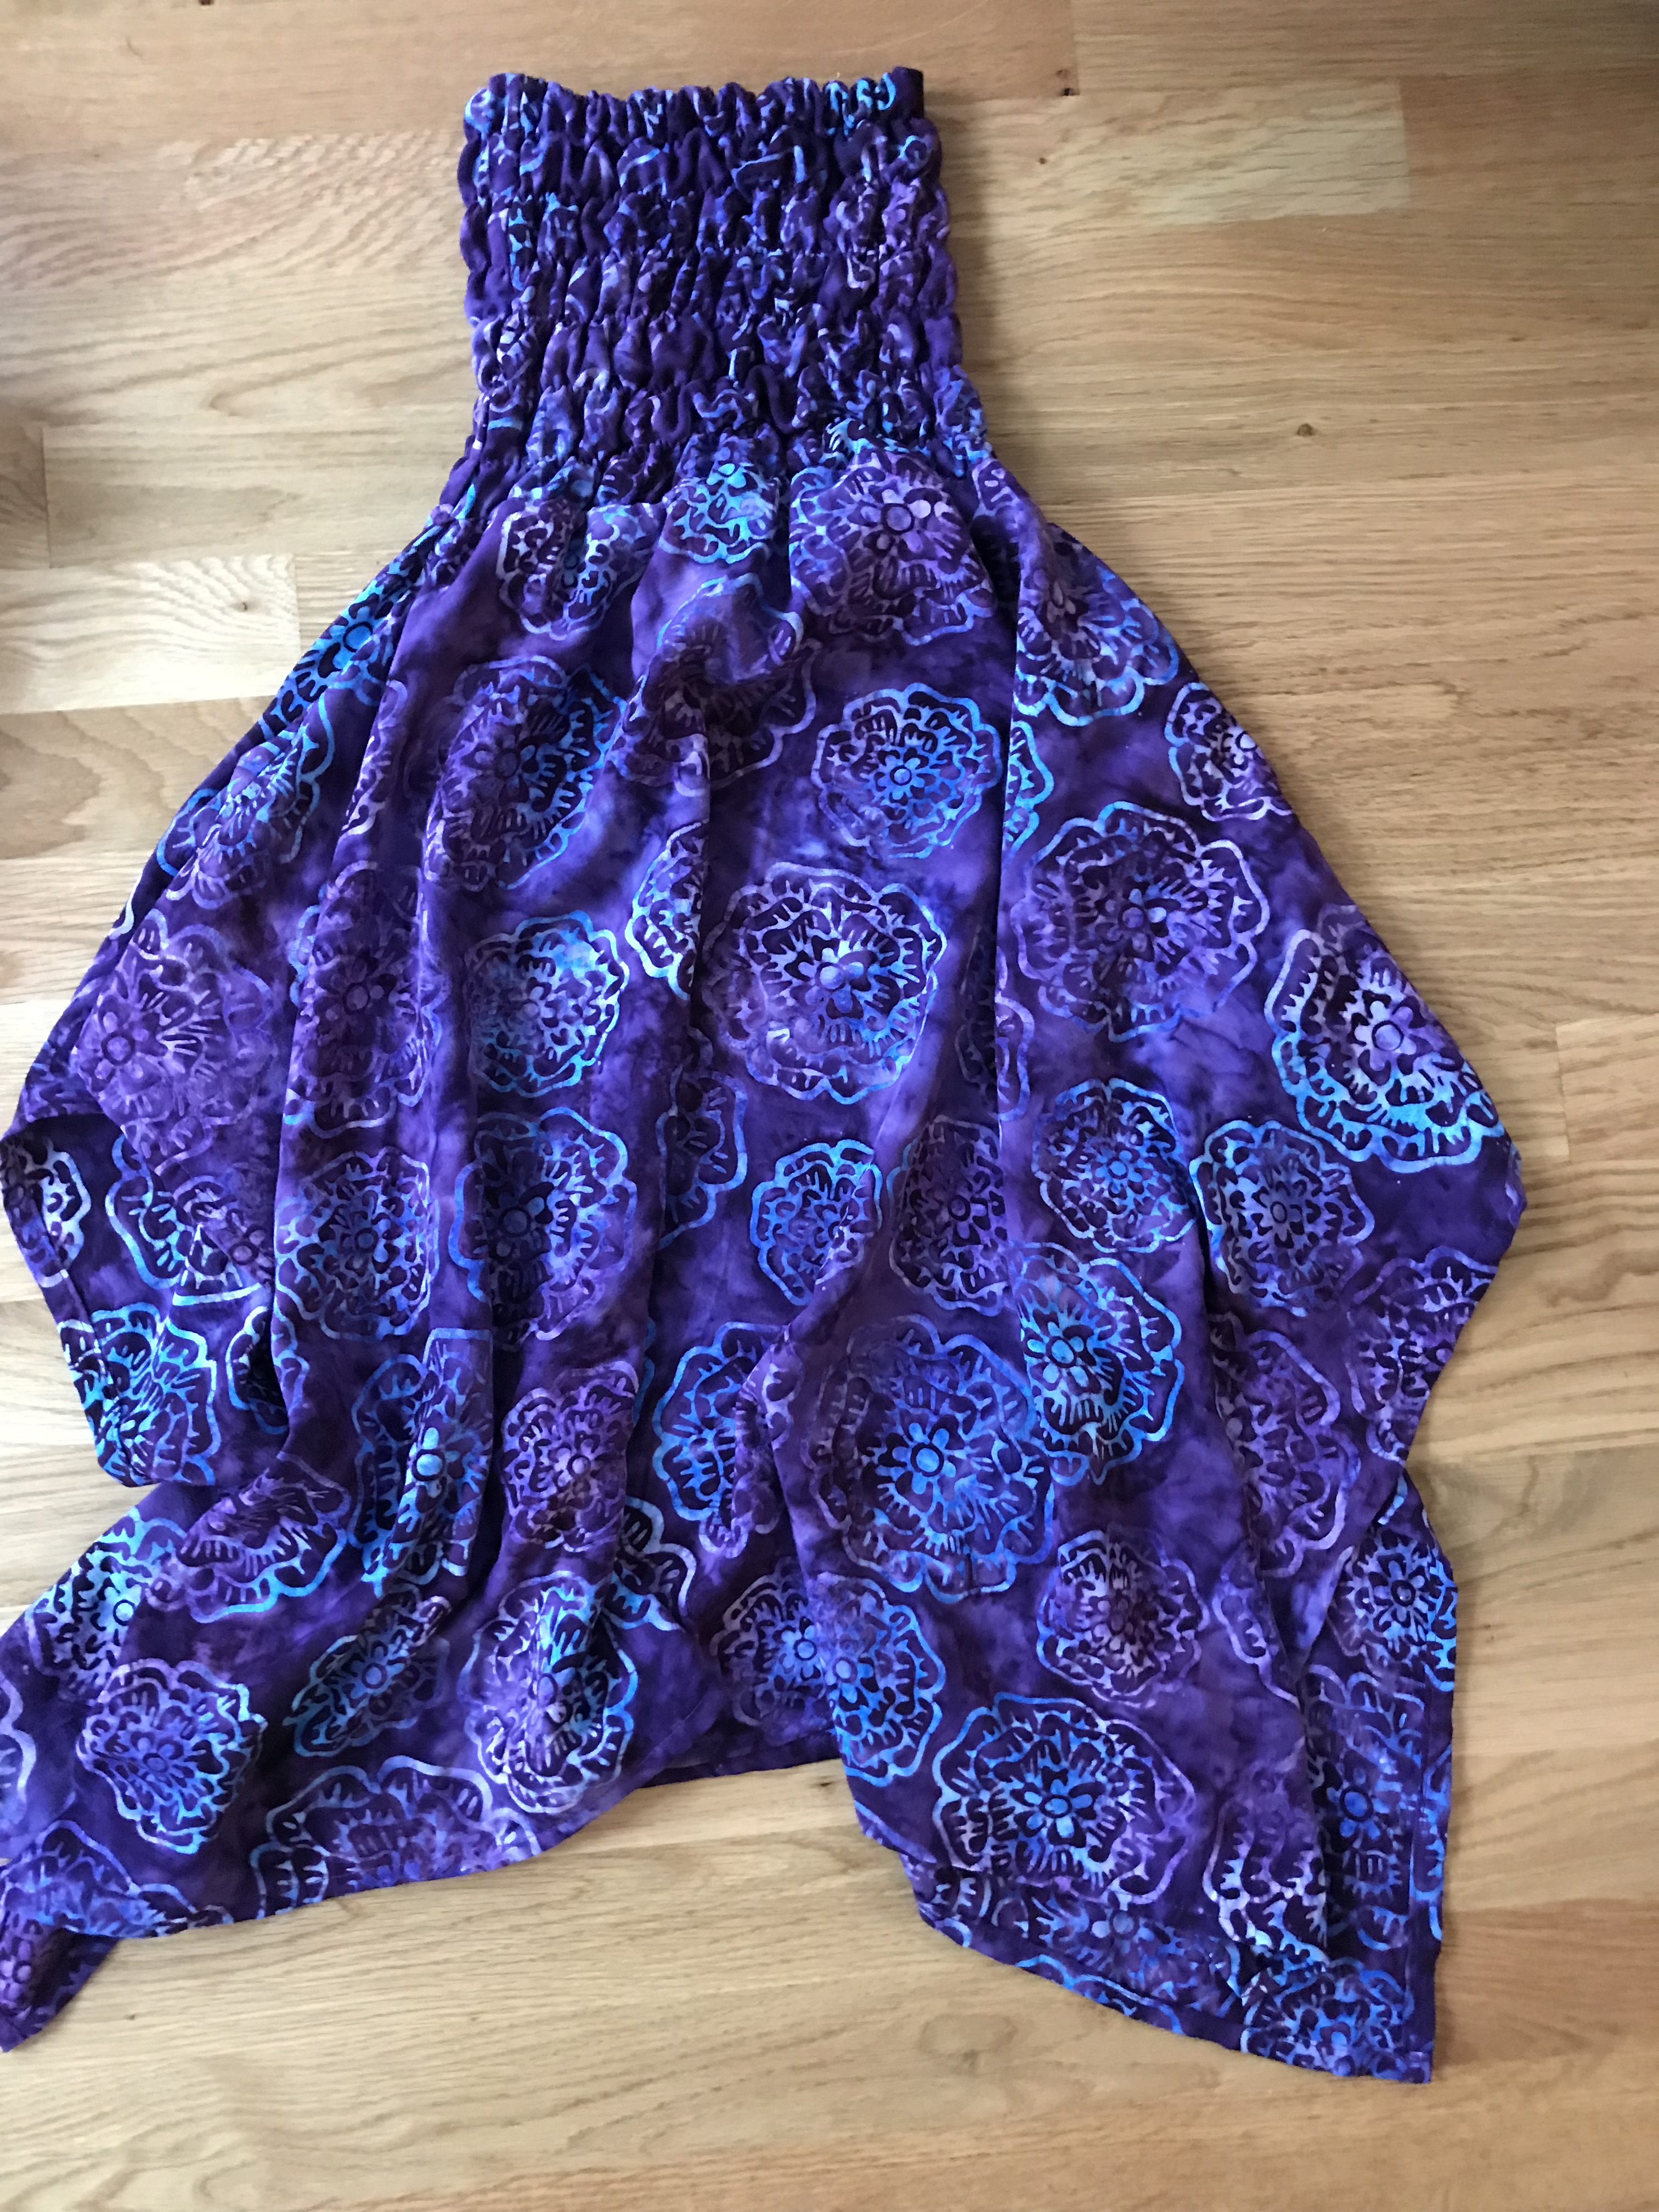
Despite not realizing what I was cutting out, the dress actually didn’t turn out too bad. And I was able to figure out how to create the shirring effect on the fabric from a simple Internet search. The most important thing to do is hand wind the bobbin with the elastic thread. The top stitch uses regular thread, but you need to loosen the tension on the machine and use a large stitch size. I was a little scared with changing the tension since I was told to never touch it as it may be really hard getting it back to where it should be.

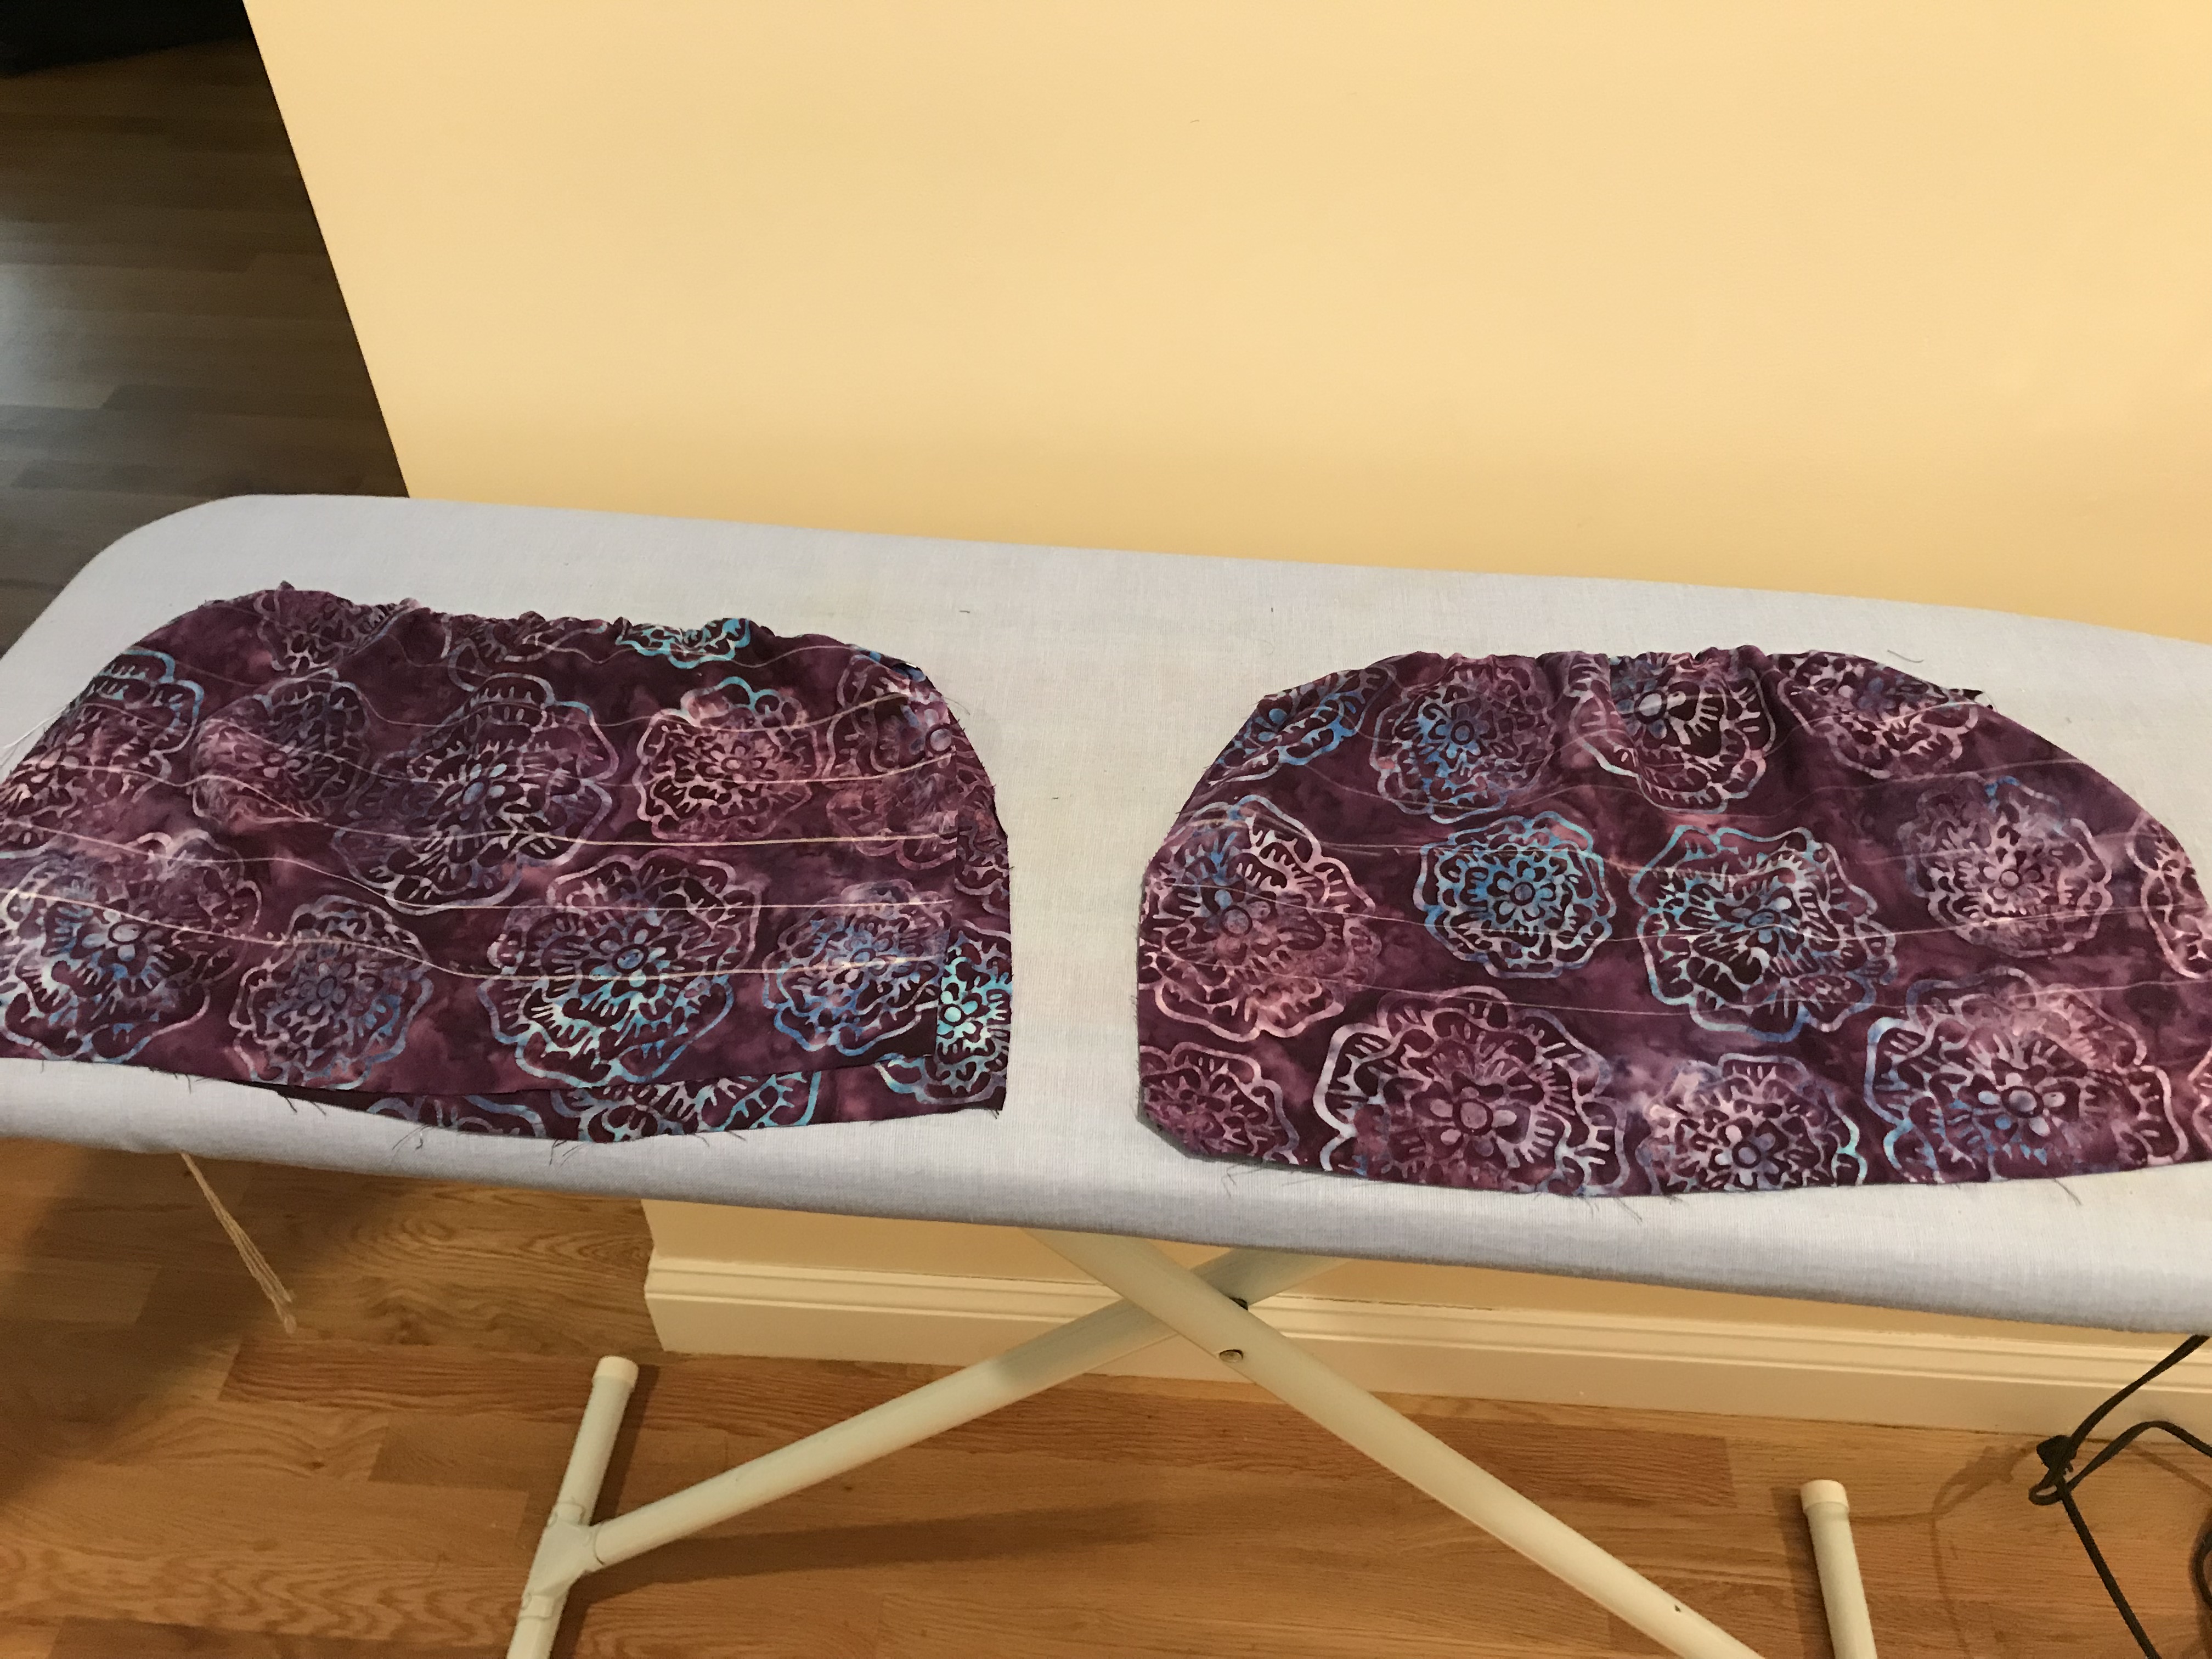
In order to make sure the shirring lines were all the same distance apart, I measured and chalked the sewing lines. Then after the front & back were sewn together, I was able to sew all the way around the top, causing the fabric to shrink inward. I made sure the tie the ends since it seemed more stable than back-stitching with the elastic.
I could tell after I put the top together that it was not the right size. I was also thrown off by the sizes on the pattern as they were confusing as well. Of course I should have known by measuring and putting the top against me, but it was hard to tell how much extra material I needed. I was able to give this first dress to my friend’s young daughter. I do like the way it came out.
For my next try at this dress, many months had passed. It was no longer summer and the air was getting colder. But I cut out a new version anyway – this time adding inches to the top to match my own dimensions. It was January and while it may have seemed strange to work on a garment like this, I was actually going to be going on a girl’s trip to the Bahamas that month. I wasn’t sure how warm it would be, since January isn’t the best month to go, but this New Englander was going to get to the beach anyway, no matter what the temperature was.
I used the same method for the top – drawing the lines in chalk, sewing front and back together, folding the top in half, and sewing with the elastic thread around on the lines. I made sure the waist was also big enough for me to fit into.

However, when I tried it on, the waist didn’t look right. It seemed to bulge out in places. I’m sure it has something to do with me not adjusting the pattern proportionally.
I decided to create a casing with some of the leftover material and put a 1/2 inch elastic through the wait, to cinch it up a bit. I used a method that I found on the Threads magazine website. I have to say it actually worked well – the dress still isn’t perfect, but it looks a lot better.

So here I am in January, wearing my summer dress. Back home there was an impending snow storm brewing. But here in the Bahamas, I was even able to take a dip in the ocean.
Unfortunately I am now back home in the cold. I have to put the dress away for now, but I’m sure summer will come soon enough.

Pingback: The cover-up that got me through a warm interlude | The Monthly Stitch