Pattern: Vogue Patterns American Designer, Kay Unger New York #V1353….continued from part 2 and part 1 Phew! It’s finally done. Actually, I do still need to buy a belt, but all the sewing is finished! Where we left off...okay I put the invisible zipper in. For those who don’t know, this is what an invisble zipper looks like. The teeth are not exposed on the outside, like a regular zipper, so the material is sewed around the front of the zipper tape. 

It really wasn’t that complicated, but there were a few minor beginner hiccups that I will share. I watched this video, which described the whole process perfectly. I didn’t have a proper invisible zipper foot, so I just used the cheap plastic foot pieces you get at the fabric store and it worked just fine. 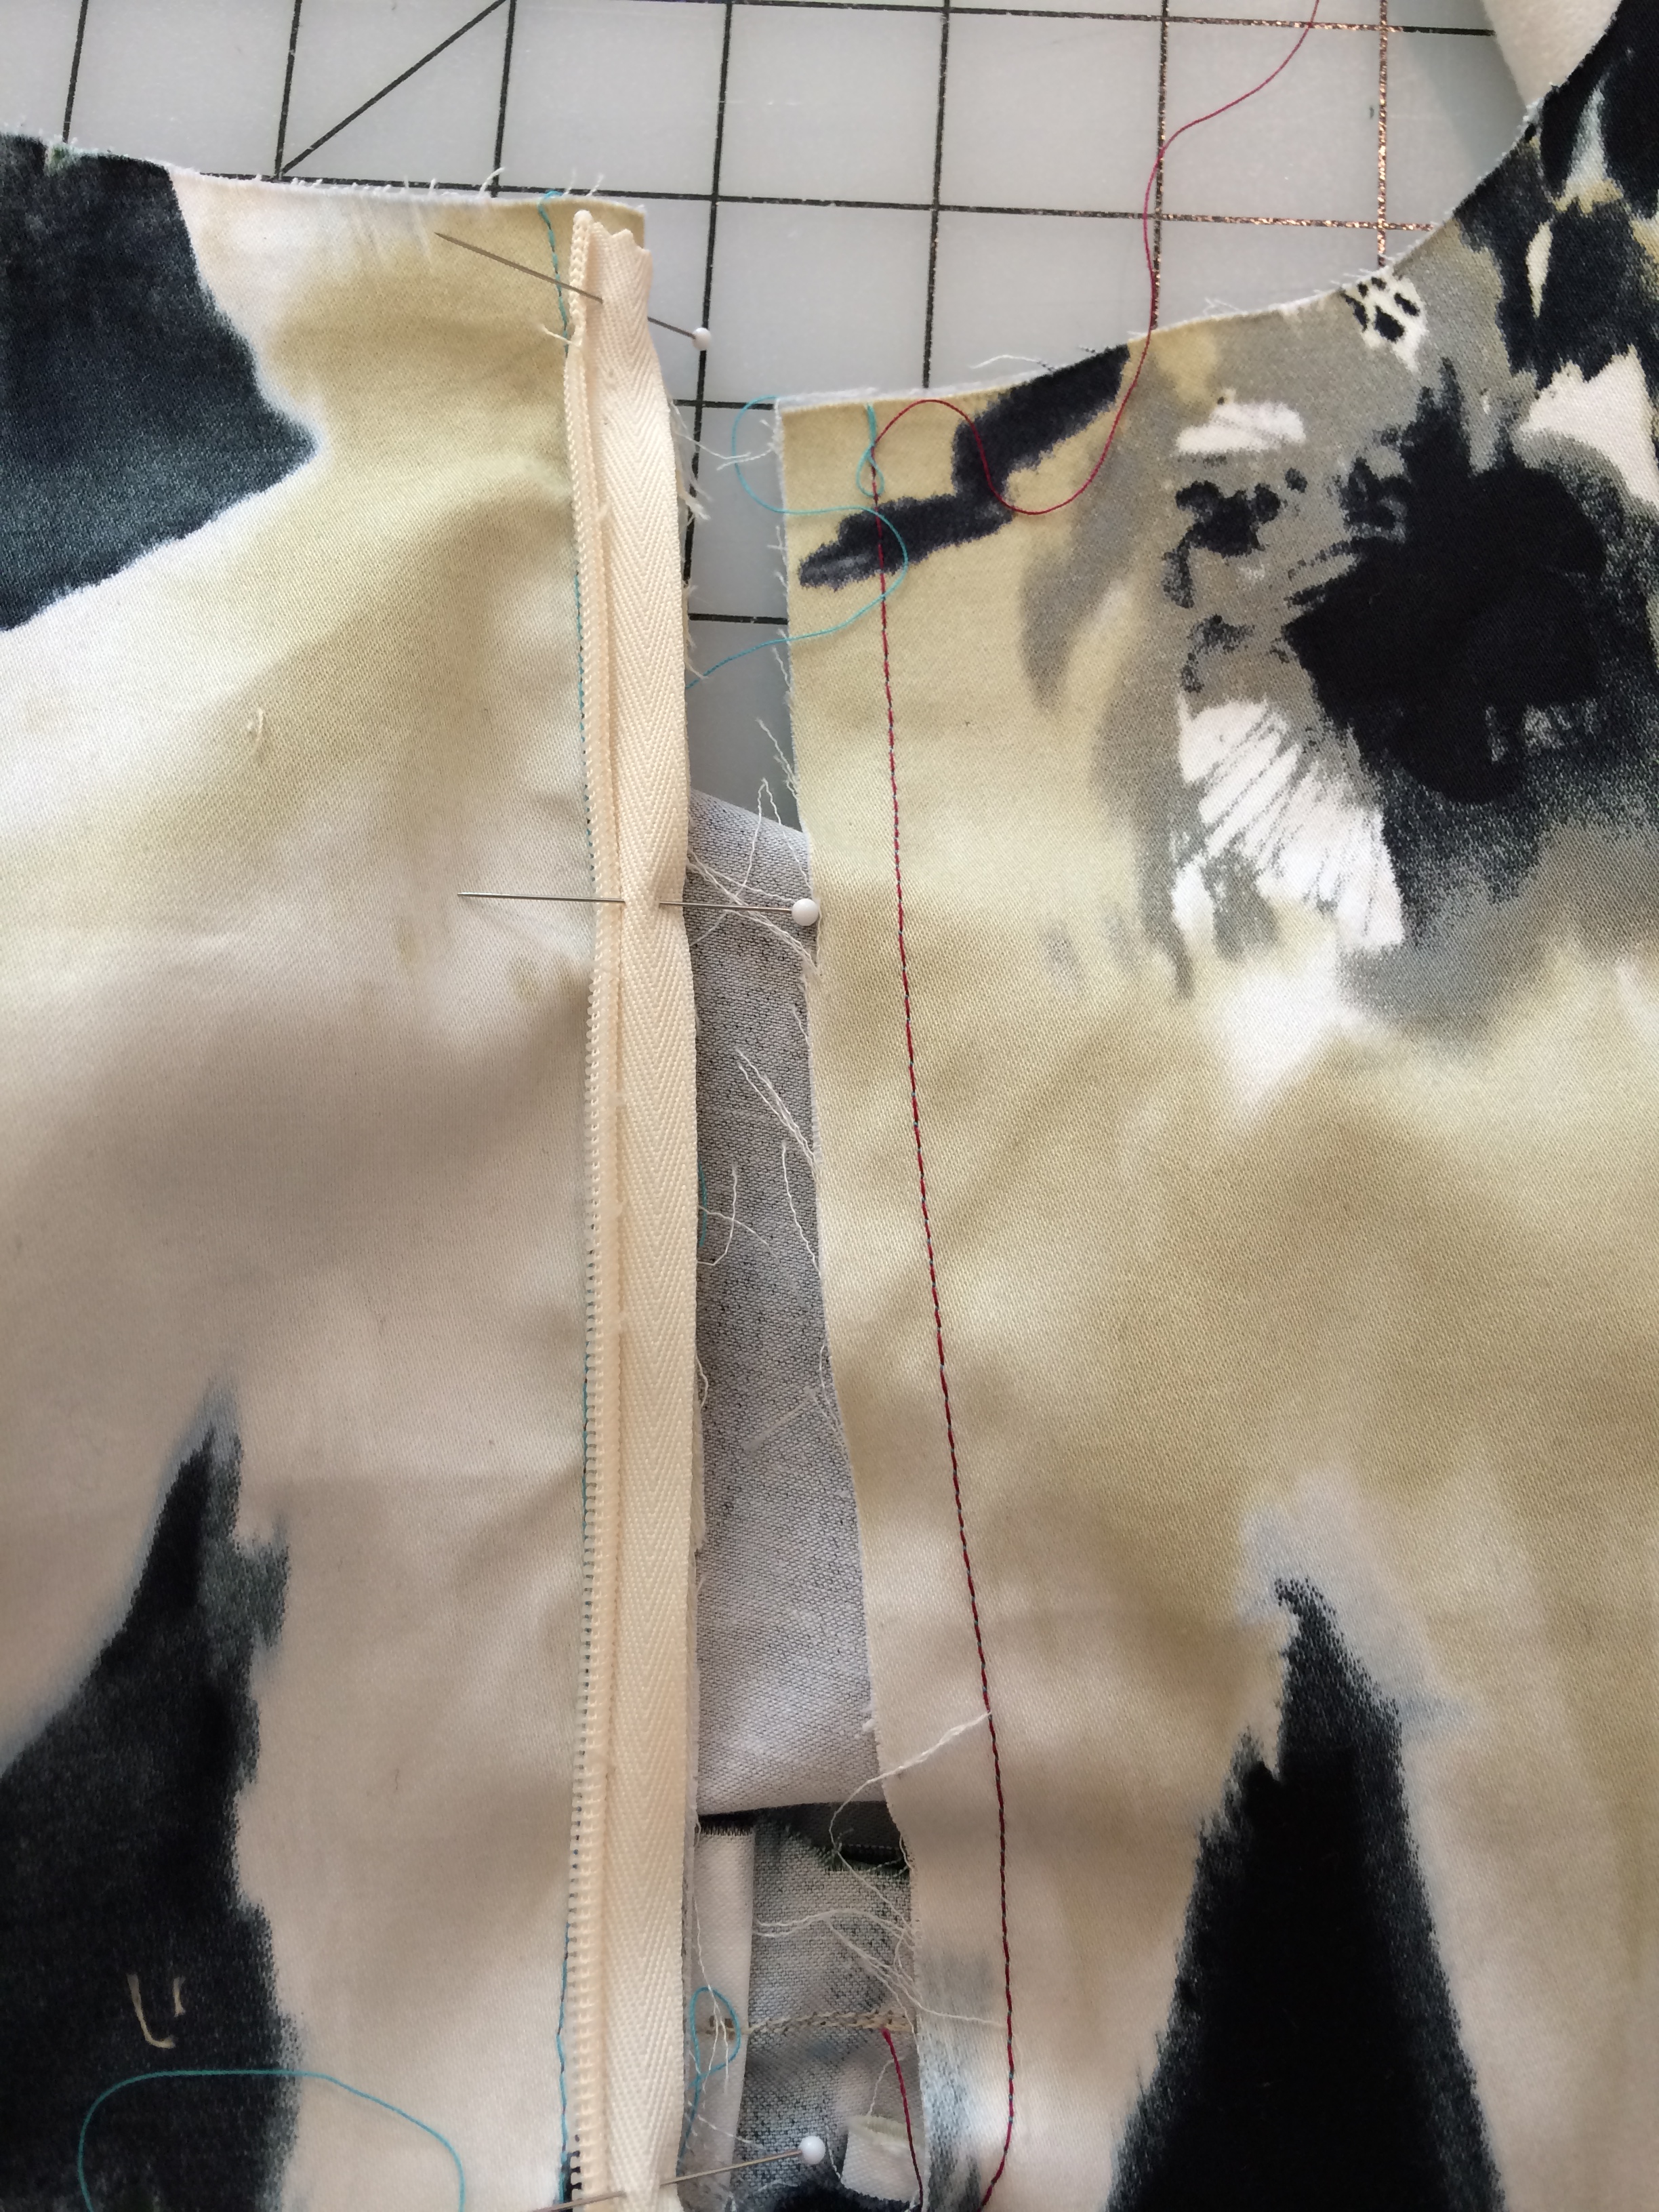 I also wasn’t going to take any chances screwing this one up, so I made a bright colored basting stitch where the zipper was going to go, and pinned one side as the video instructed me. After I sewed the first side, it seemed right, but I had trouble zipping it up. It seemed twisted. Thinking I did the whole thing wrong, I un-did all the stitches and tried to figure out what the issue was. I couldn’t see what I was doing wrong, so I attempted stitching it again. It seemed right, until I tried zipping it up for the second time. I finally figured it out – the bottom of the zipper had just flipped to the inside, so it only looked like I pinned it wrong. Ooops! Oh well, I know for next time. After sewing both sides, the zipper flipped in with the material and indeed became invisible within the back seam. But all of a sudden I couldn’t zip the whole thing up to the top. This puzzled me for a bit, but after some examination found that I had just sewed one section too close to the teeth and the zipper was getting stuck. Minor fix – all set!
  I think it just needs a press so that the material is a little flatter around the zipper, but otherwise you can barely see it. Major learning: it is extremely important to sew as straight and close to the teeth as possible. This is where that plastic foot comes in handy since it actually has a groove that allows the foot to glide easily over the zipper teeth, keeping everything straight and tidy. This dress has a full lining in it, which attached at the neckline. The pattern also had me cut out a hem facing, which was to be sewn to the bottom of the dress. As I completed this step, Continue reading “The Dress-for-Wedding Challenge: Part 3”