Summertime sewing is always difficult as the weather is more geared to outdoor activities. However, I have had some luck in completing some anticipated summer projects. This year I’ve been trying to make a conscious effort to use up my stack of fabrics acquired during my past travels.
Going through my stash, I happened to find a stretchy knit with pretty flowers that would be perfect for a summer top. I had picked up this fabric as a last minute addition when I was in Montreal last summer. It caught my eye as I was about the leave the store. I’ve been seeing a lot more flowers in fashion lately so I thought it was time I made something with it. I felt the perfect top to try was the Seamwork Jovi halter top, which has a built-in shelf bra and back ties.
I really enjoyed sewing this one and the shelf bra was a nice extra challenge. I like that is has a built-in bra, although I’m not sure it looked very flattering on me without an additional bra. For this one I had to acquire plush-back elastic for the shelf bra, which was not the easiest notion to find. I think I have enough left over to make another one of these tops, which is something I definitely want to do. For the next one, I think a fabric with more stretch will work better.
The only really tricky part was attaching clear elastic to the front and back. You had to cut a notch in the elastic so that it can fit around the v-shape in the front. For my first attempt at this, I think I did pretty well. It’s not a perfect V, but the front looks pretty smooth and did not bunch up.

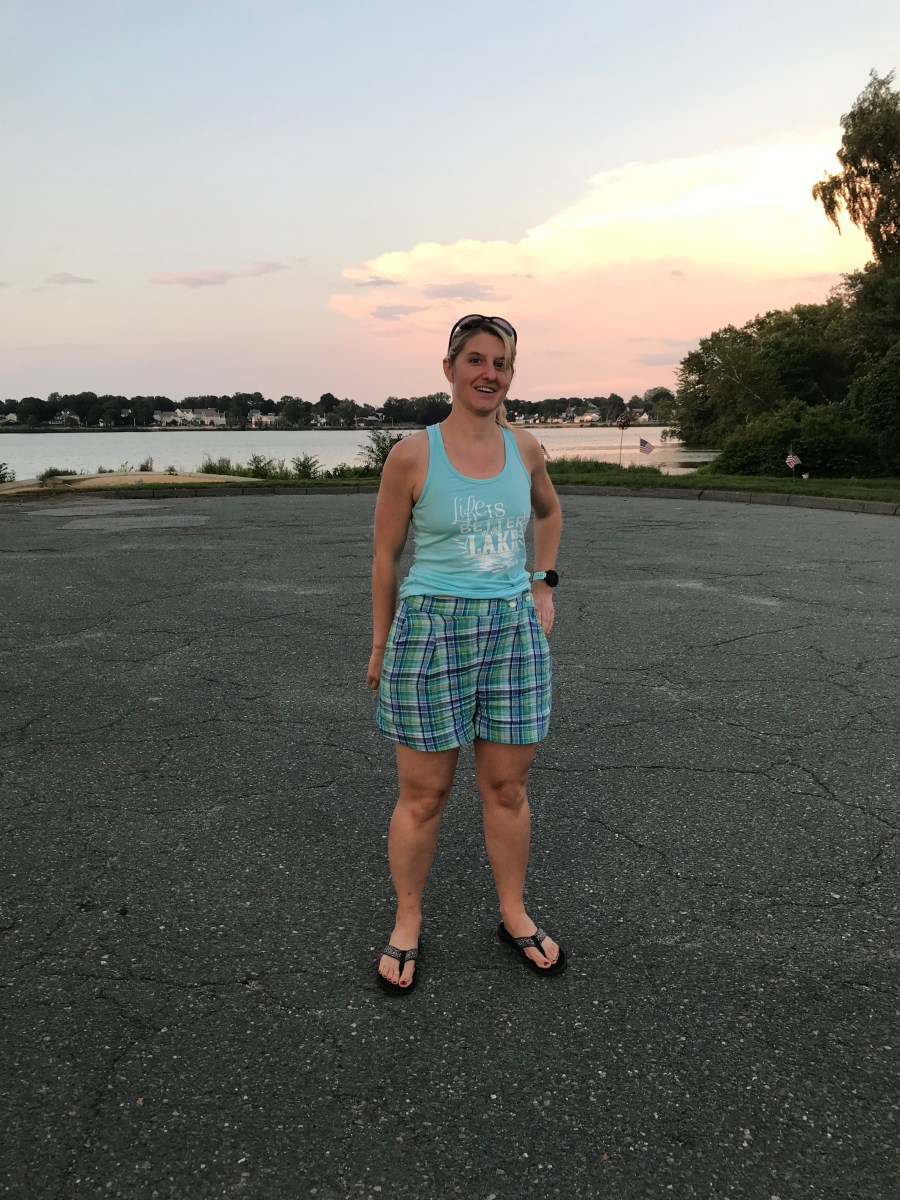
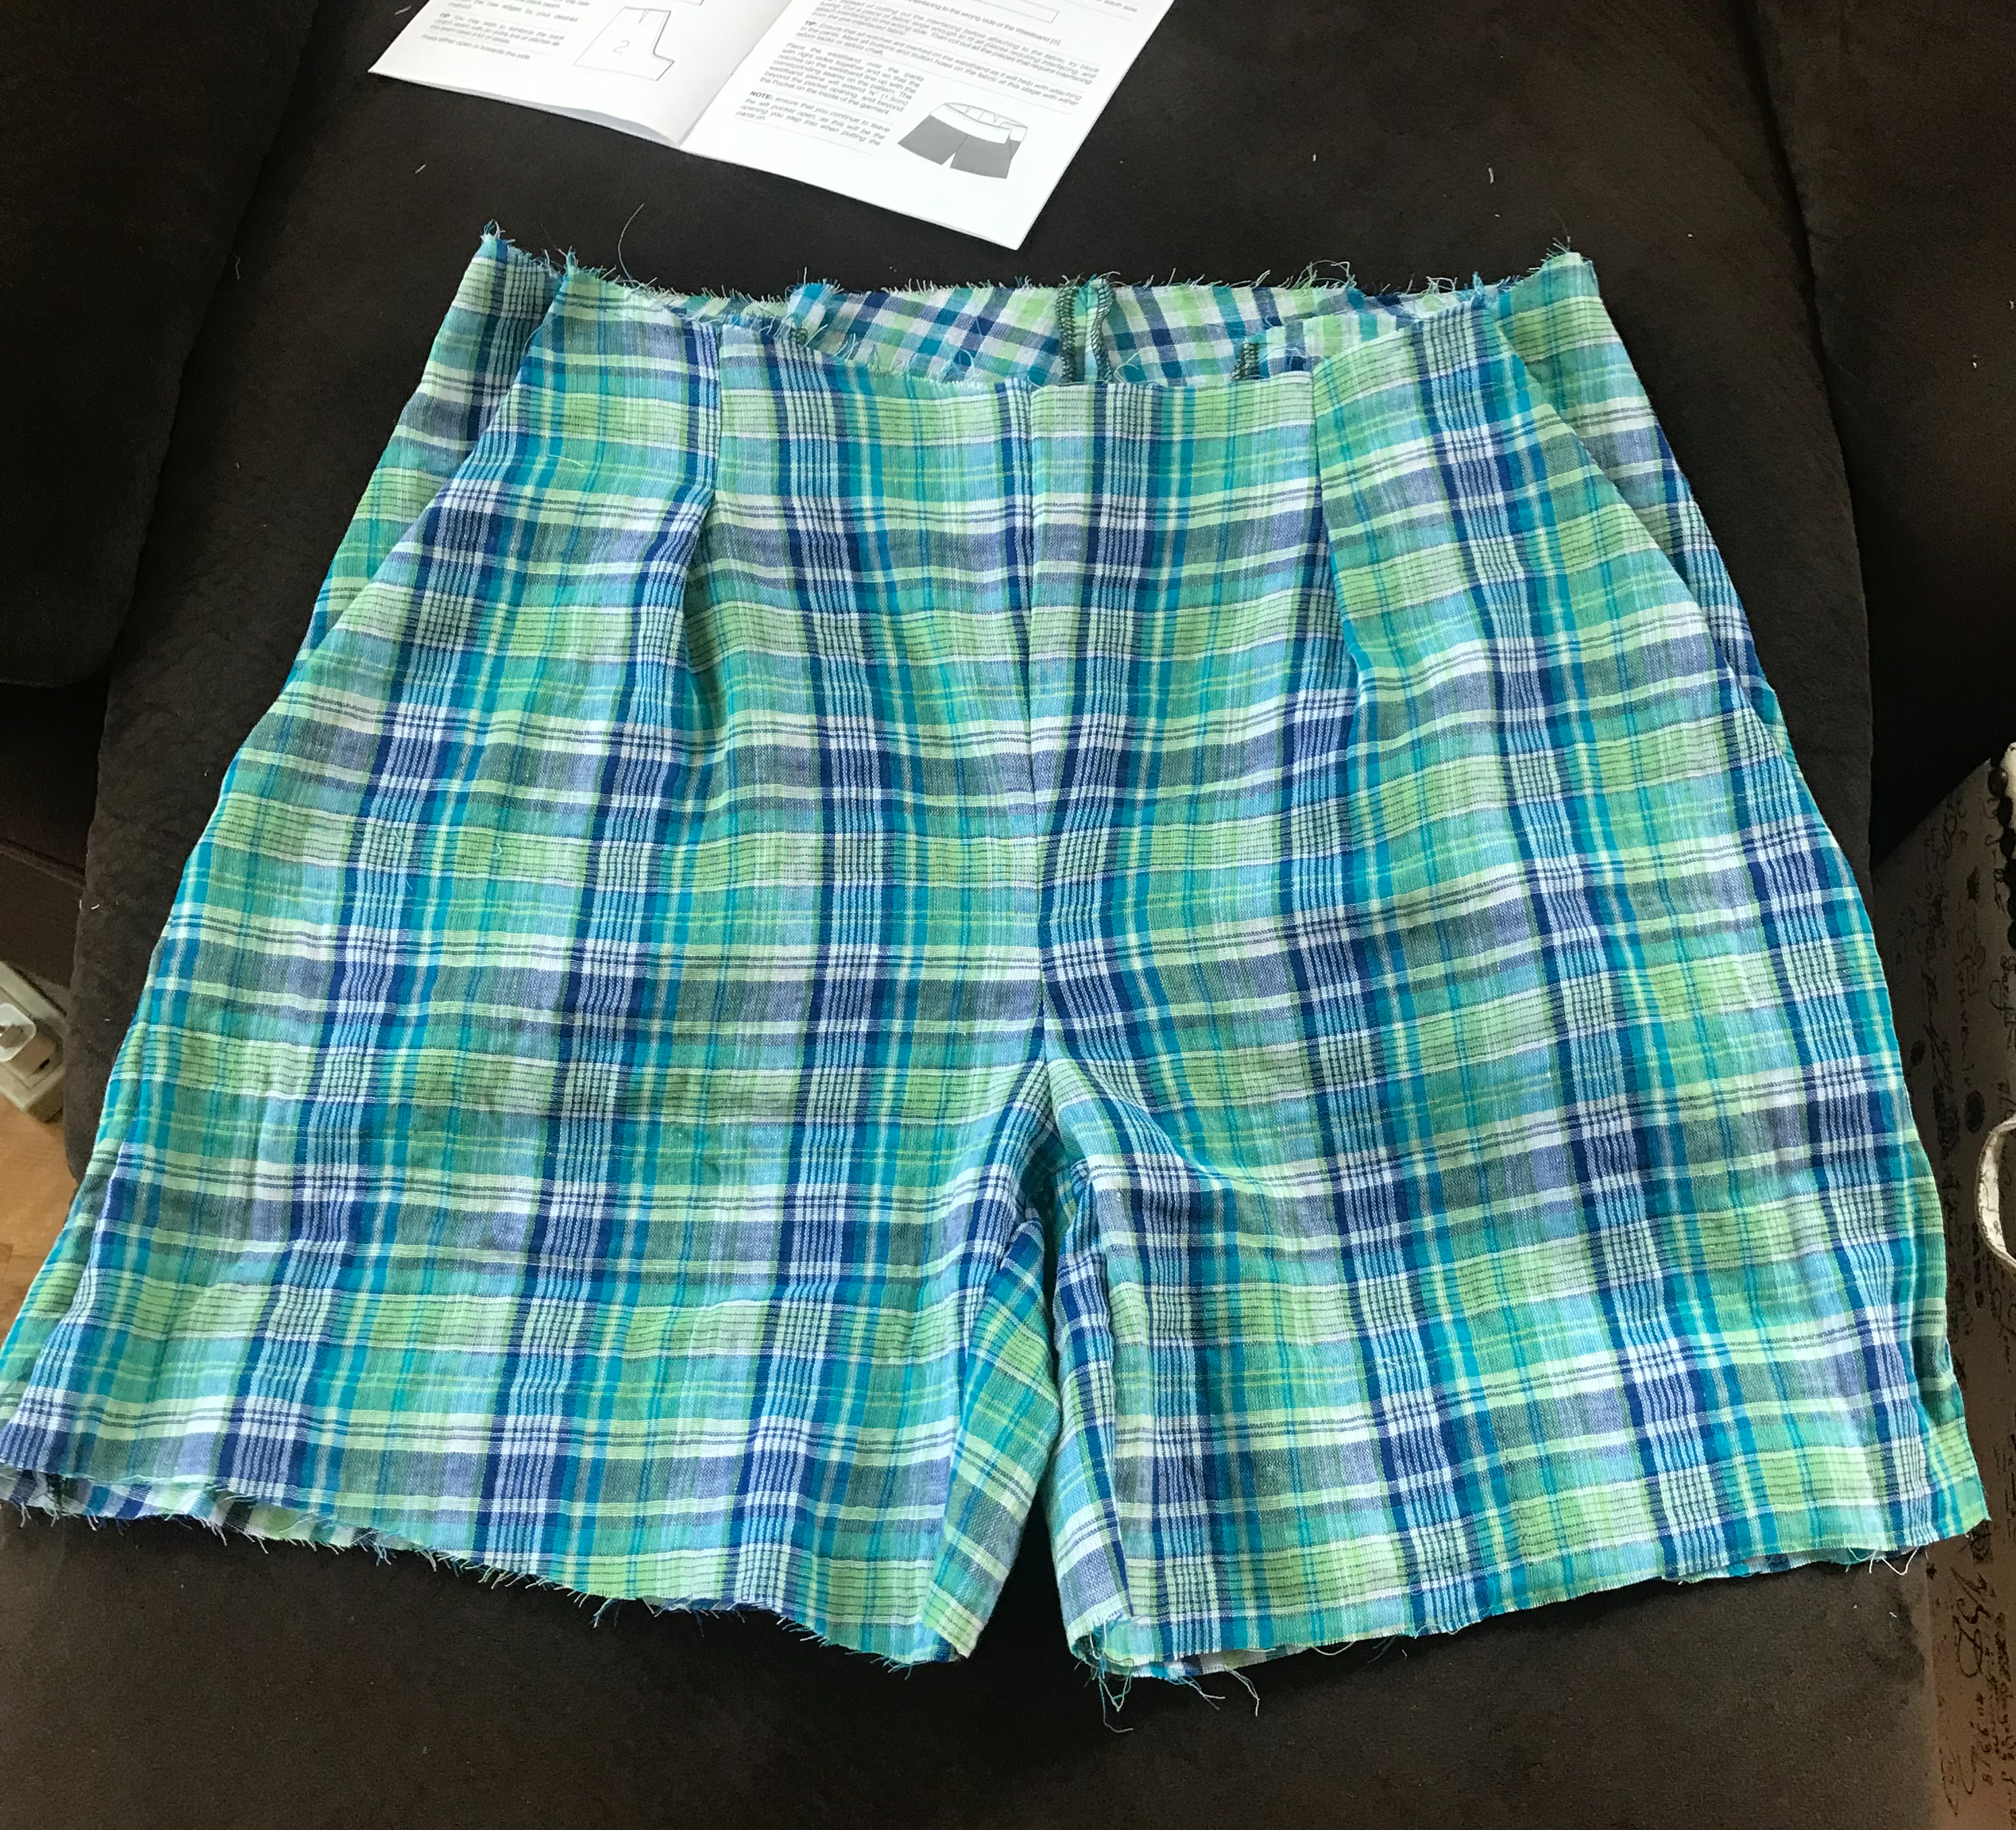
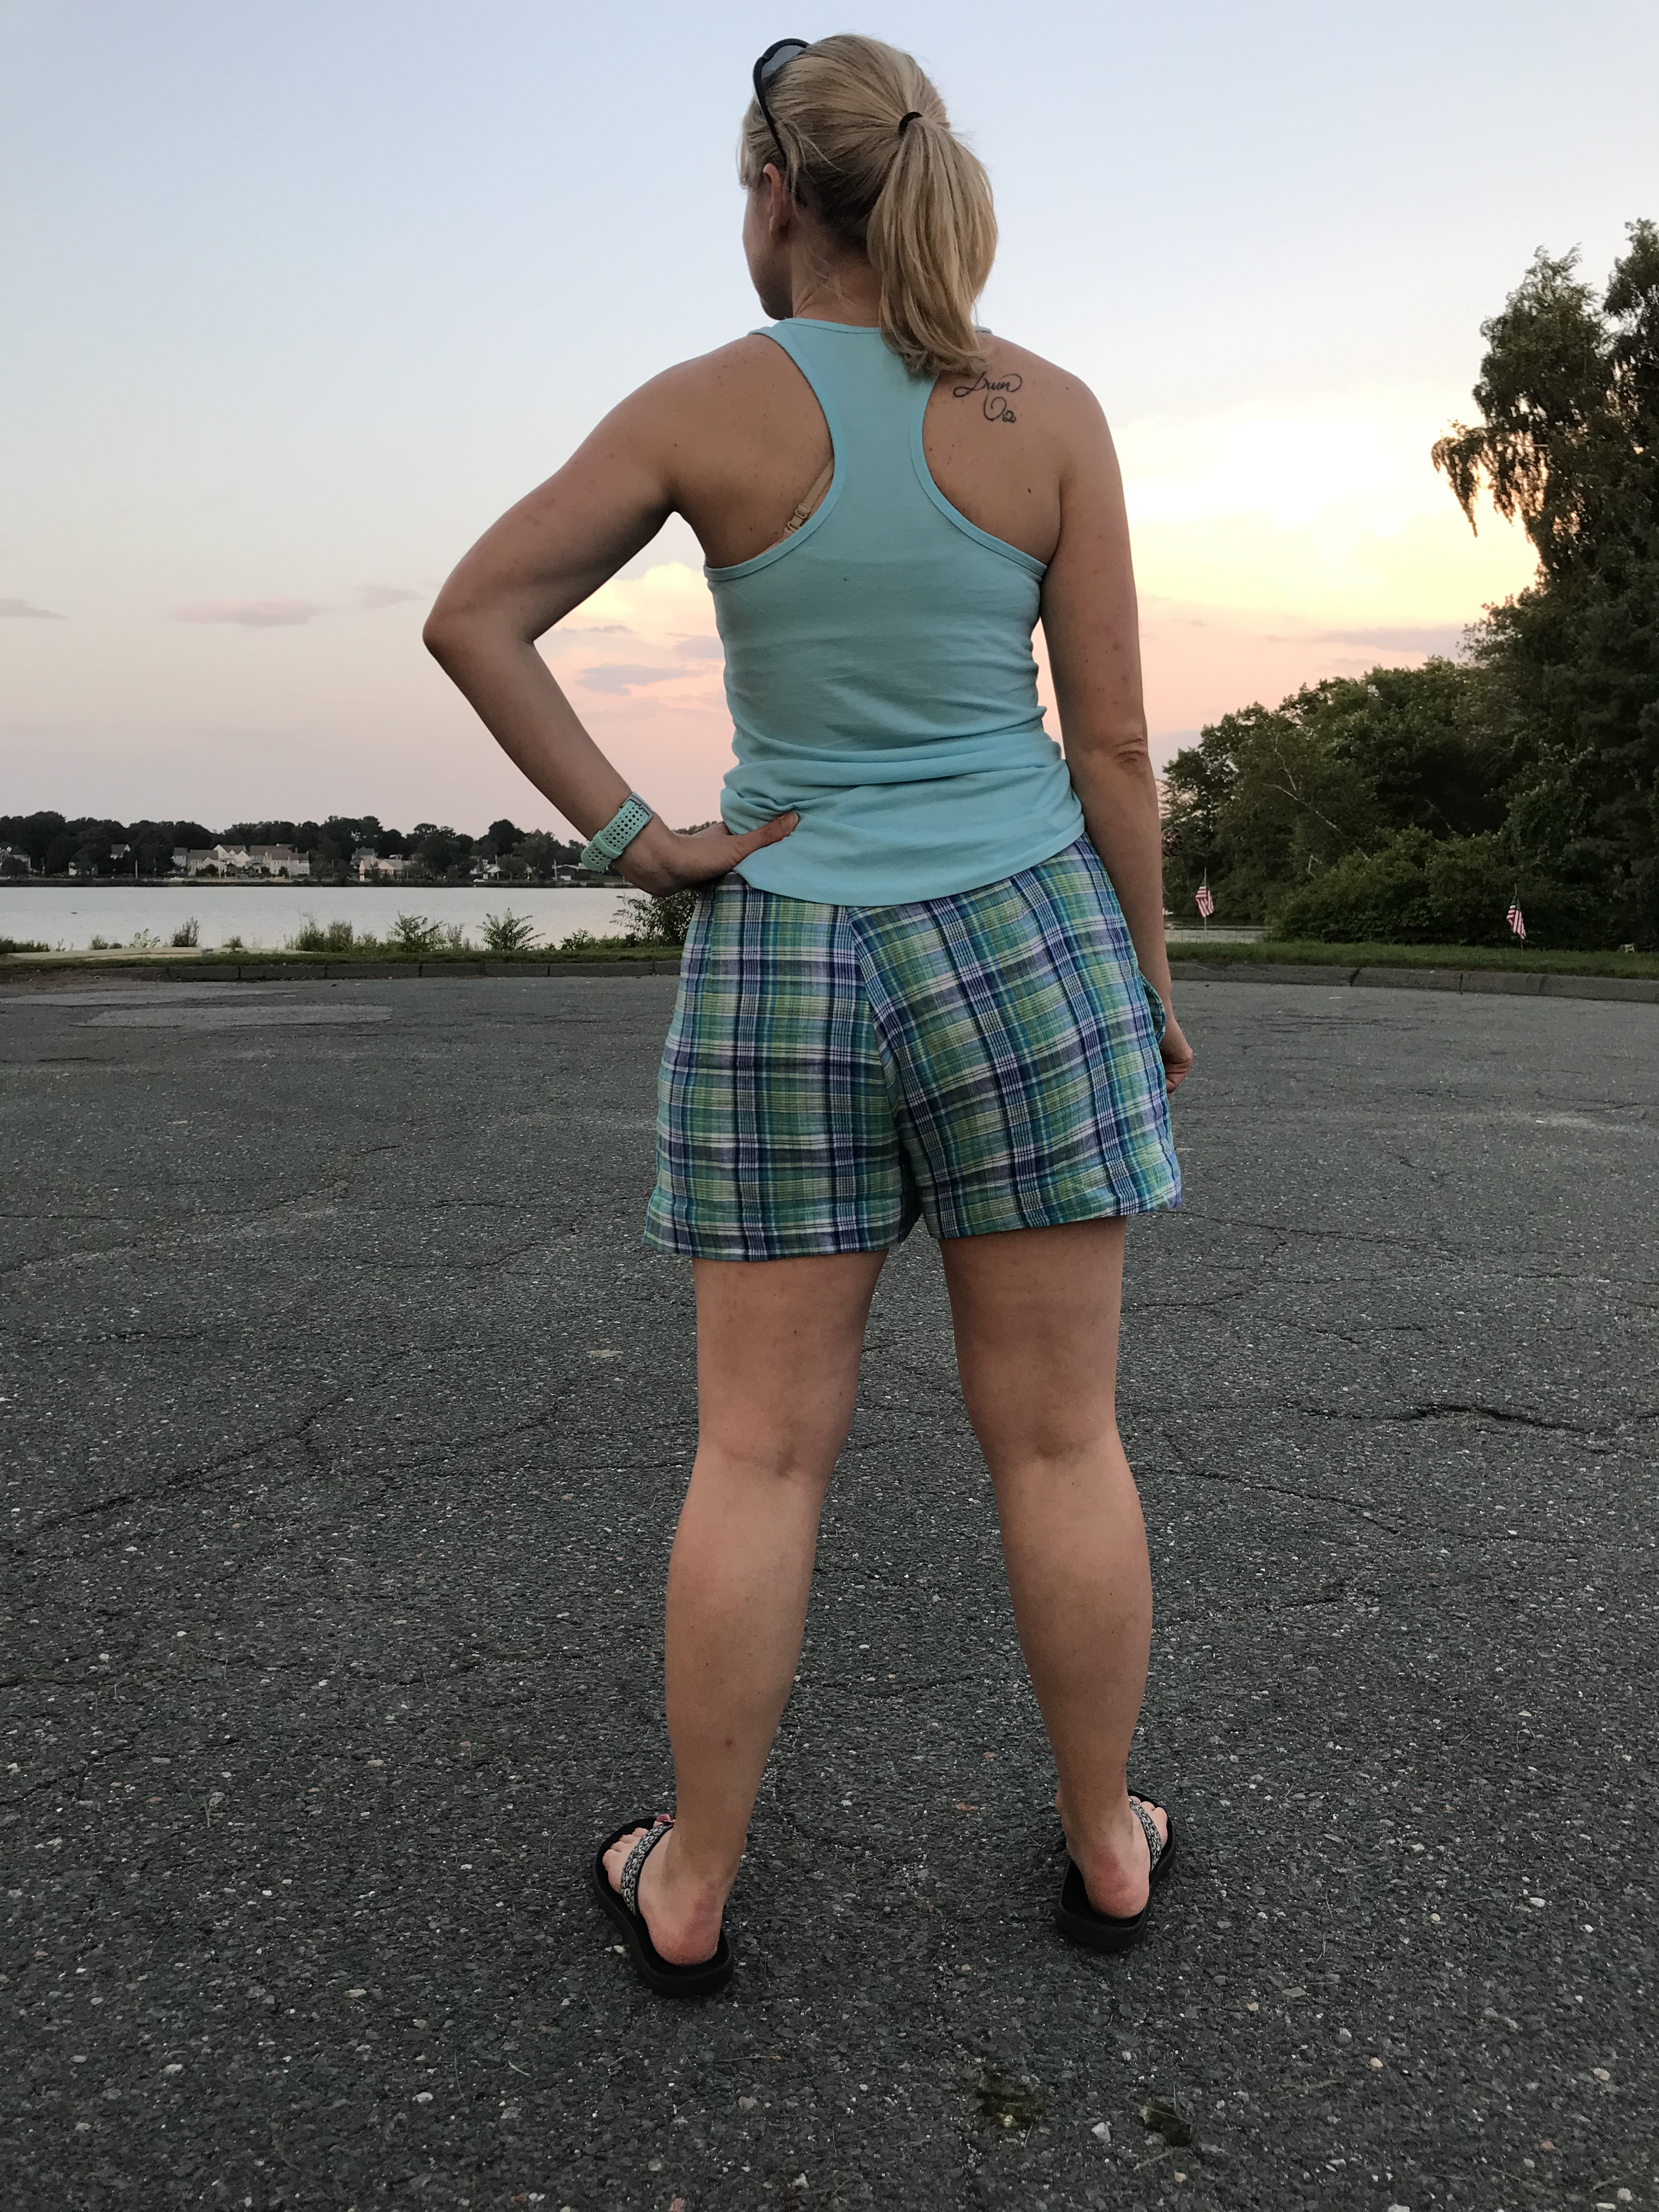
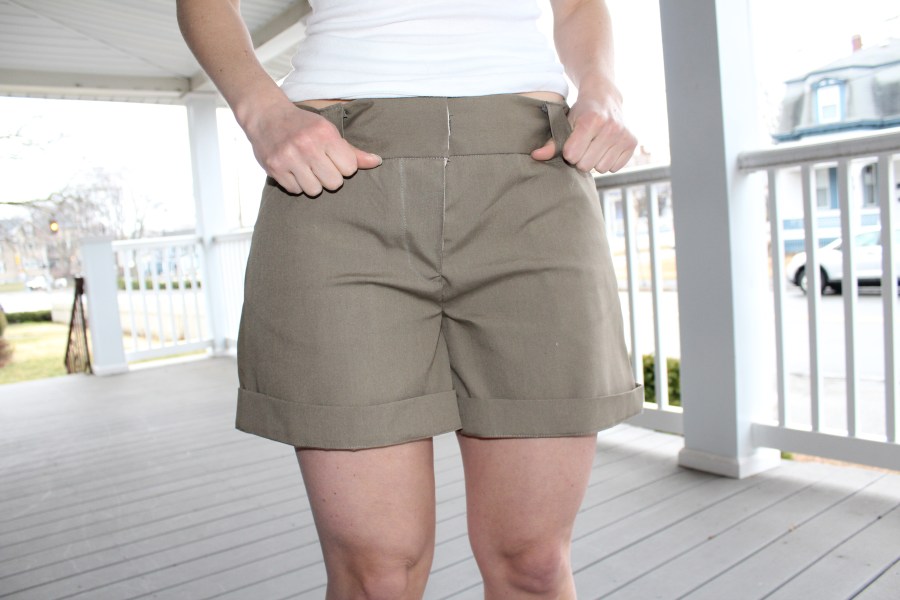
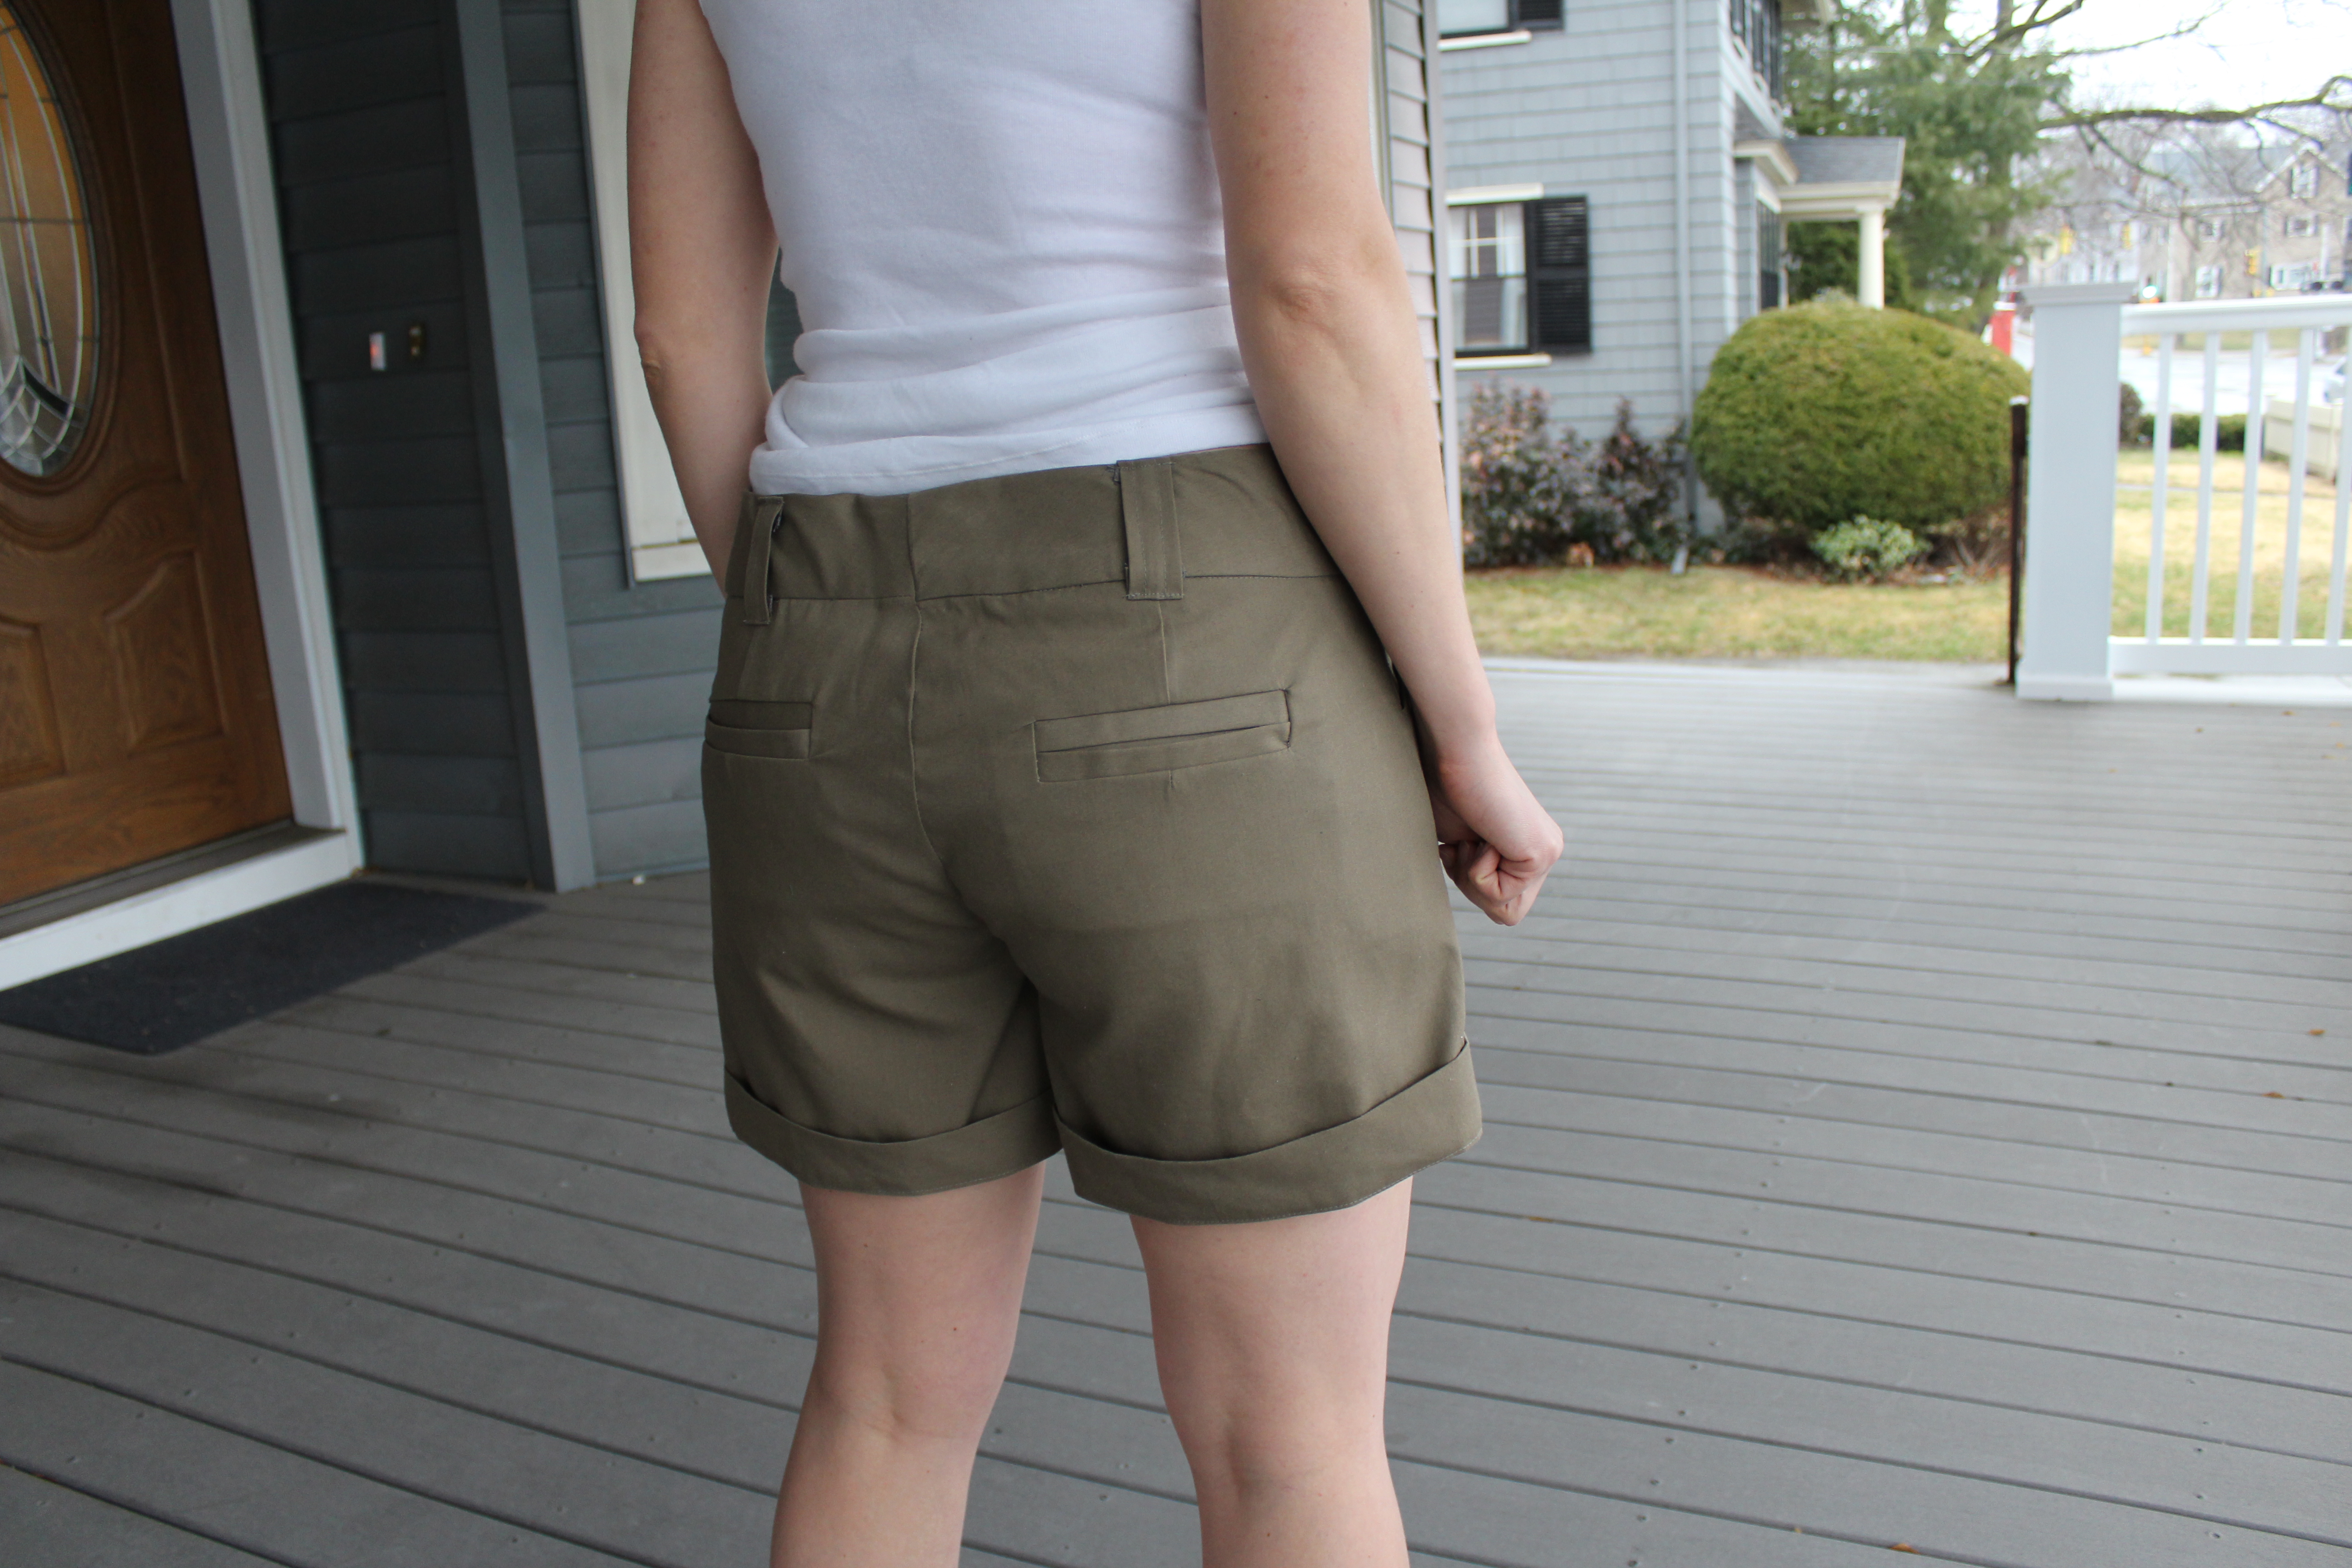
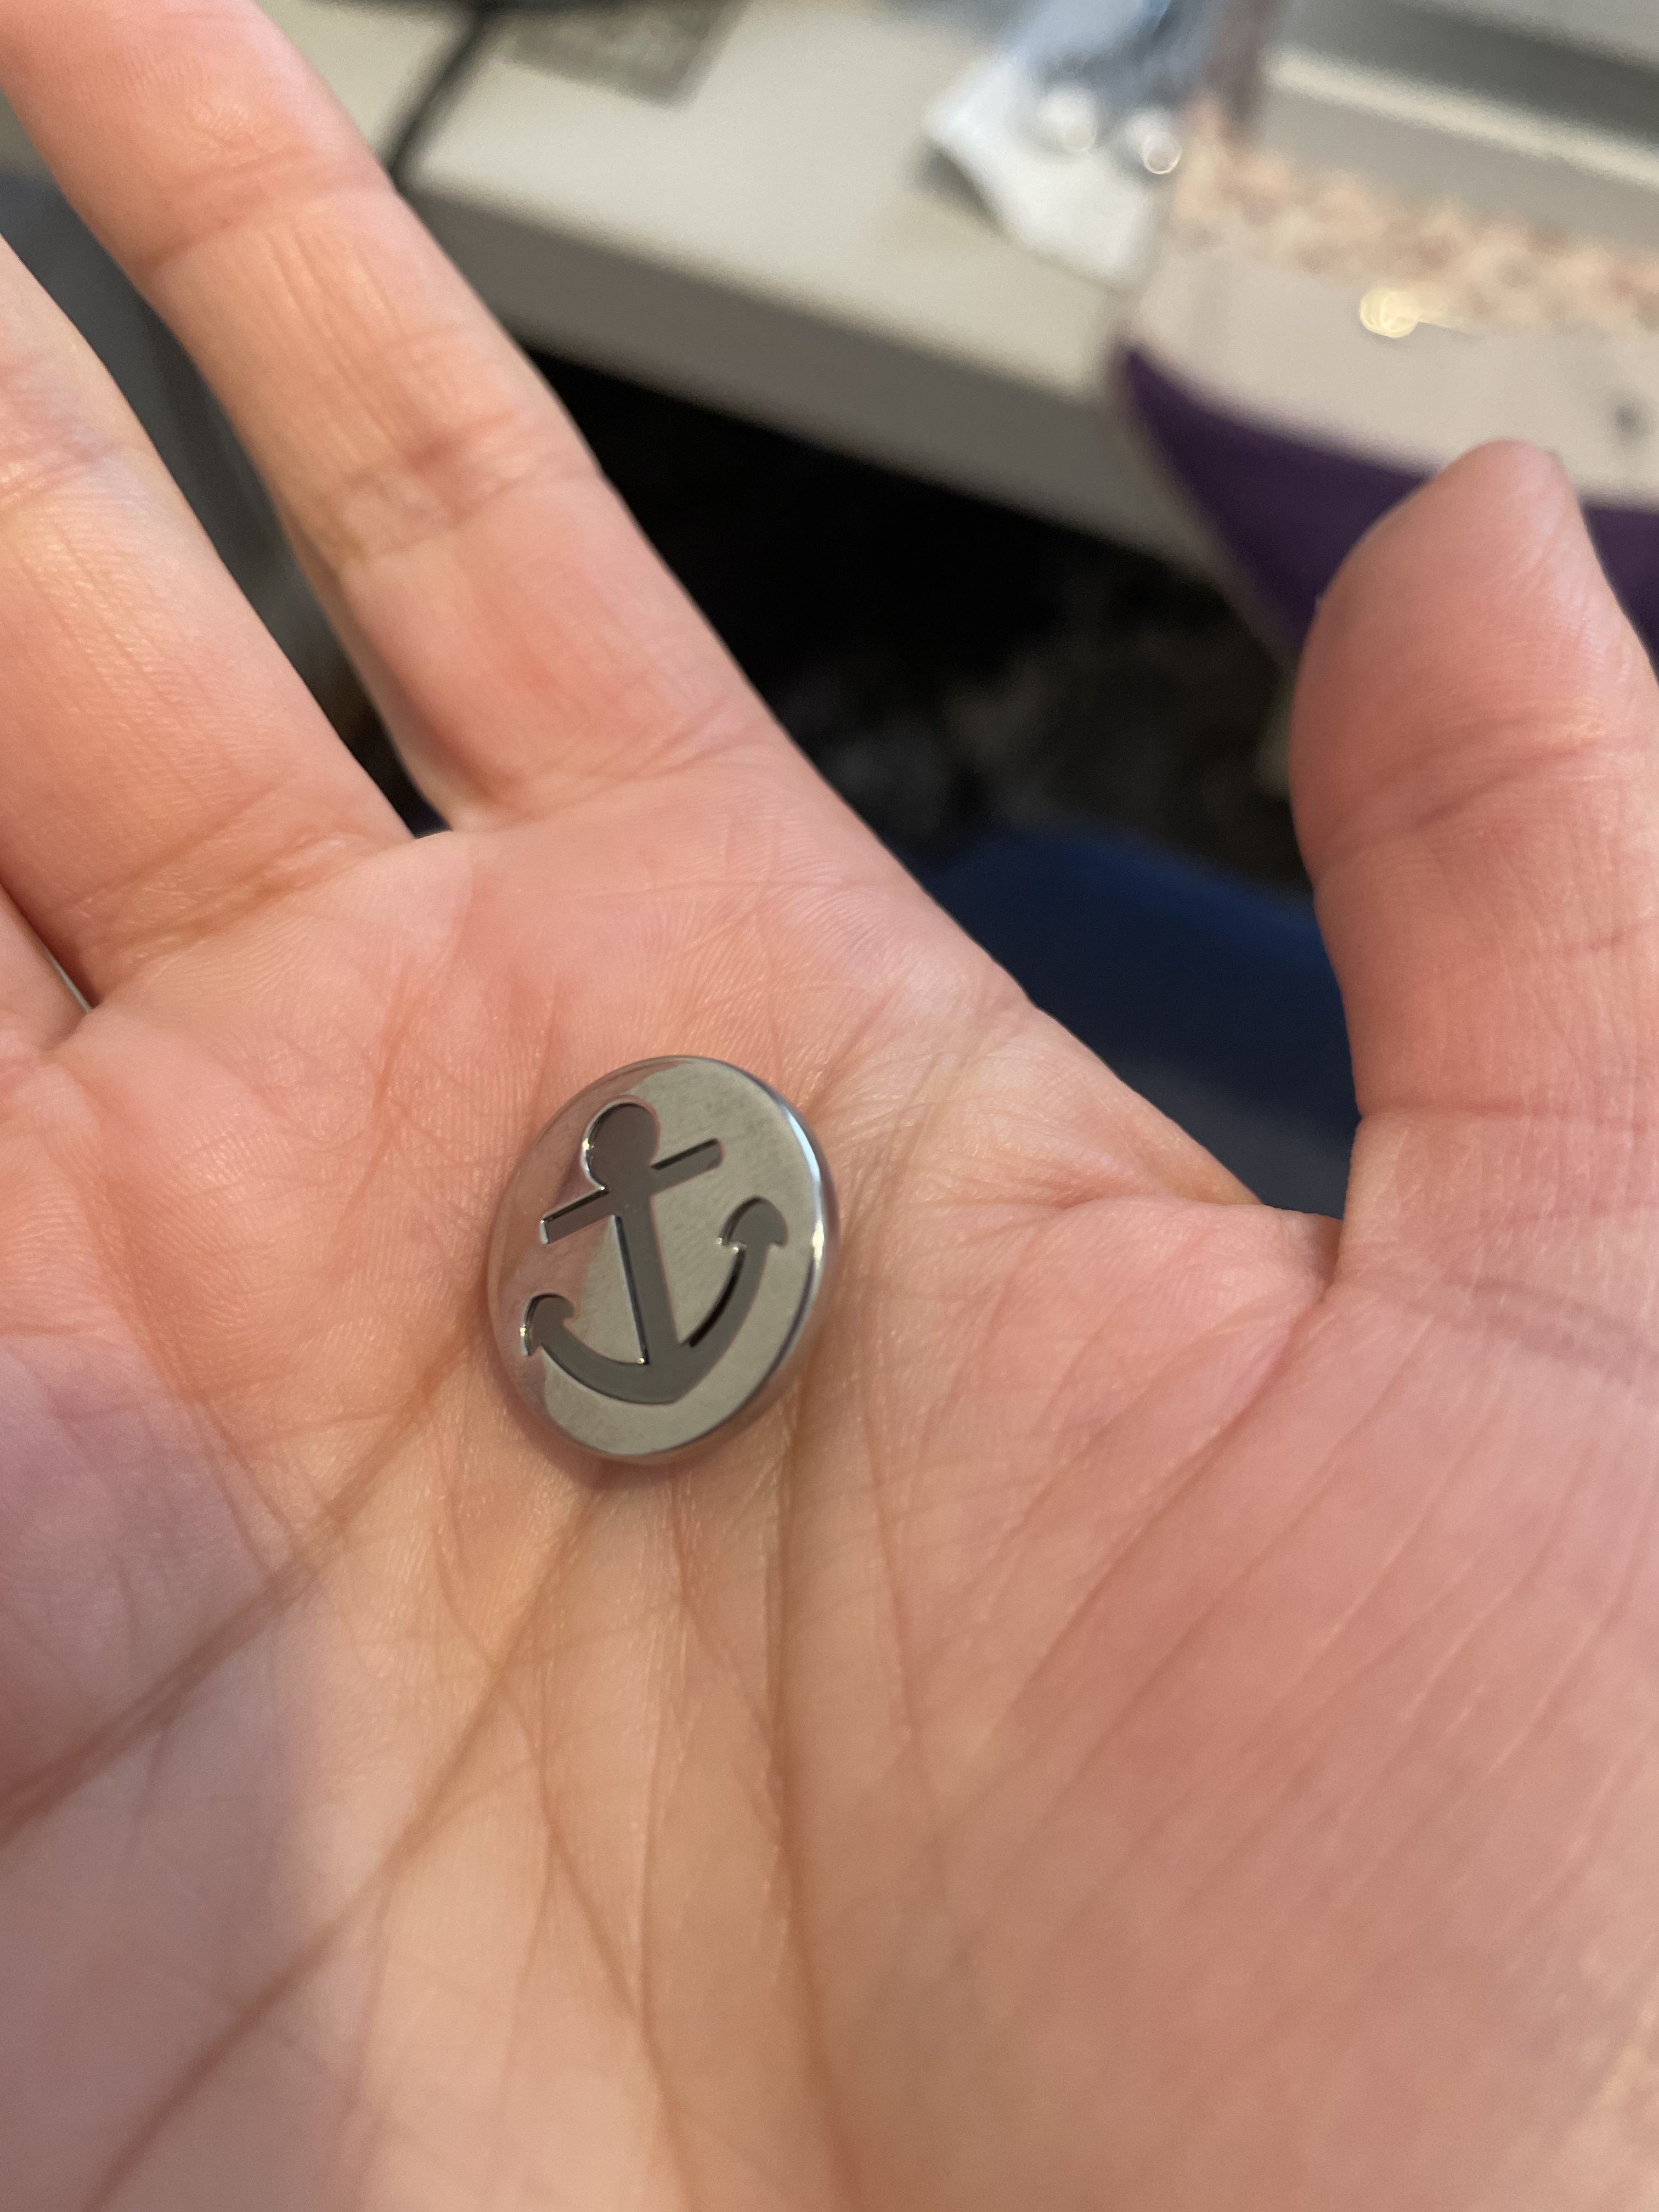
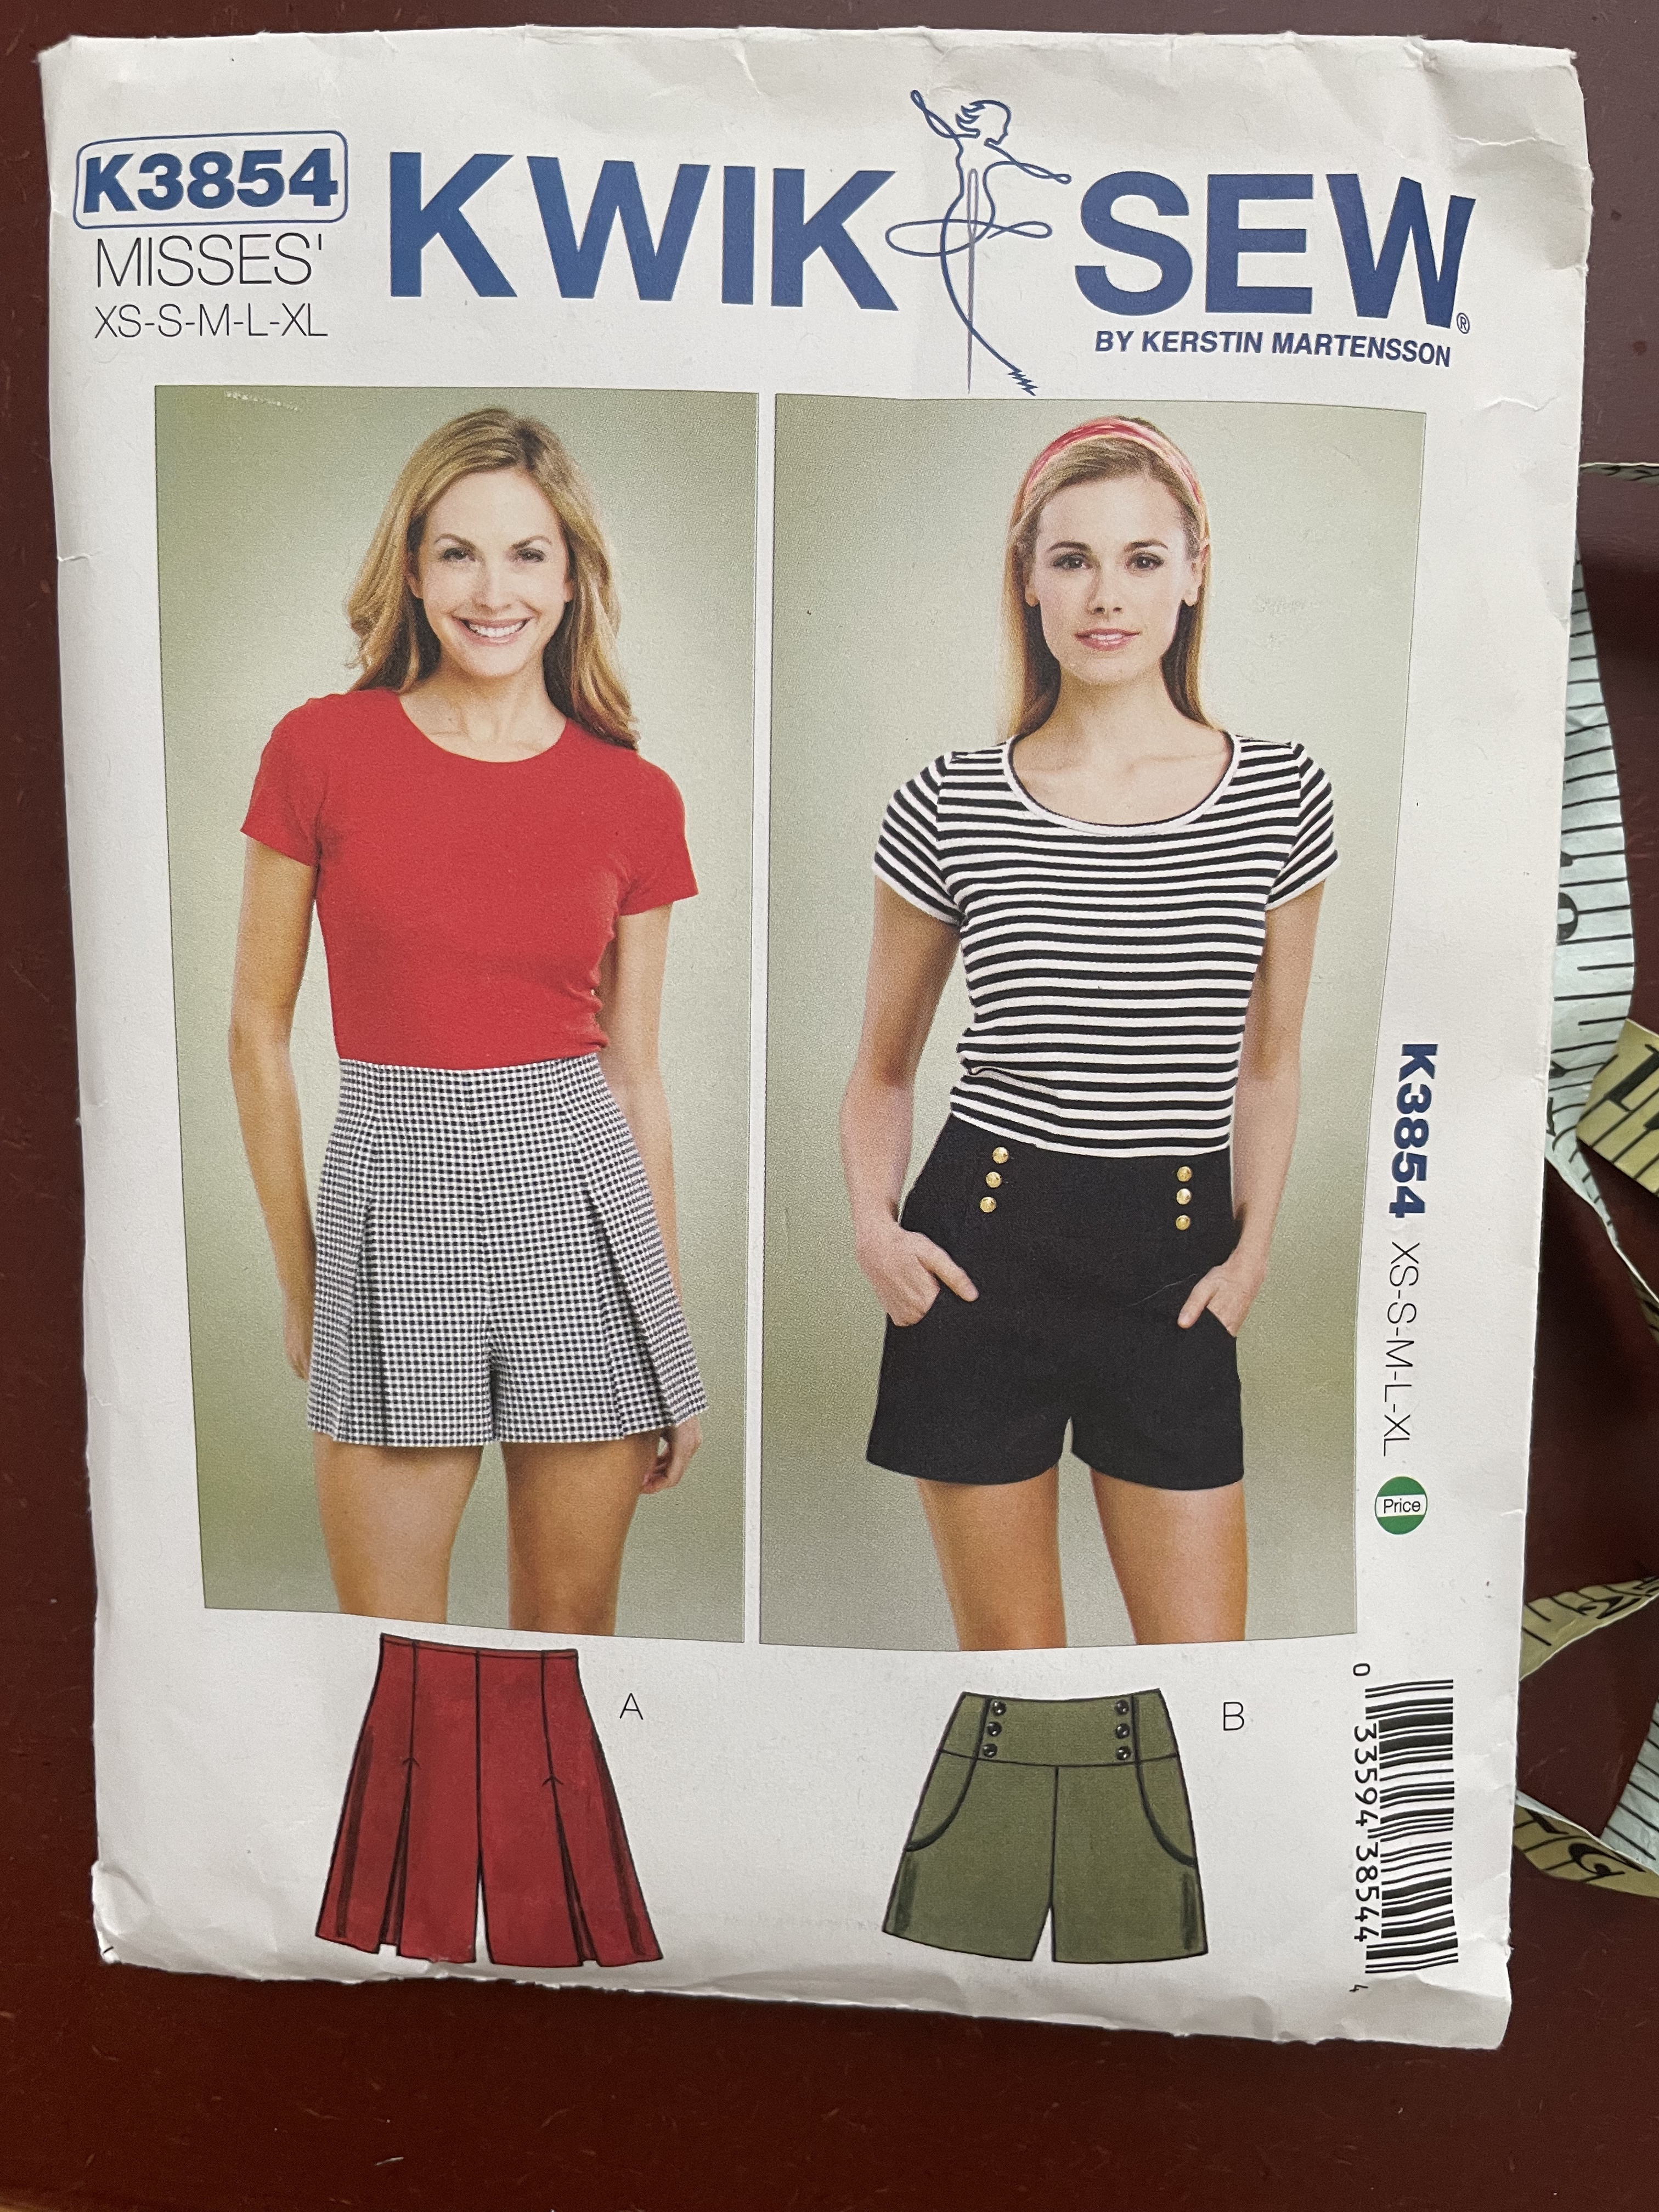
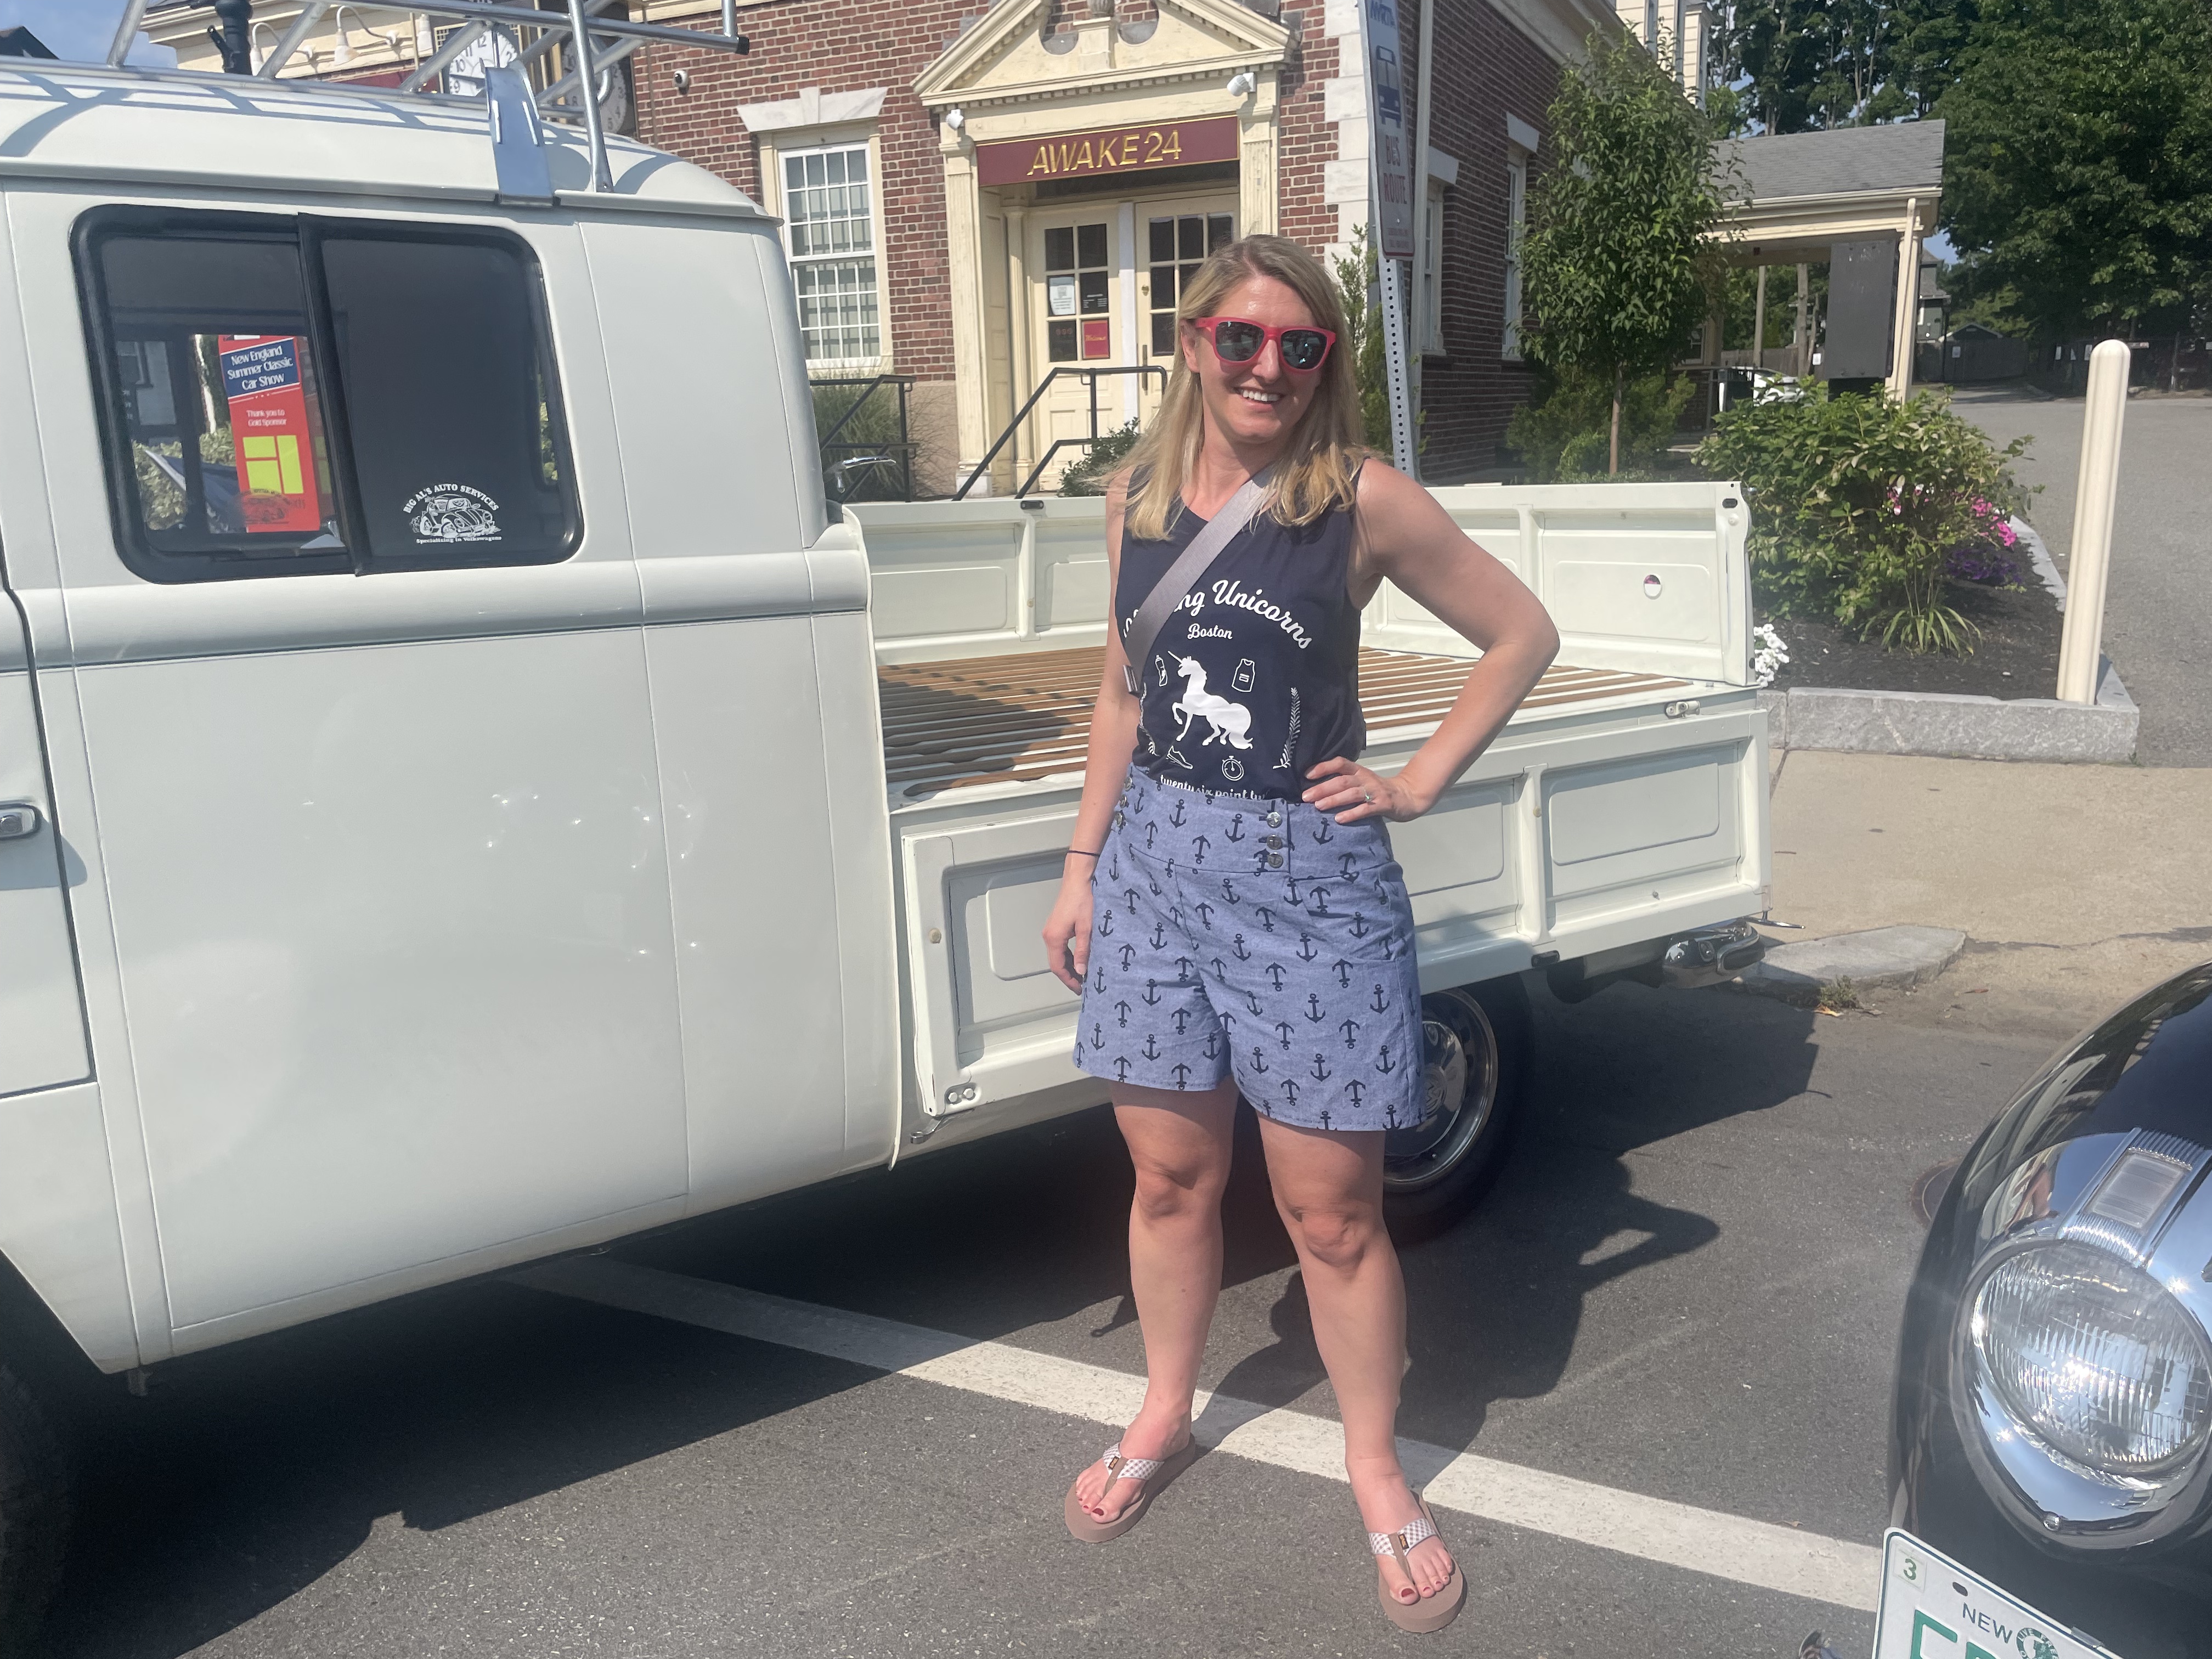
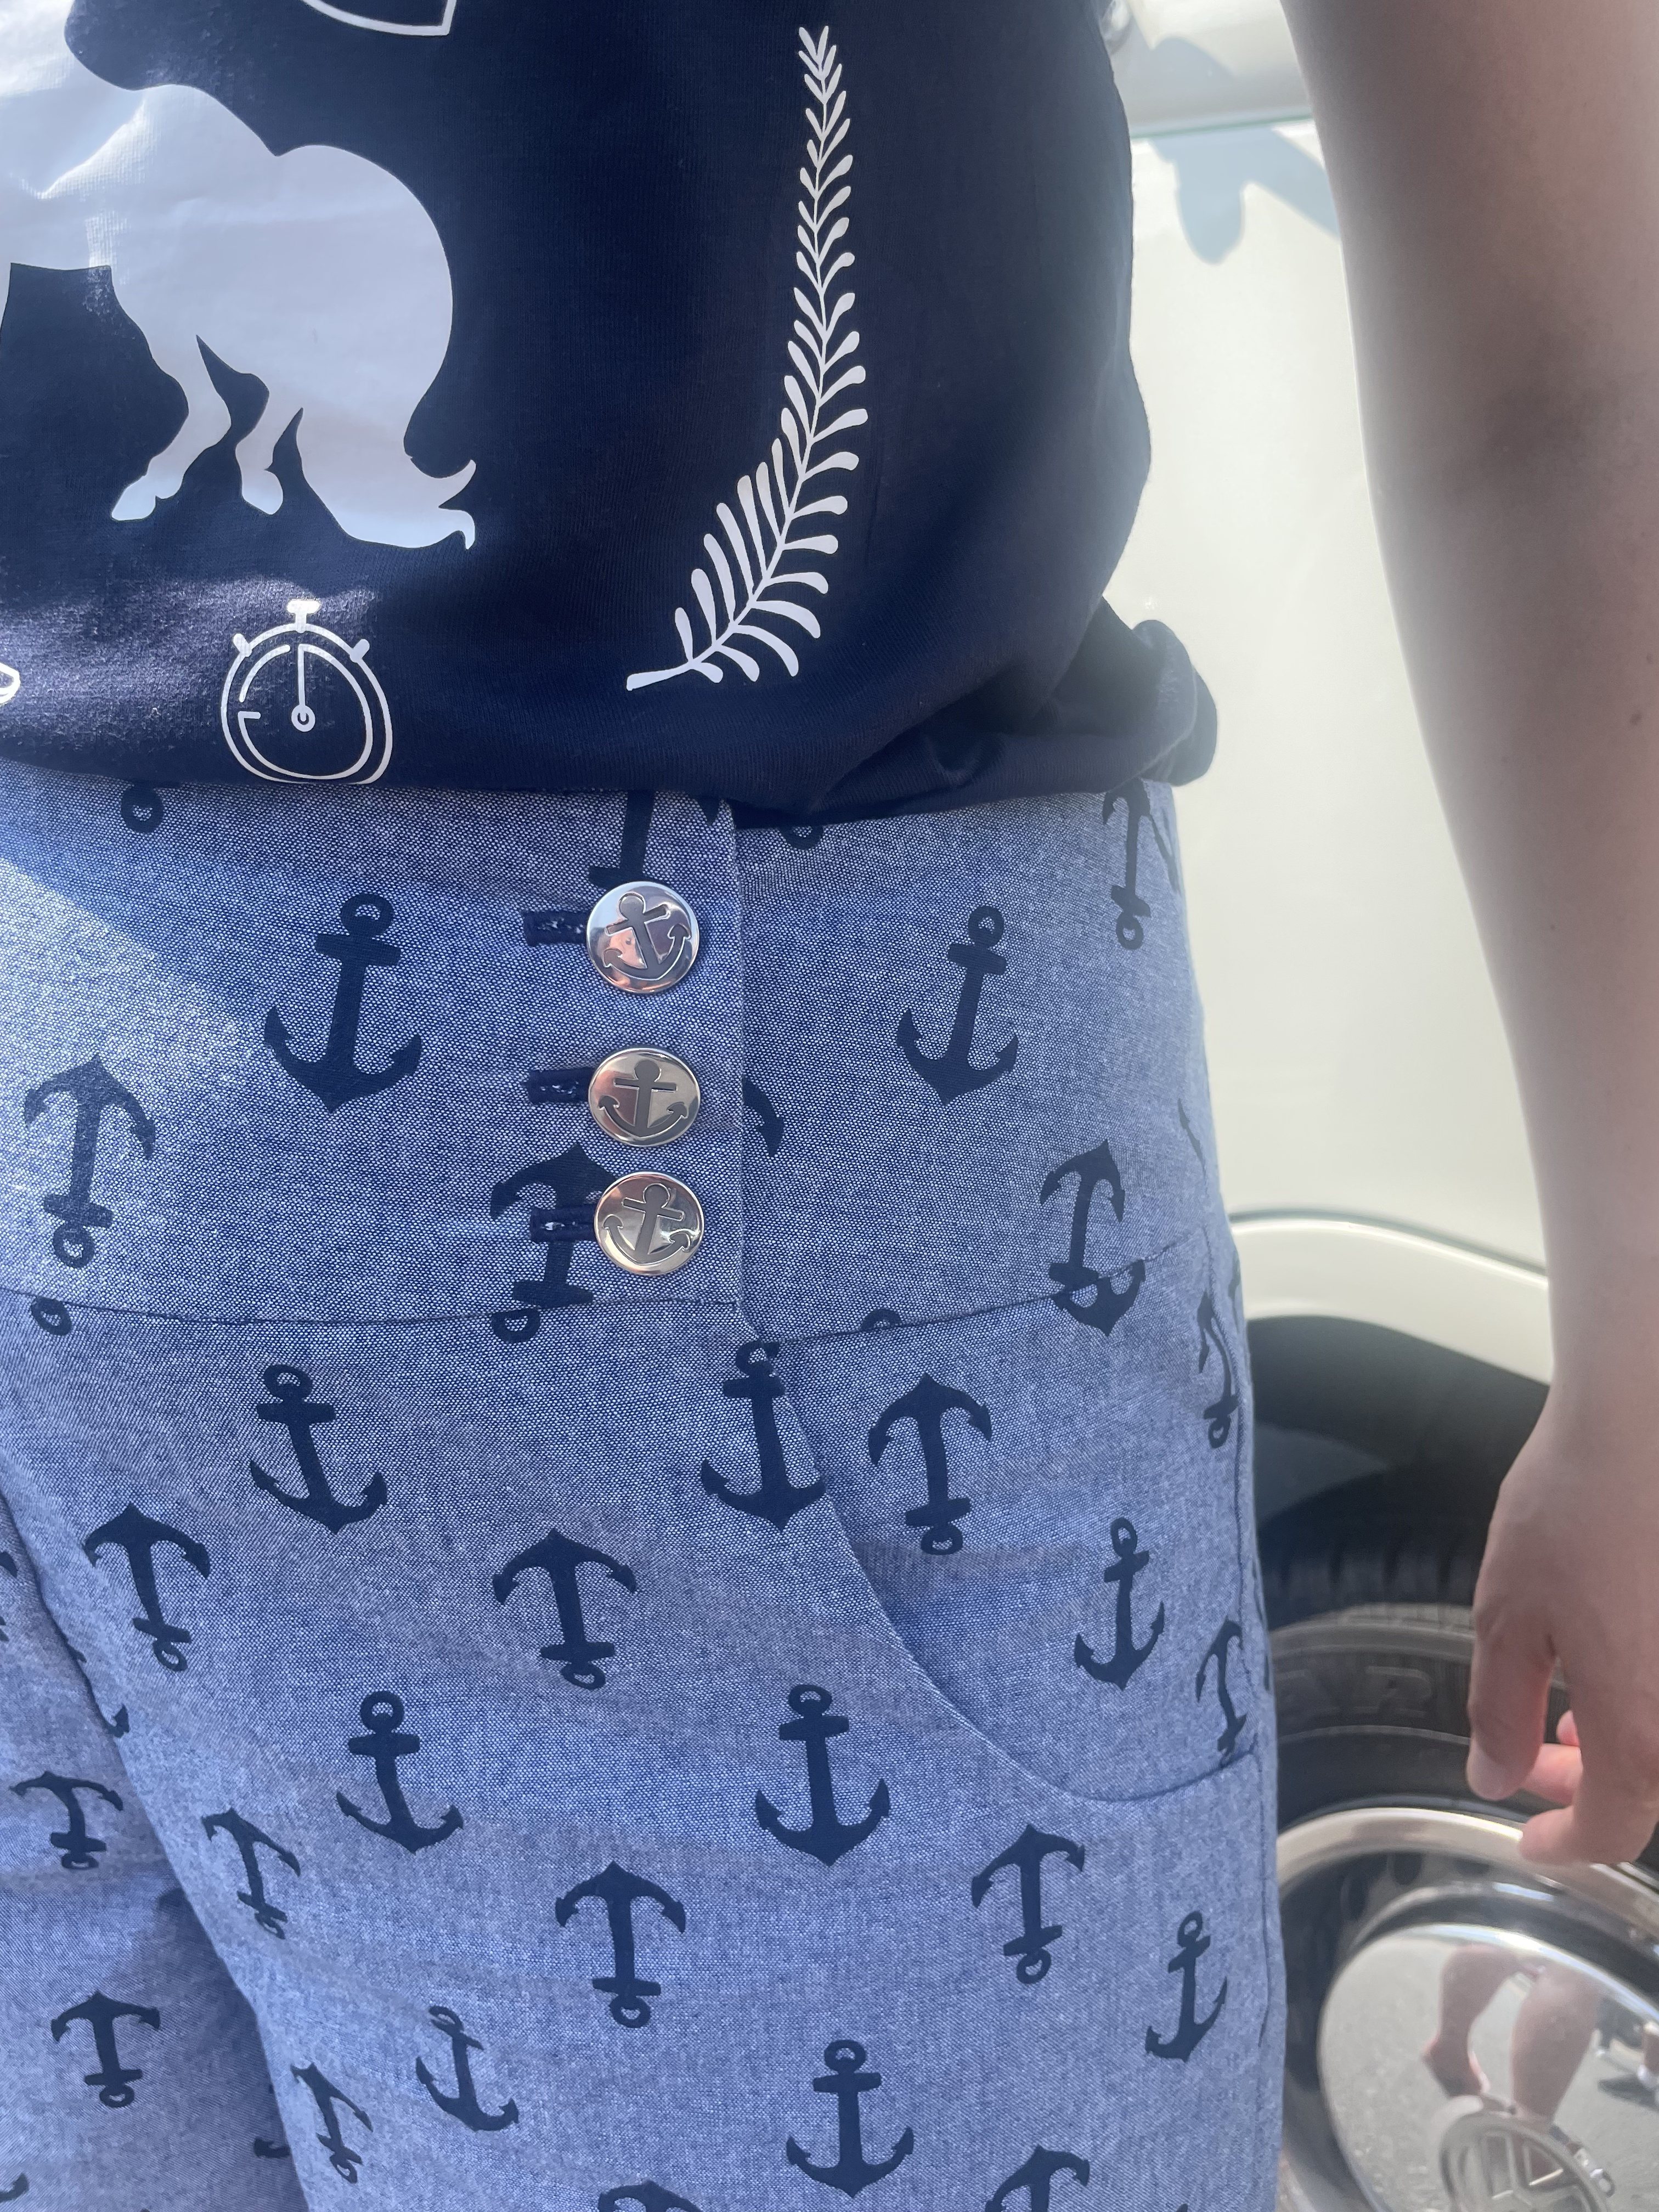
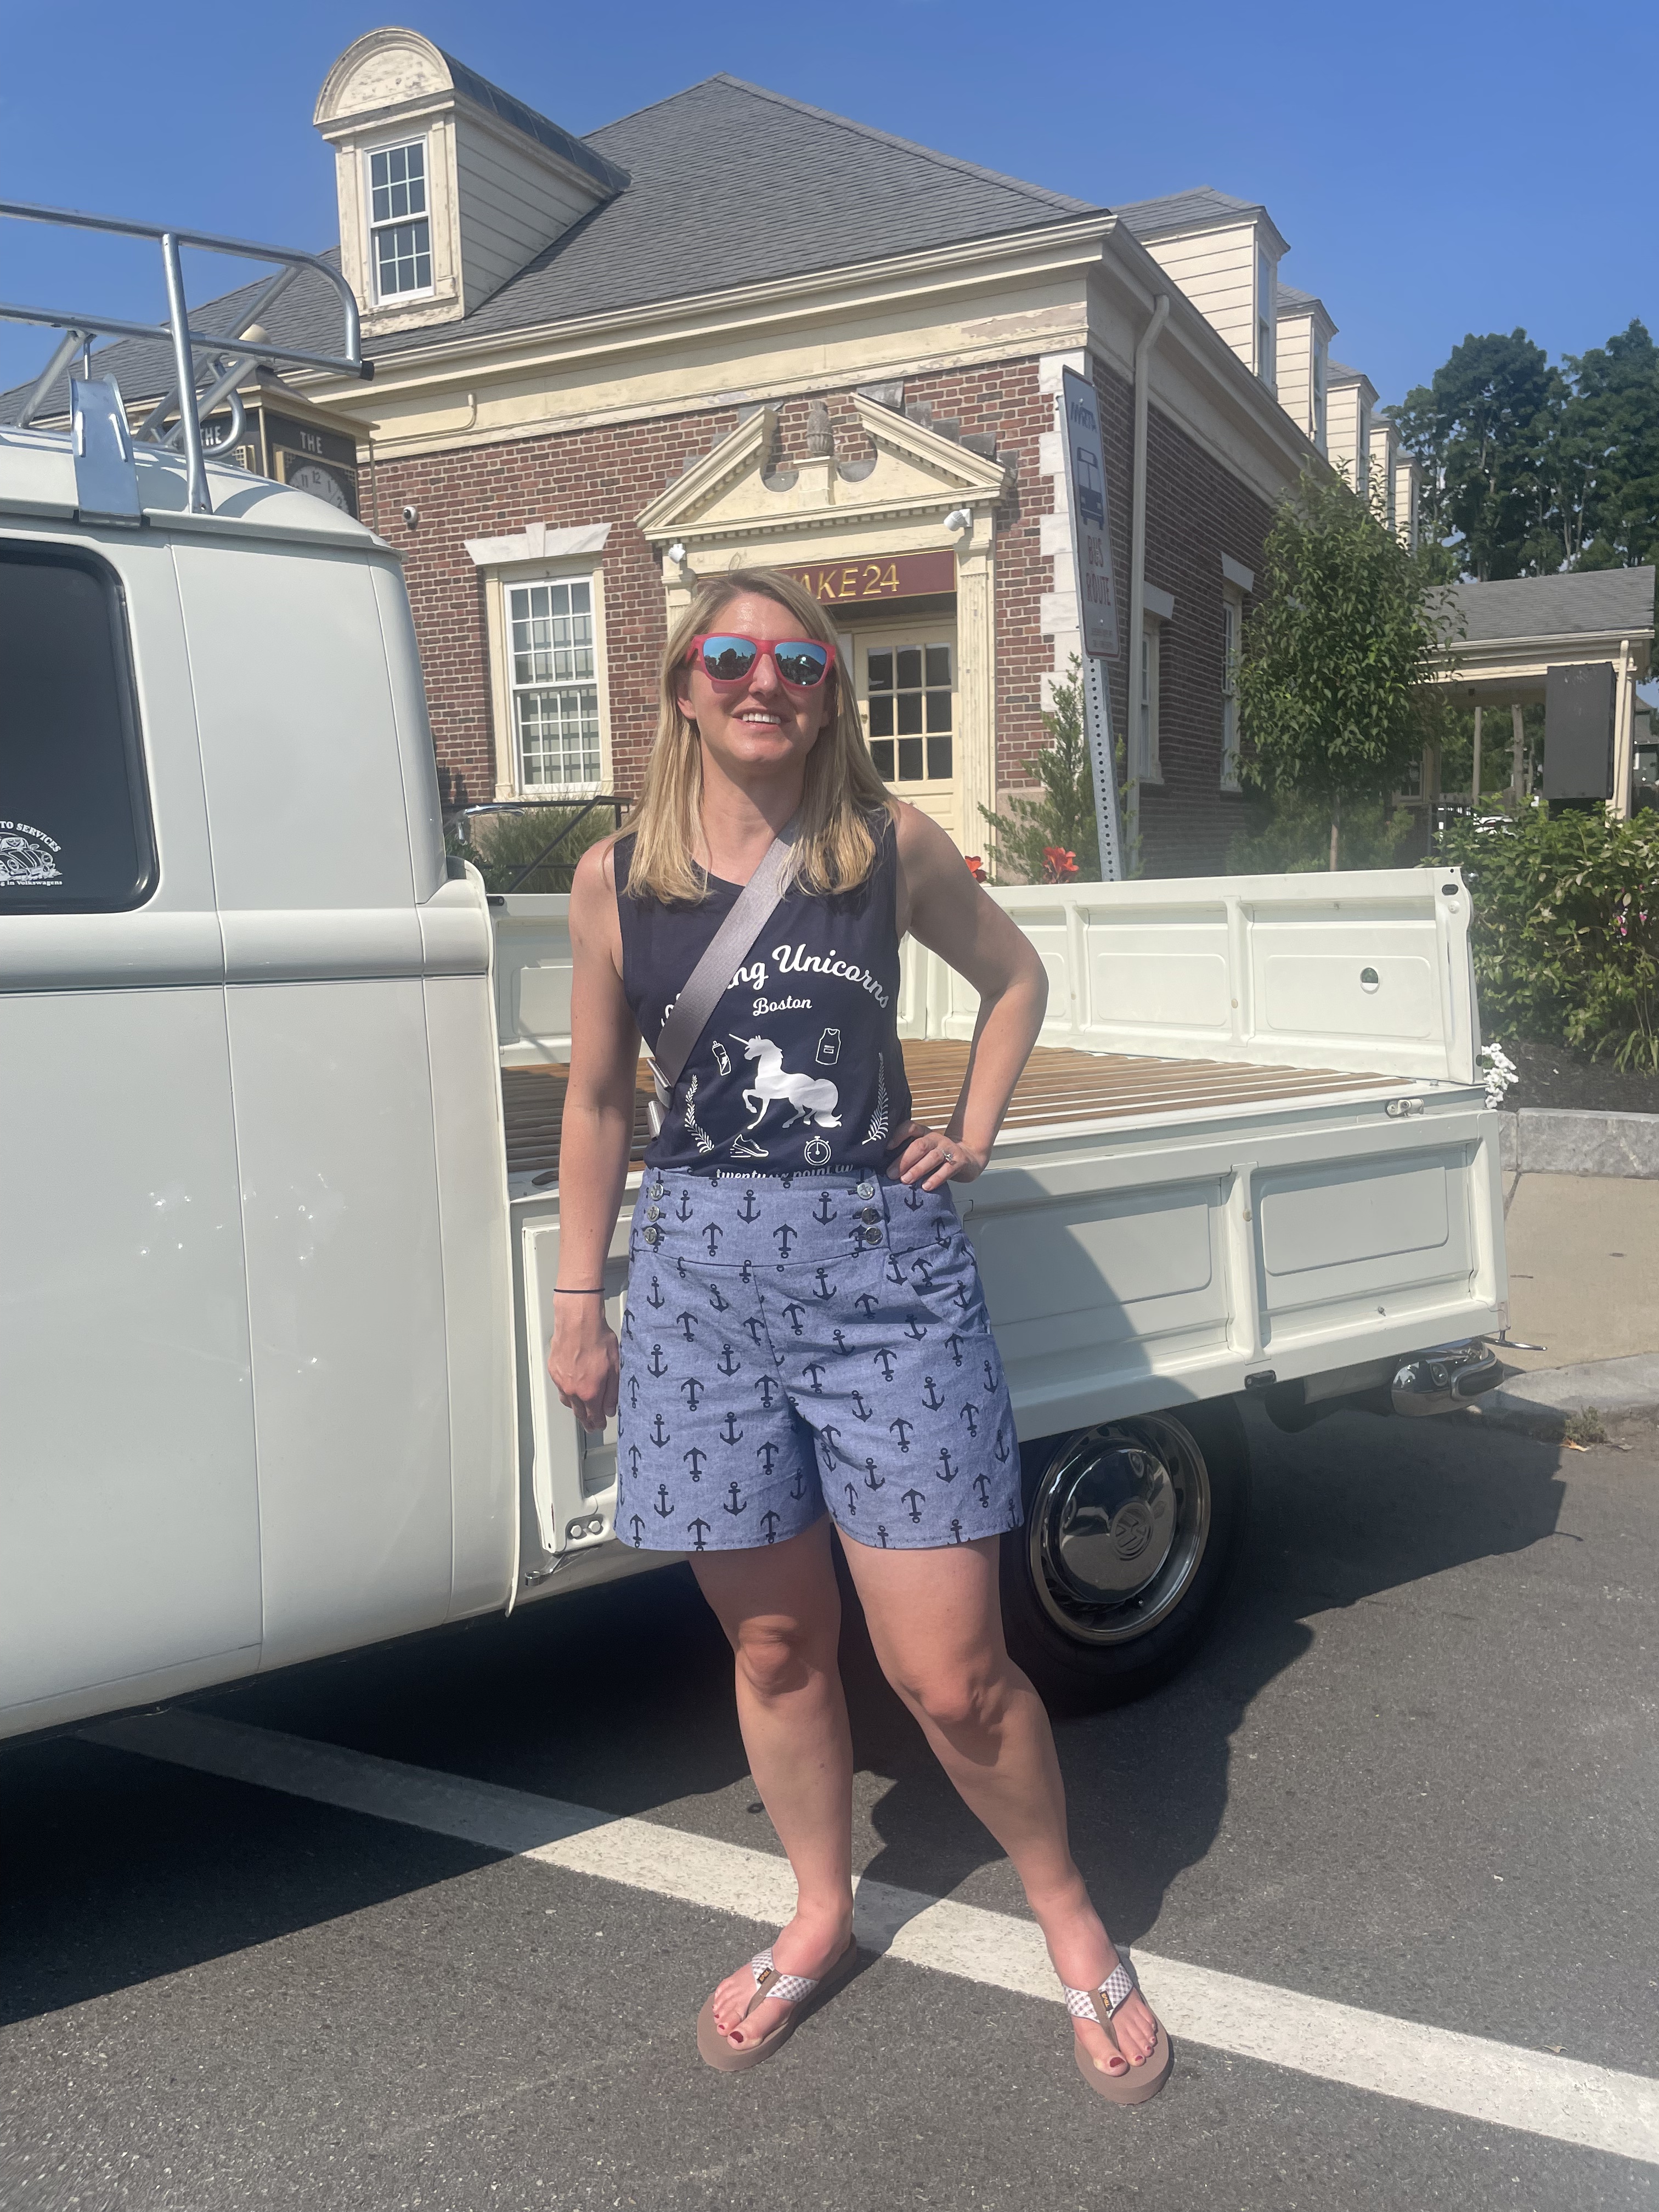
For my other summer makes, I finished up some nice sailor-style shorts. I had bought these cool anchor buttons on a trip to NYC a few years back. Looking for an excuse to use them, I realized they would go well with this chambray anchor fabric I had on hand. I’m not really sure where I got the fabric since I’ve had it forever, but I’ve been waiting for the perfect project to use it on.
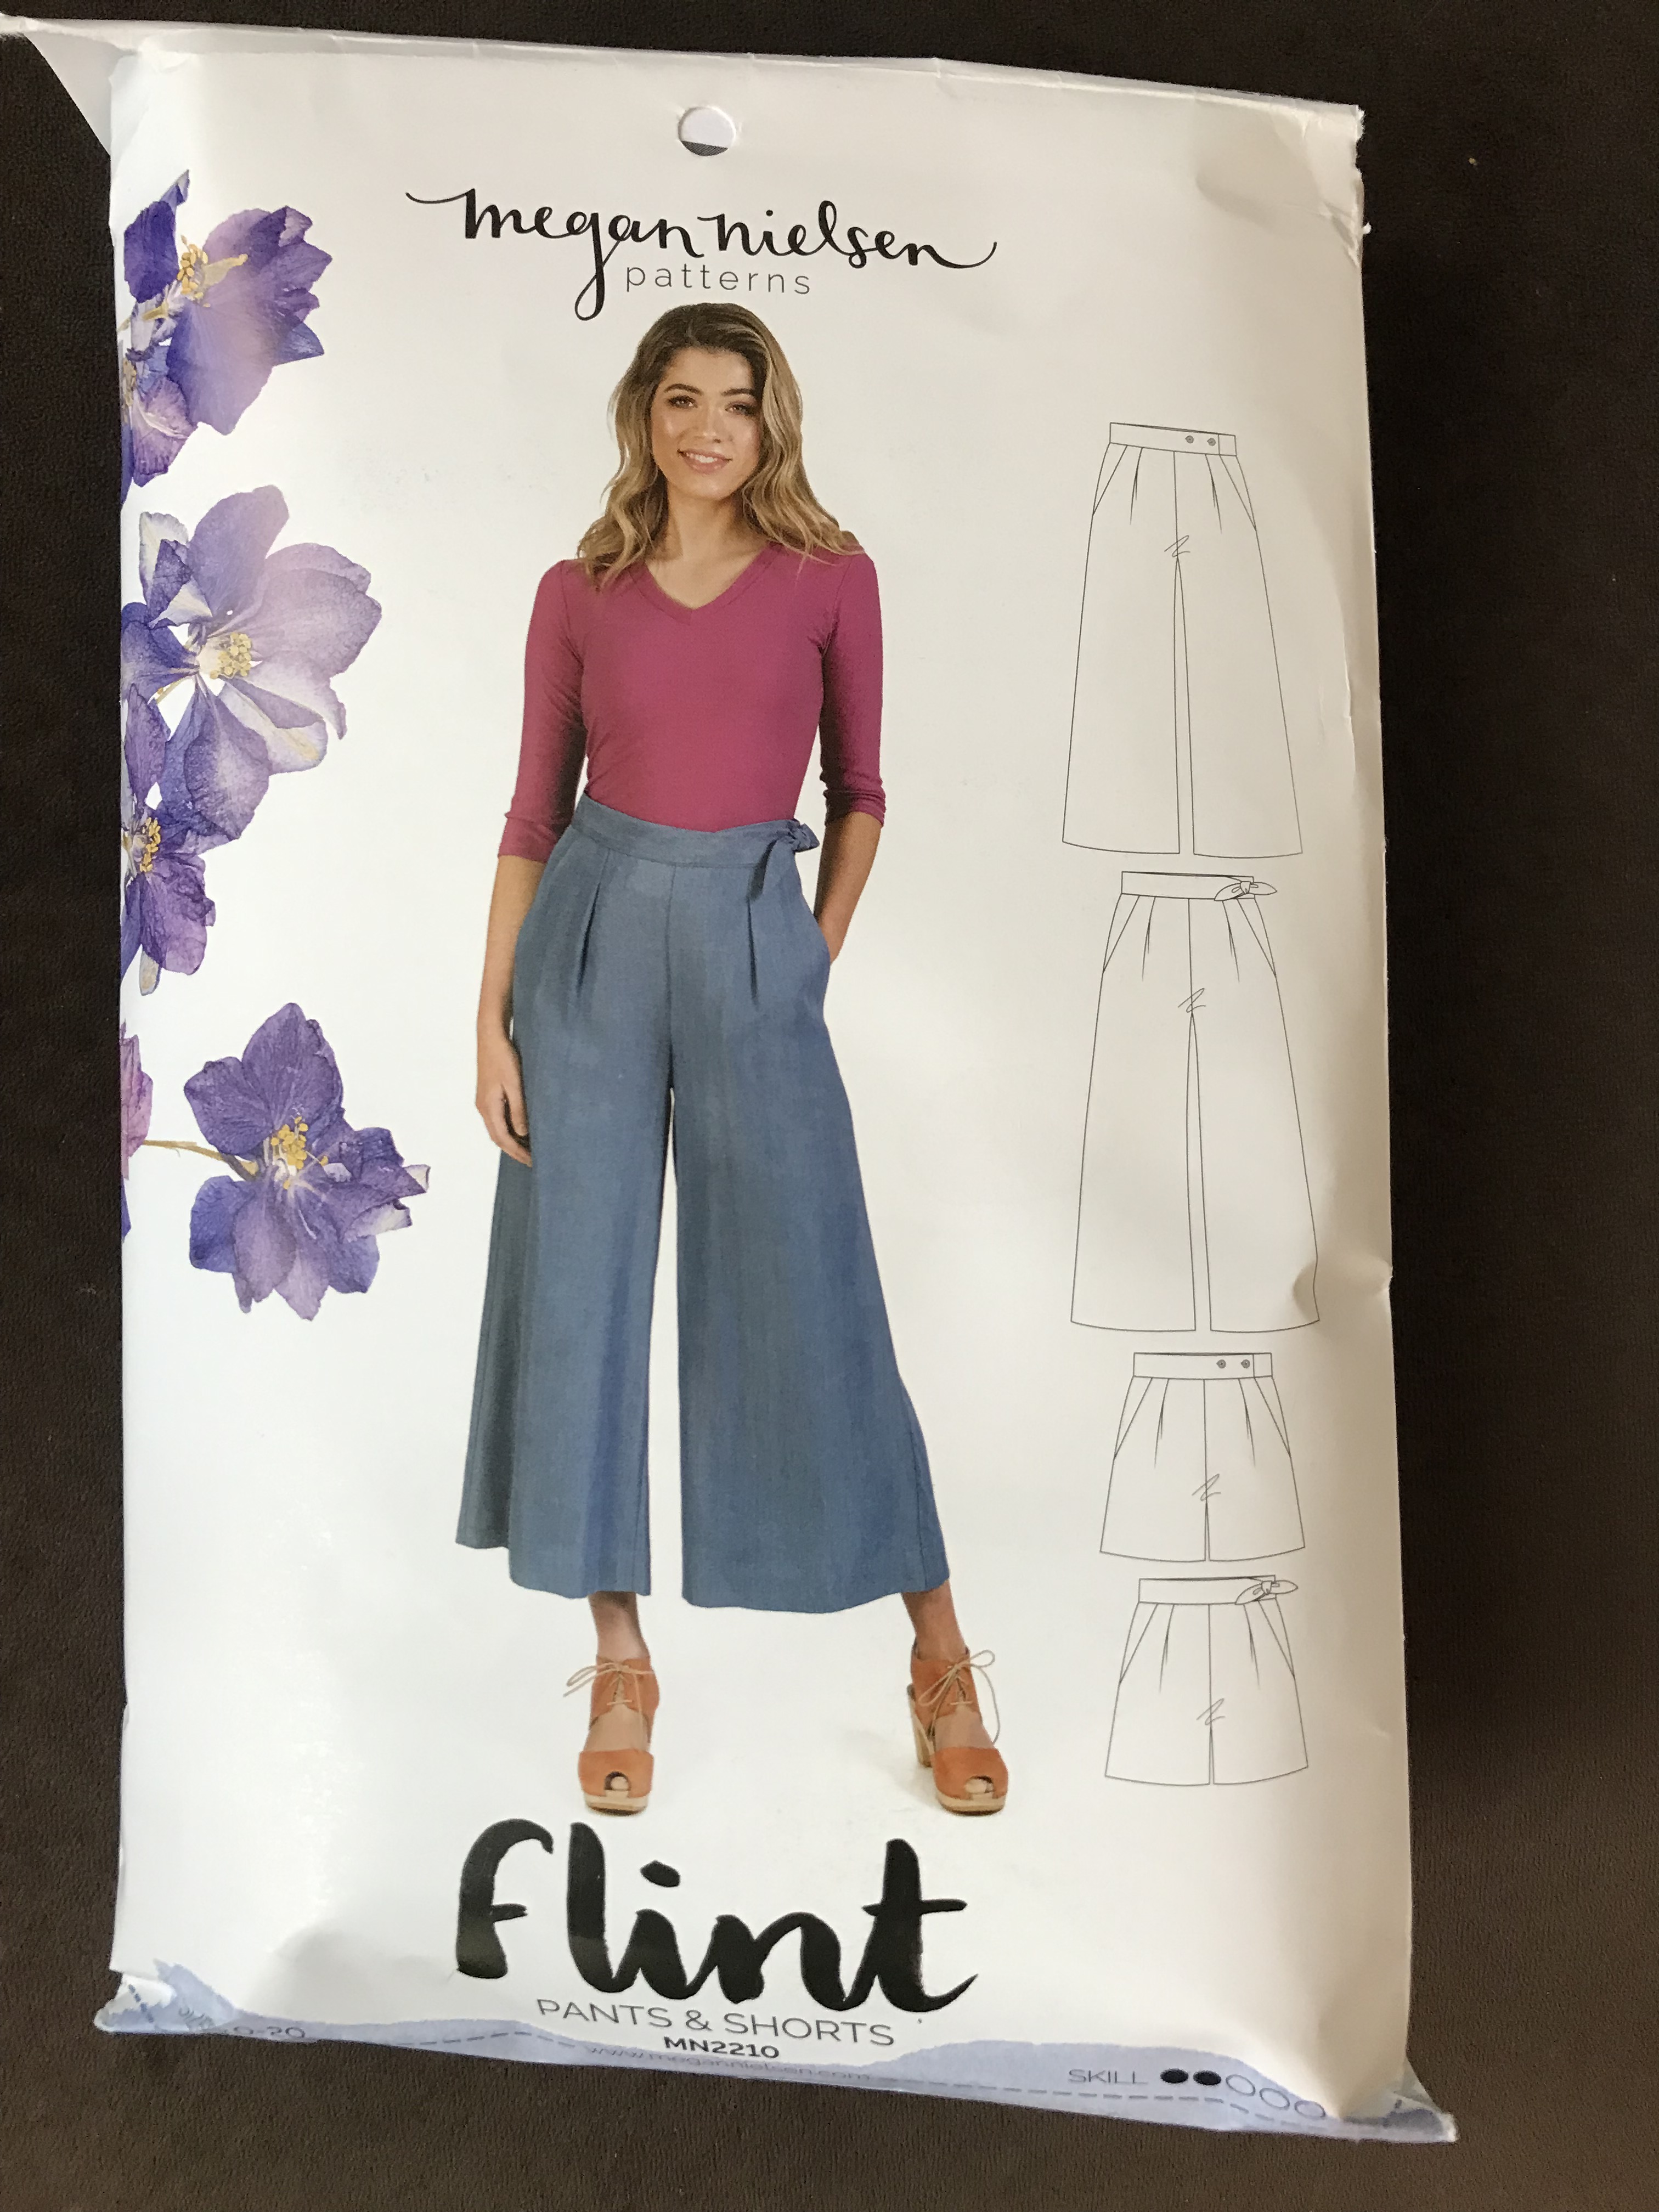
I had tried the Kwik Sew pattern on some scrap fabric and struggled to get the front to lay flat and not puff out when I wore the shorts. I took my time with this second attempt, laying it out and basting it to make sure I saw how it would fall on me. Even with all the extra work I did in fitting it, it still doesn’t lay perfect and sometimes I need to adjust it on my hips to get it to look right. I think I did the best I could with this one and I like the overall result. The pattern is a bit challenging though.
I may have gotten lazy with the bottom hem, which I just stitched a blind hem on the machine. Hand sewing a hem is not for me. I think it still works, even though the thread wasn’t the perfect color to match the fabric. I showed this one off at a classic car show in Andover, MA. A boat show may have been better to stay on theme for these shorts, but they proved to hold up in the sweltering summer sun.
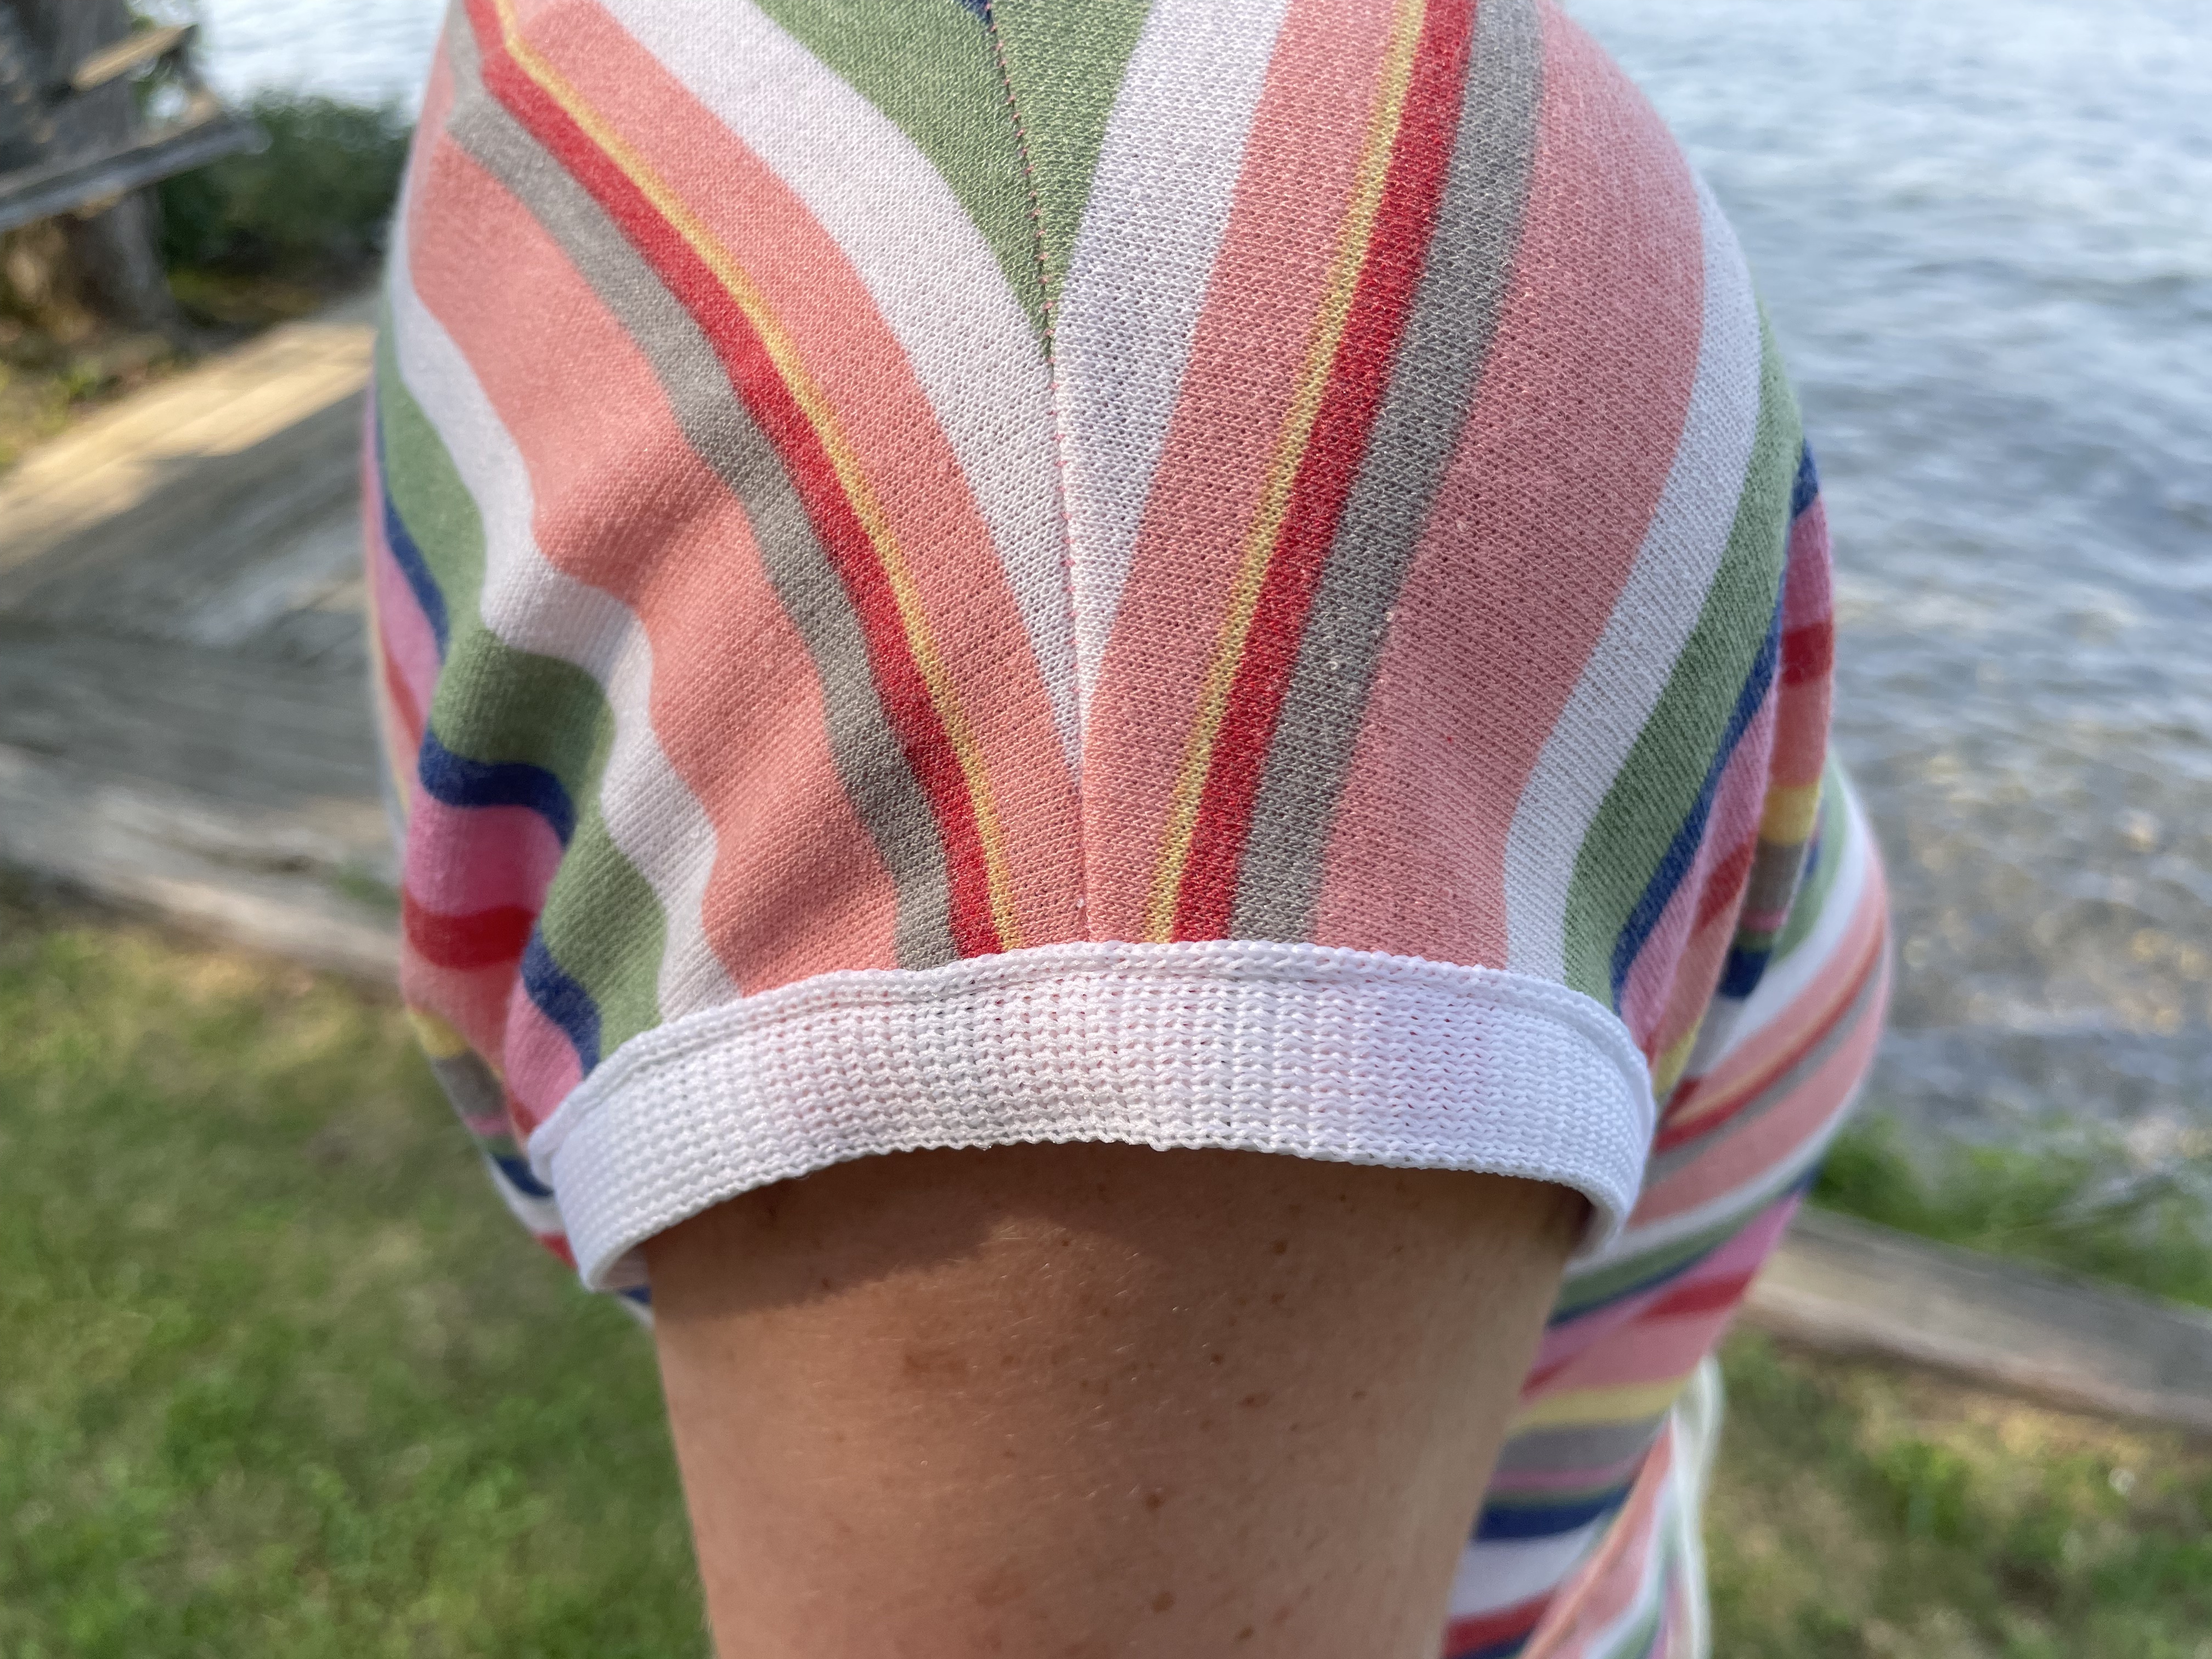
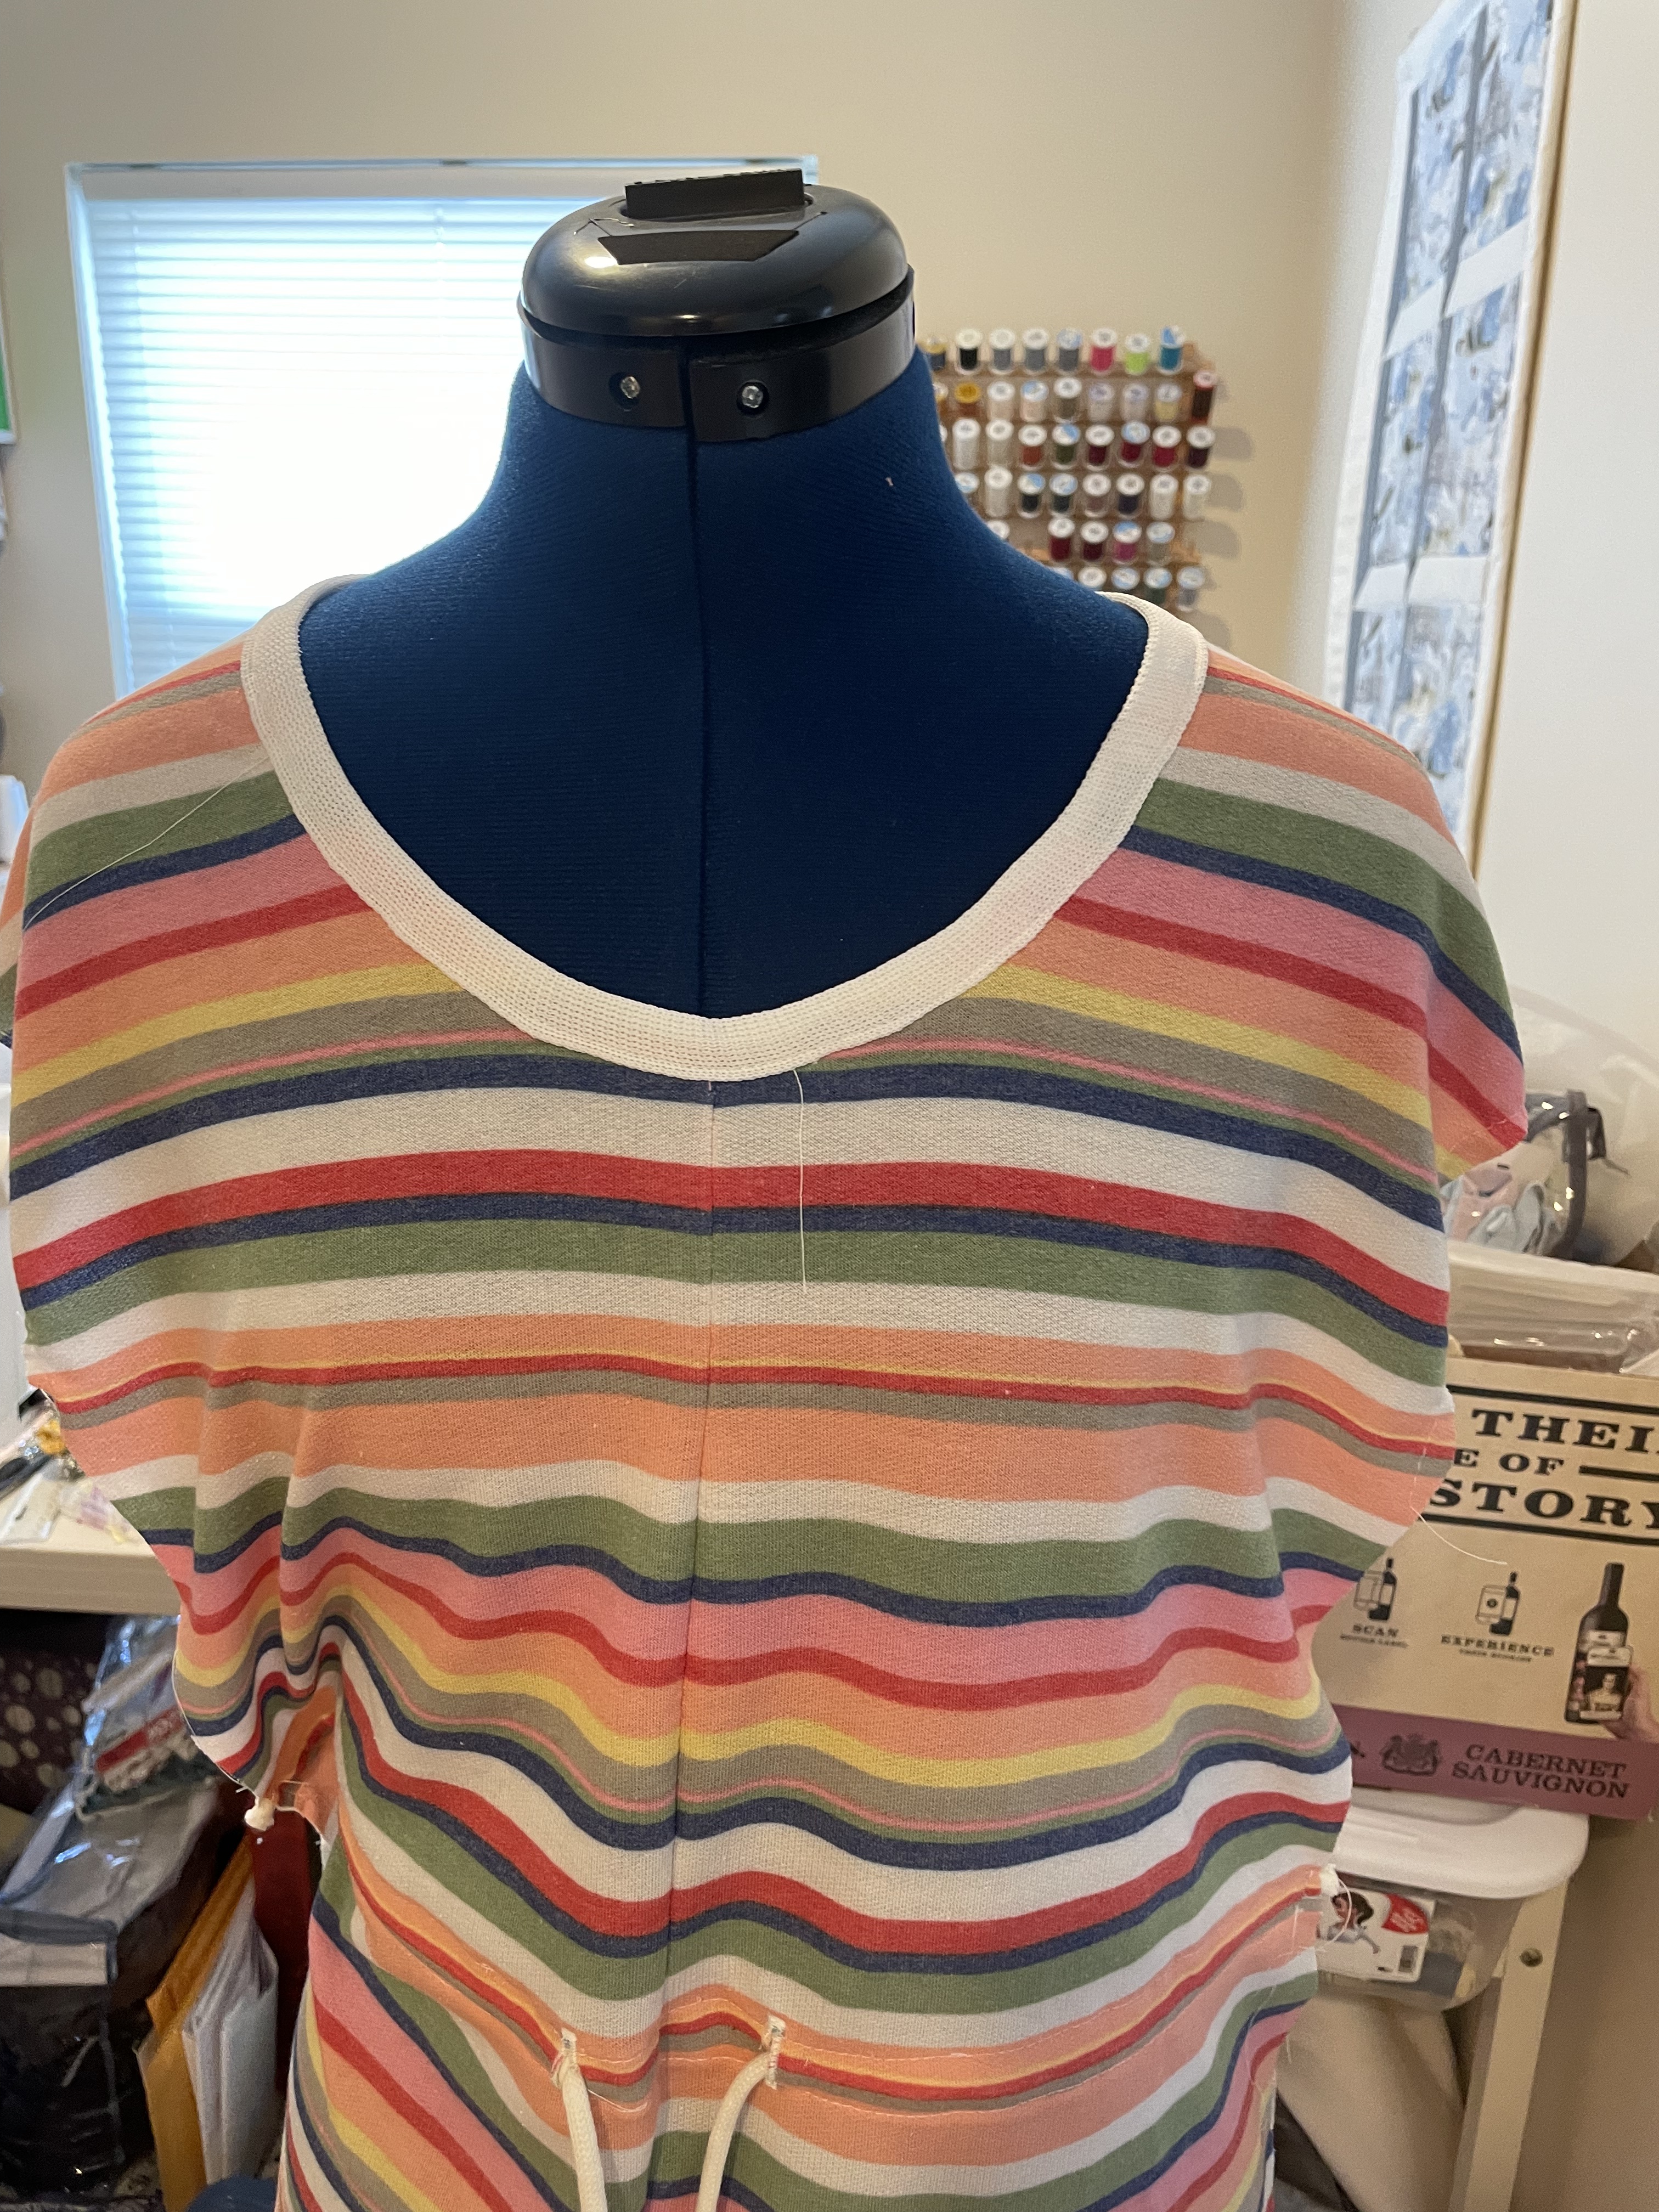
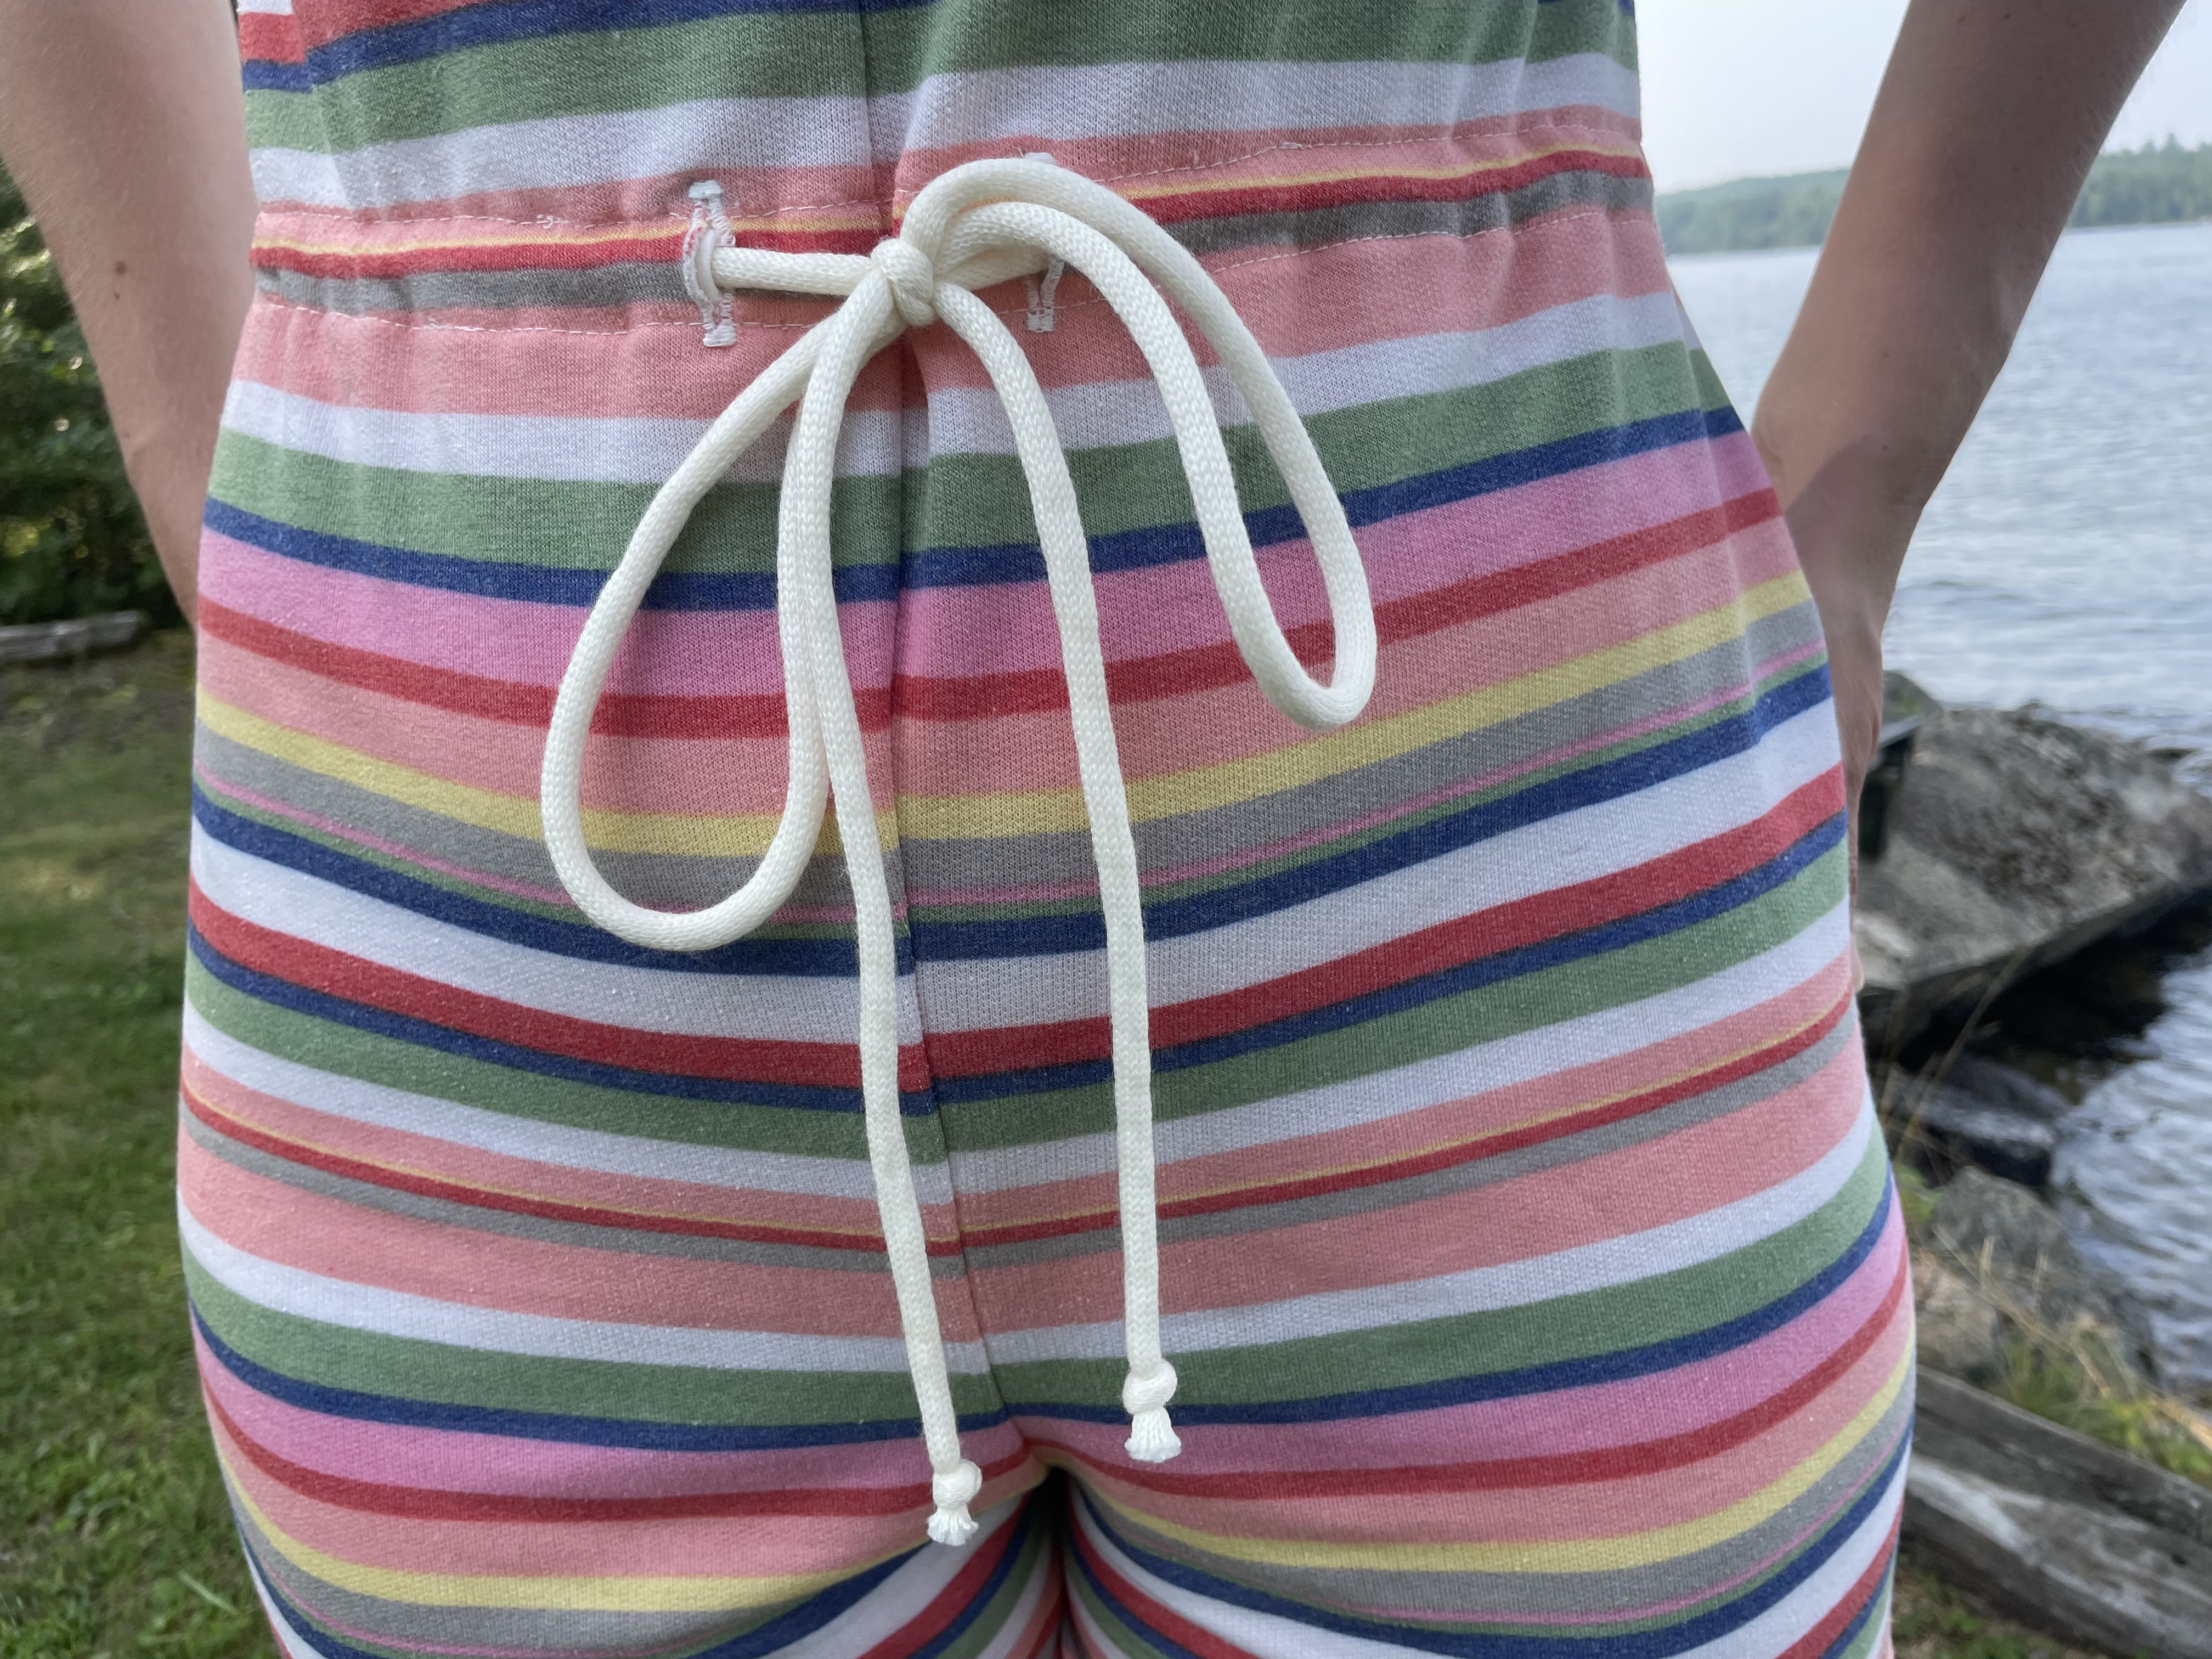
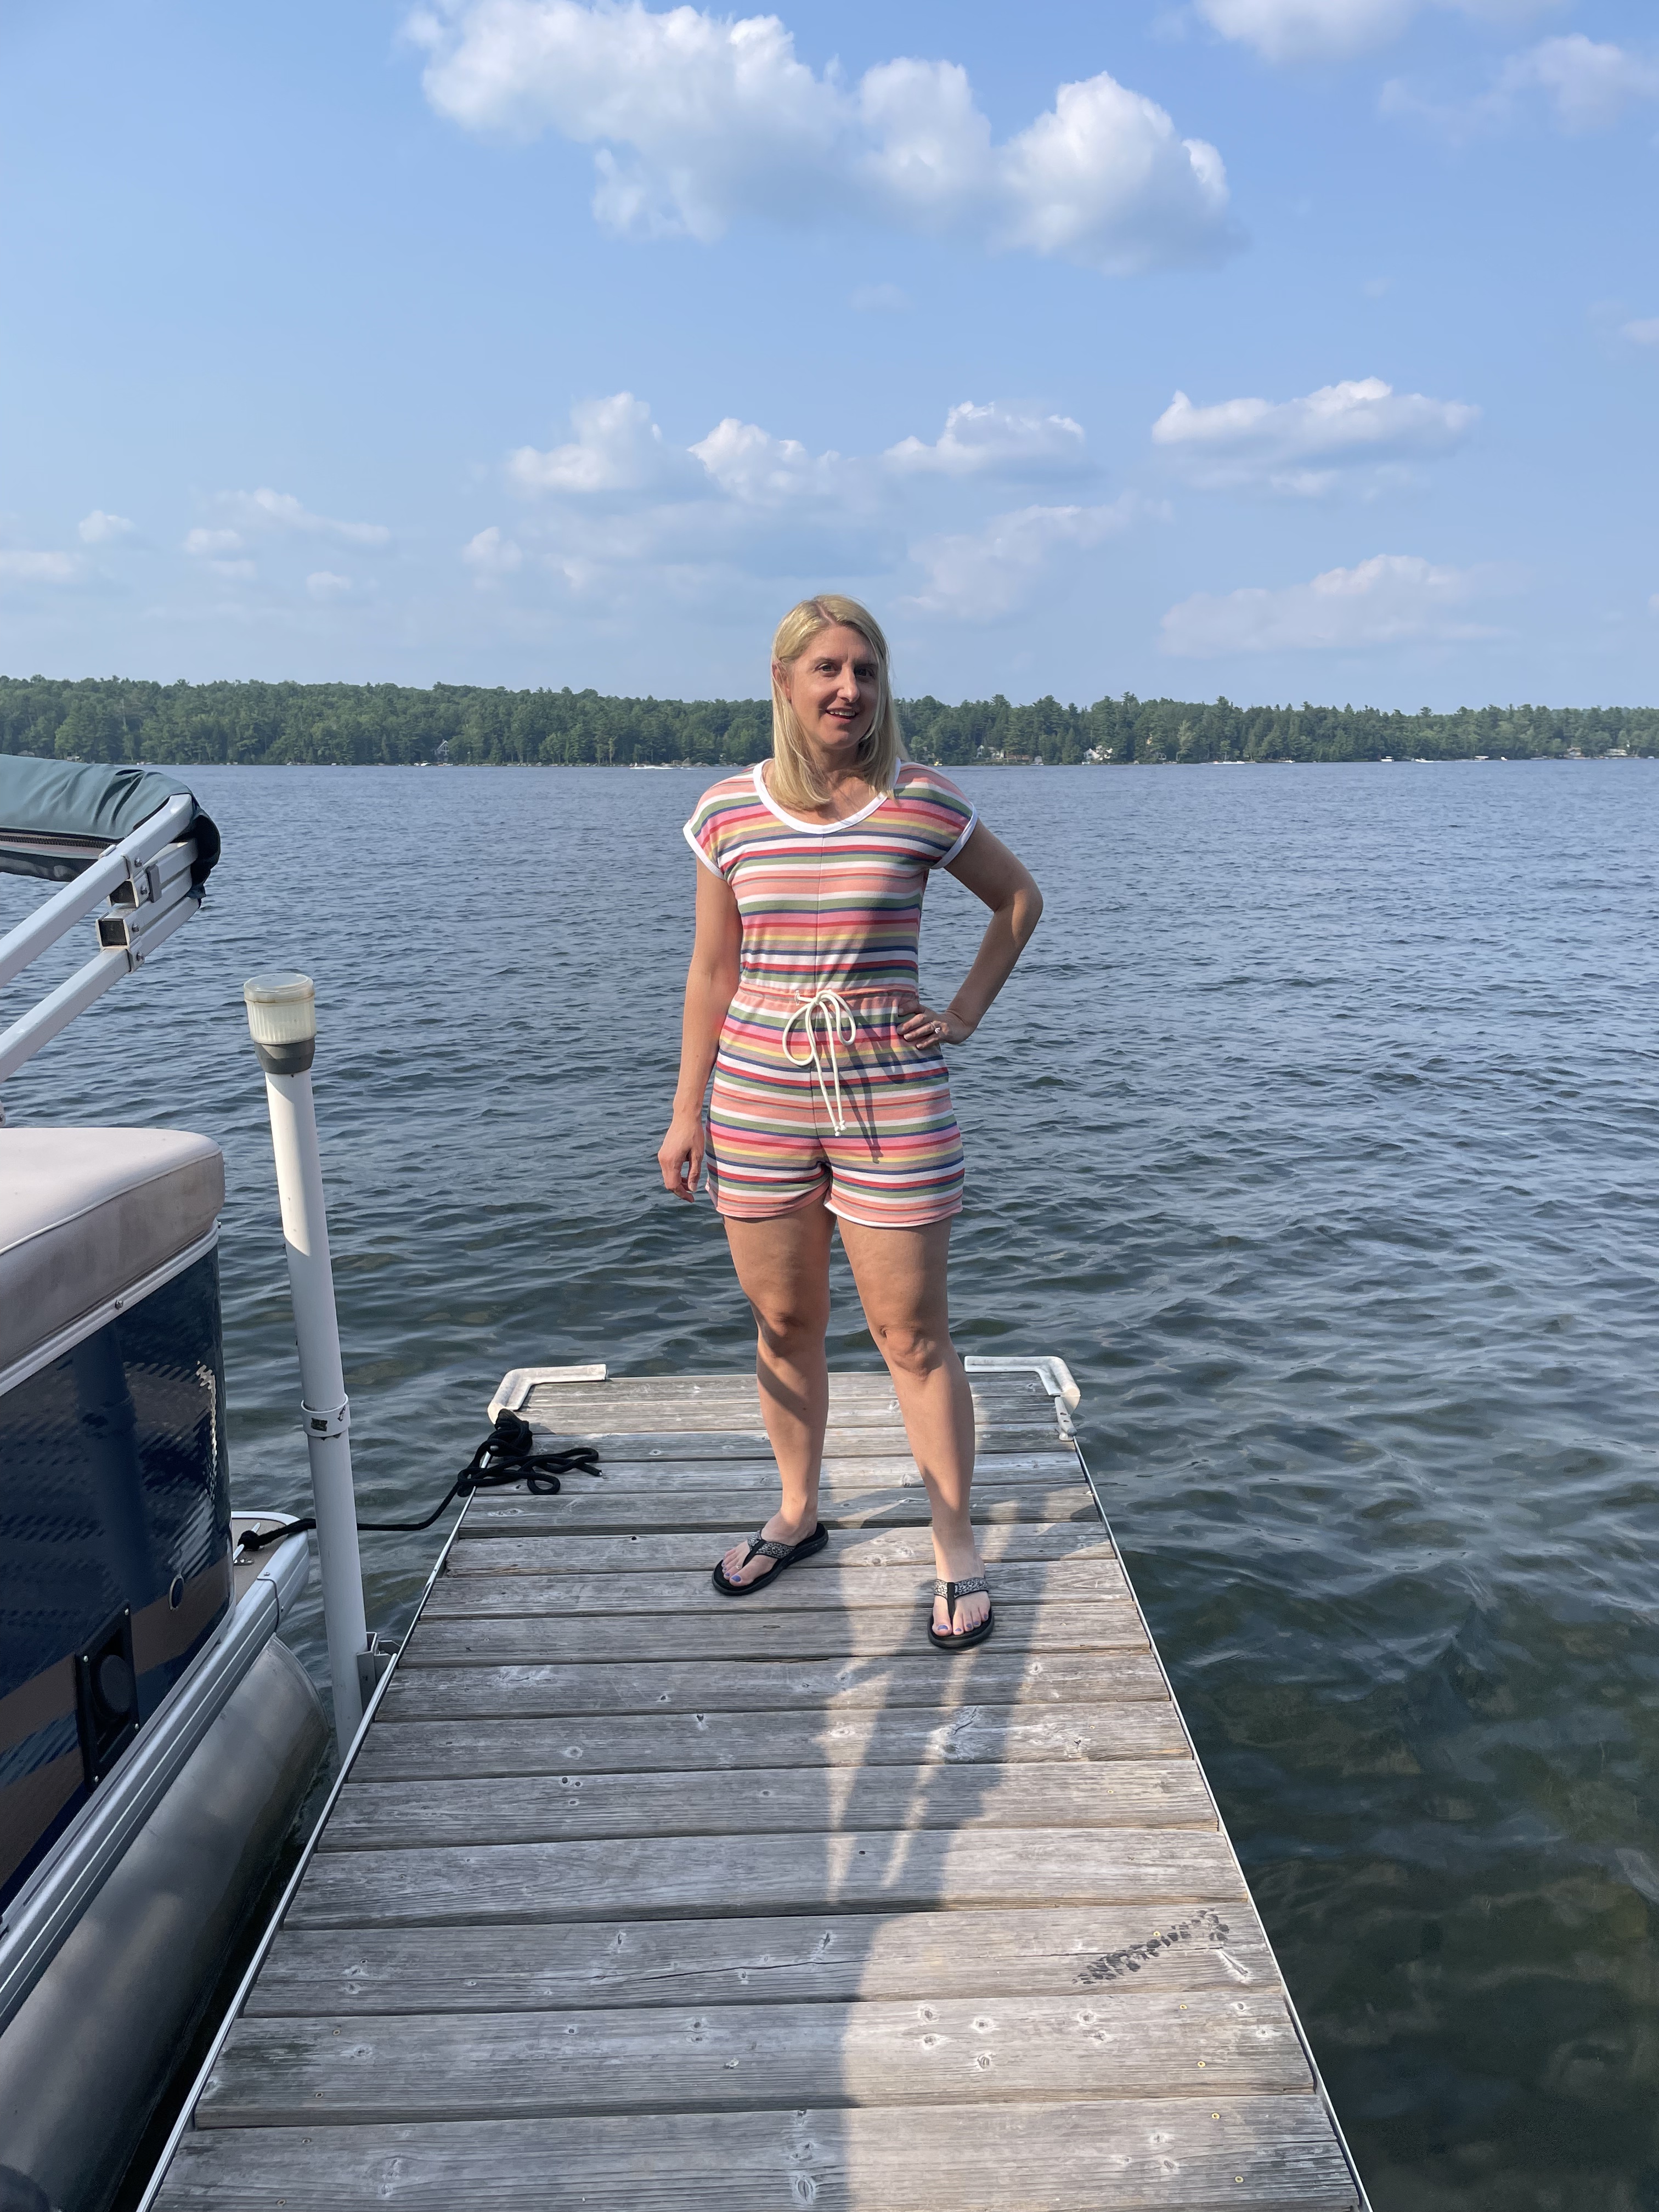
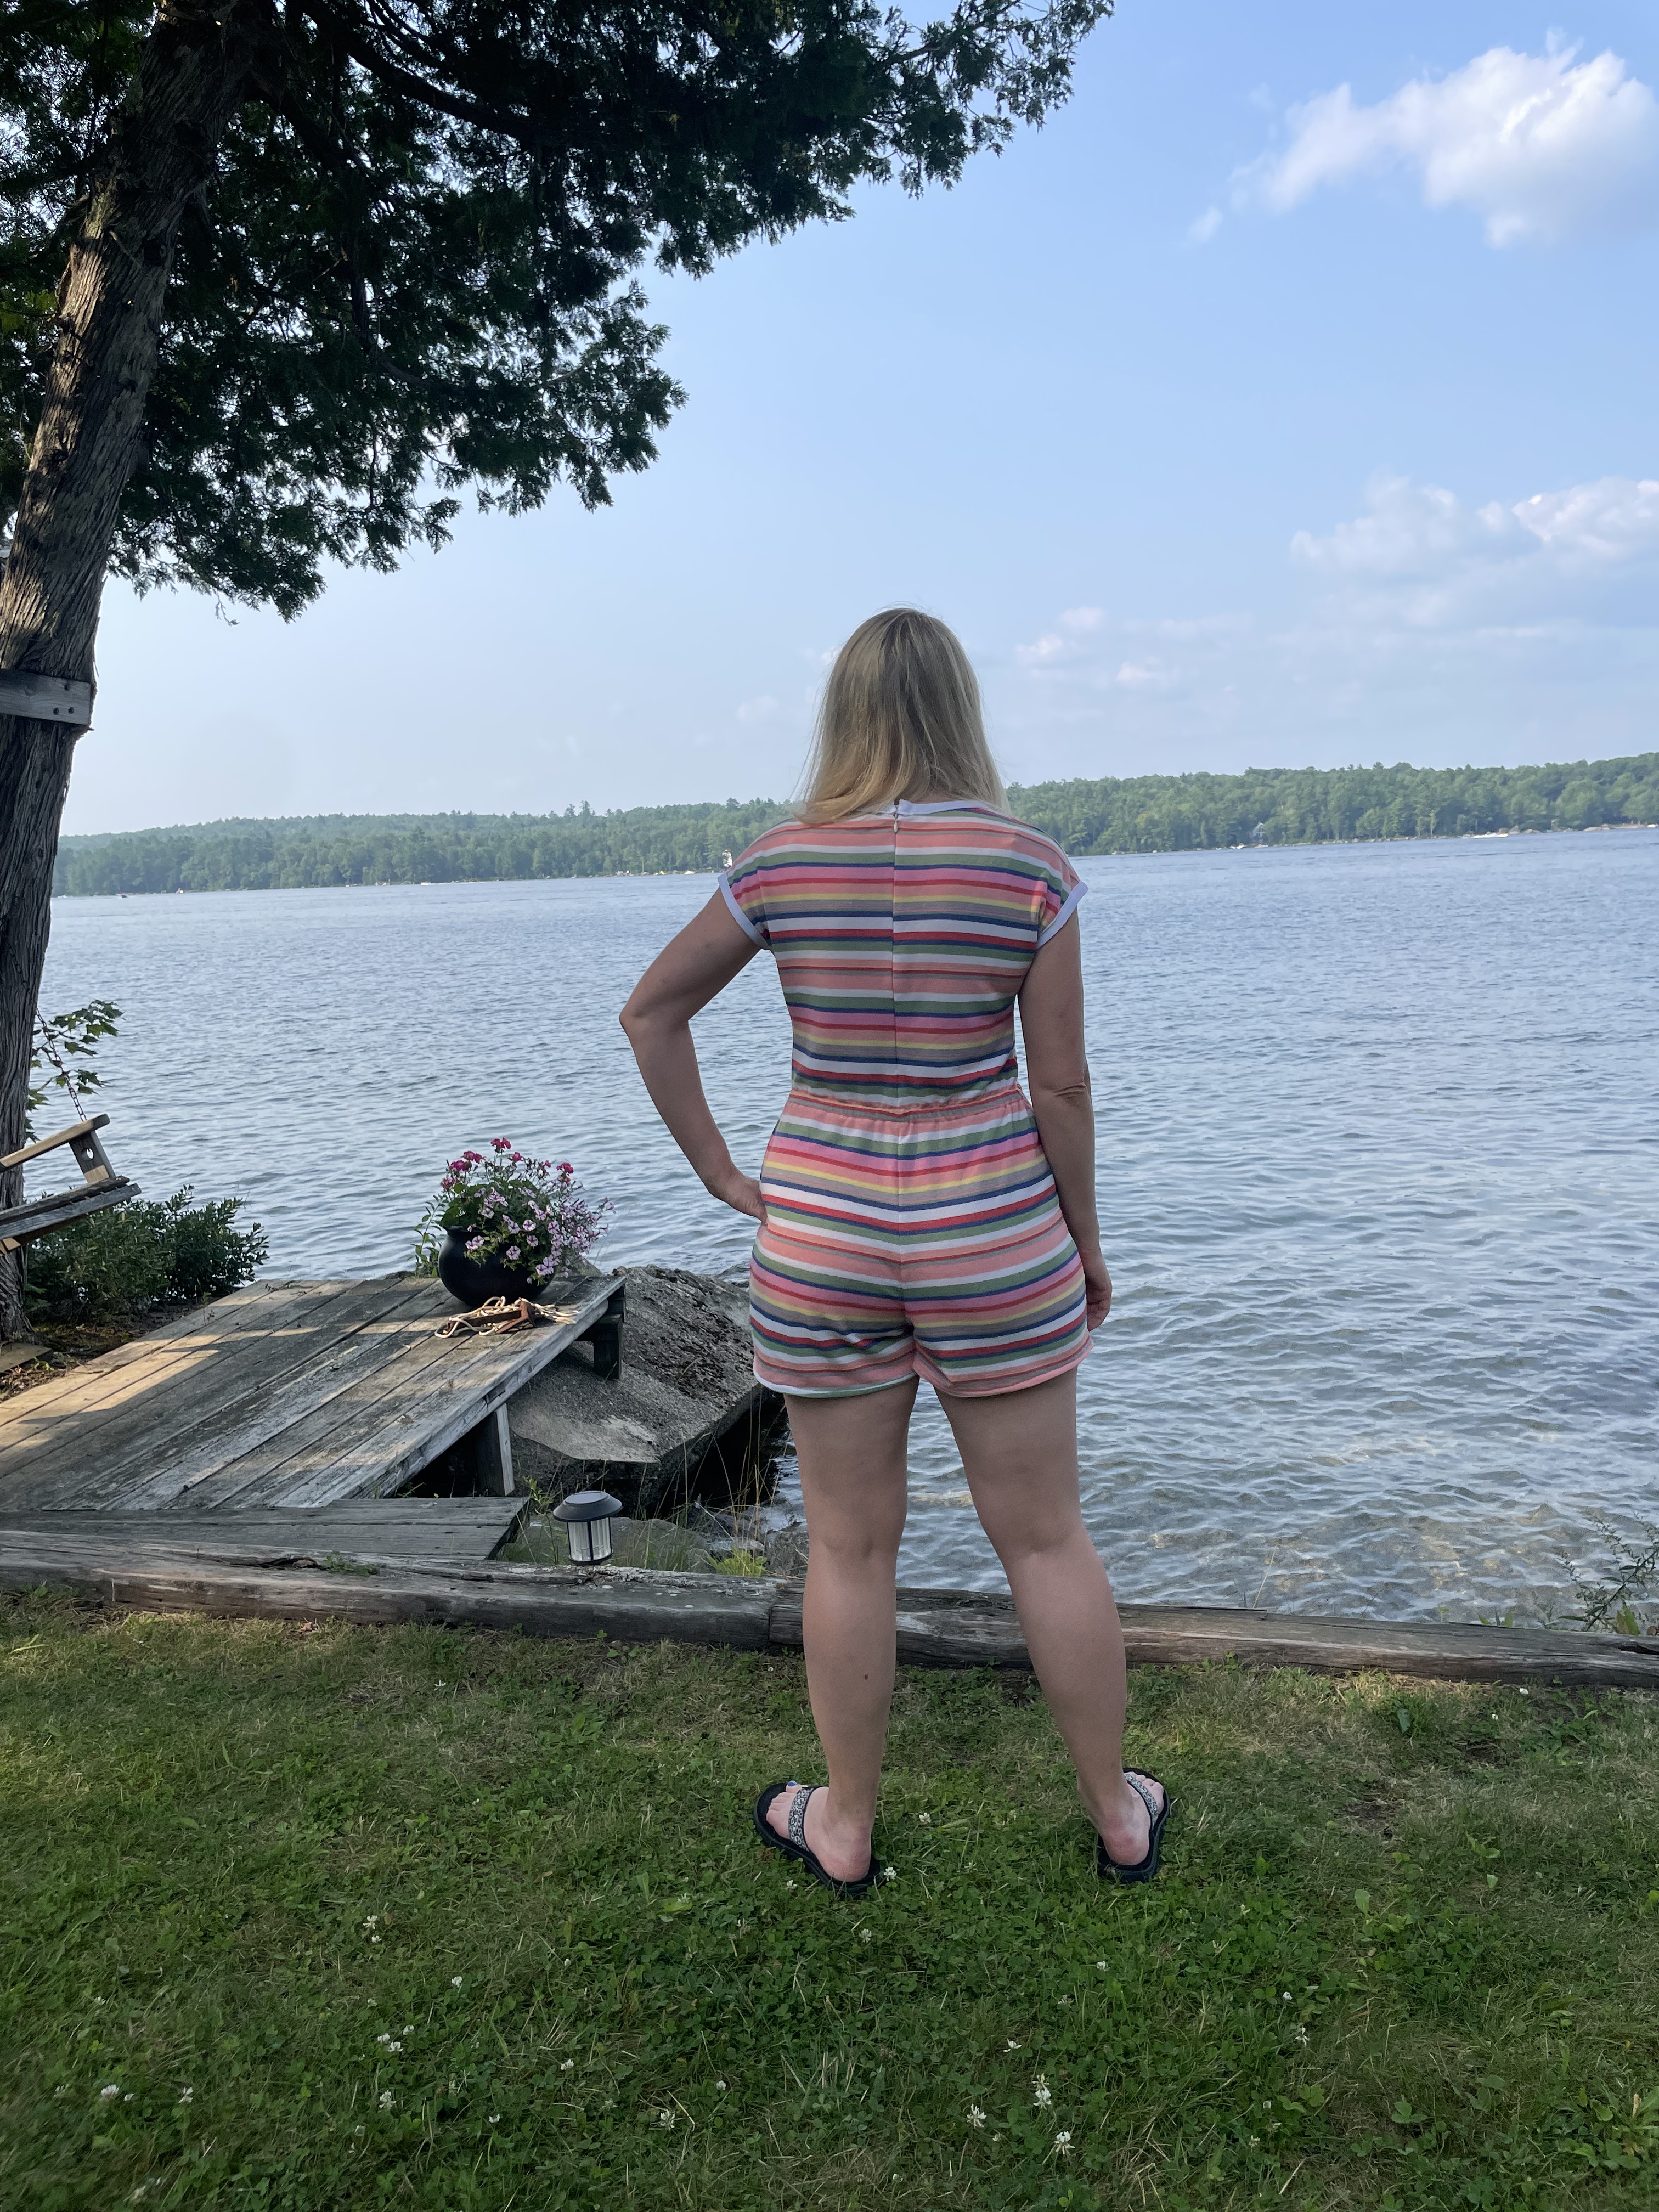
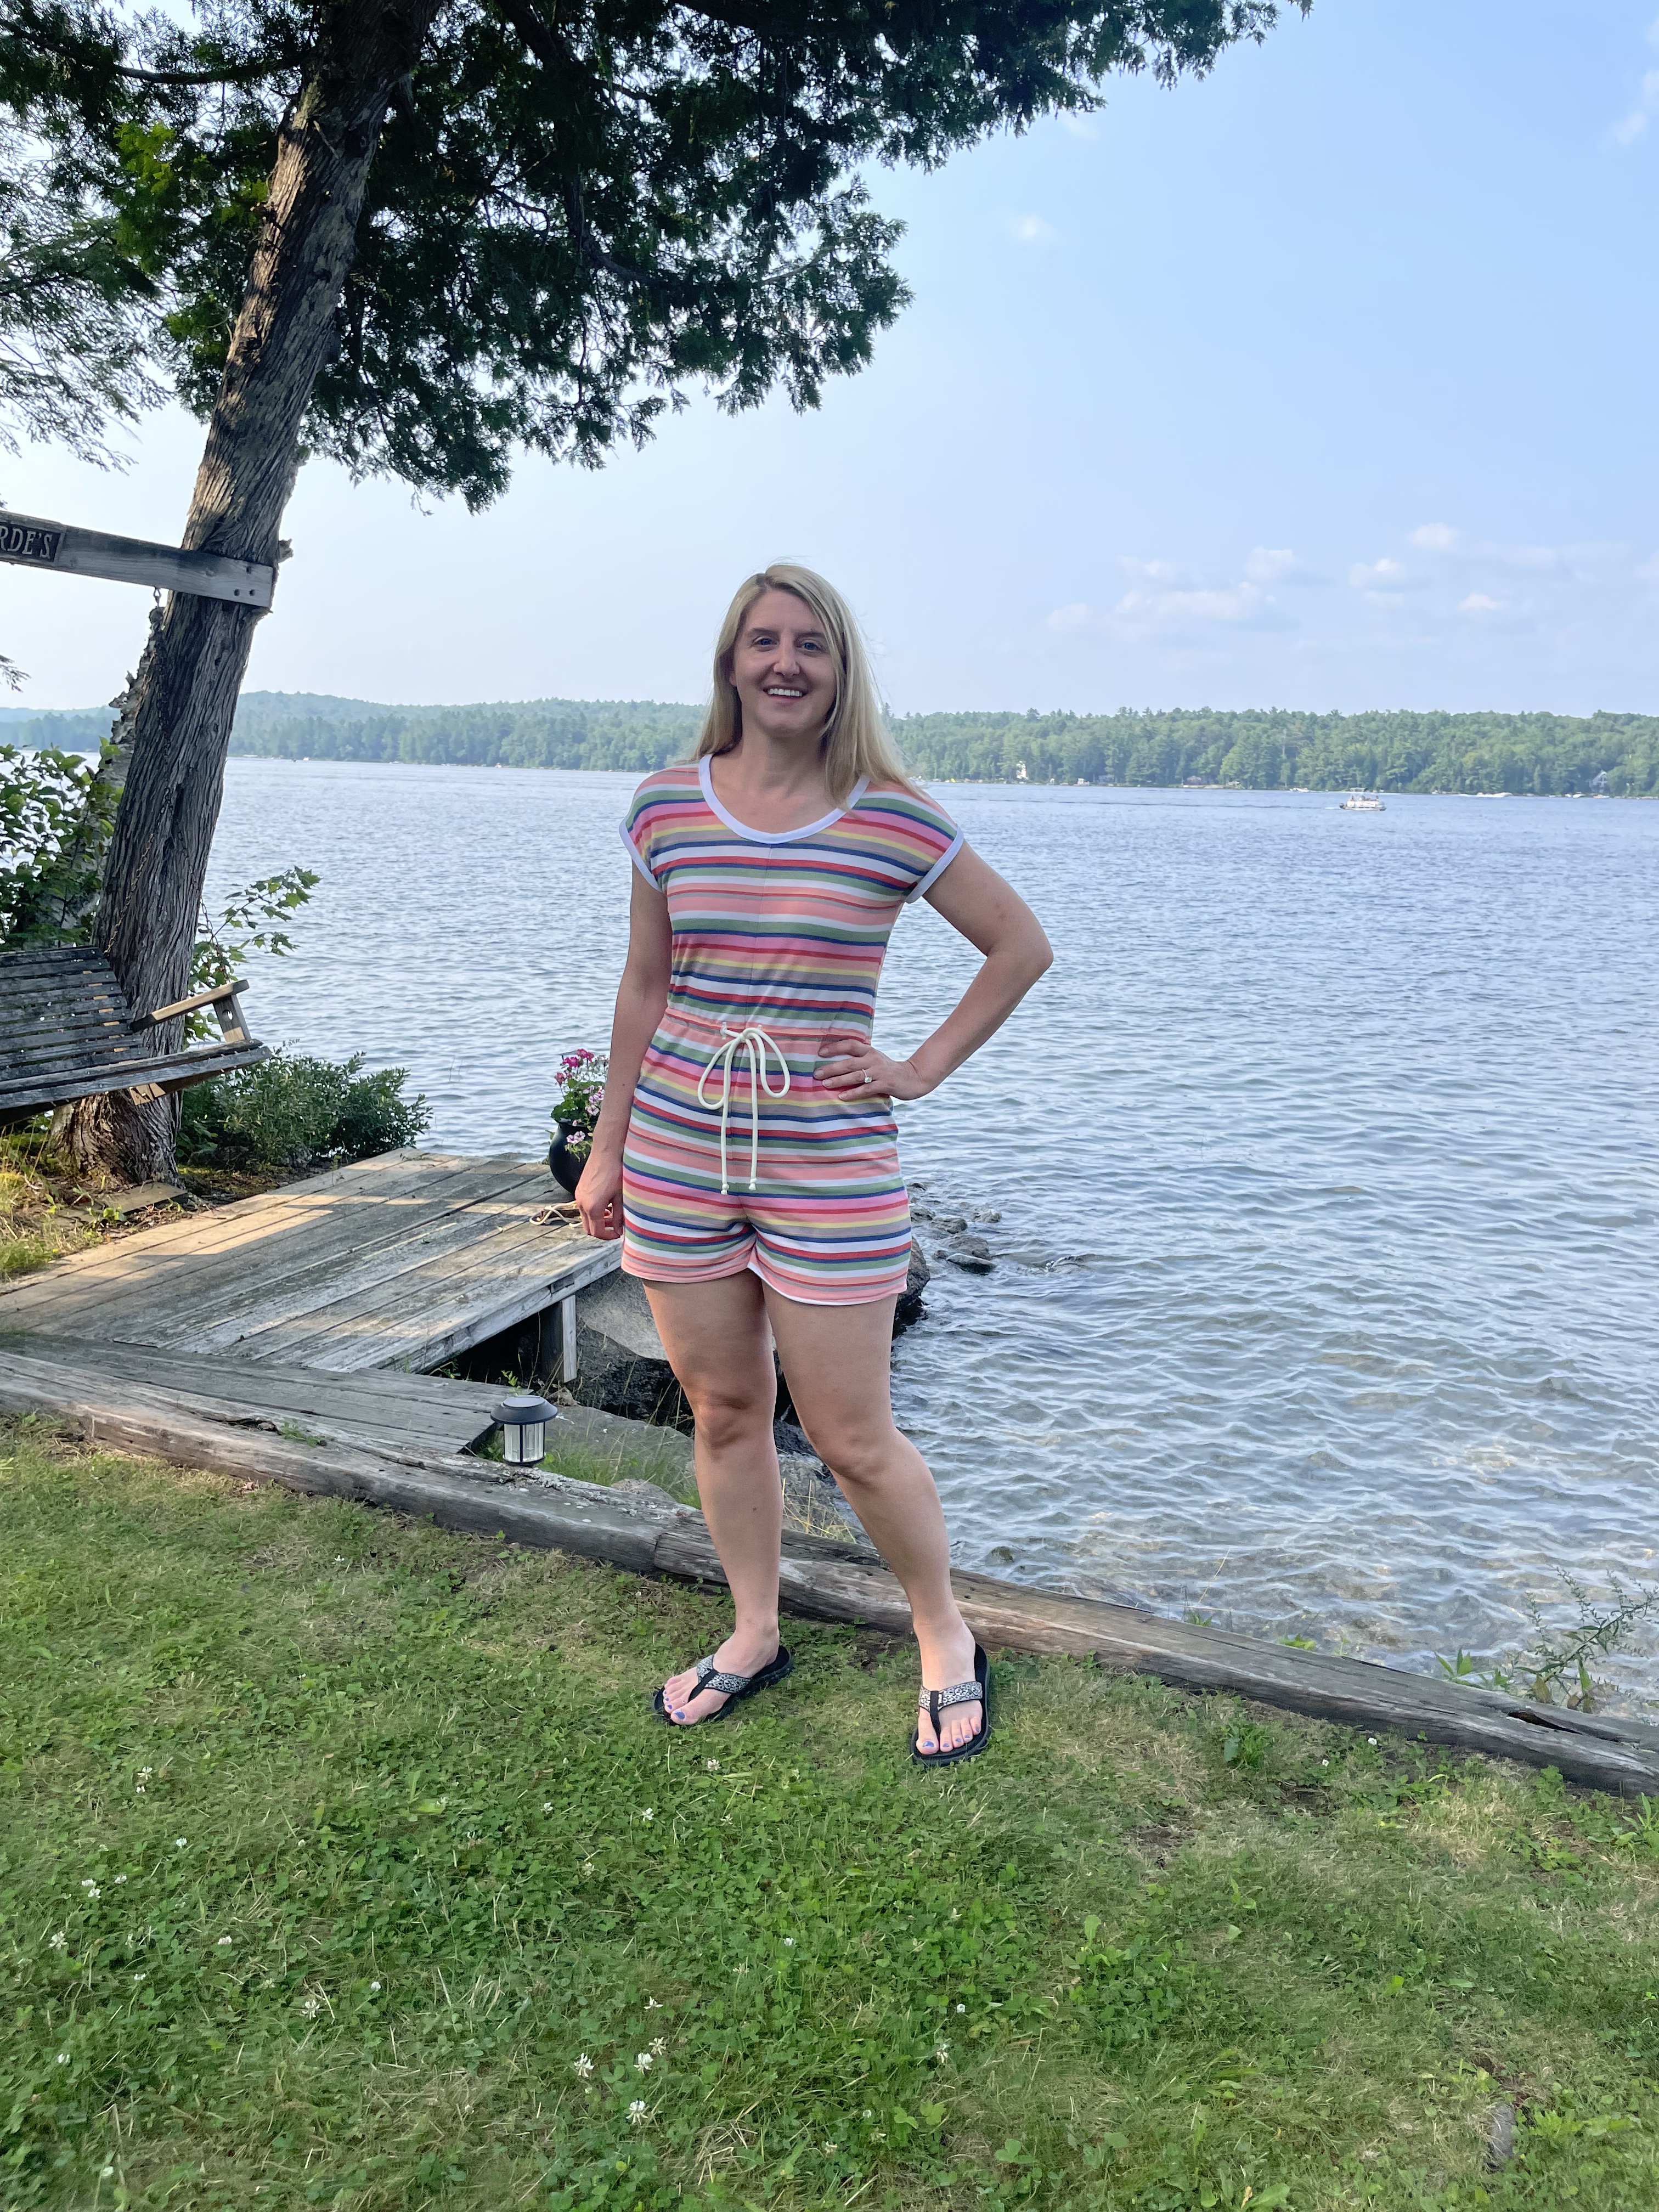
My final project is probably my favorite. A few years ago on a trip in Maine, I found a 1970s vintage pattern for a cute summer romper. I wanted to make it with retro-looking fabric and through an exhaustive search I found this rainbow terry online. The pattern called for fold-over braid and I had no idea what that even was or how to find it. I did search online and I was able to get a fold-over knit binding on Etsy that worked really well.
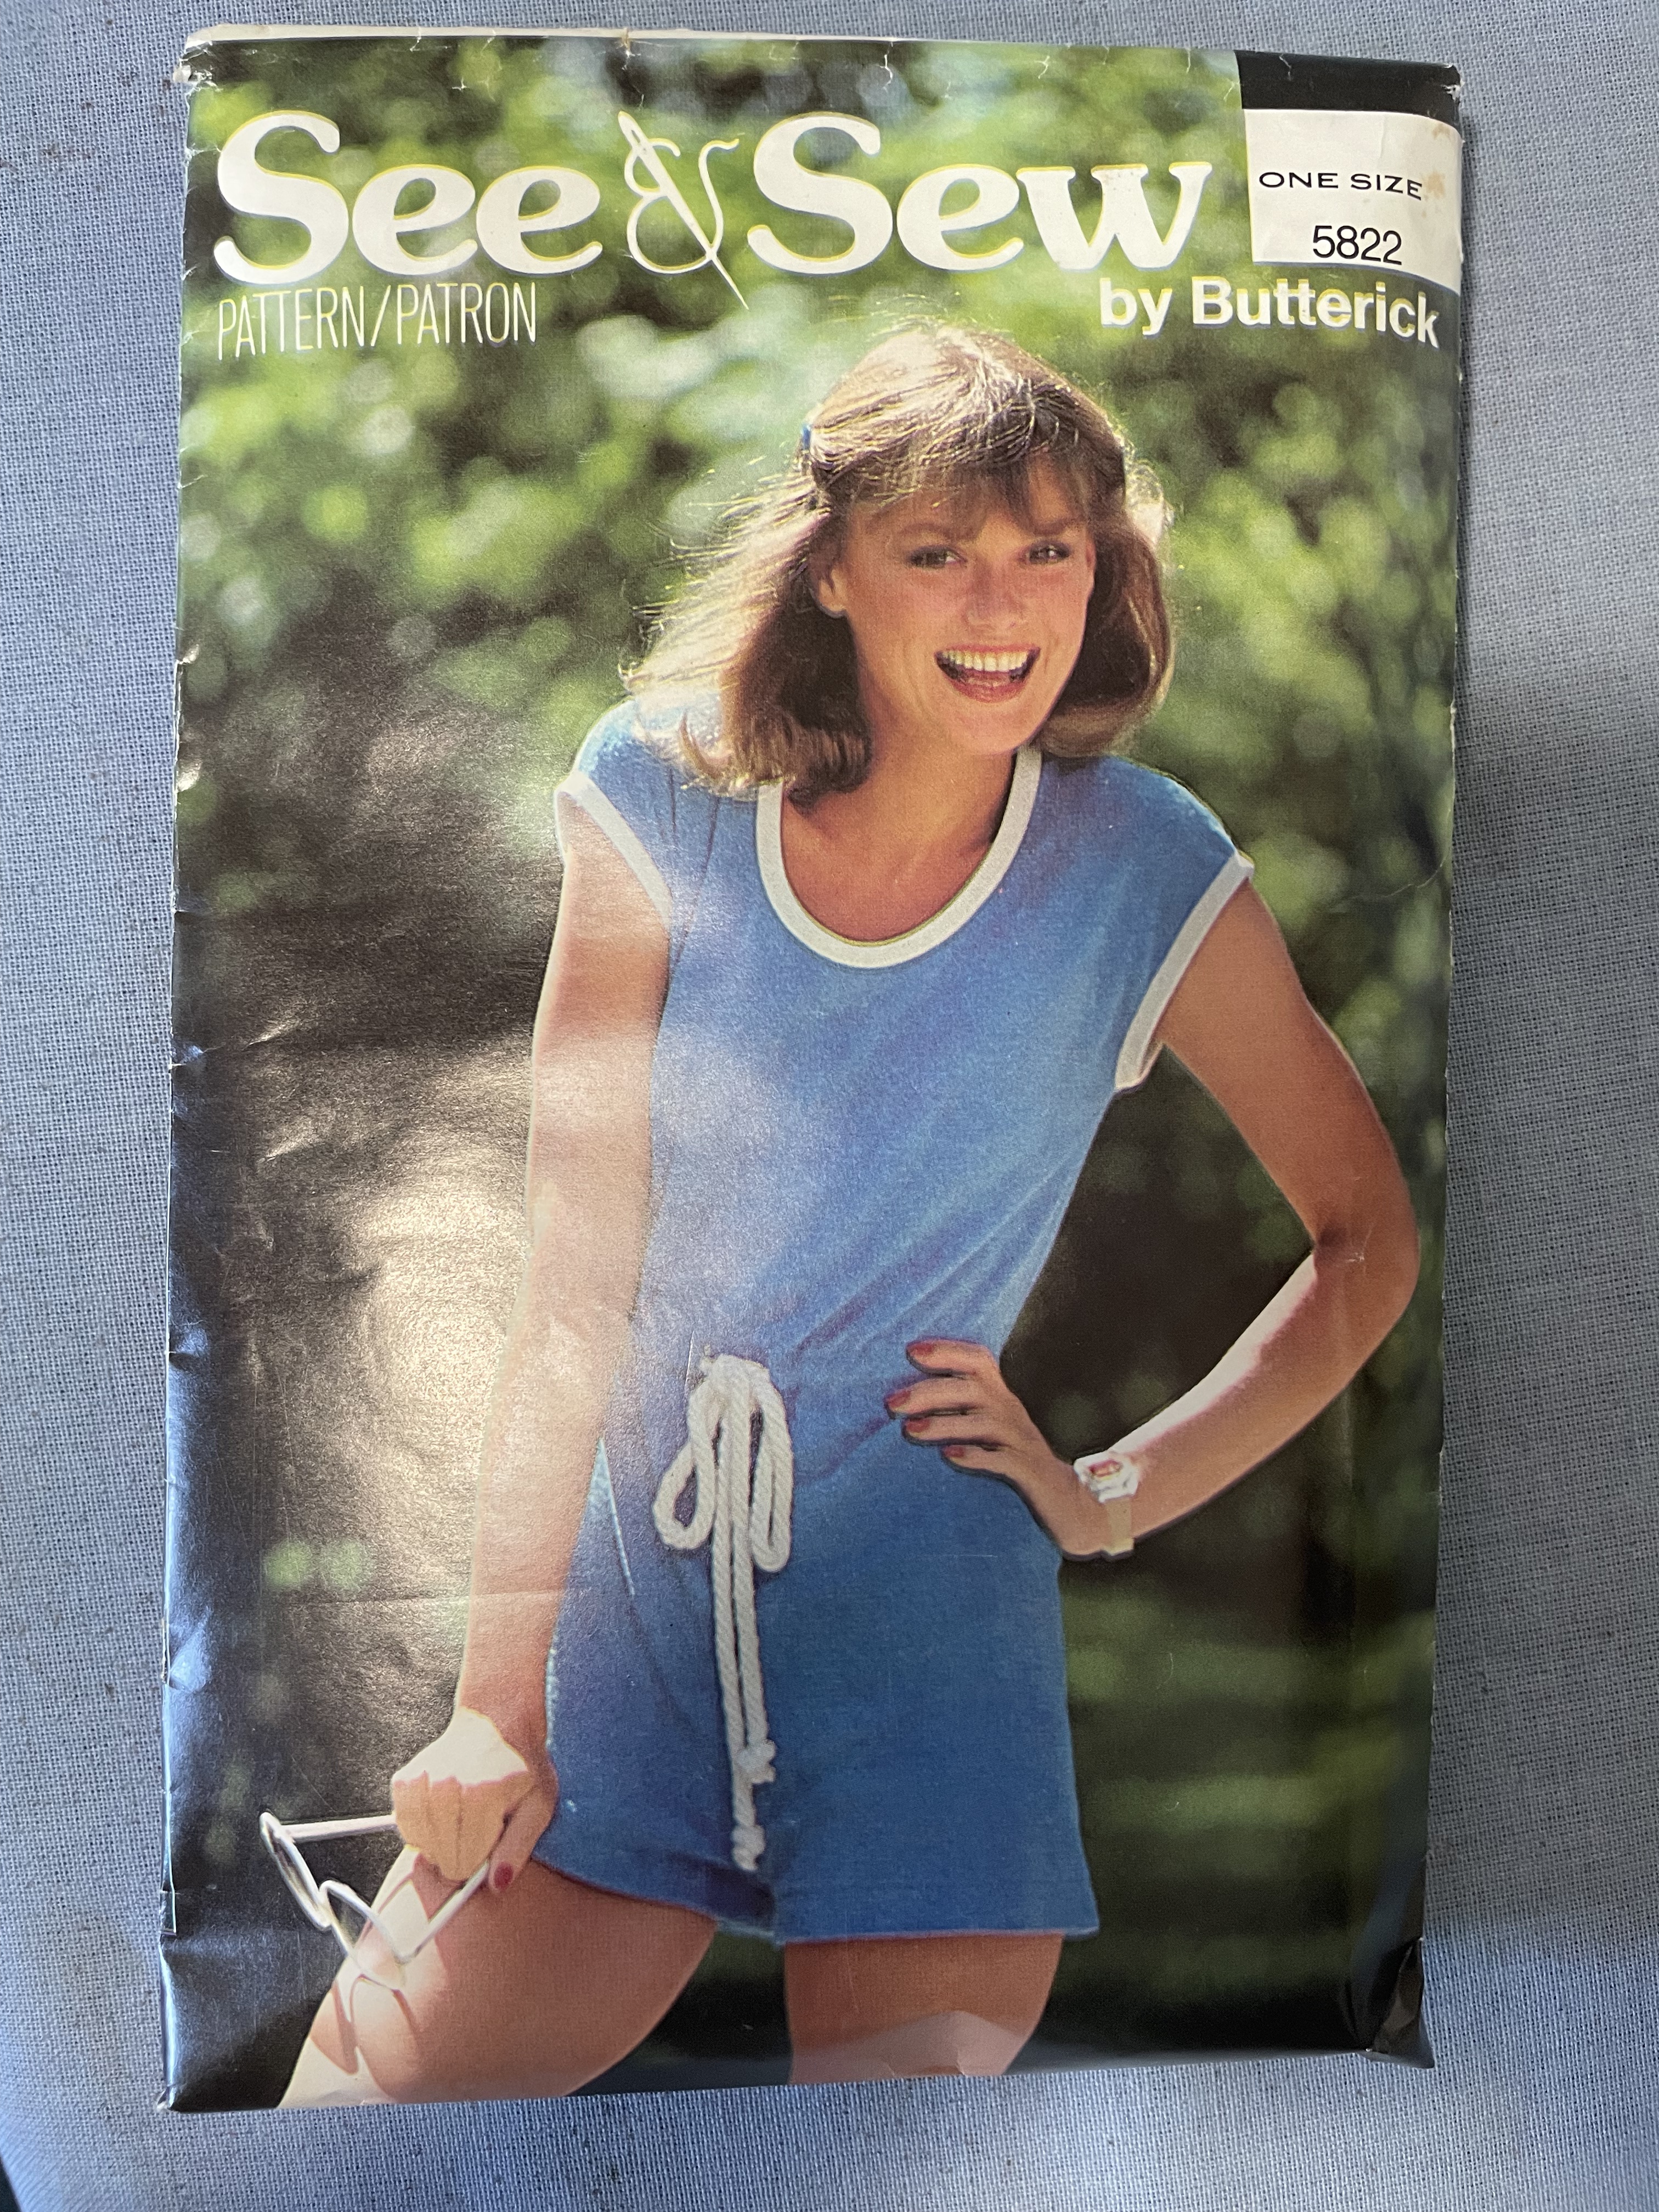
I love the results of this, which is an extremely comfortable summer casual outfit, perfect for lounging. There is elastic in the back and ties in the front for some slight adjustment in the waist. I went for it without making a test outfit. I figured I could just cut another one if it didn’t work out, since it didn’t use up too much fabric. I ended up nailing this one on the first try and I am especially impressed with how good the neck and arm holes look with the fold-over trim. It was stretchy and very easy to work with, which was great since I usually struggle with binding edges in general.
Matching all the stripes was slightly challenging, but not too bad since you are only cutting out 4 pieces. I did pretty well on the front and sides, the back was more of a challenge because I was sewing in a zipper.
The garment has a cute and comfortable look, but the main issue with rompers is they are a pain when you need to use the bathroom. Oh well, I still love it and may even think about making this again if ever find another fabric that will fit the project.
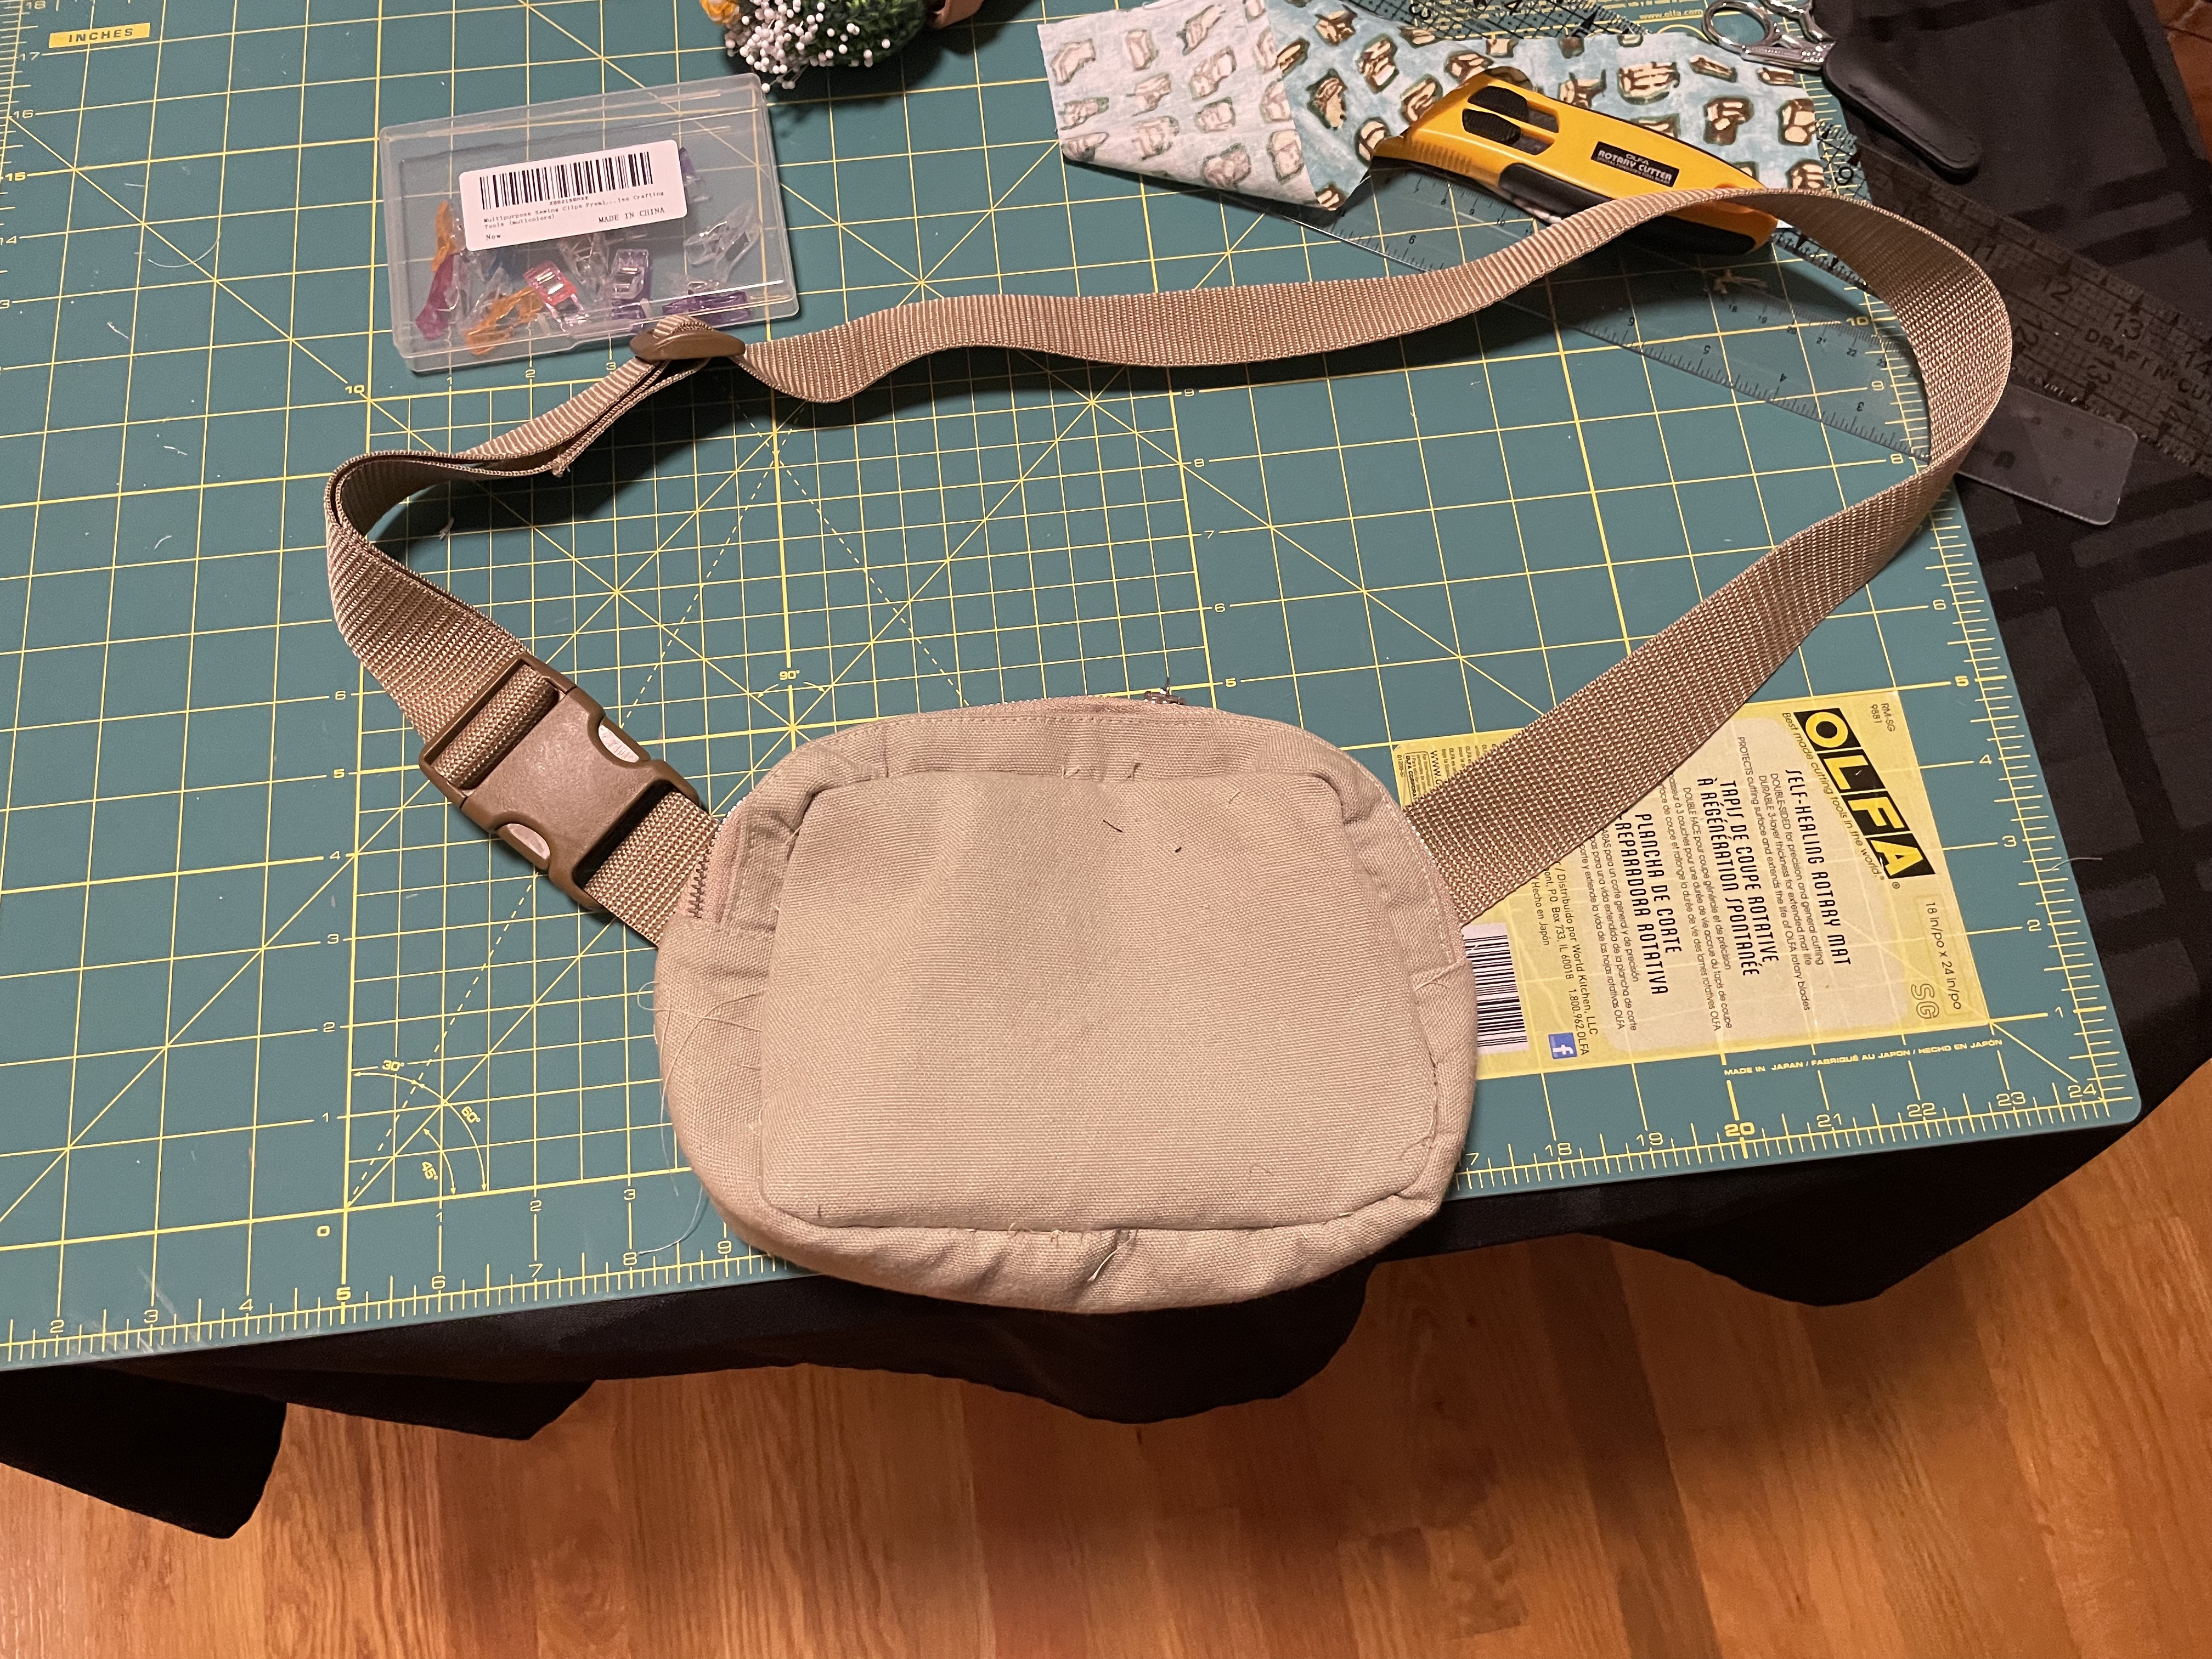
As mentioned, I’ve had some challenges getting the time to sew this summer. I started my quest of making cross-body bags and my first attempt was not too bad. I did struggle with binding the inside seams, especially around the zippers. I think the main issue was using bias binding that I already had, which was maybe not quite wide enough to work with. For my next attempt, I think I will make the bias binding recommended, which has an initial width of 2.5 inches. This section of the pattern instructions was very confusing to me and the instructions were not very complete, but I will review it again and try to figure out what works.
My quest to use up my travel fabric stash continues as I have my eye on a summer dress using fabric I bought in Hawaii. It’s not likely I will finish for the summer, but I may have something coming up it will work for. Yes, another trip! Maybe I’ll skip the fabric shopping on that one.