Pattern: Sewaholic Thurlow Trousers
Despite my lack of energy with writing blog posts, I did have a very productive February & March. I was able to finish up my two button-down shirts (well one is mostly done) and get my pants project underway. In order to figure out how to sew a decent pair of pants, I started out small – meaning shorts! What better way to figure something out by taking the whole leg out of the situation. Not only that but you waste less fabric this way.
The thing about pants is that it tends to get complicated with the fly. I always feel like I’m following the pattern, but somehow I miss some important detail and I end up with mutant pants. The first time, the fly was not centered. One time I couldn’t get it to lay flat. And the main thing I always forget to do is enclose the fly facing within the pants waistband so it sticks out unfinished and looks completely unprofessional.
The first pair of Thurlow shorts I attempted actually seemed to be going along as planned. One of the main thing I learned was in order to make sure the fly ends up in the right spot, you need to pull the left side over to the notches on the other side. This will help you avoid pulling it too far over (which I’ve done) or not over enough (which I’ve also done). I actually perfected the whole fly & fly facing thing on these shorts and I was extremely excited that these could be the shorts where it all came together. However, when I sewed the wasitband on, somehow the left side did not match the right side and I couldn’t figure out a good way to fix them. That and due to a careless error, I ended up having to cut the sides down more than I wanted, resulting in bad fit problems. This was not my day.

When I went back to attempt the 2nd pair of shorts, I was much more meticulous about going through each step. I think those mistakes also helped, as I breezed through the back welts and pockets (another confusing step from my first attempt) and fly construction. This time, the waist lined up pretty well and I was ecstatic.
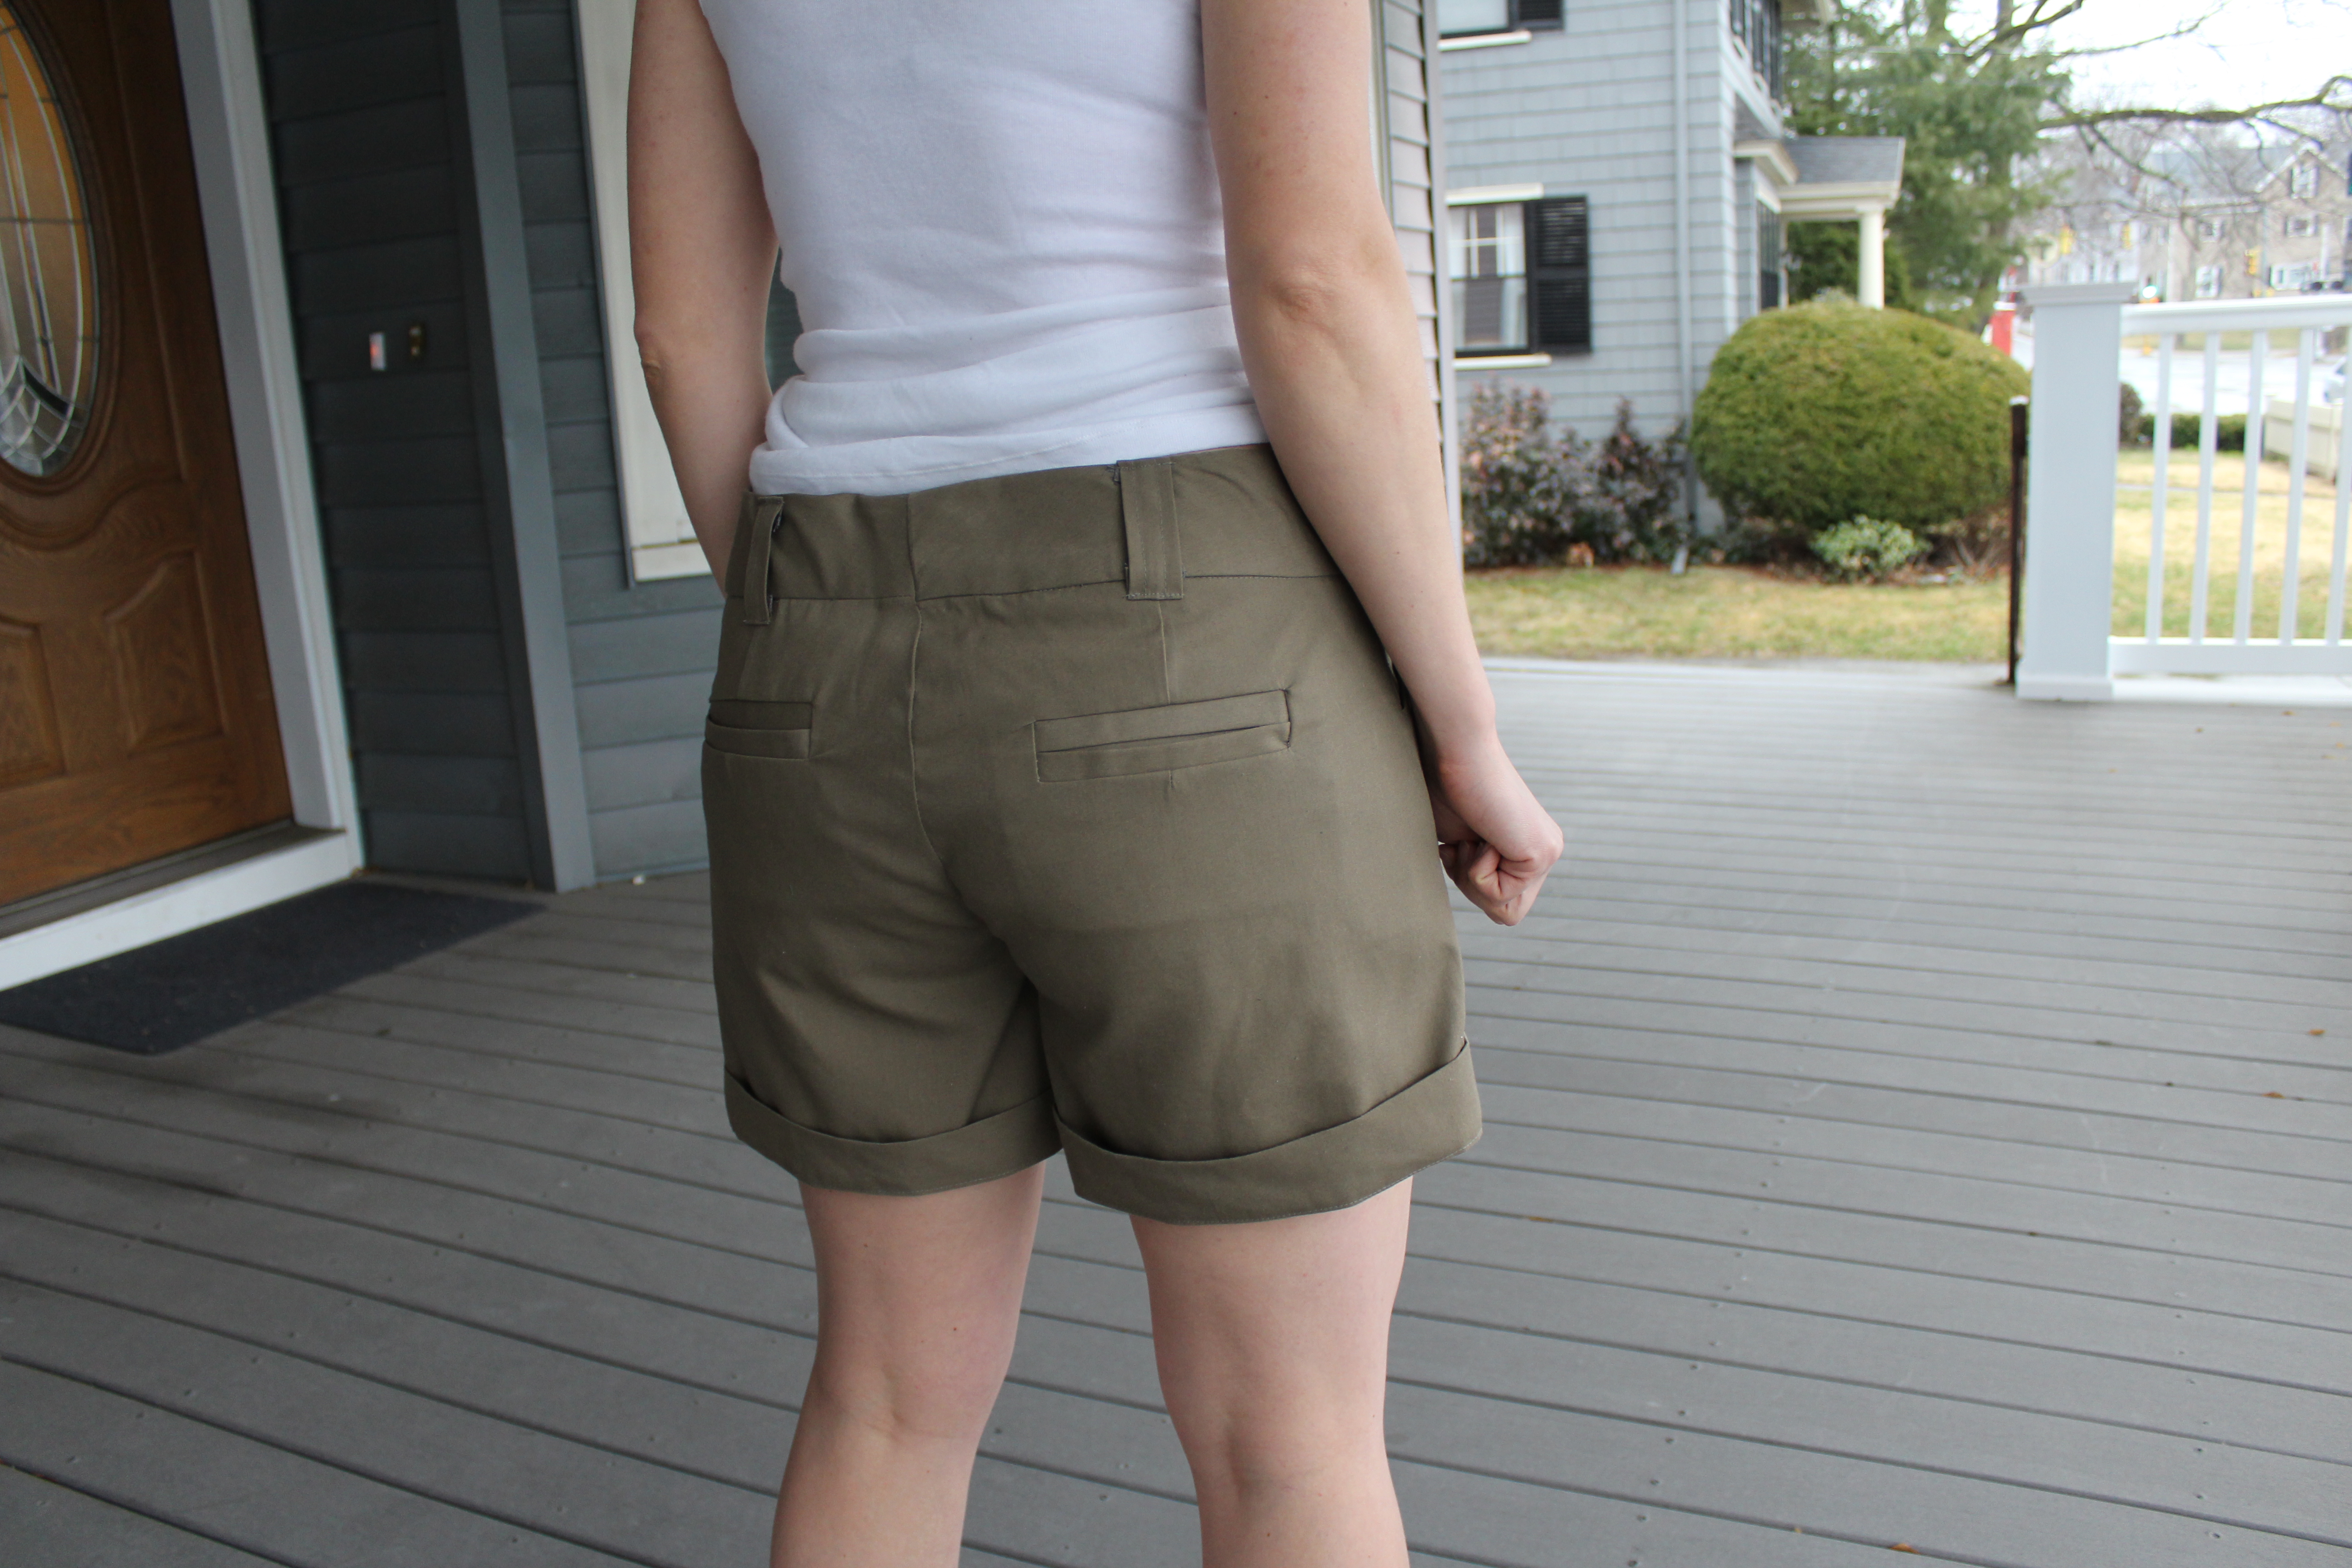
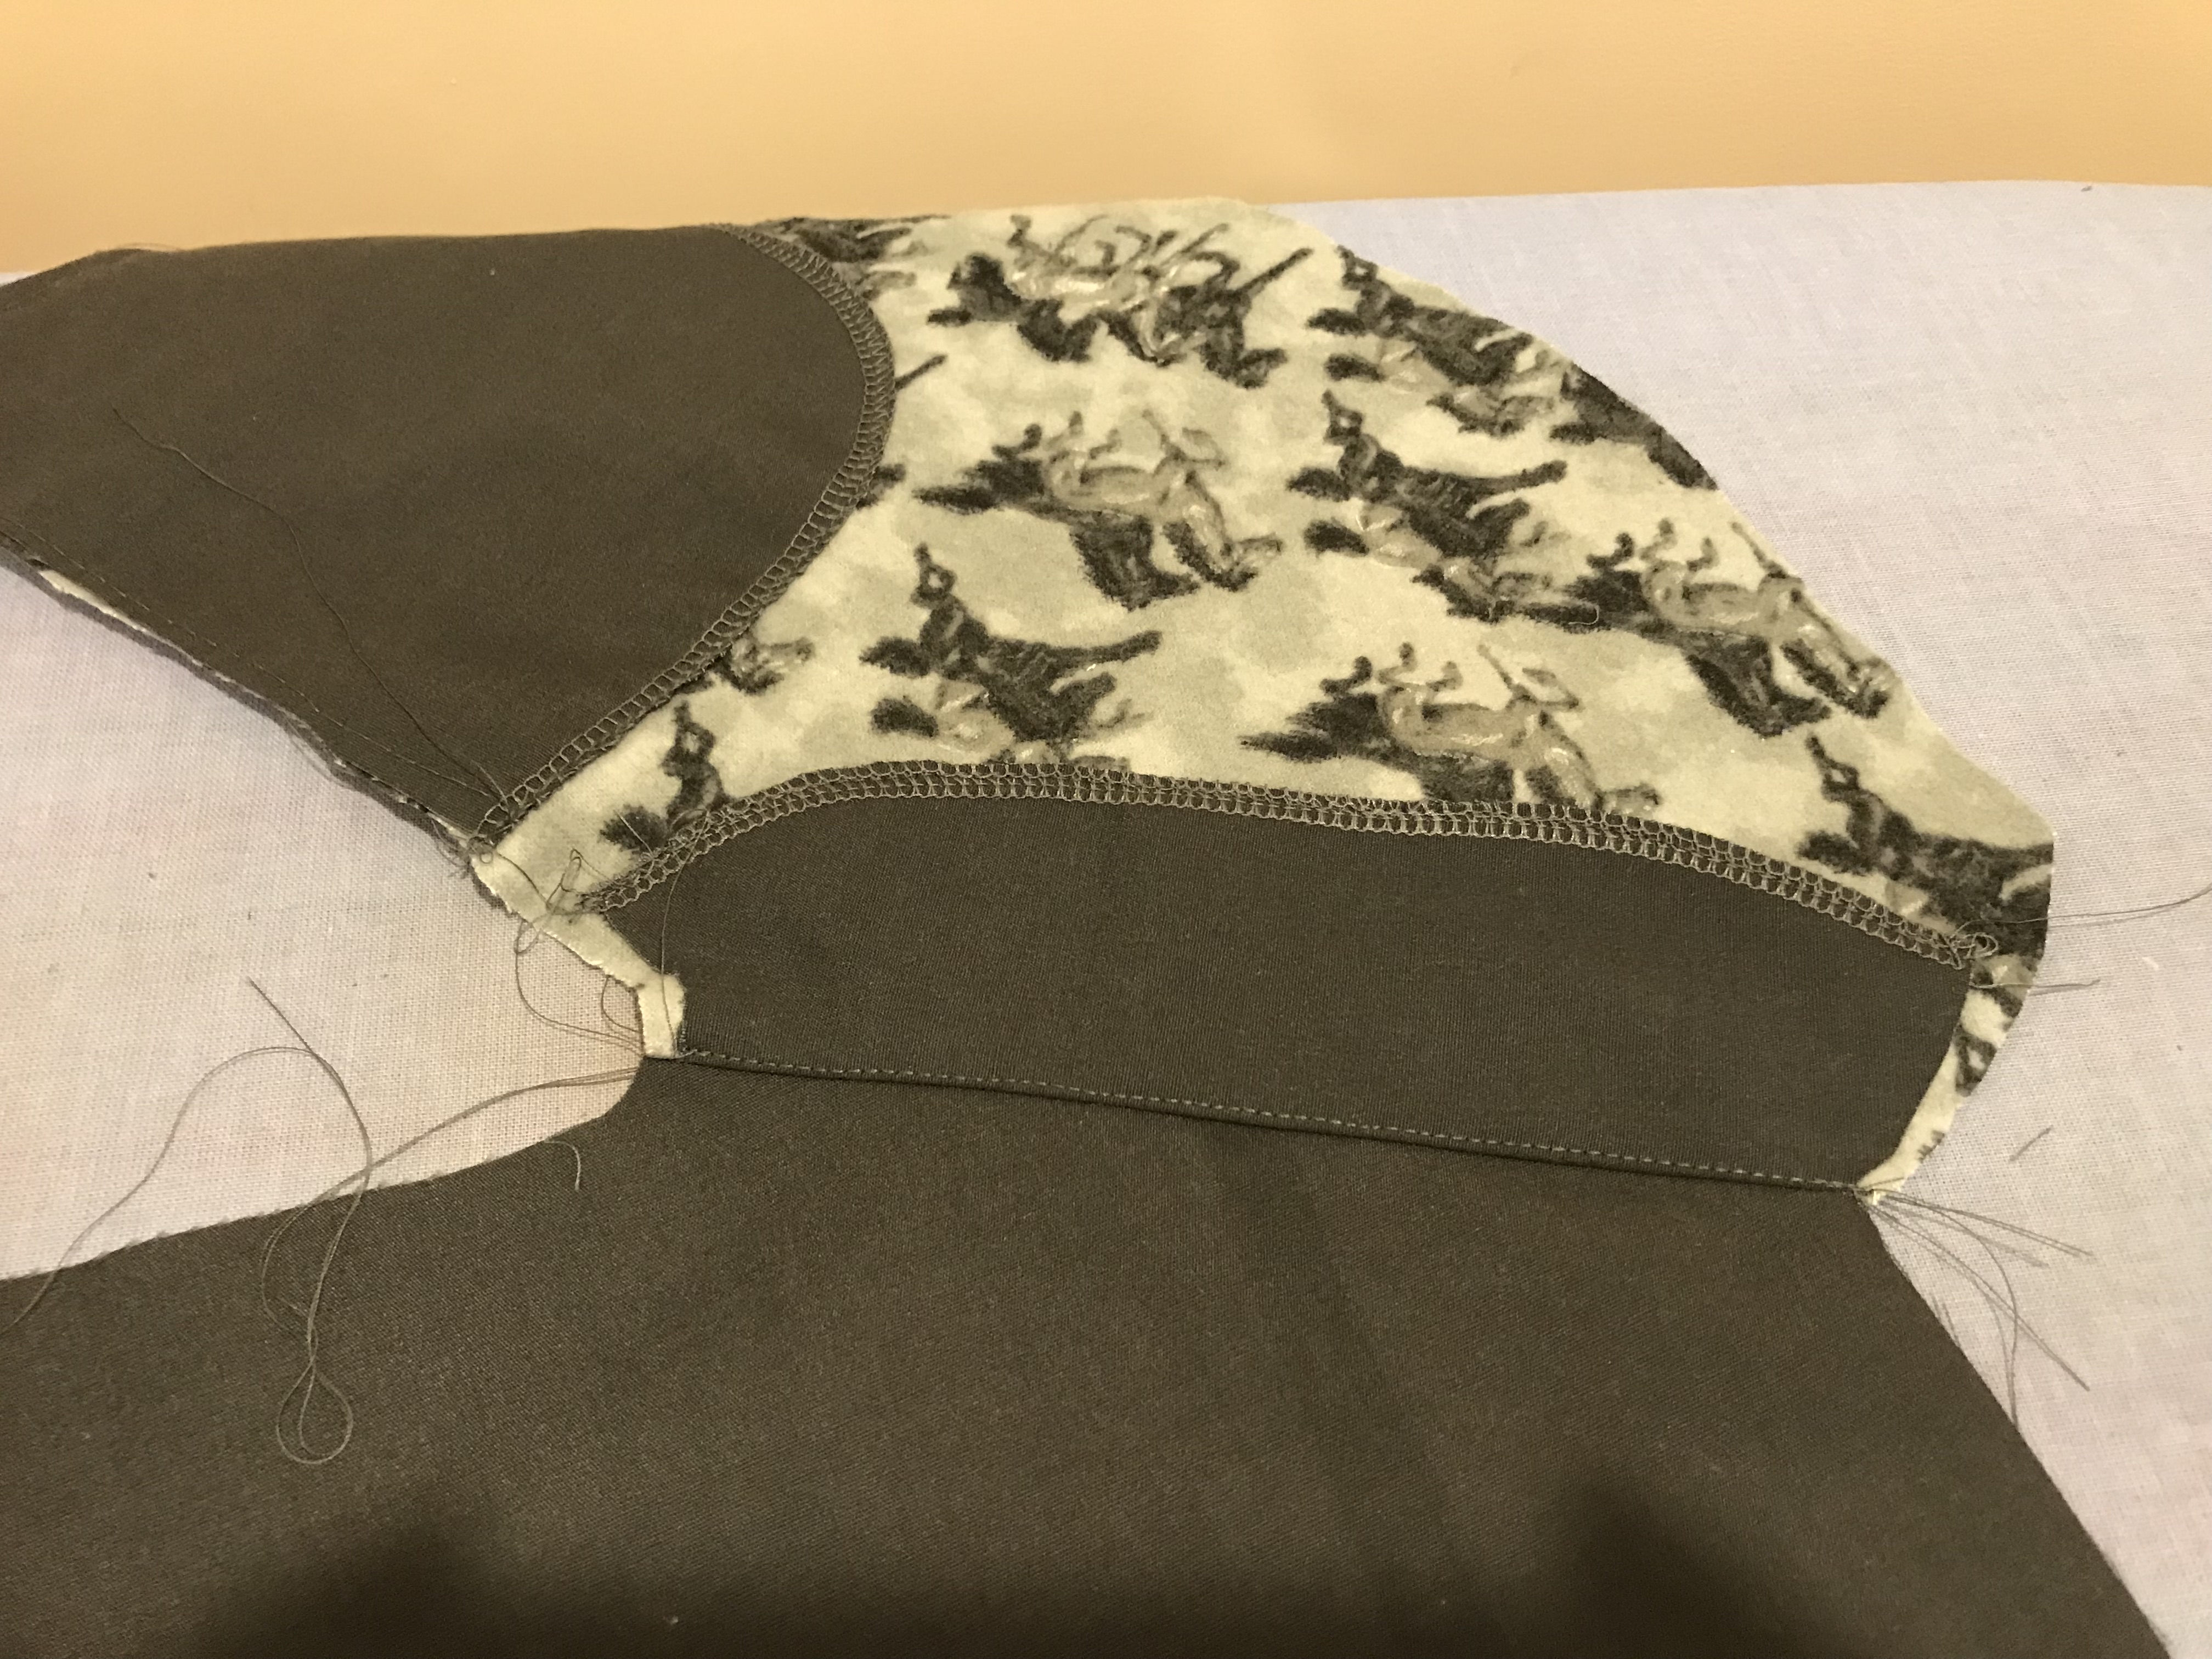
I wish I could take all the credit for figuring this all out, but actually my main cause for success was discovering this sewalong blog post. I had a very frustrating time trying to figure out the instructions on the back welt pockets when I was making the first pair, and a search online helped me find this and see what I was doing wrong. It kept telling me to sew up the triangles (?) and the drawing did not make any sense. I didn’t realize I was supposed to sew down the triangle that was made from clipping the corners and that I had to pull the side over so that I was only sewing on the welt. Some actually pictures from the blog cleared this up and I was able to follow along on other sections as well.
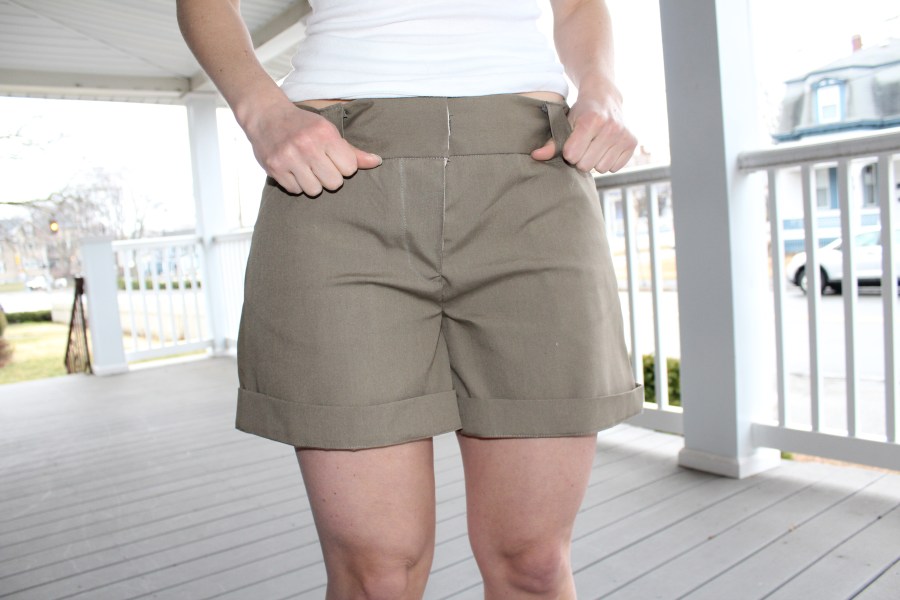
One of the main things that took away from these pants was to always make sure the waistband is long enough to cover the top of the fly and well as the center back. I now always cut it a little longer and the end just to make sure – I can always cut off more but adding on doesn’t work. The other was to take your time positioning where the fly is folded over and where the waistband is going.
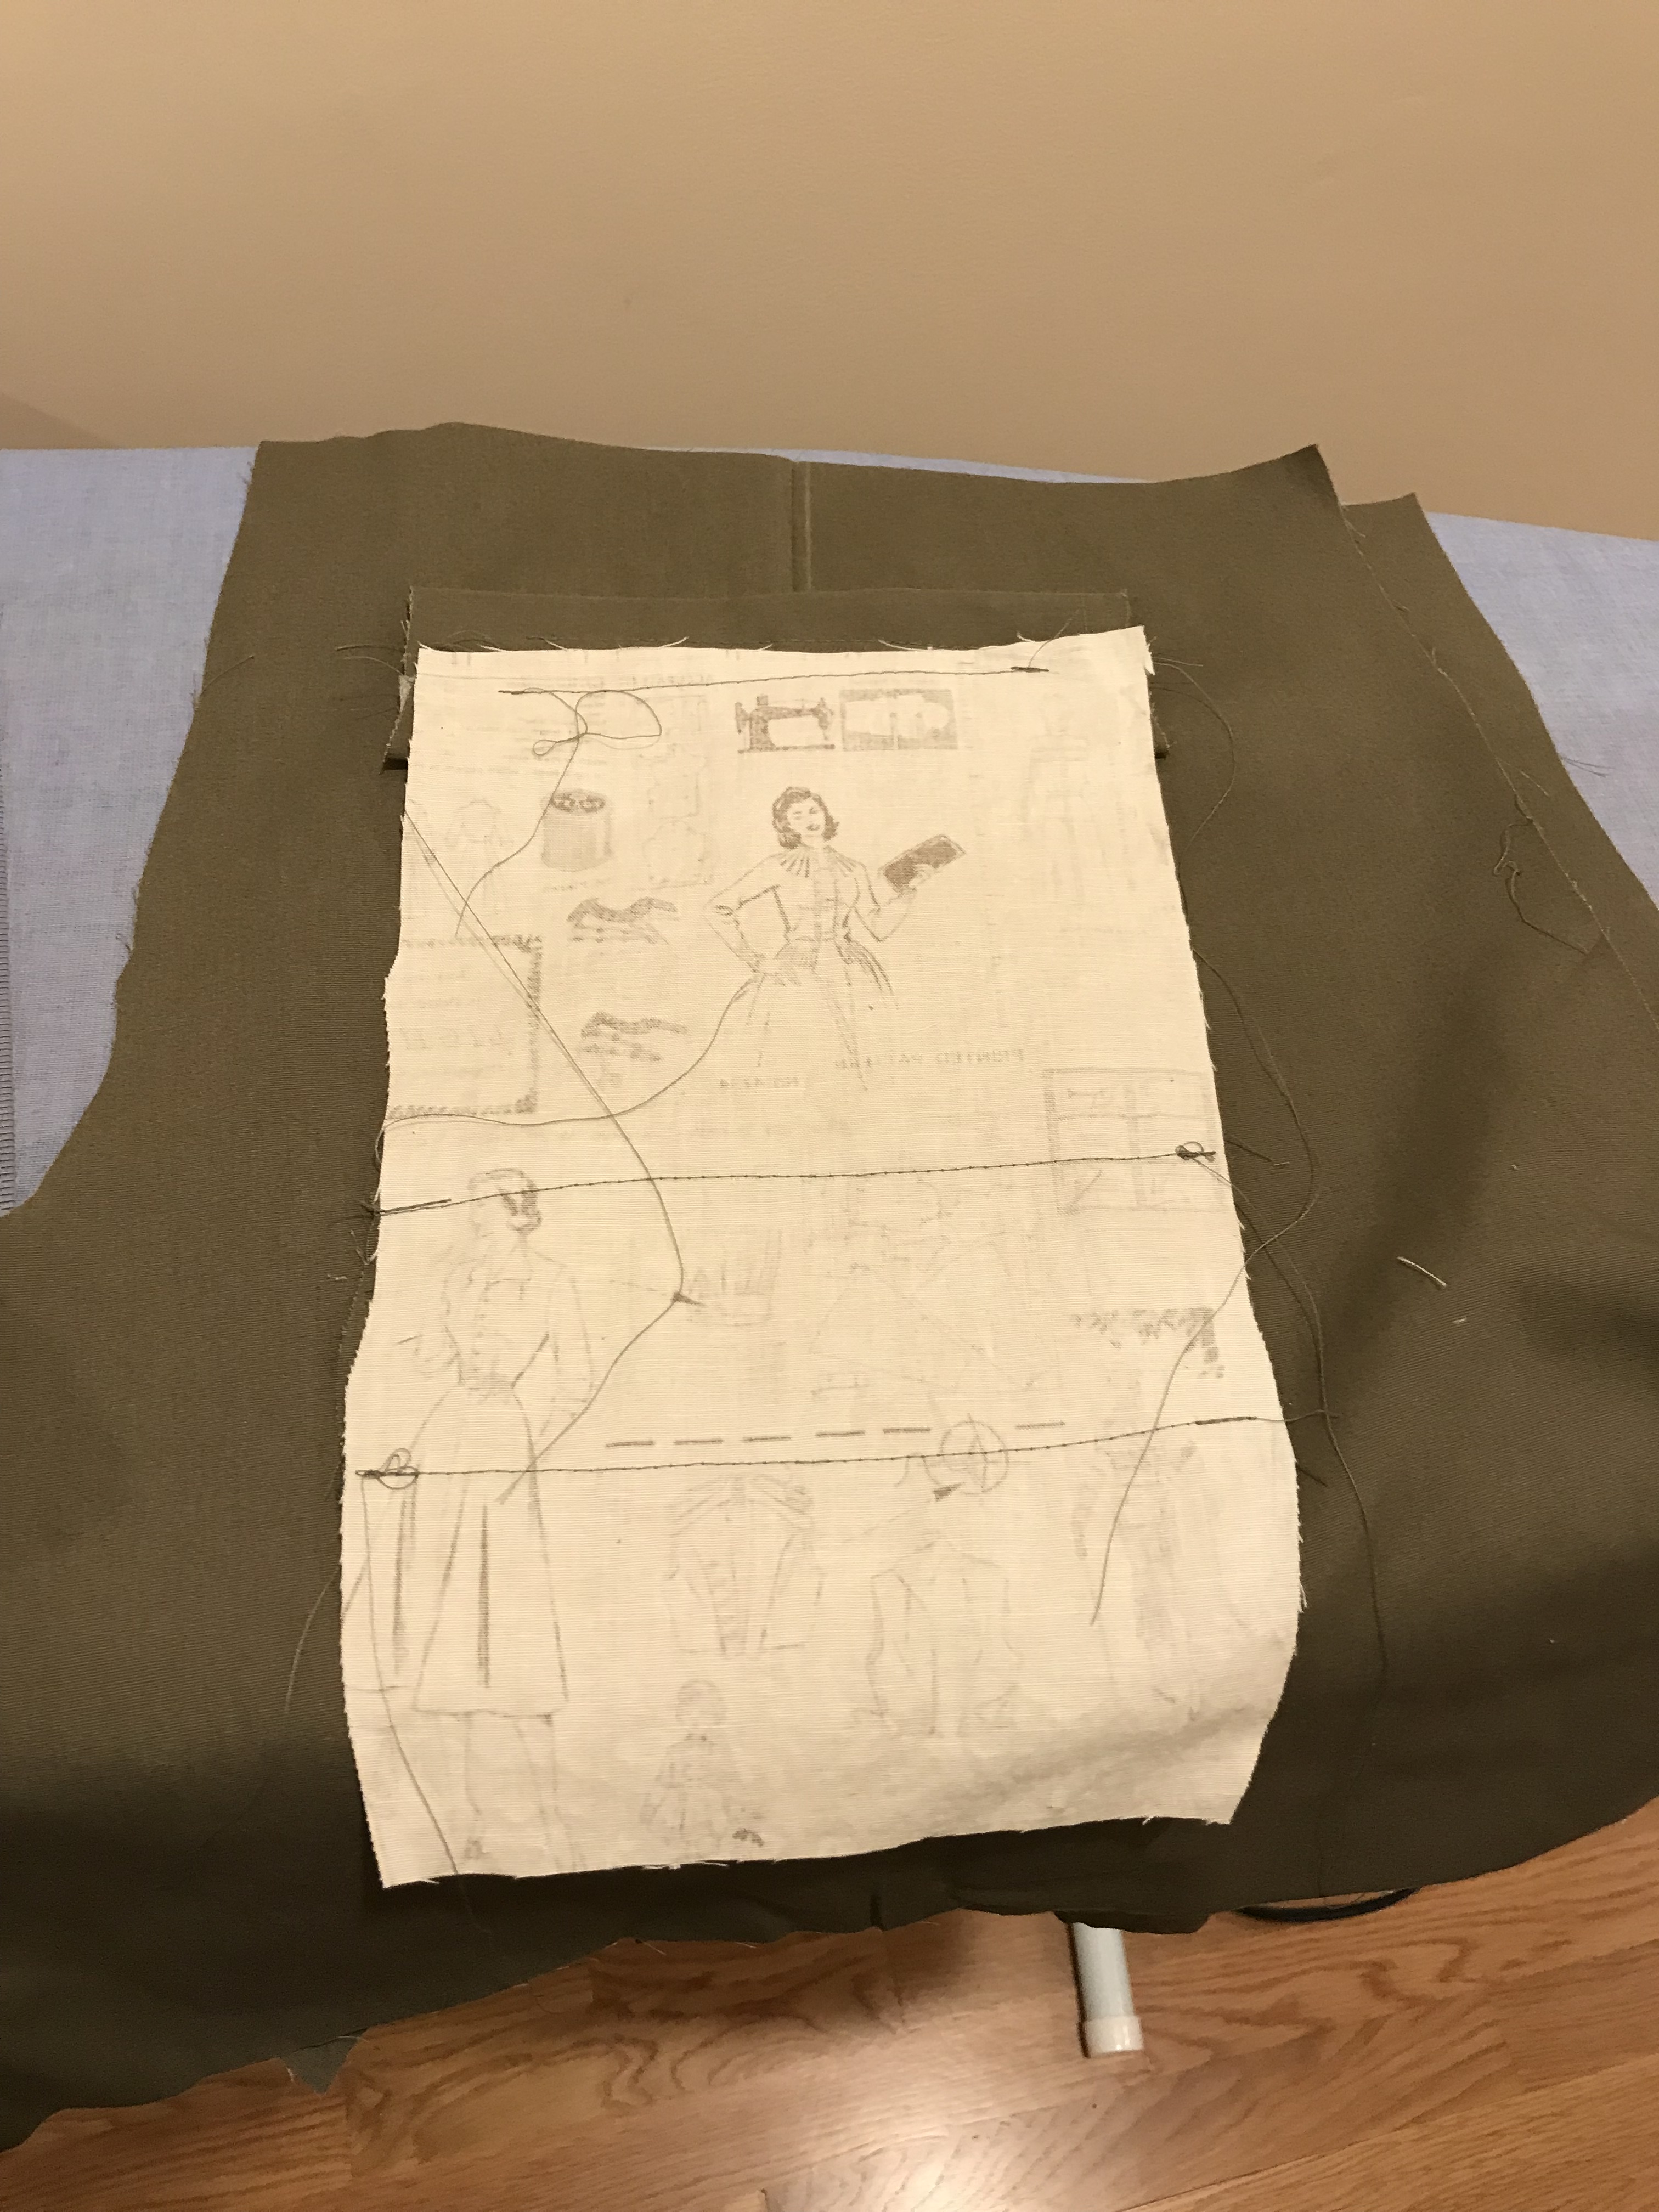
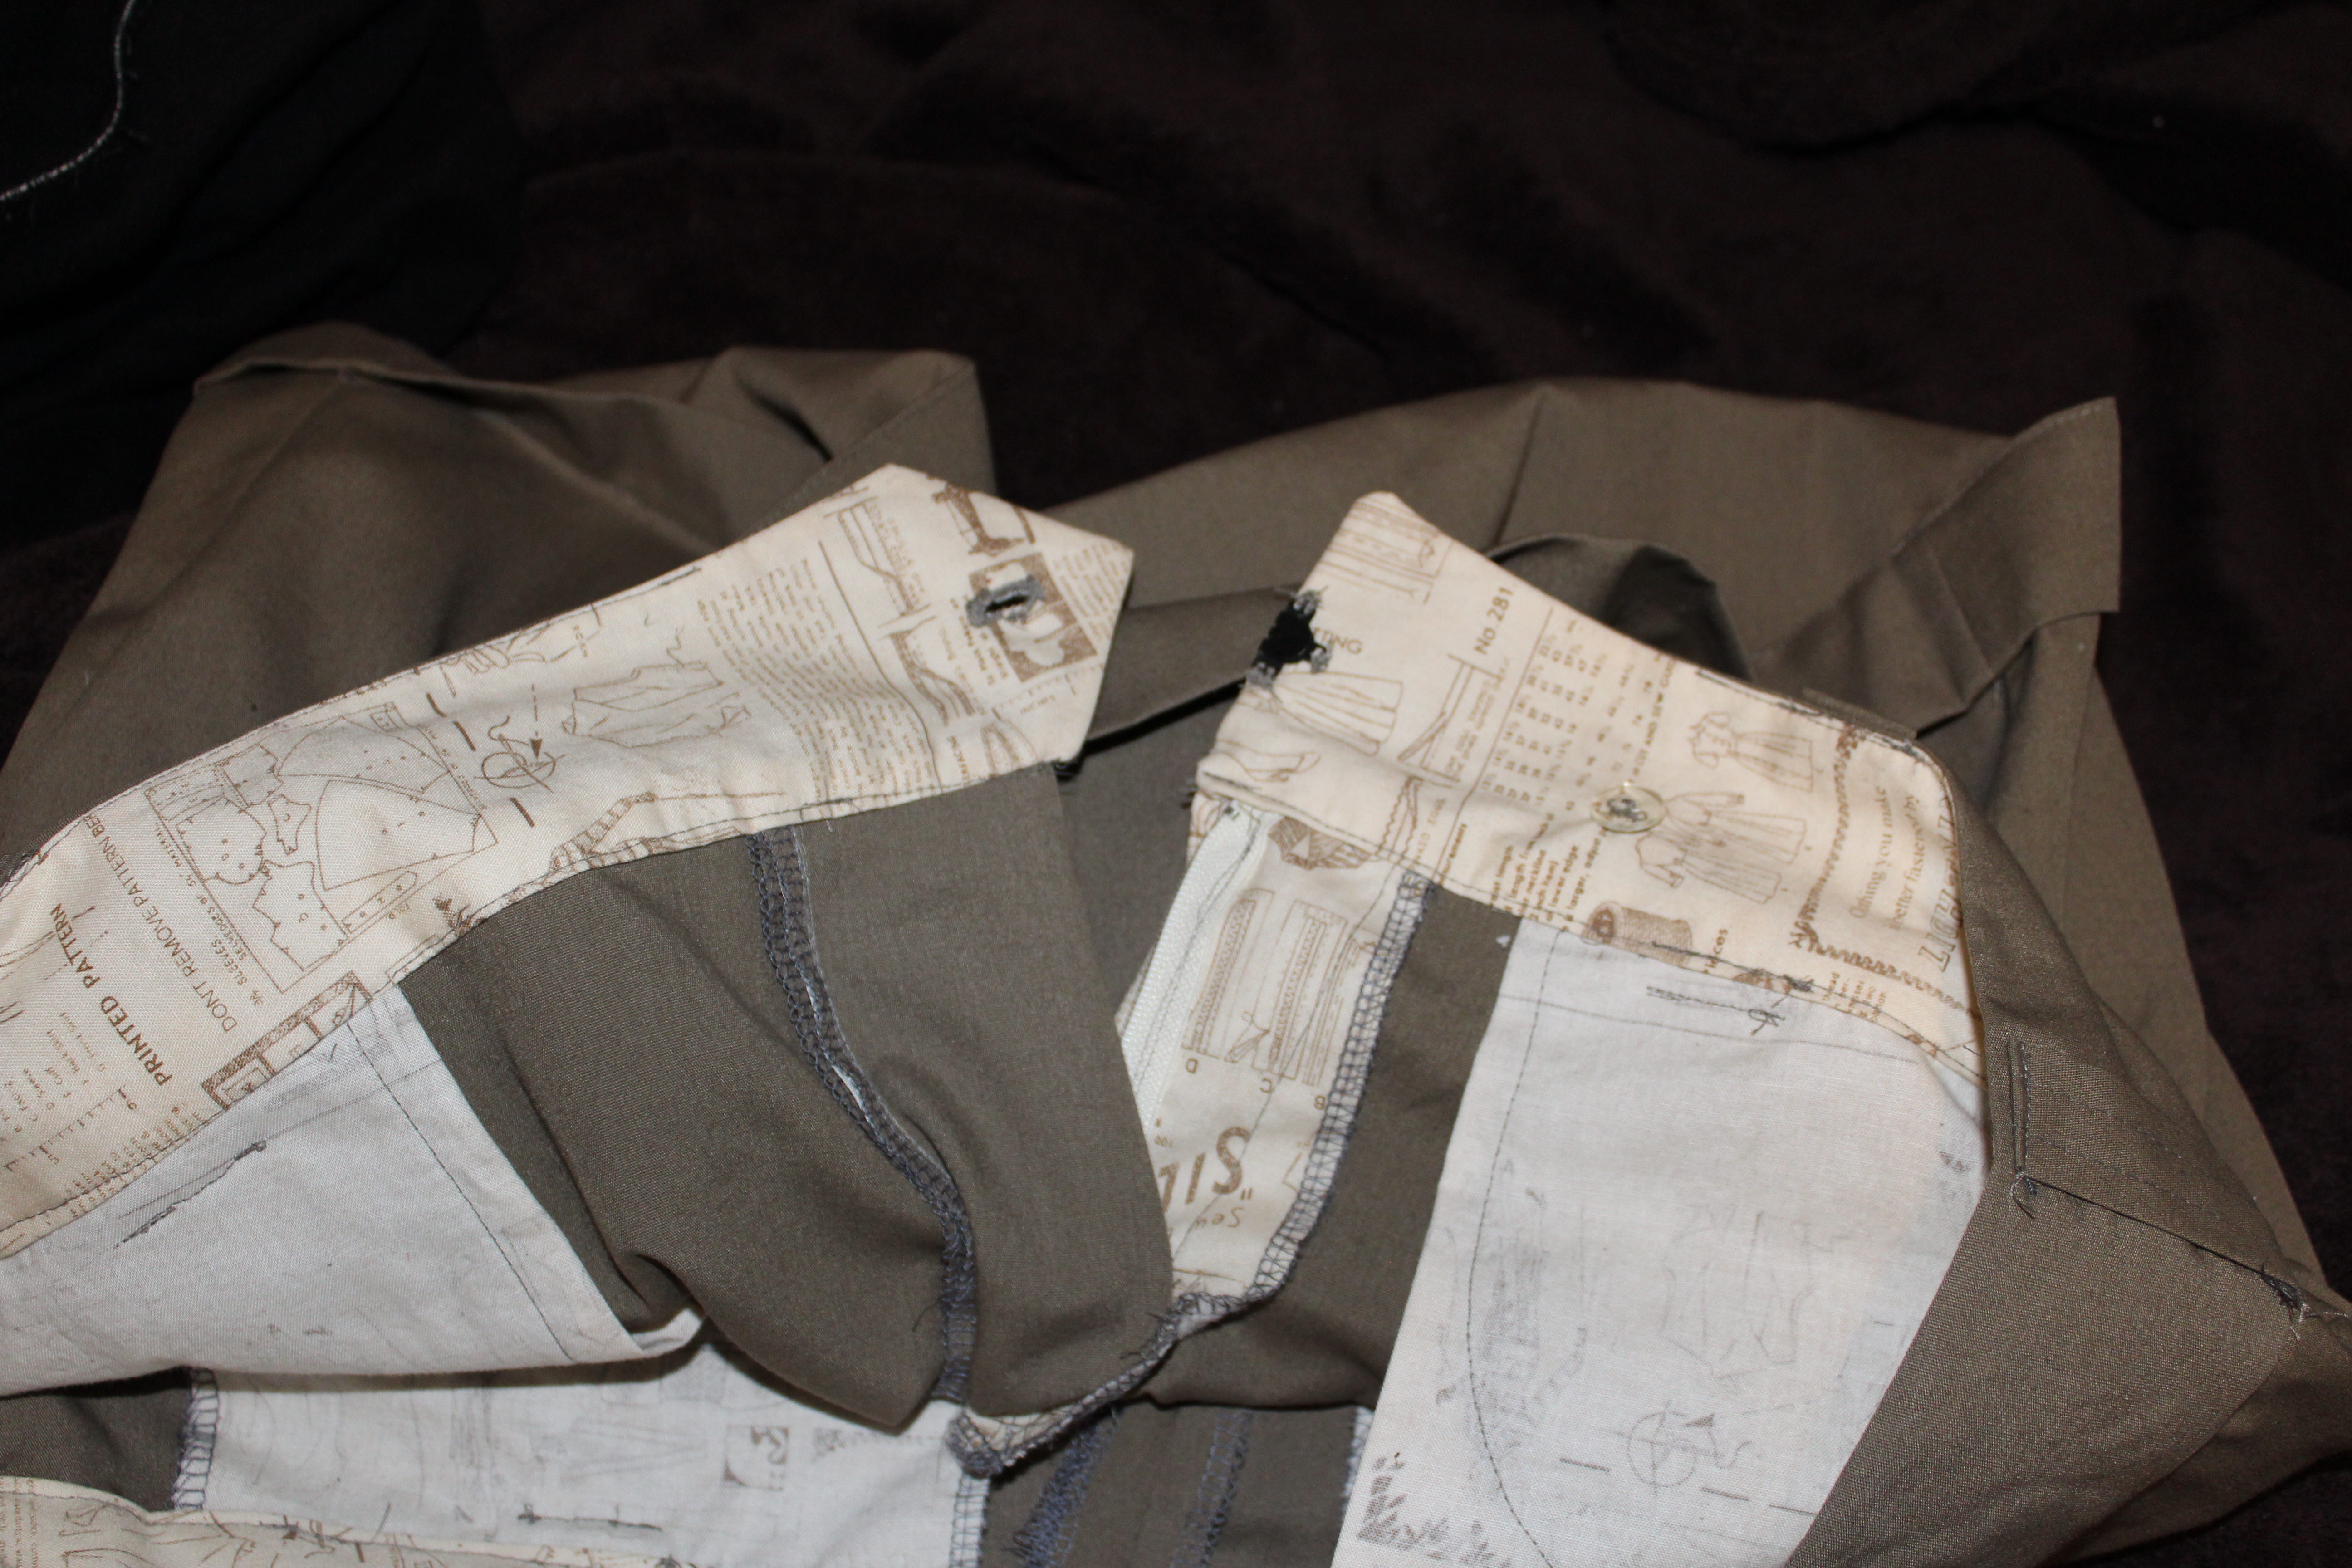
I really enjoy using interesting fabric for things like pockets and facings. For the gray short screw-up, I had used this great flannel with horses on it that I had bought as a remnant. I’m kind of sad that it ended up in a project that I had abandoned. For these tan shorts, I decided to use this great fabric my mother had given me, which was sewing themed with dress forms, pattern information and stuff of that nature. I was pretty terrified to use it, but it ended up working out in the end.
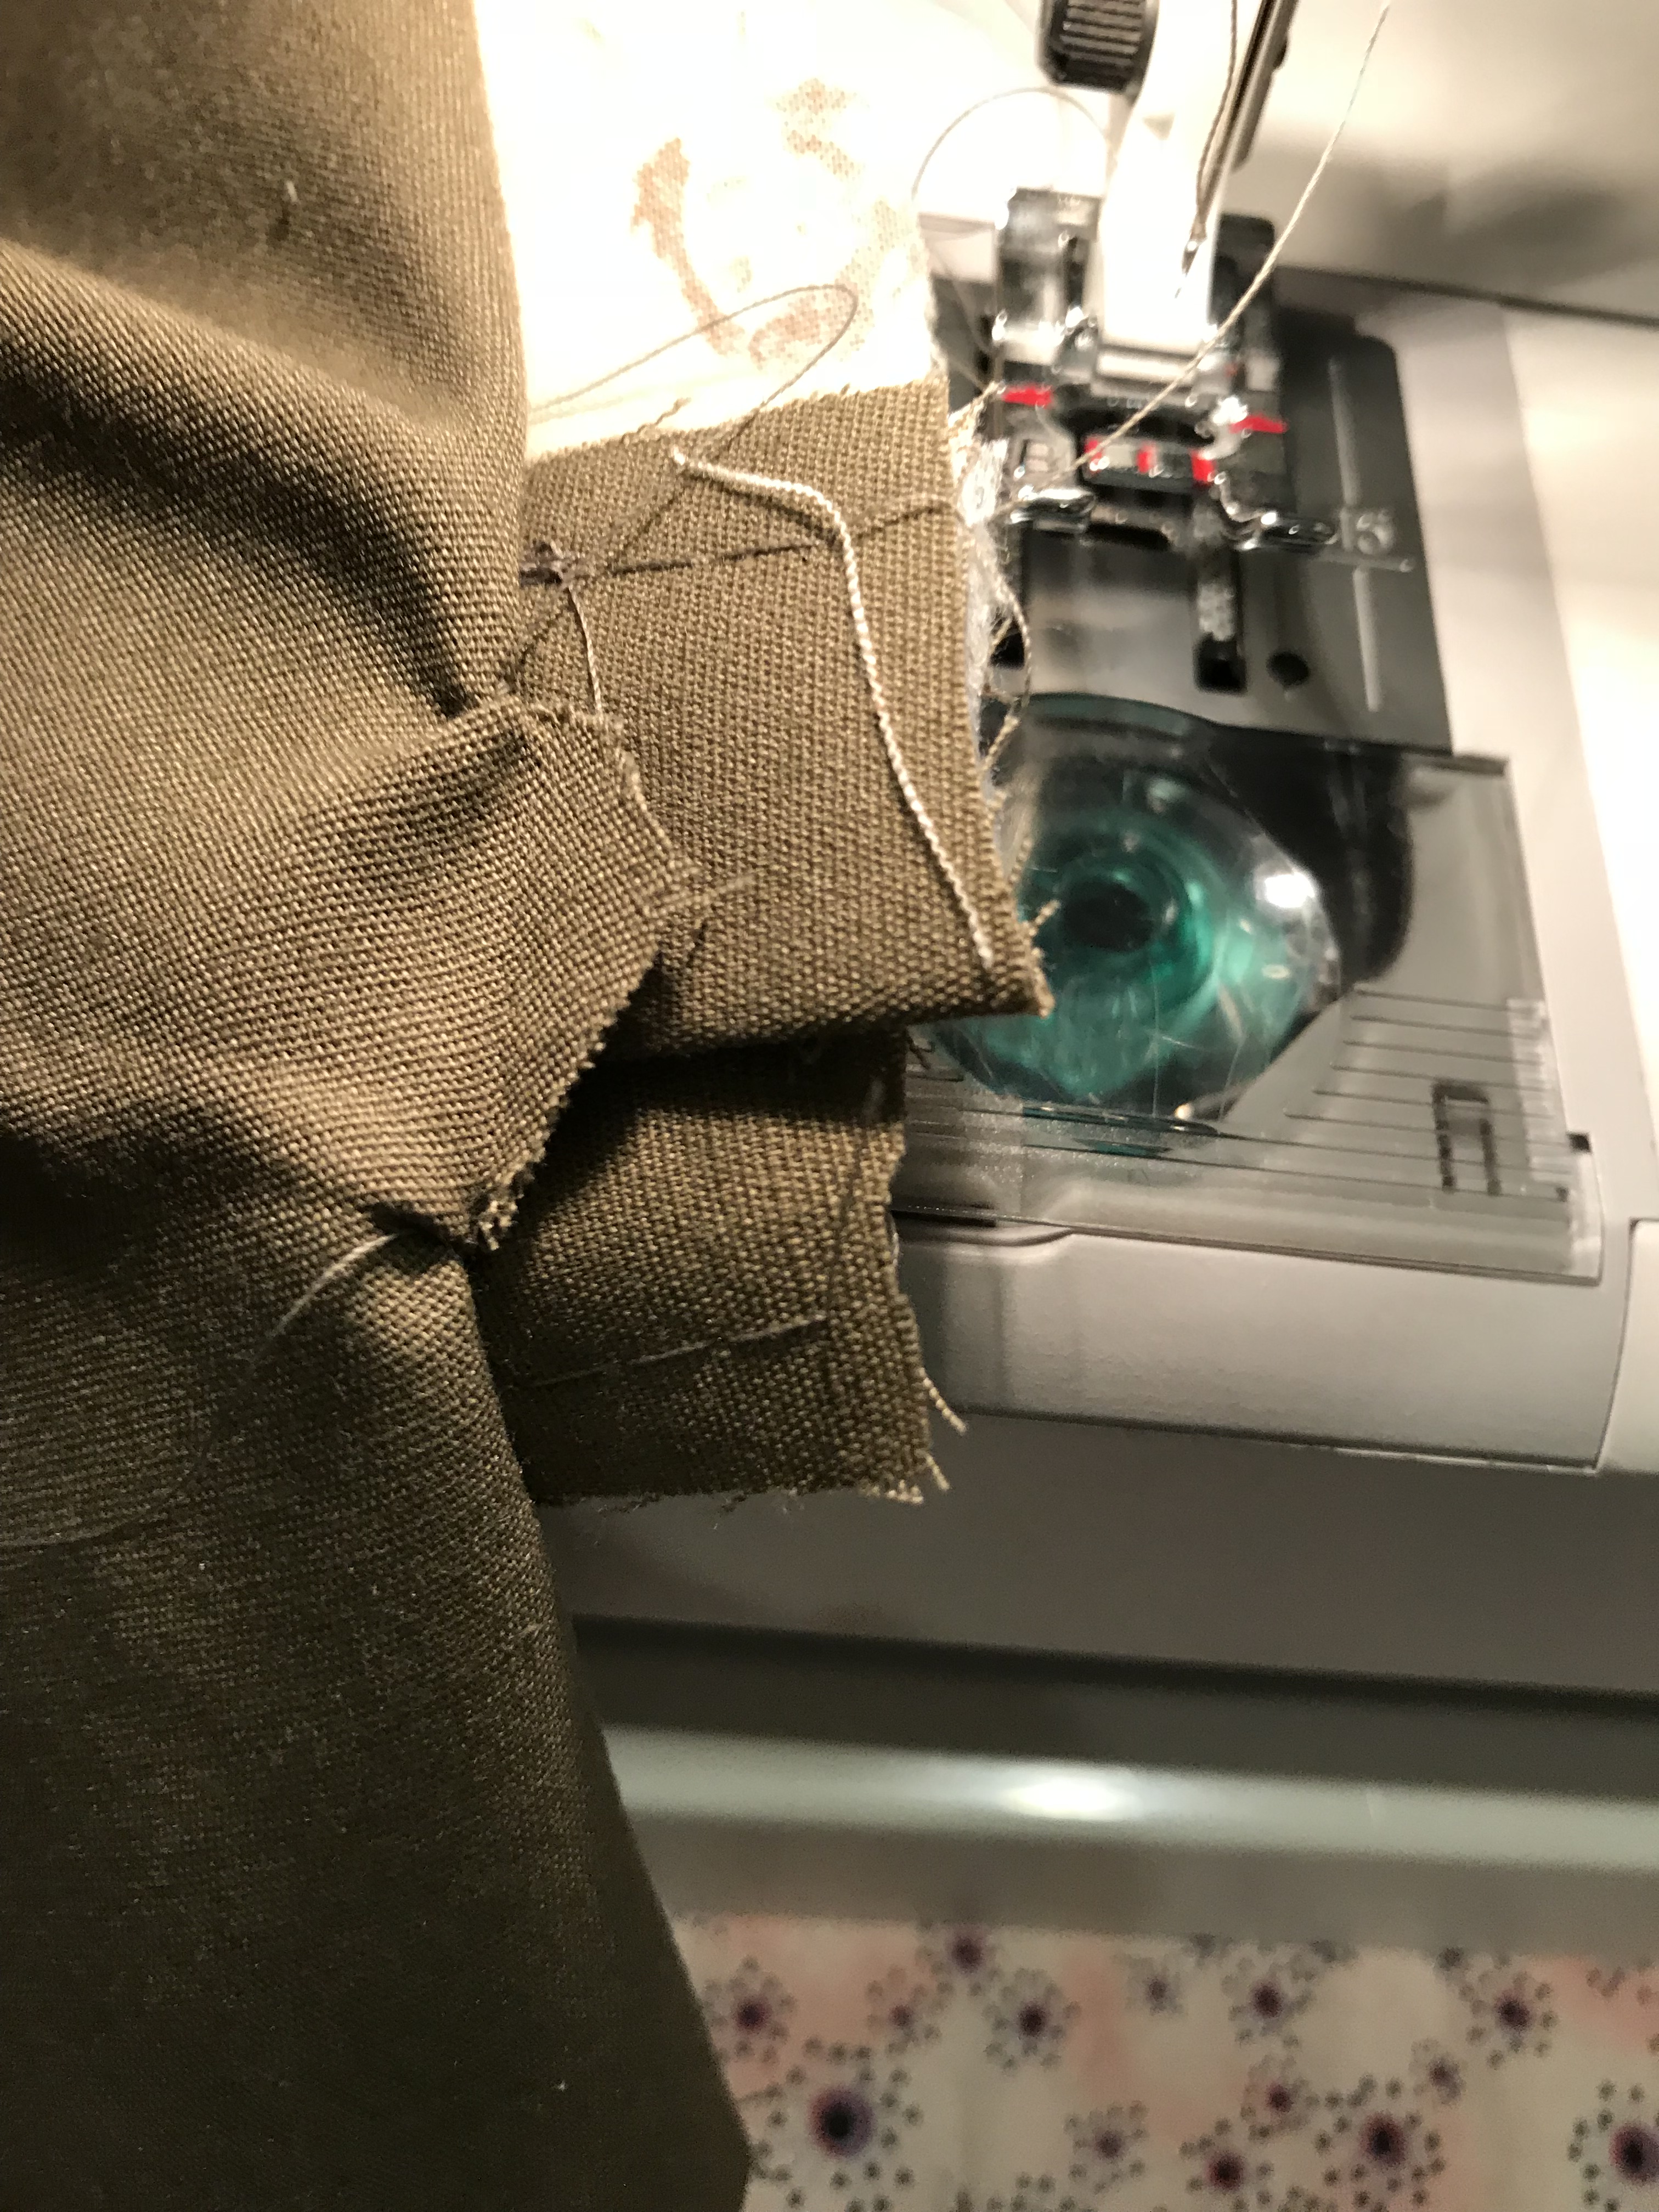
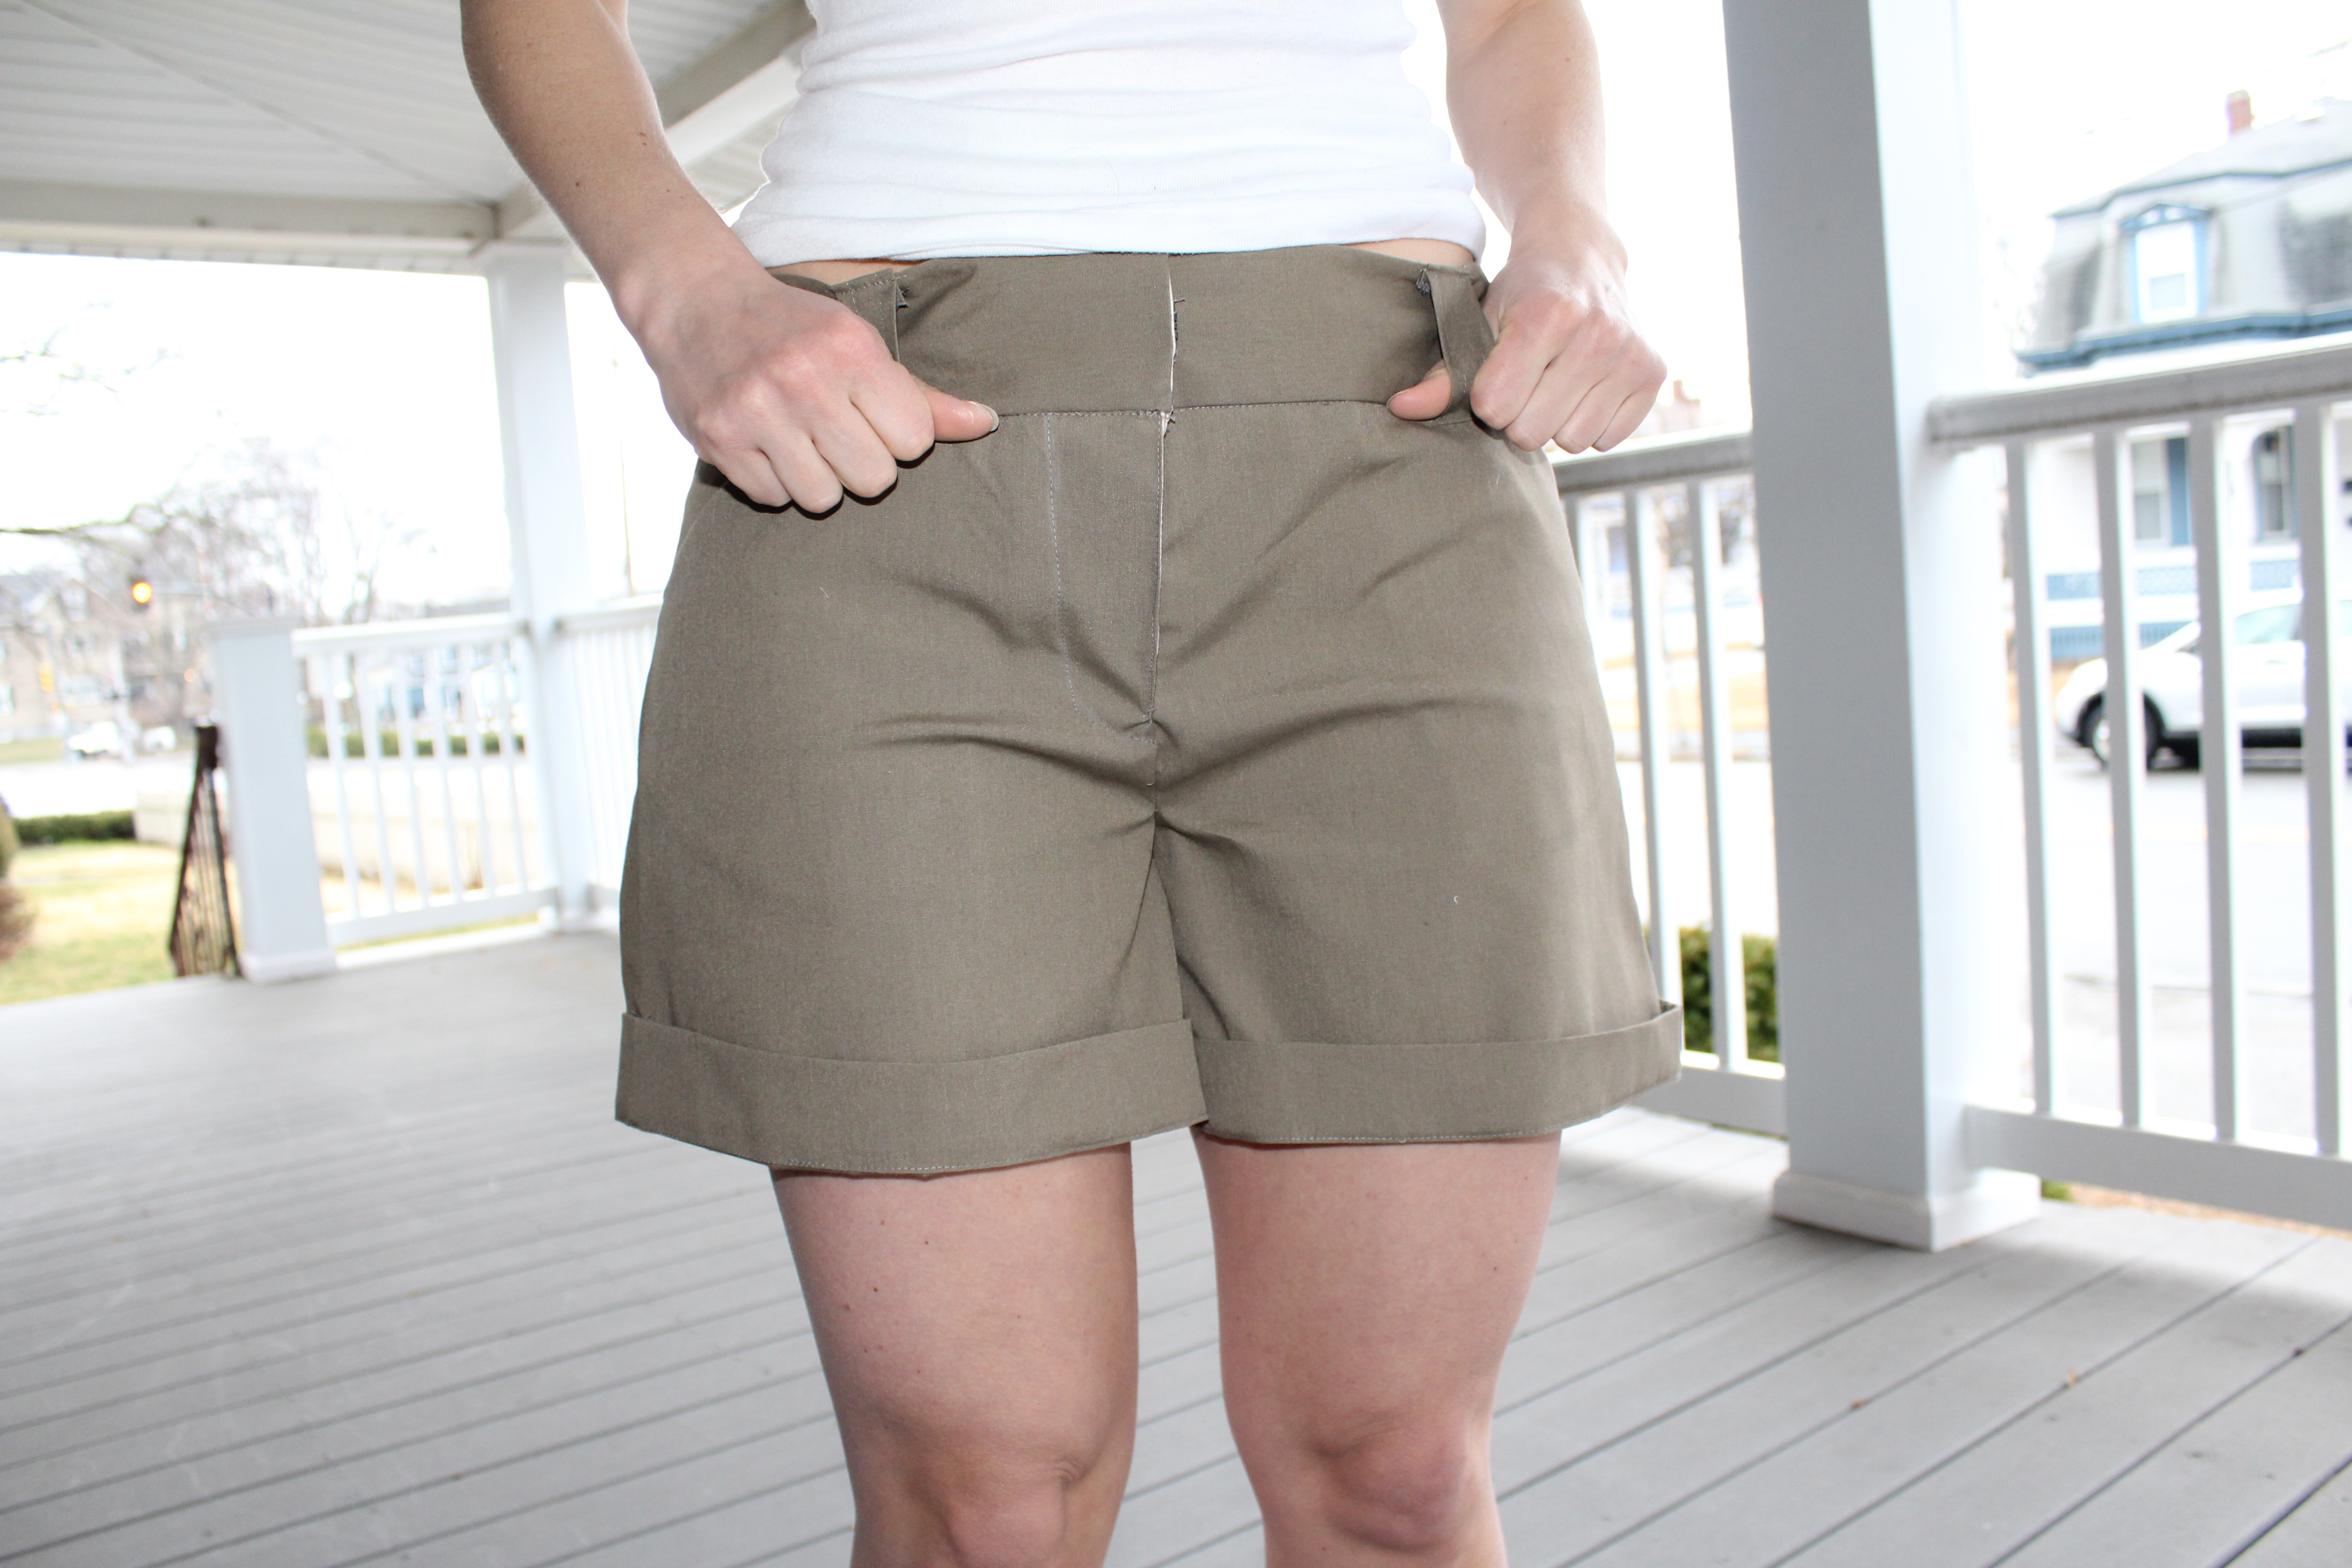
The instructions on the pattern for the wide hem were also a bit confusing and the sewalong didn’t cover this, so I kind of made something up. I’m not sure this is how I am supposed to do it but I ended up sewing a wide hem, then folding that piece over and stitching just at the side seams. I like the way it looks, even though this may not be what the pattern had in mind.
A few imperfections – the back seam was a bit fussy and in the end wasn’t perfectly fitted. Also, the front fly shows a little bit of the underside lining, but I’m still very happy with the results.
And now, to take these to the next phase – actual pants! This has been my downfall, so I’m hoping the successes with the shorts can translate to a pair of pants that I can actually wear proudly.
To be continued….!!

Pingback: March 2019 & April 2019: Getting the hang of pants, part 2 | Threading Lightly
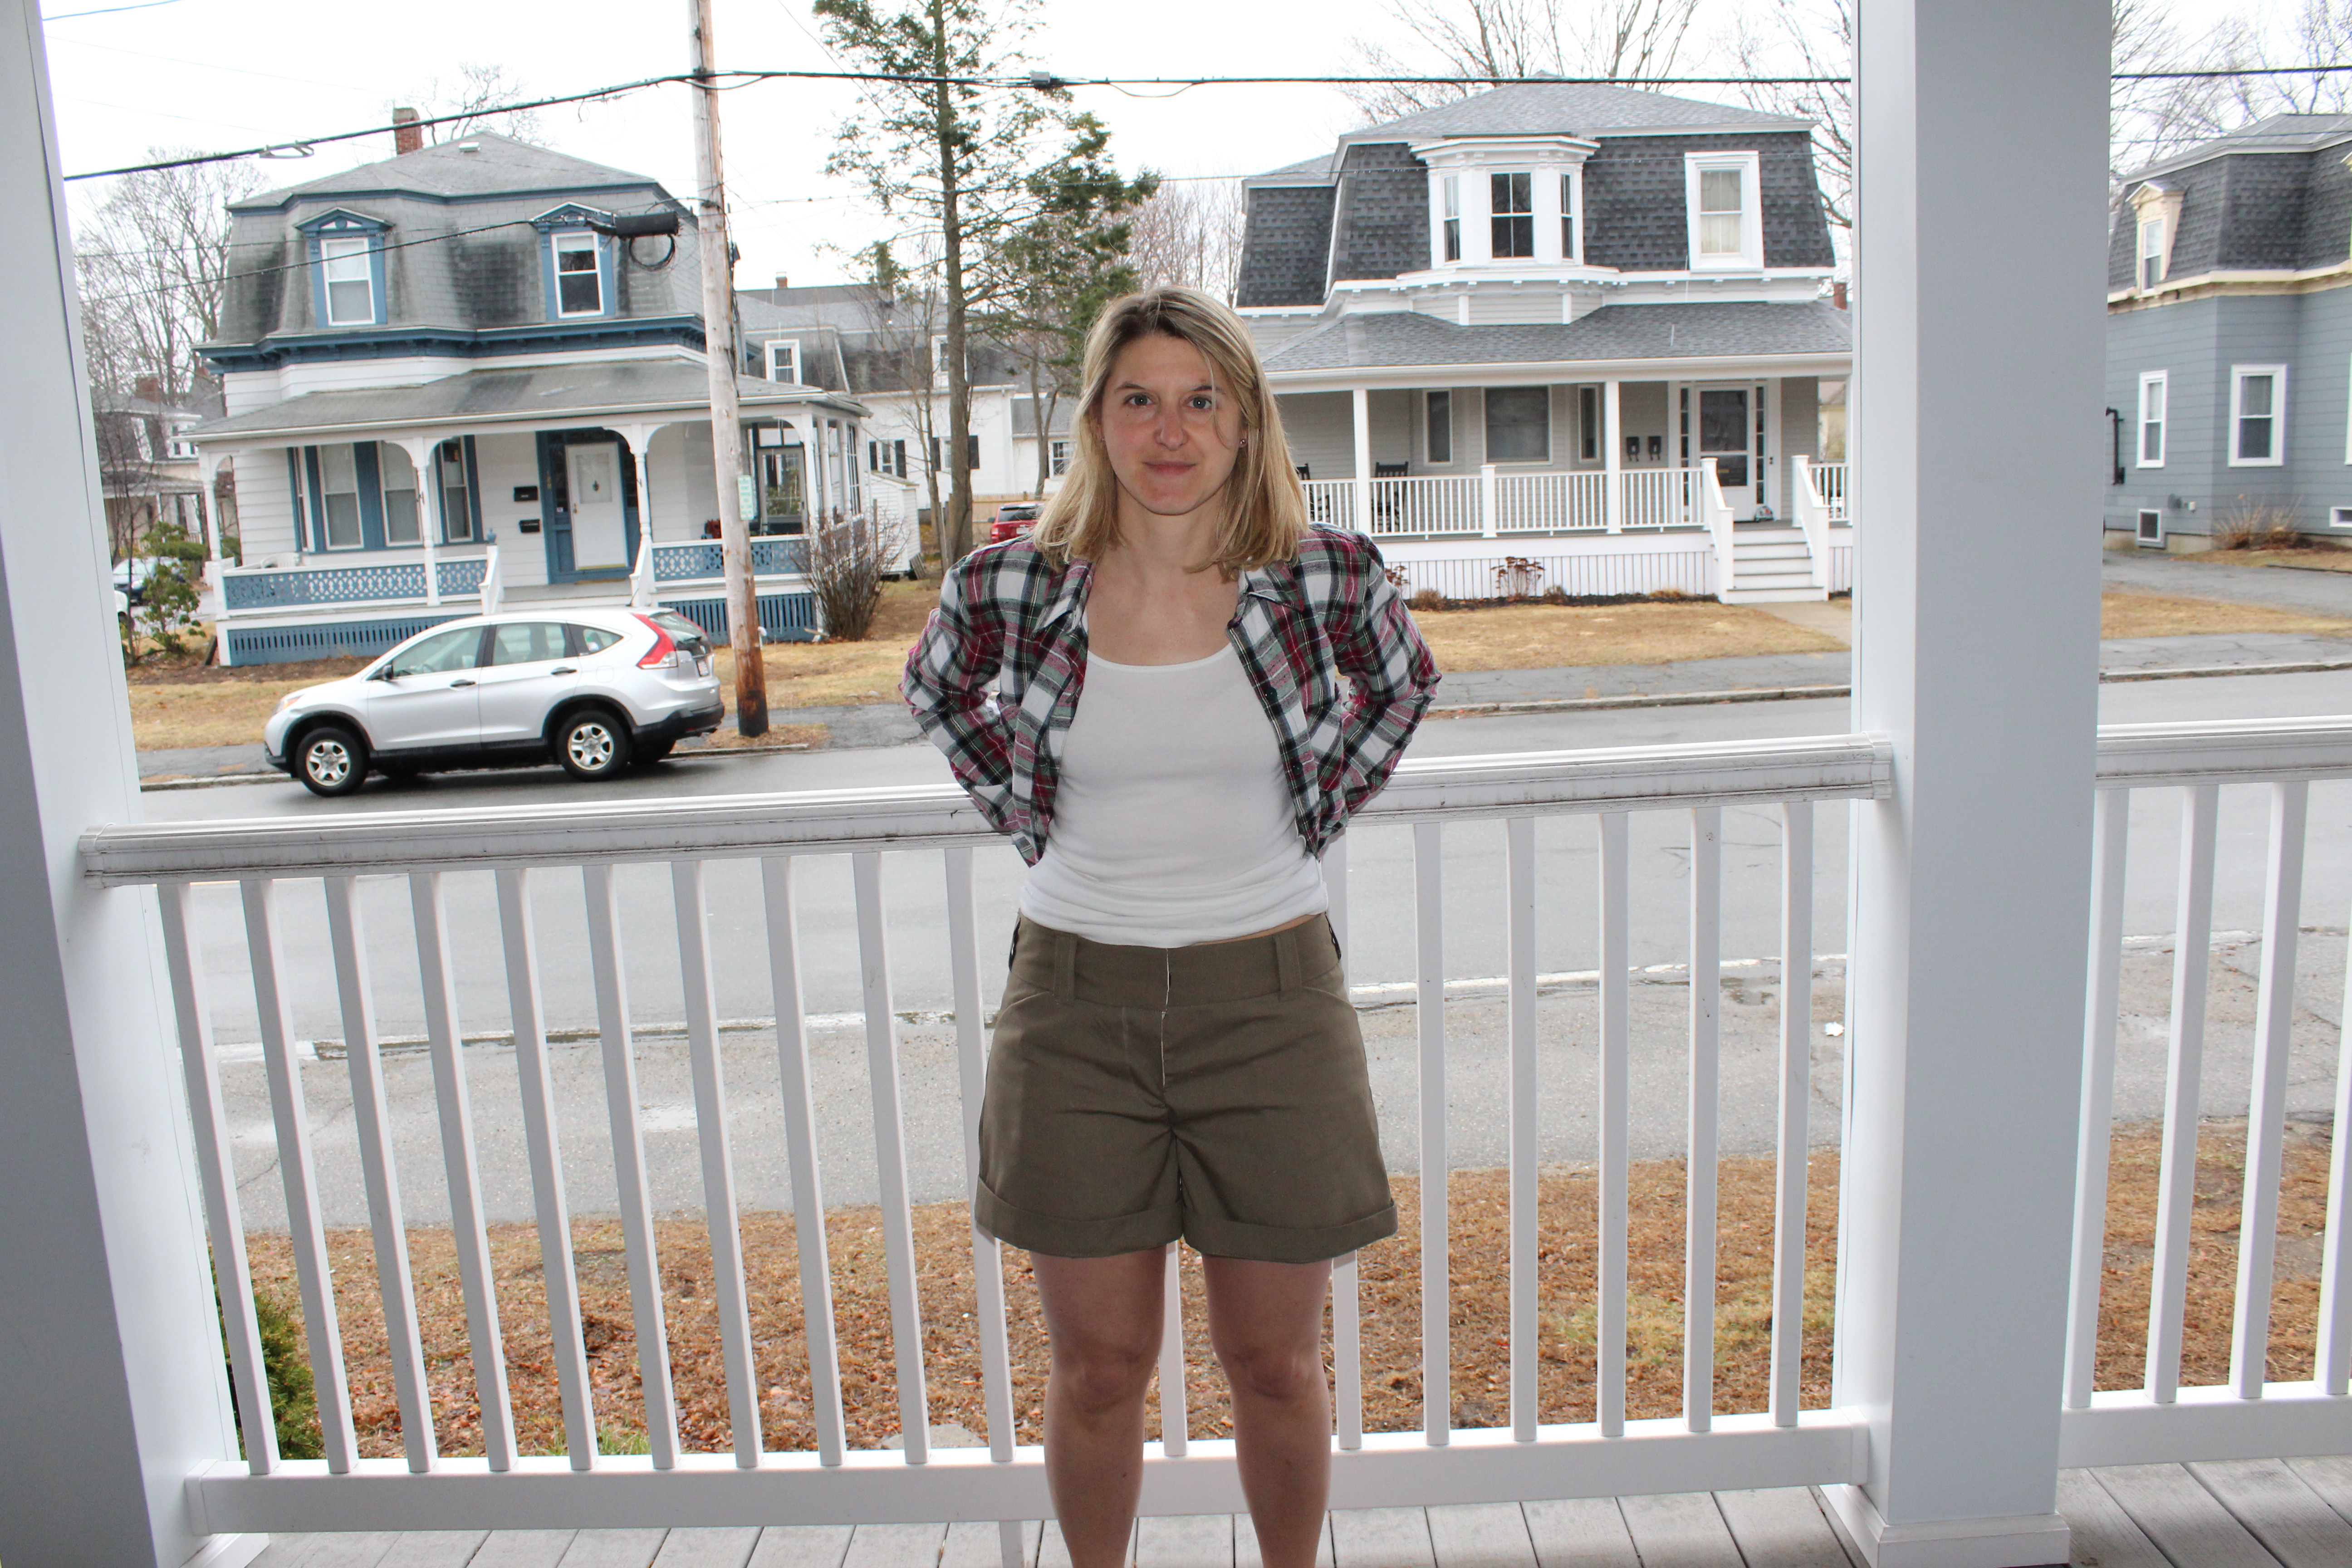
Very nice, you did an awesome job. You are an encouragement to me, stick to it don’t give up. The results certainly paid off as your shorts look awesome on you.
LikeLiked by 1 person
What a fabulous job you did. They look very nice on you. My heart is clapping that you stuck to it and searched for help and did not give into the temptation to give up. You are an encouragement to me.
LikeLike
Great job on working through all the steps. It looks like your getting a good handle on pants. The finished product looks good. Good luck on the full pants. I’m sure you will do great.
LikeLiked by 1 person
Thanks Jenny! No where near the complicated artistry as your peacock jeans, but a triumph for me. The pants are completed, now just need to find time to write about them – but they ended up working out really well!
LikeLike