We are halfway through 2023 and I have not written about one project. I have been sewing…somewhat. But I think I’ve been giving the phrase “slow fashion” a whole new meaning as my projects seem to go on forever without conclusion. A few weekends ago, I was at Pattern Review weekend, an event put on the Patternreview.com, a sewing pattern sale/review website and online sewing community. We were in historic Lowell, Massachusetts, which is about 25 minutes from where I live now and about 20 minutes from where I grew up. While I was there, I casually mentioned that I hadn’t had much time for sewing this year and this woman criticized this when she found out I didn’t have kids. I guess my full time job and various childless activities didn’t seem like enough to her as to why my creative process had slowed down.
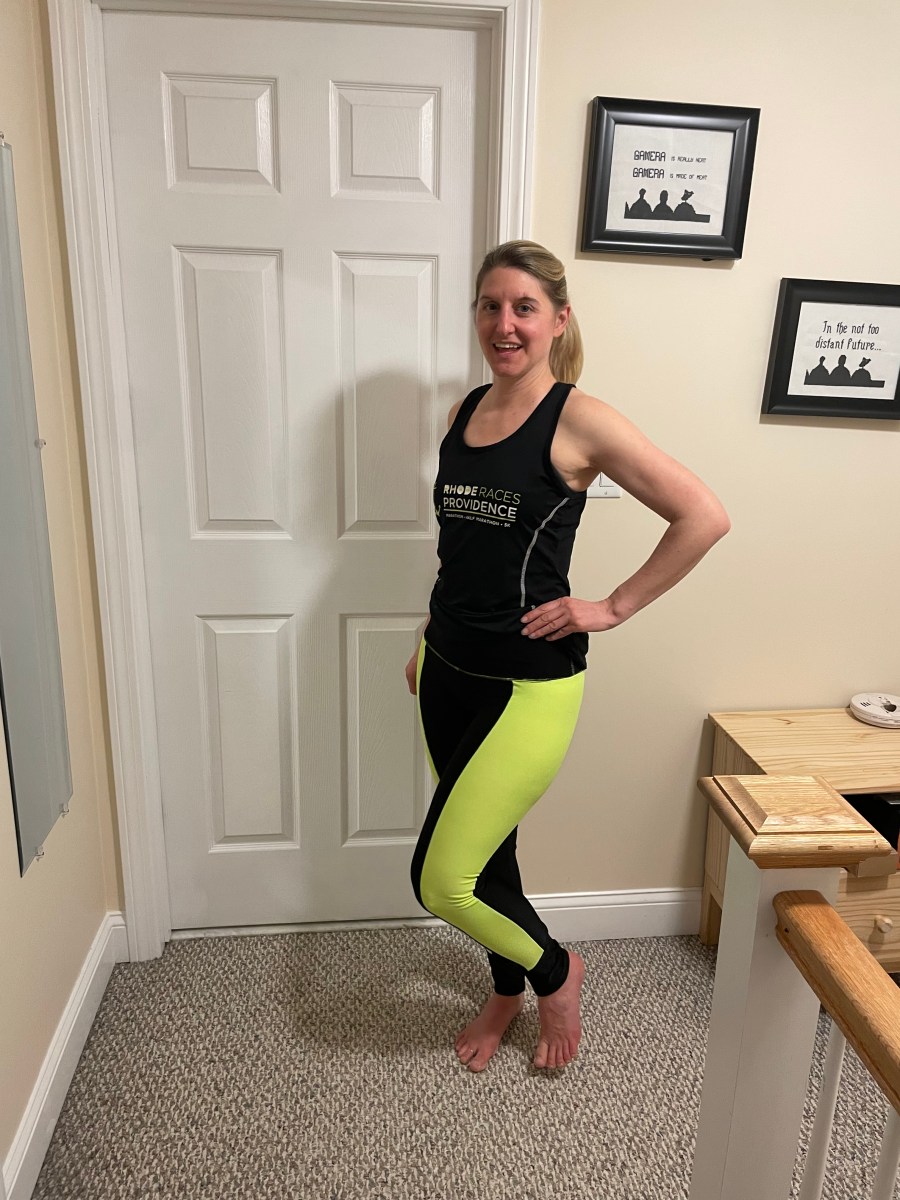
I’m not sure why this winter and spring has been such a dry spell for my sewing – I had definitely been buying enough fabric and planning out ideas for what I could make for the winter. My free time just seemed to slip away with other things – vacation planning, learning video editing…oh and I was training for the Boston Marathon.


Hanging out with other sewists at the event this month ended up being a great thing because it gave me a refresh on why I started sewing in the first place. I also wanted to get back to blogging and it’s hard when you don’t have a completed project with photos to write about. Maybe this year (what’s left of it anyways) I will focus on sewing more as the journey than as the destination. I can use it as a space for works in process, fashion inspiration and sewing problem solving. It will be an interesting experiment to see if it will help me write more. Maybe in turn it will get me to sew more. After looking at my disaster of a sewing corner, I desperately need to reduce my stash.
Maybe I can work on getting more blog followers too…I need to go back out and spread the blog love which is something I have not even bothered with for 5 years or so. I don’t want to get too ambitious as I still have other priorities that take up time.
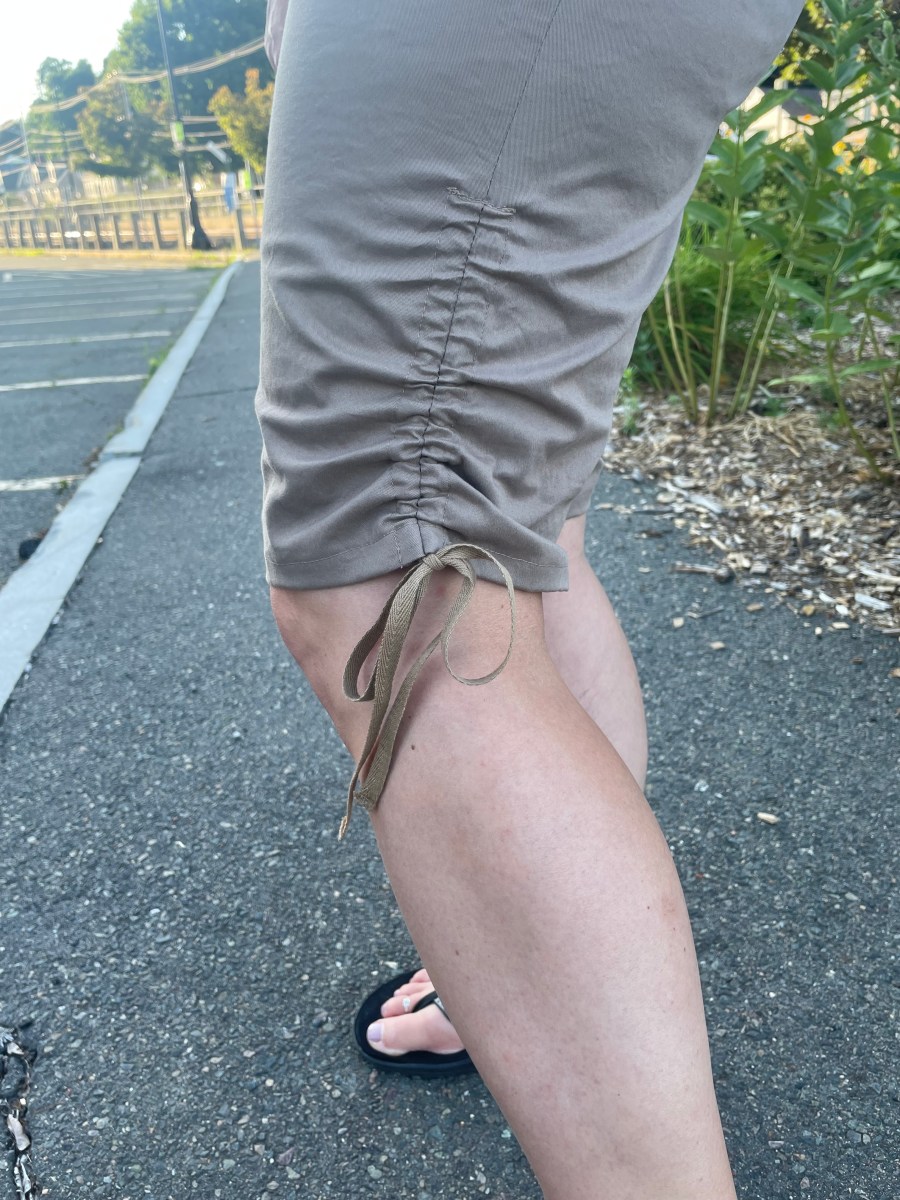
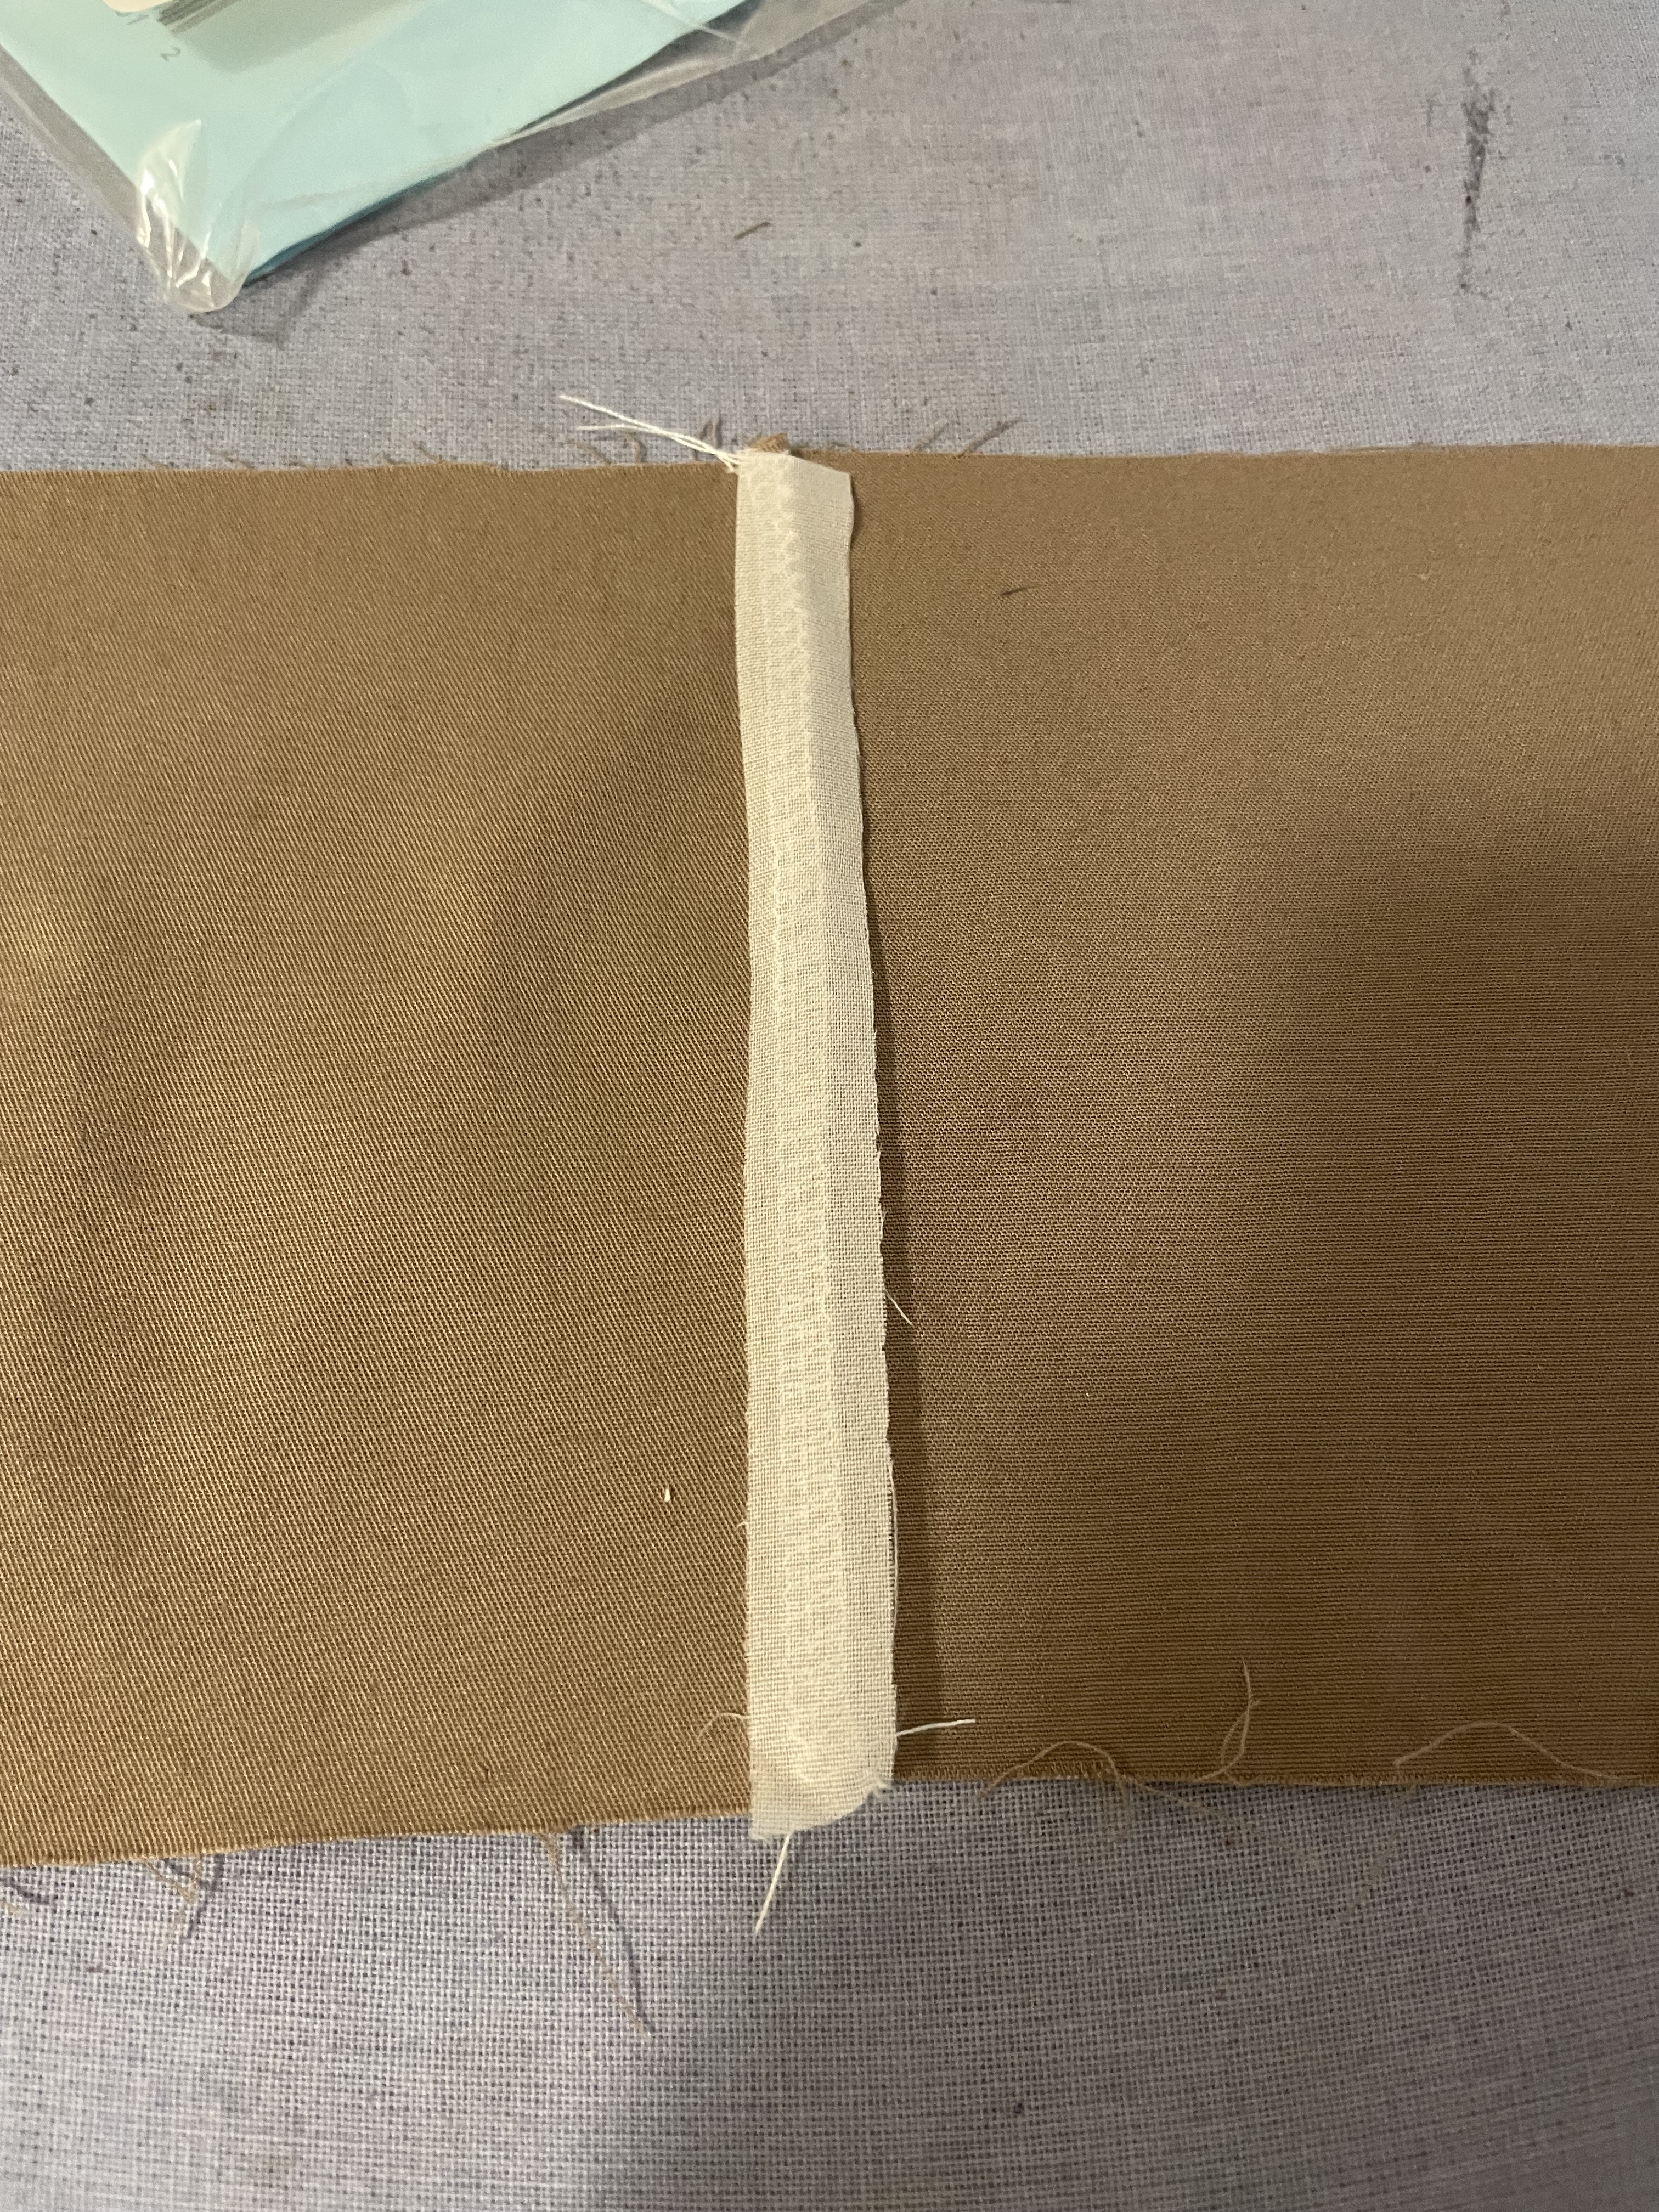
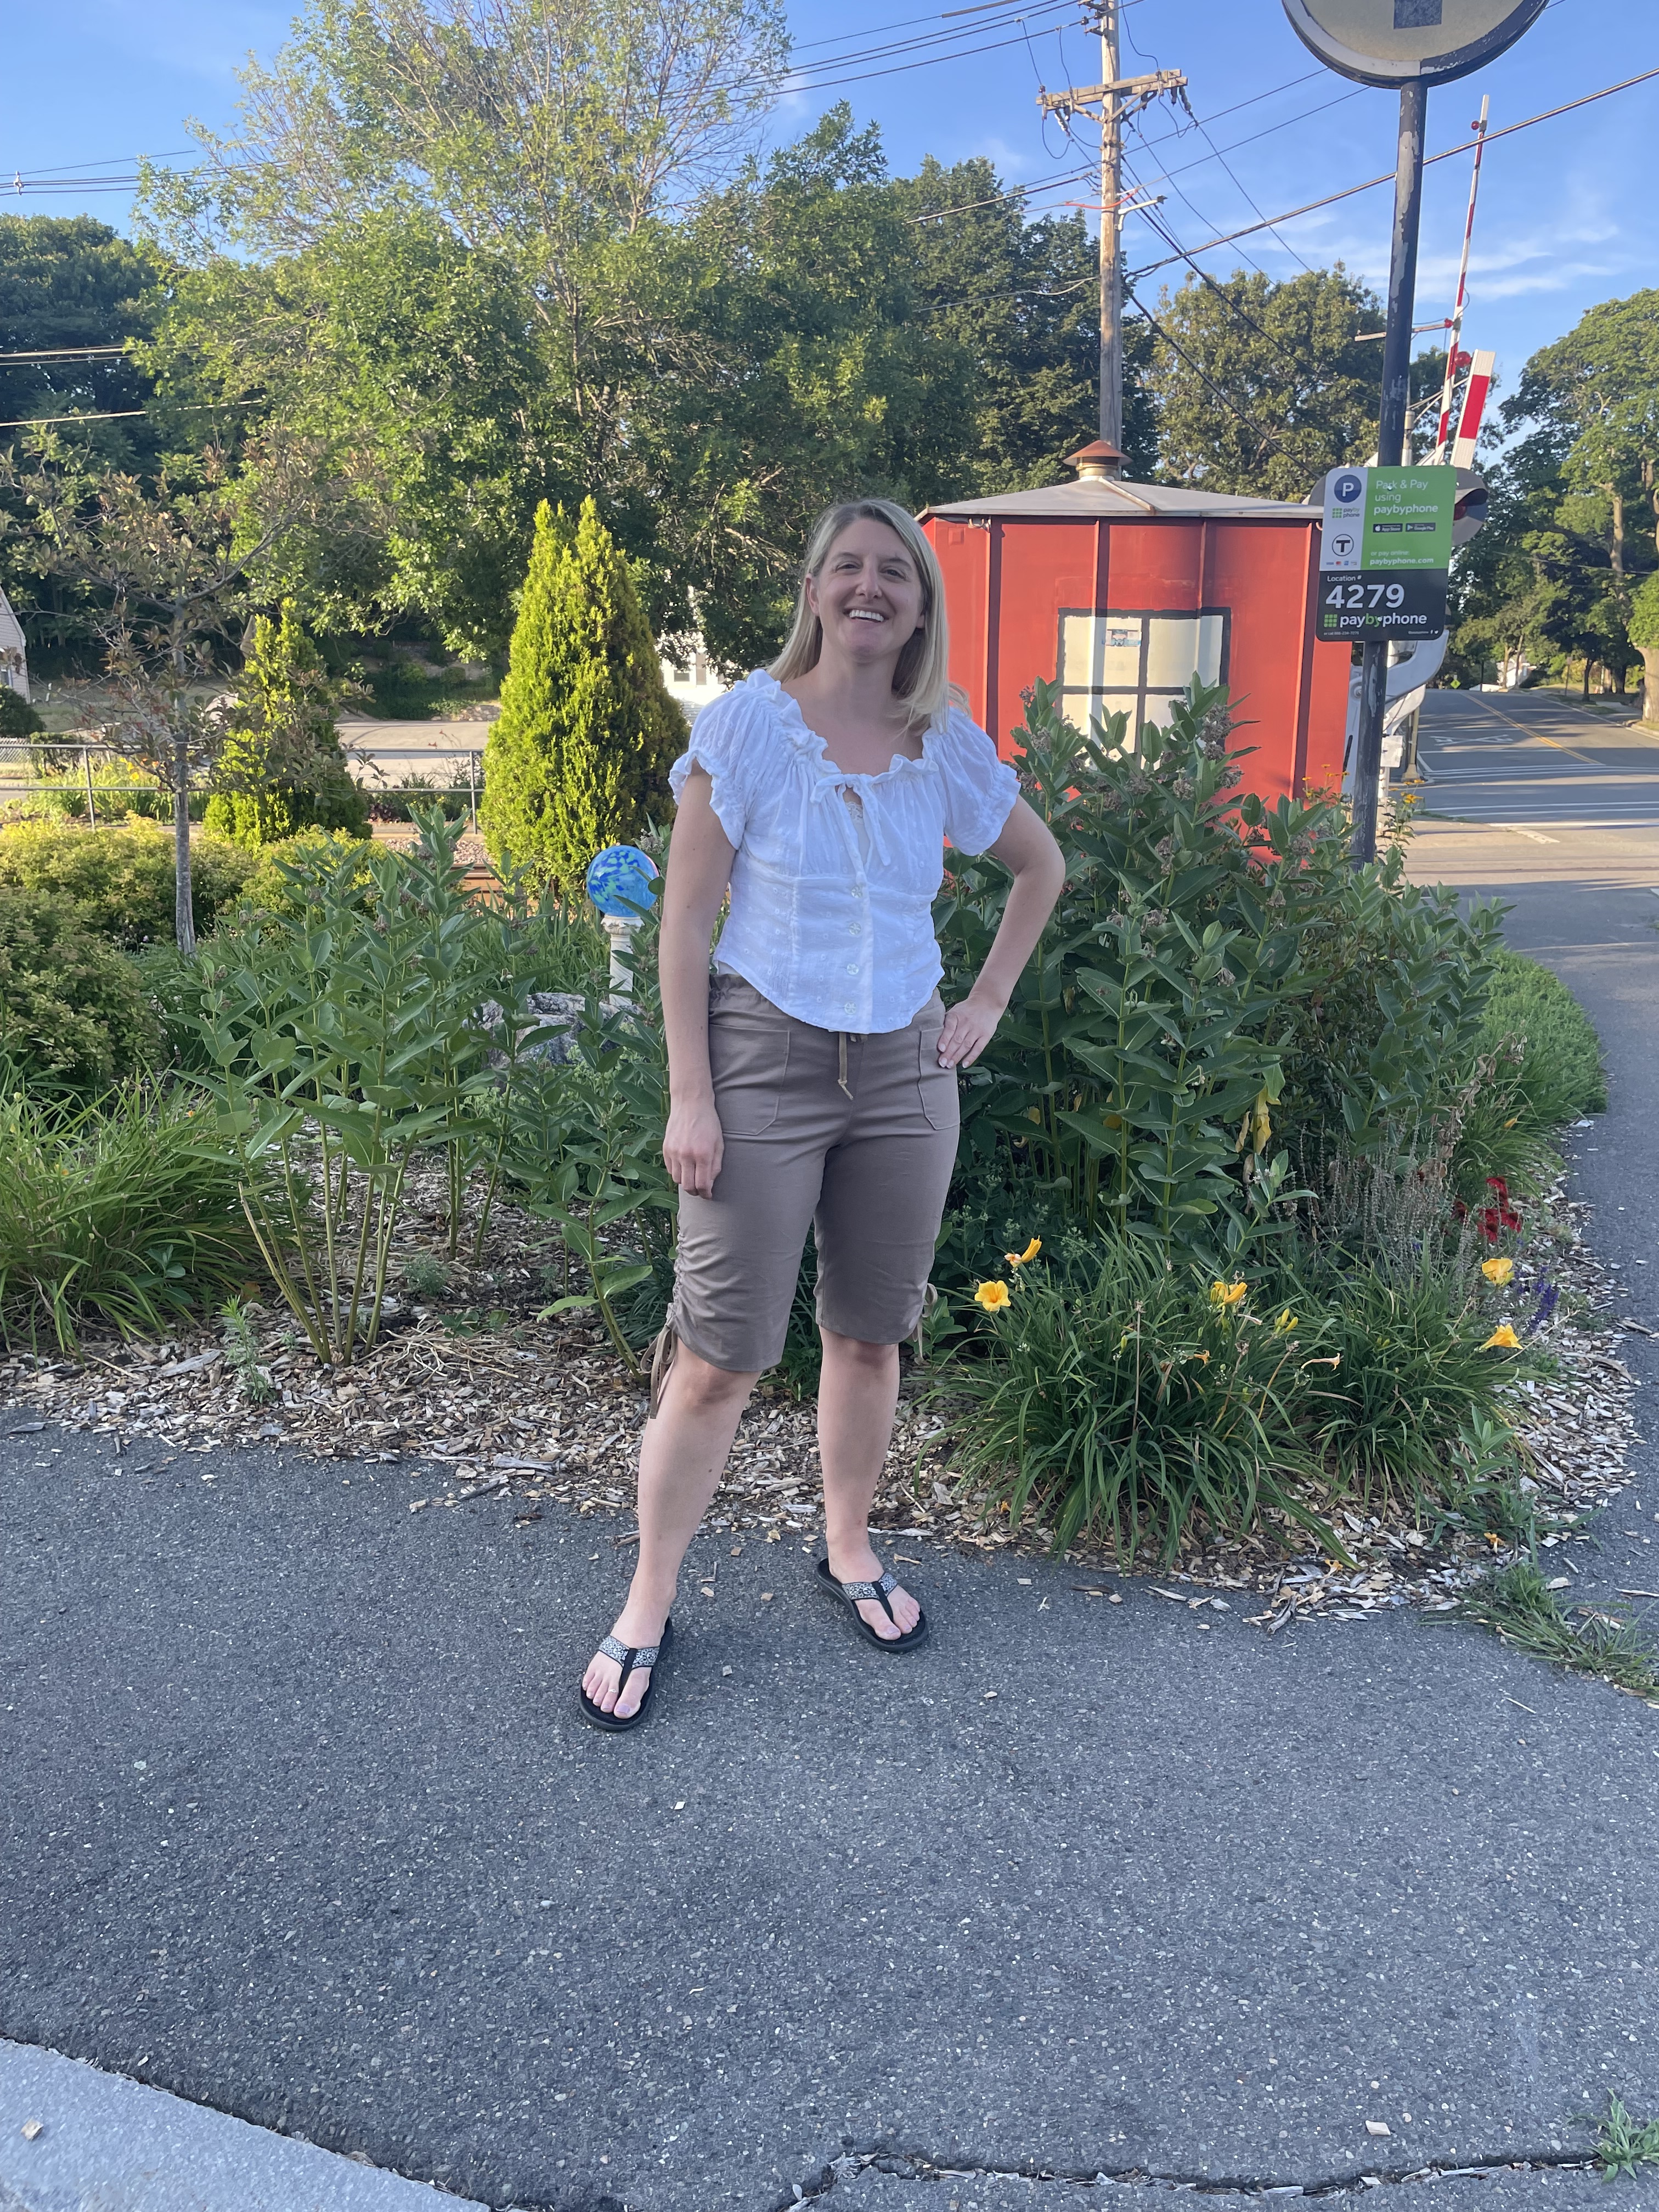
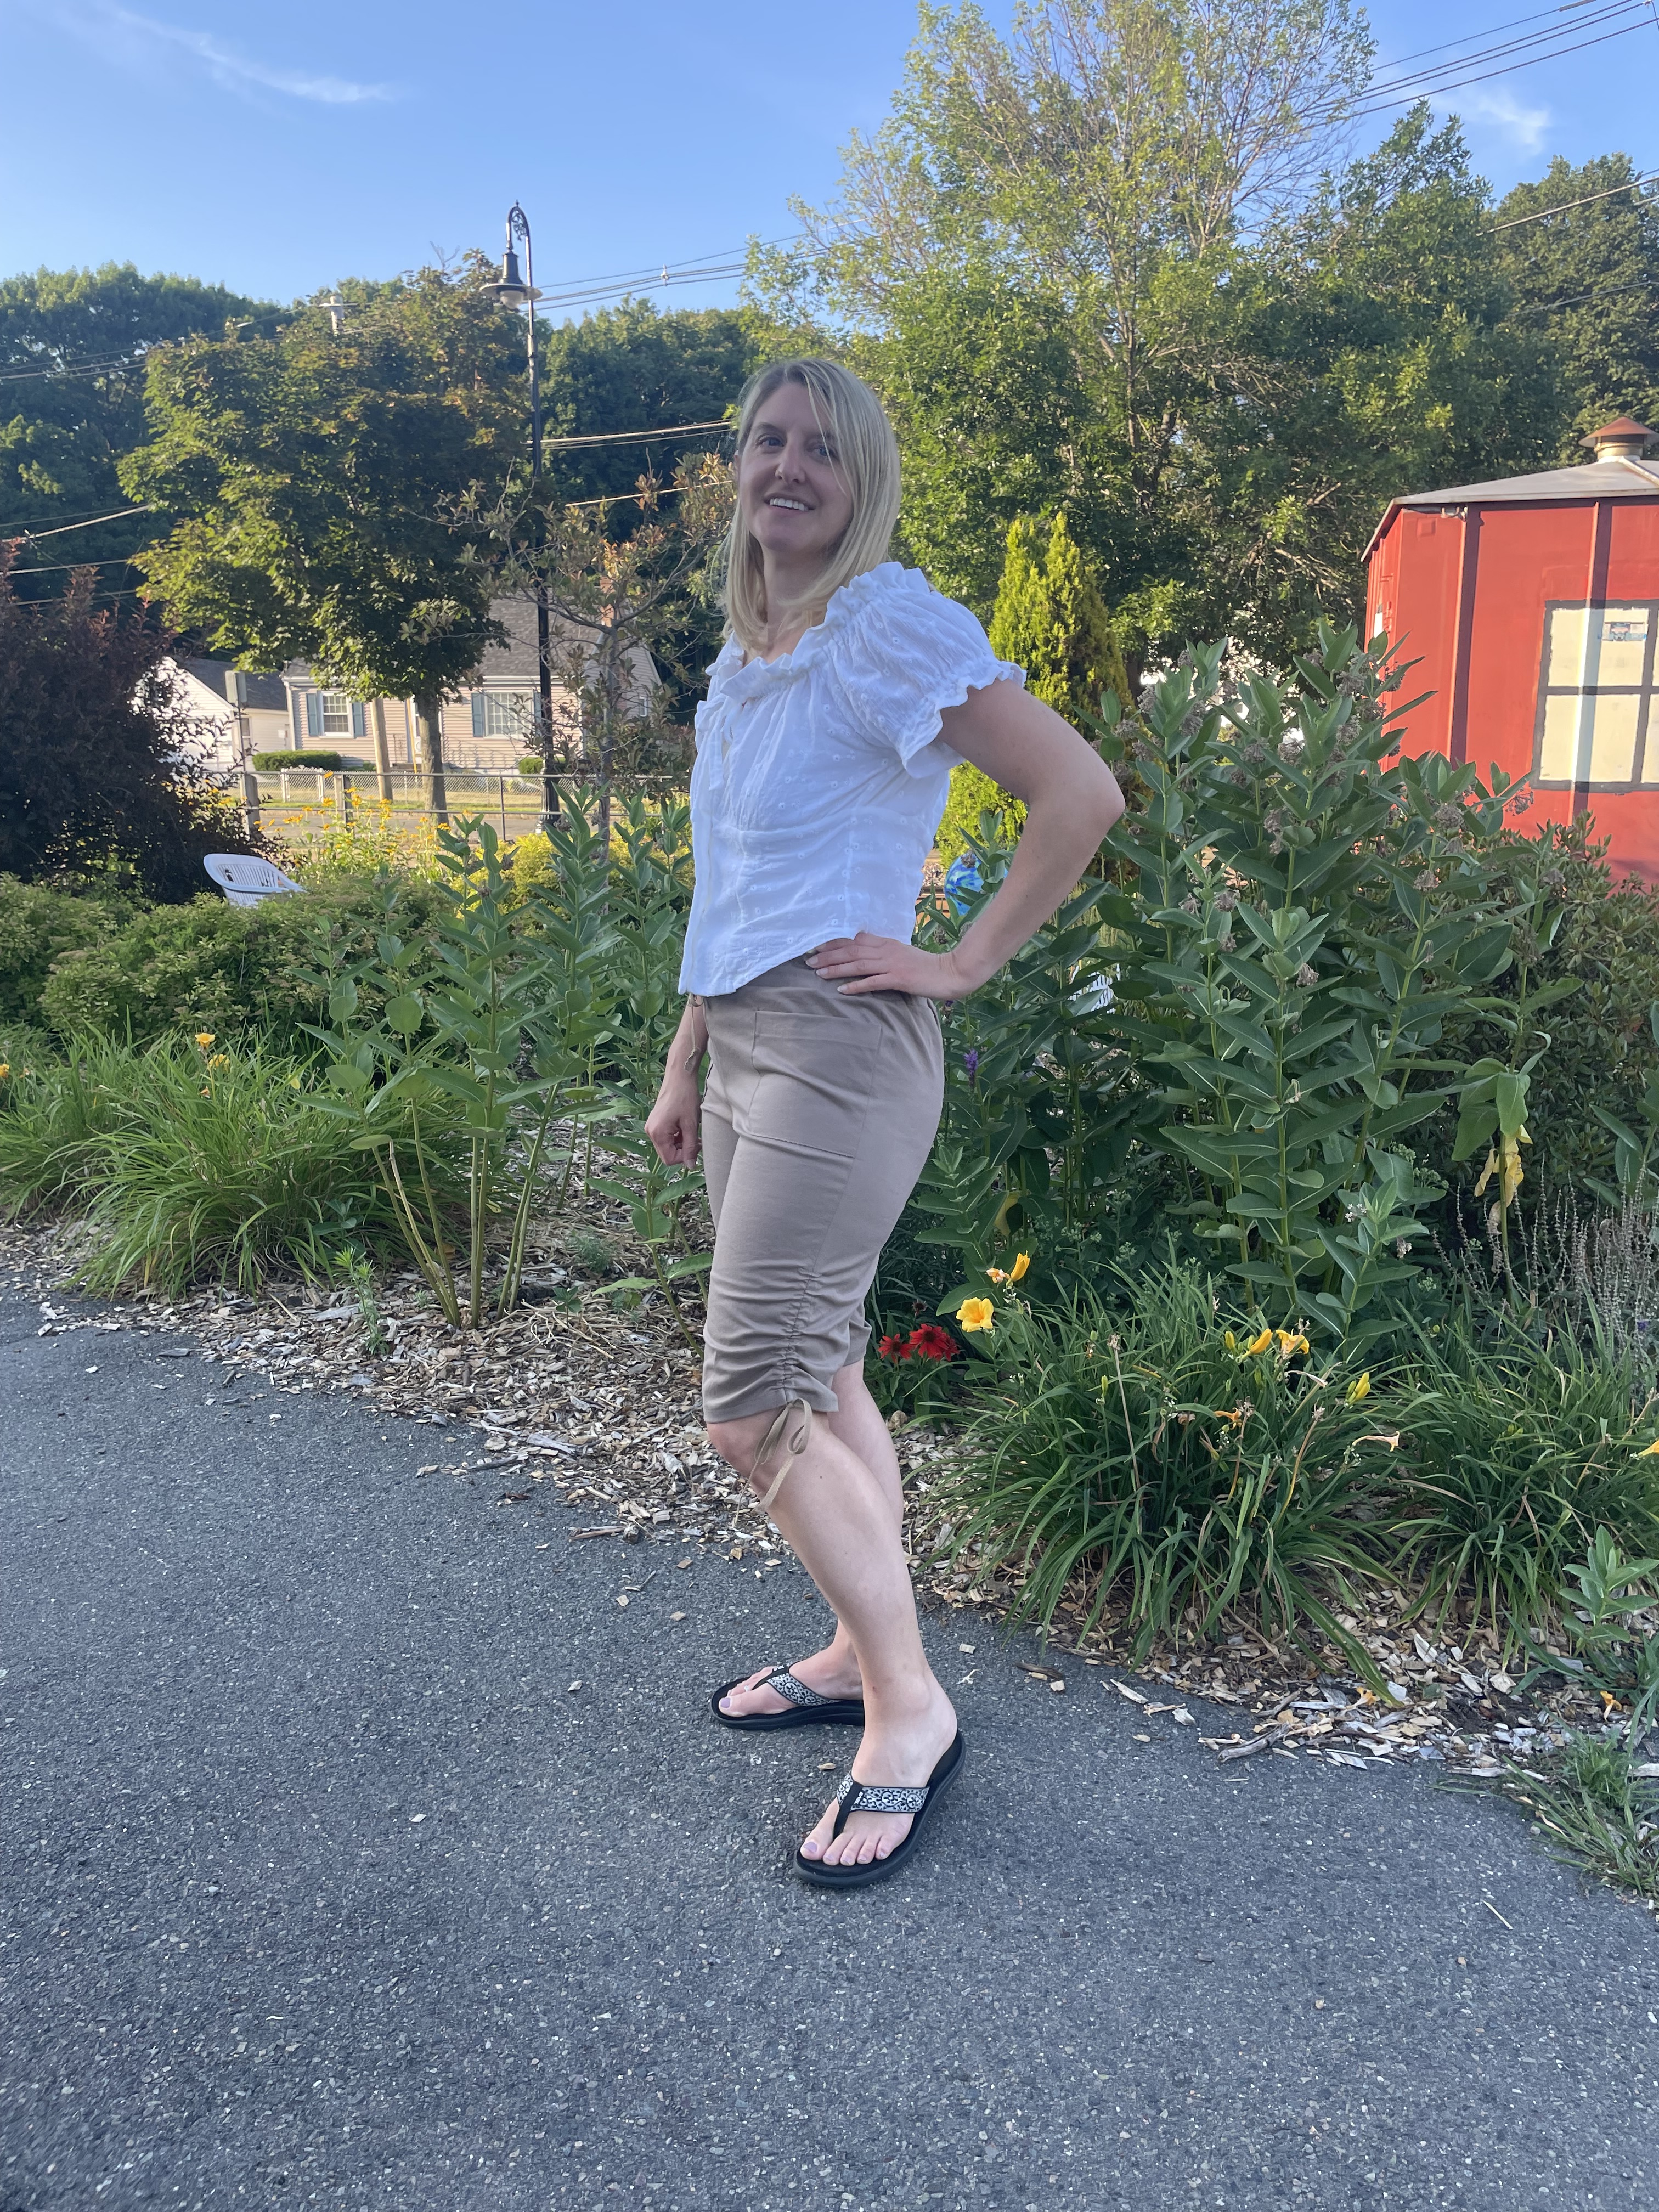
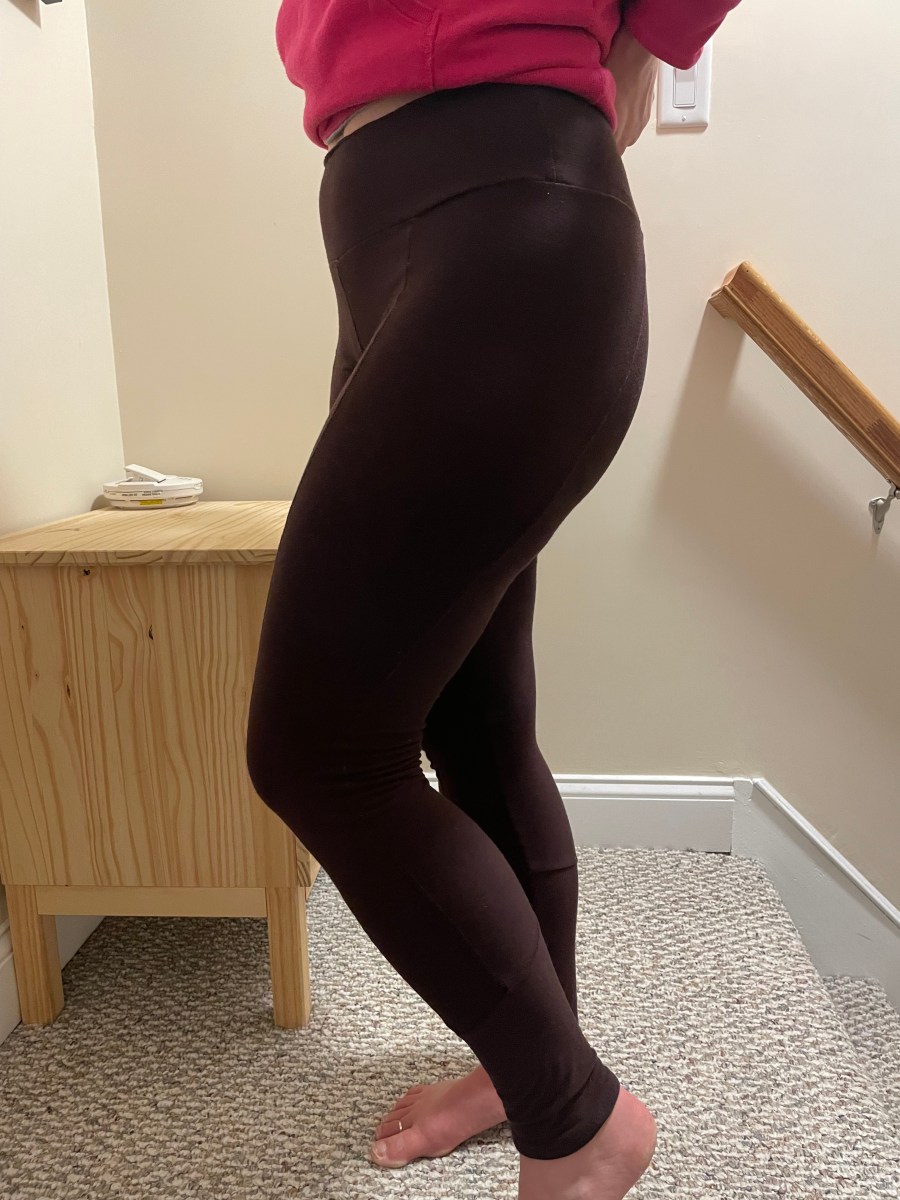
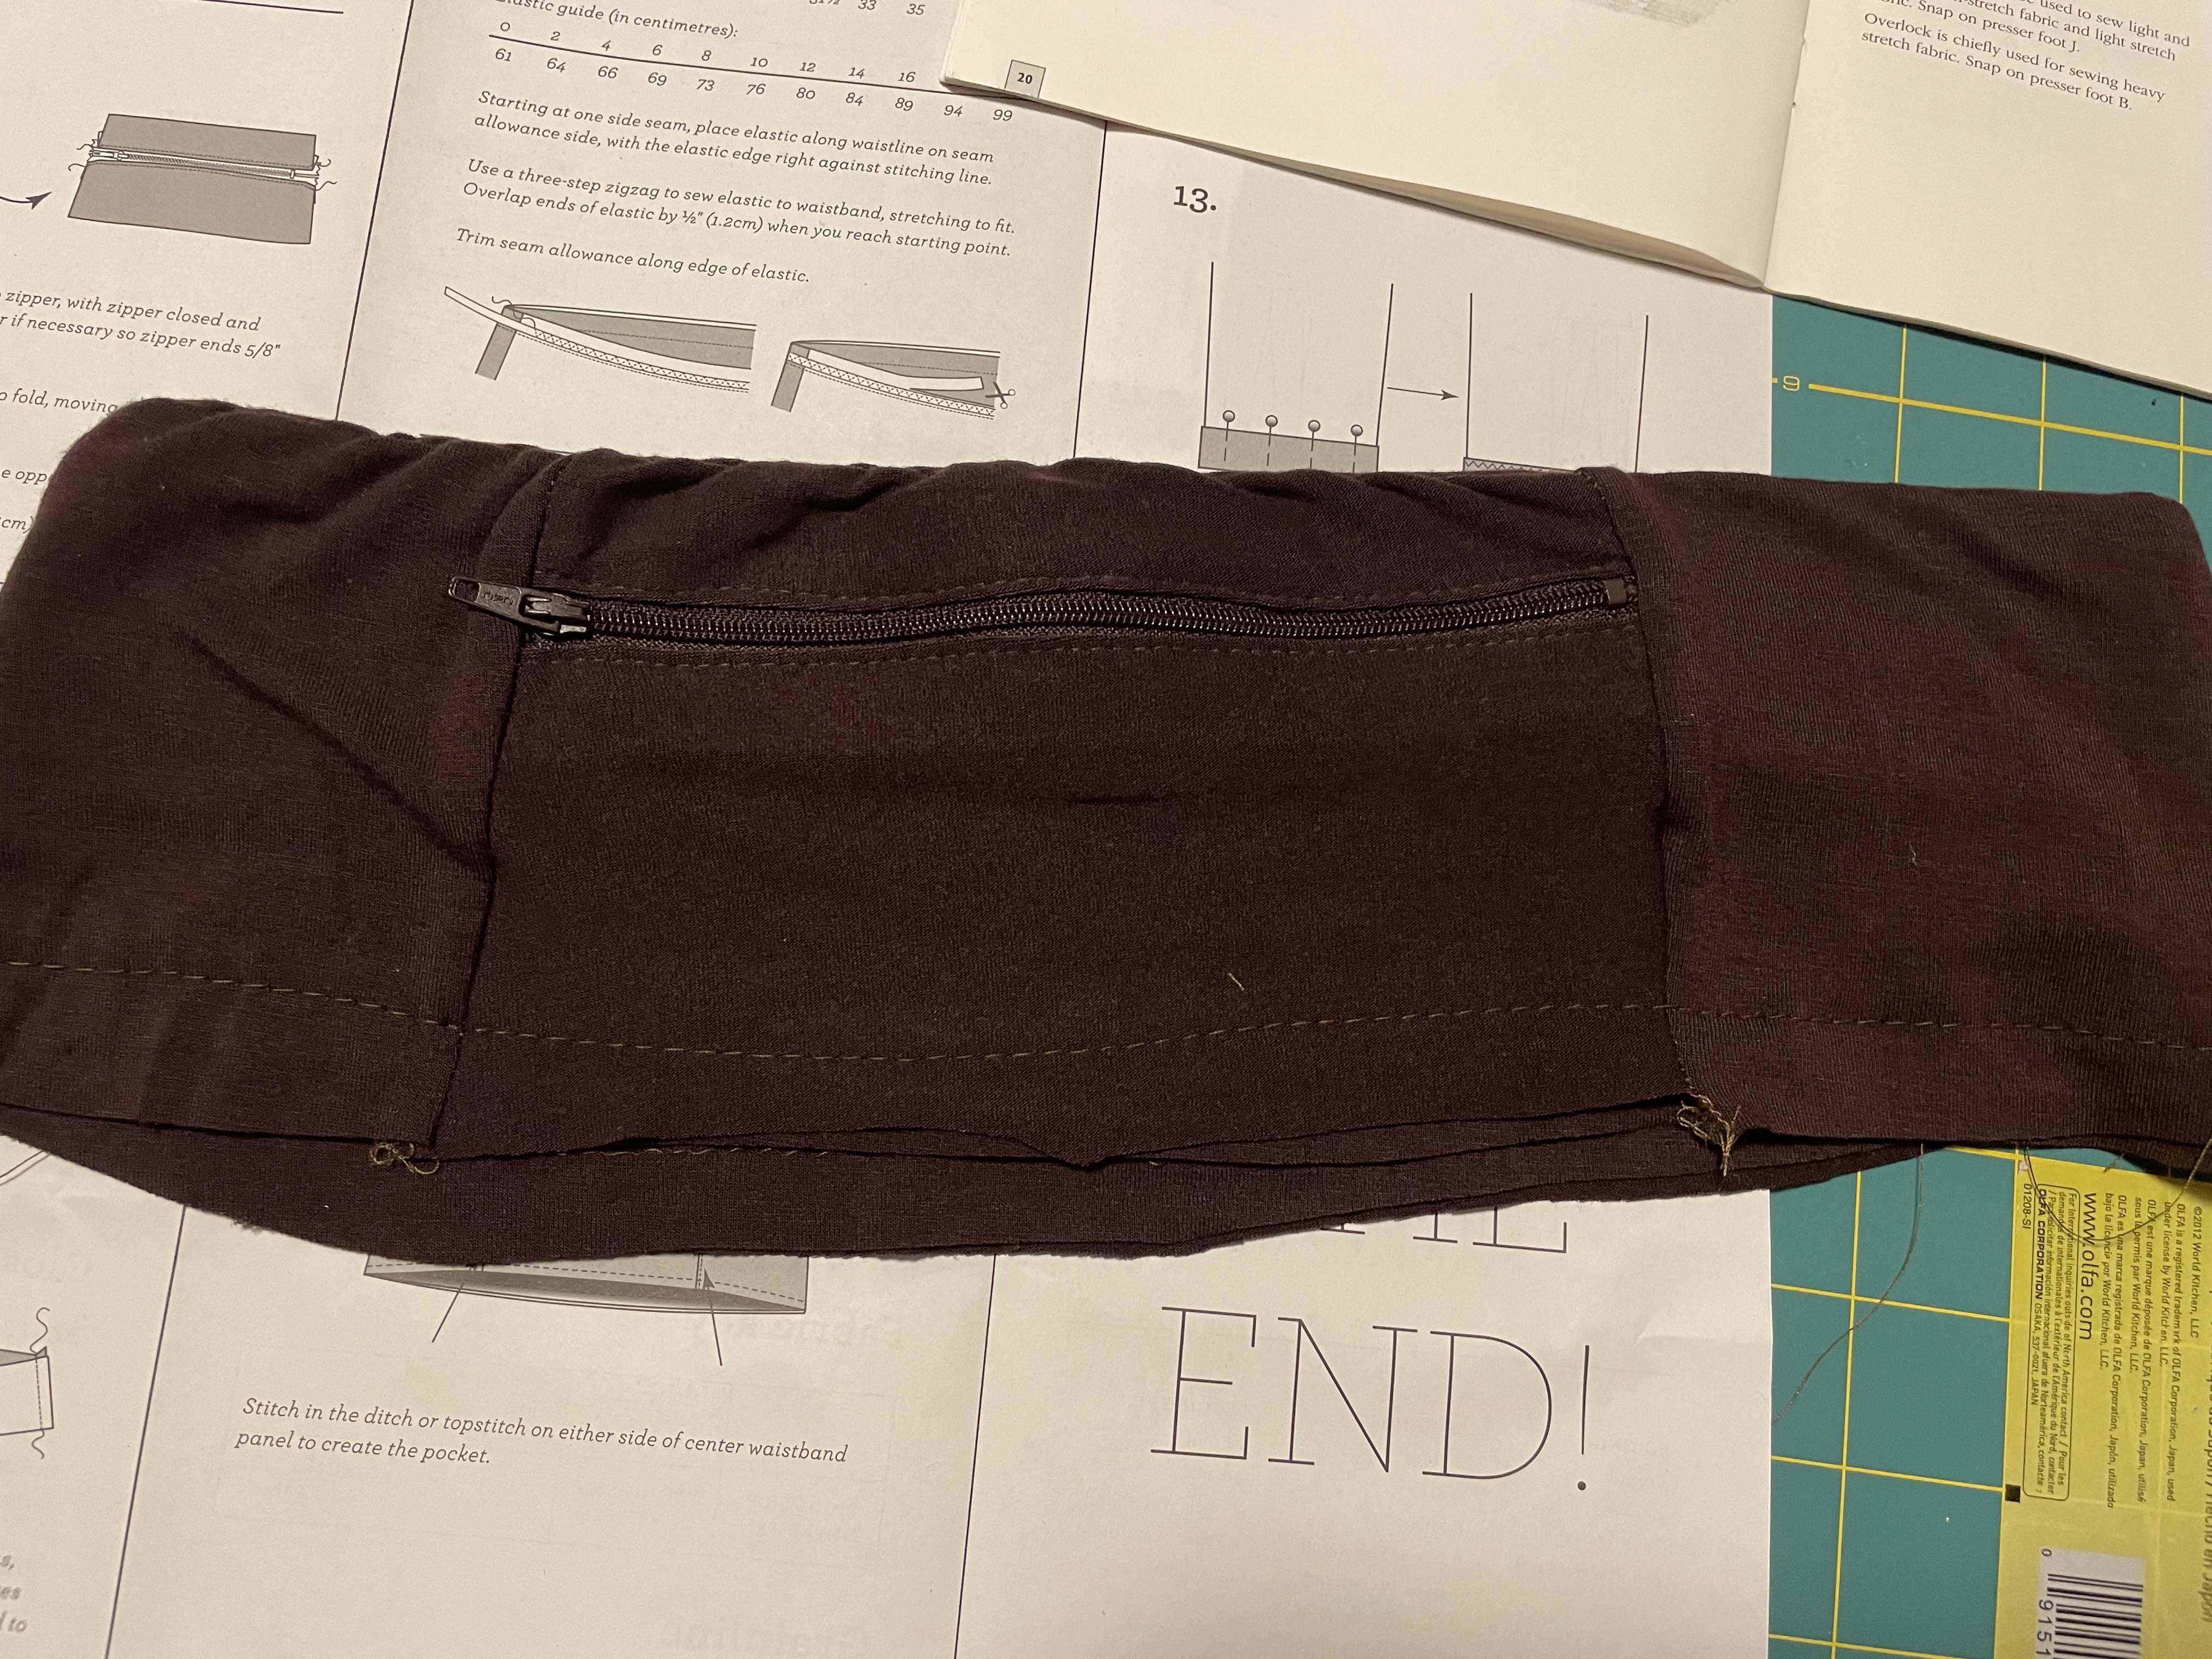
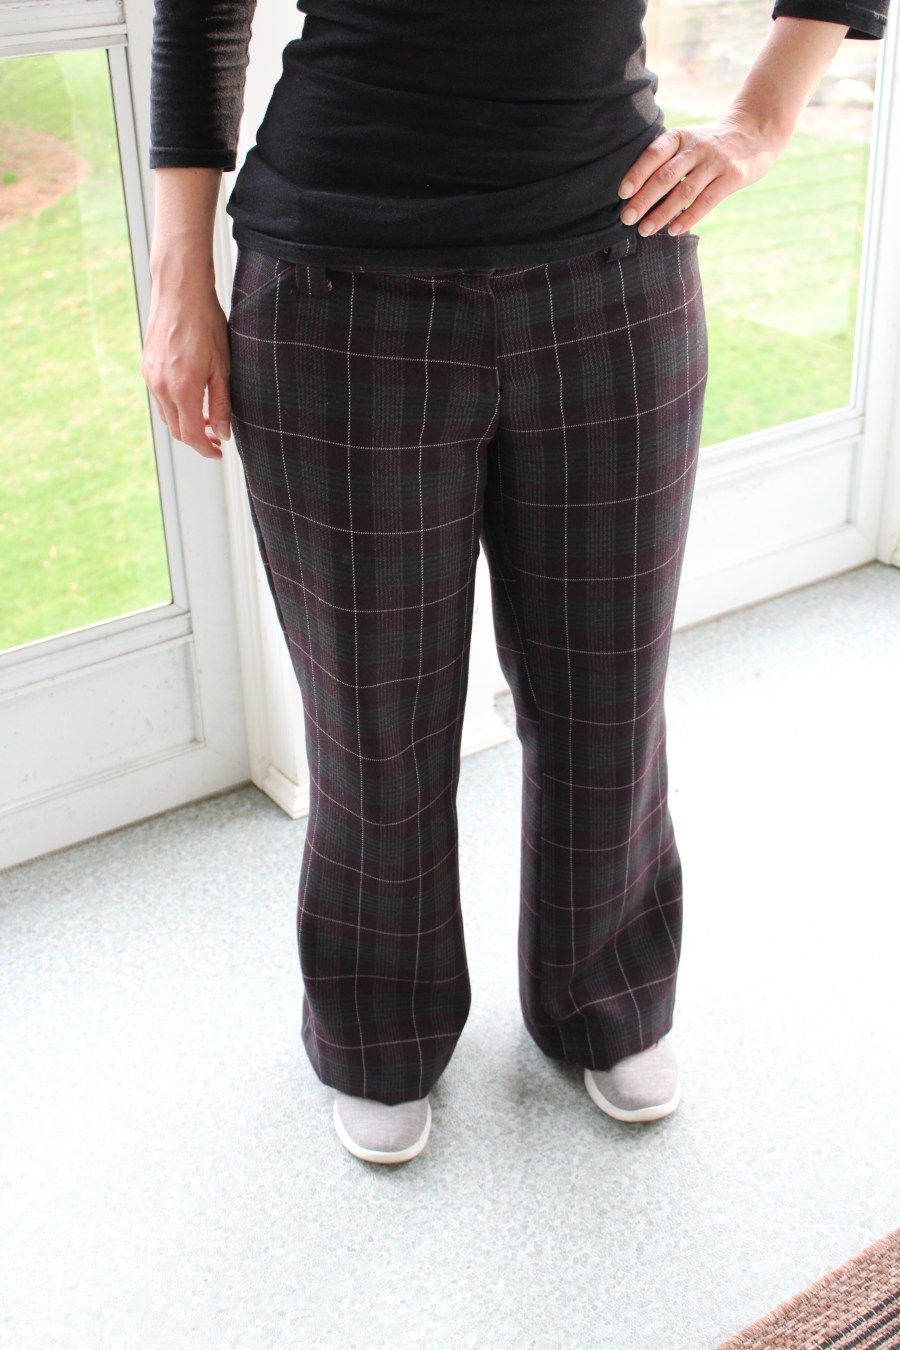
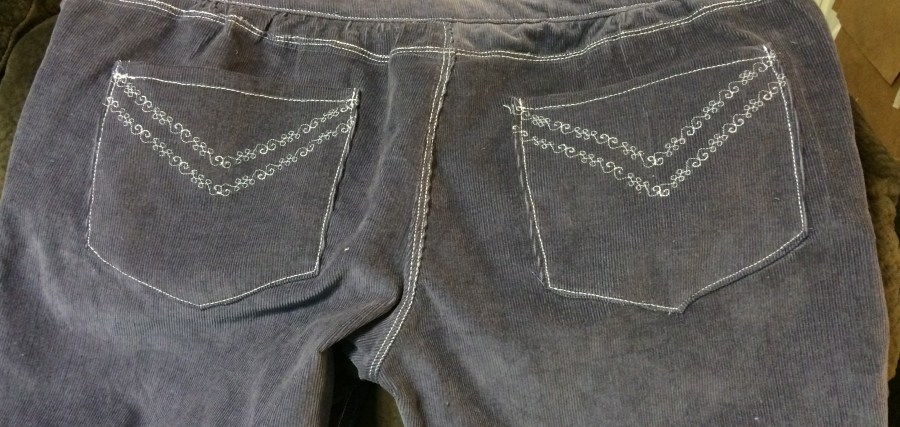
As for right now, I just spent a few weekends finishing up some of my winter projects that I had cut out at the beginning of the season. It’s too hot to wear them now, so I will probably write about them later on. This past February, I was able to complete these great cigarette pants with some plaid ponte knit that I bought at Gorgeous Fabrics. This is a mostly online store, but every once in a while they have an open house where you can go and buy in person. The fabric reminded me of pants I had loved when I was in high school in the mid 1990s. The owner had even told me the perfect pattern that would go with this fabric: the RENÉE pants from Jalie patterns. She ended up being 100% right, because this was exactly what I wanted. It bunches a bit up behind my knees, so I think I need to figure out how to fit pant legs a bit better. But at least I didn’t make these too big like I usually do. They are very comfortable too – I got some great use out of them this winter and I’m sure when fall rolls around, I will be reaching for them again. Maybe by then I will need a new top to go with them.

I’m so glad I’ve got some new projects in my queue that I’m really excited about. It honestly just feels good to be enthusiastic about sewing, even if I end up not finding the time.