It’s been a slow sewing season for me as I’ve had back to back illnesses in addition to some back and hip problems I’ve had to sort out. I have managed to make a few things though, I just haven’t had the energy to show them off. I was not able to finish my button shorts that I had cut out before the weather got too cold, so I thought I would go straight to my fall and winter sewing projects. Both happen to be re-makes of other projects I made years ago and tried to improve. I’m not sure I quite got it right this time, but these garments do work better than what I originally made.
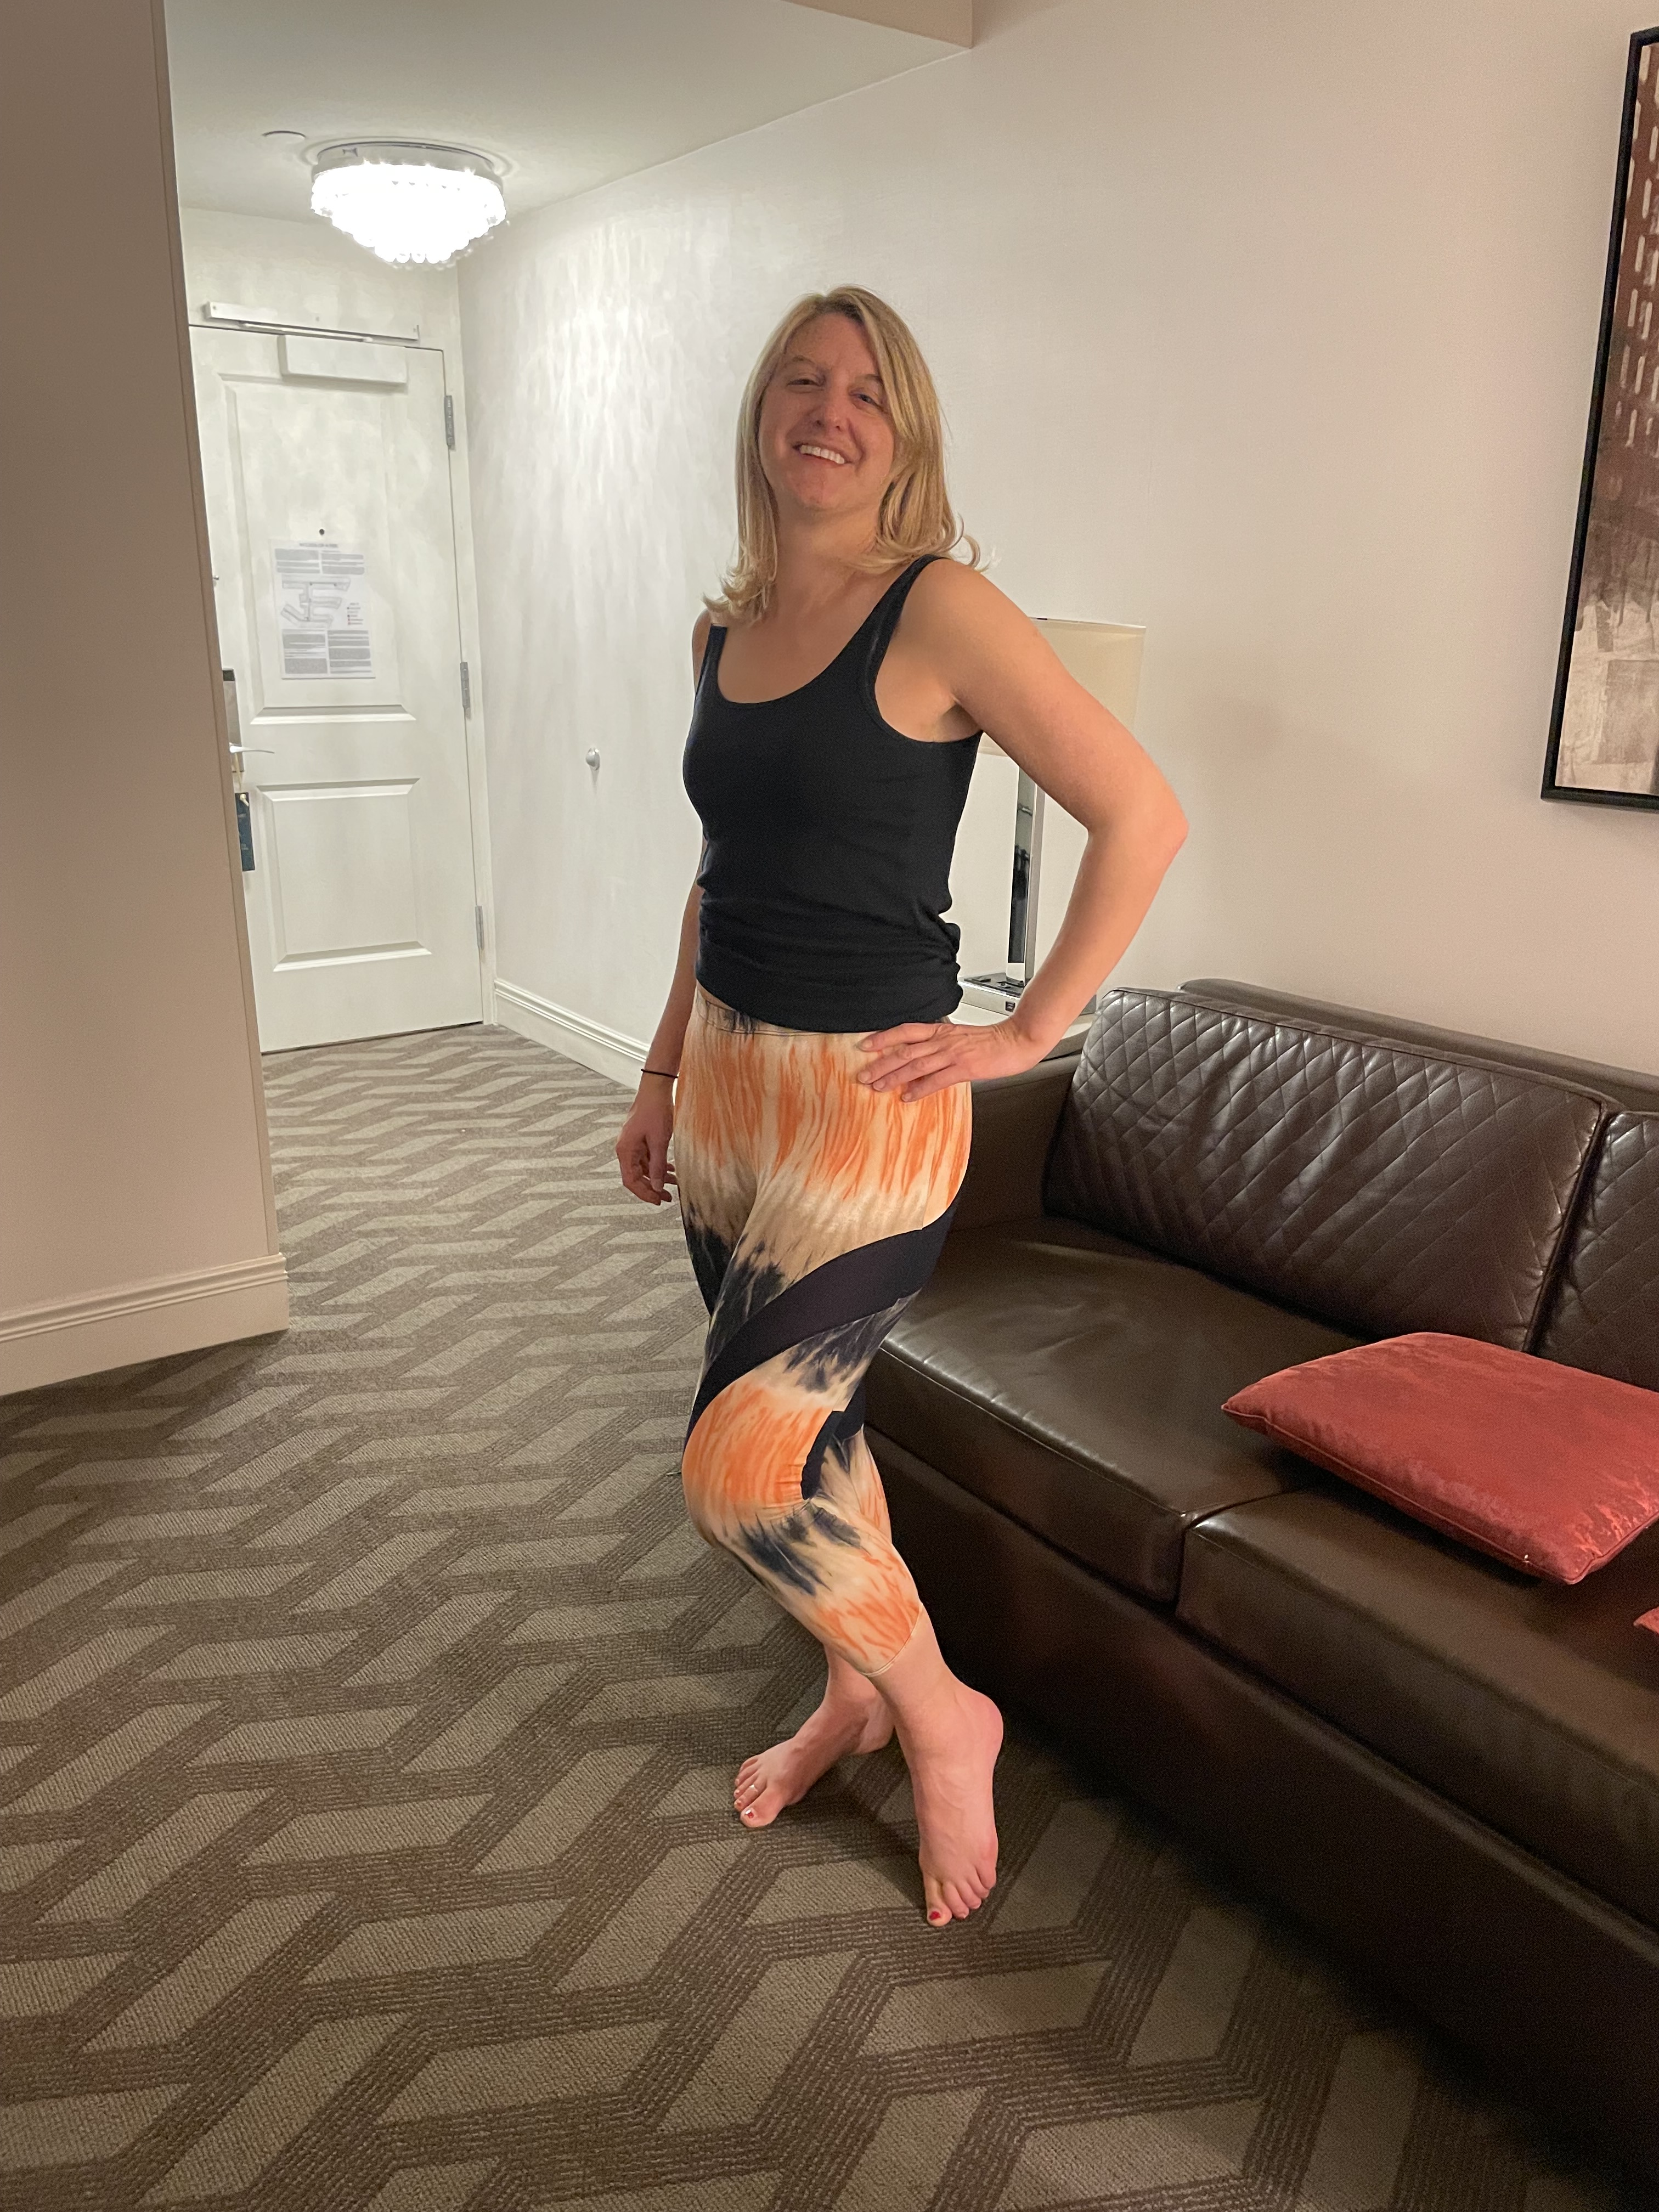
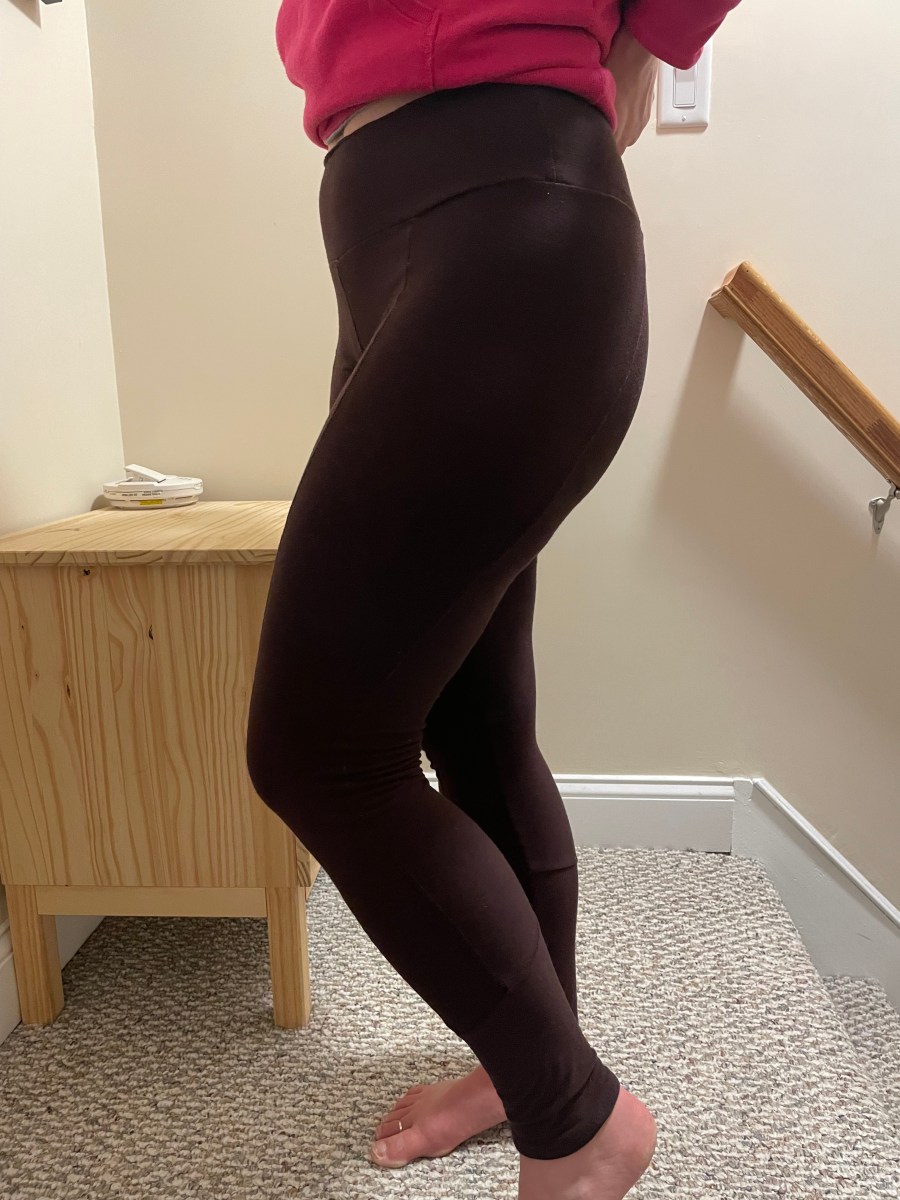
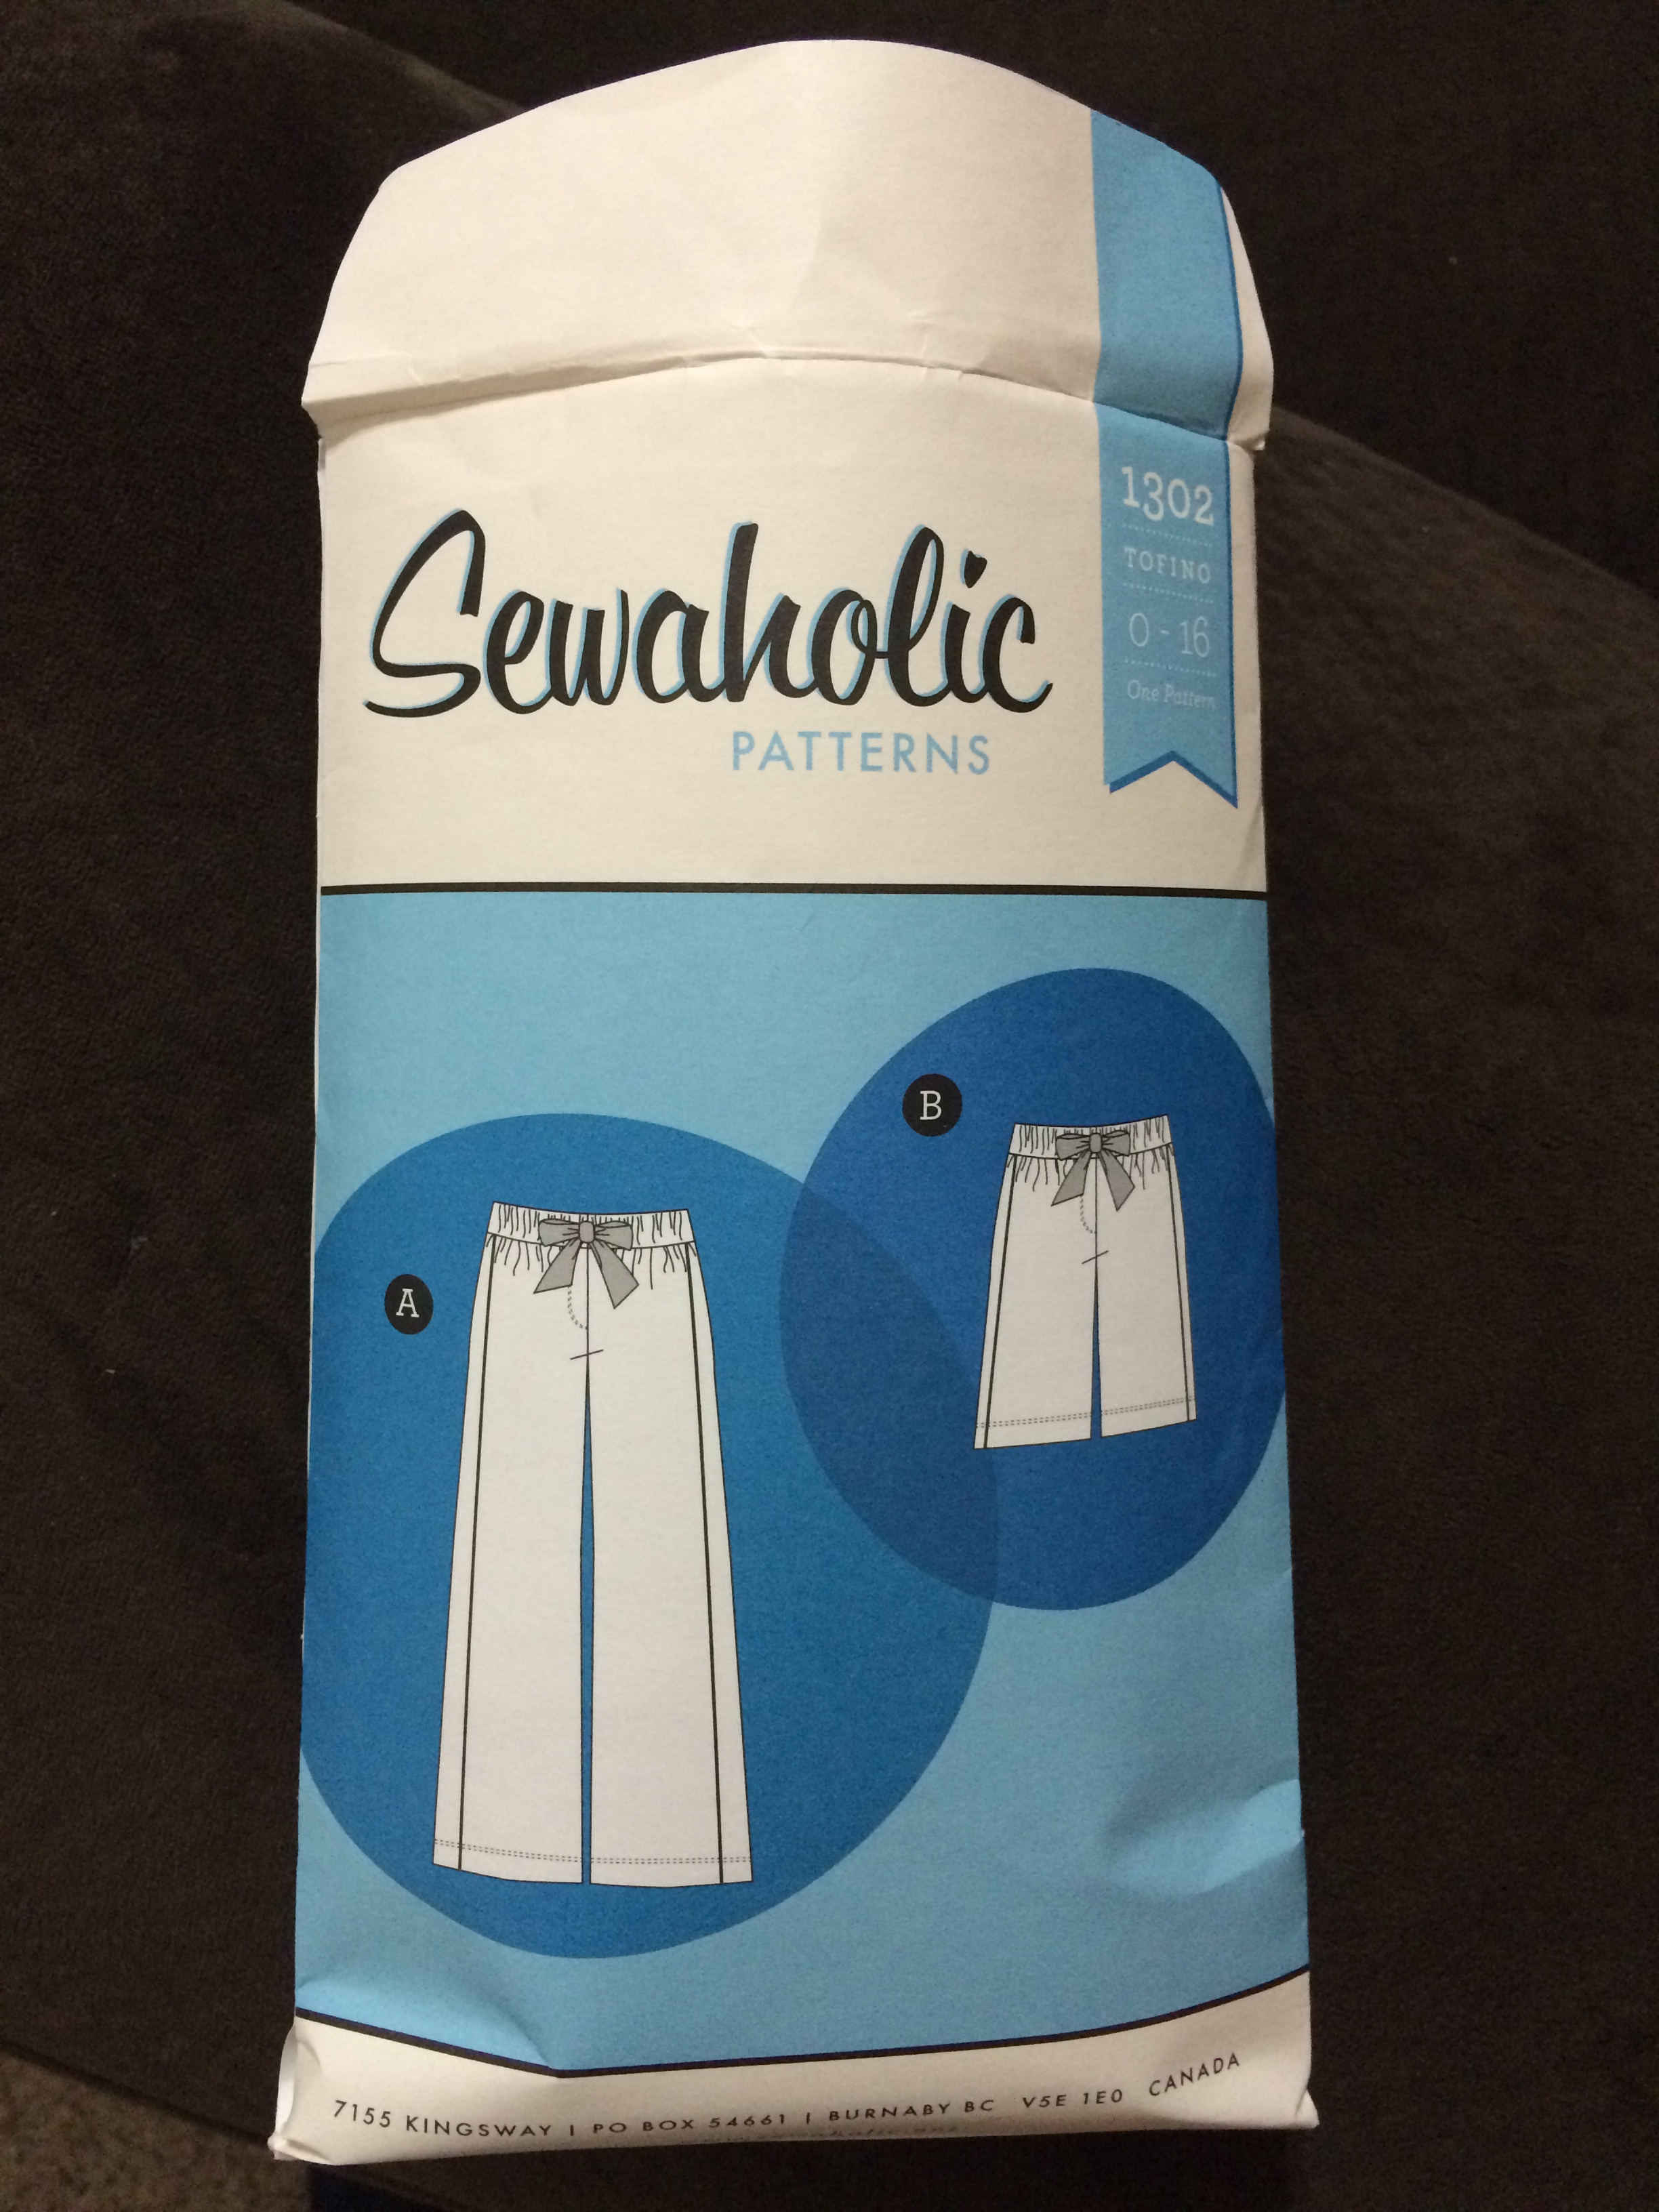
The first is the Crescent skirt by Sewaholic. I made this skirt back in 2015 and I loved it. I used to wear it all the time to work. But I made it a bit on the big side and then I ended up losing weight and wasn’t able to wear it any more. I still have it around because I was really proud of how it came out and I just don’t have the heart to throw it out. I would like to give it a good home if there was someone who would want it, I just haven’t gotten around to figuring out how to do that. This first attempt was a size 12 and when I measured I decided I would need a size 10, which is what I cut out back in the spring.

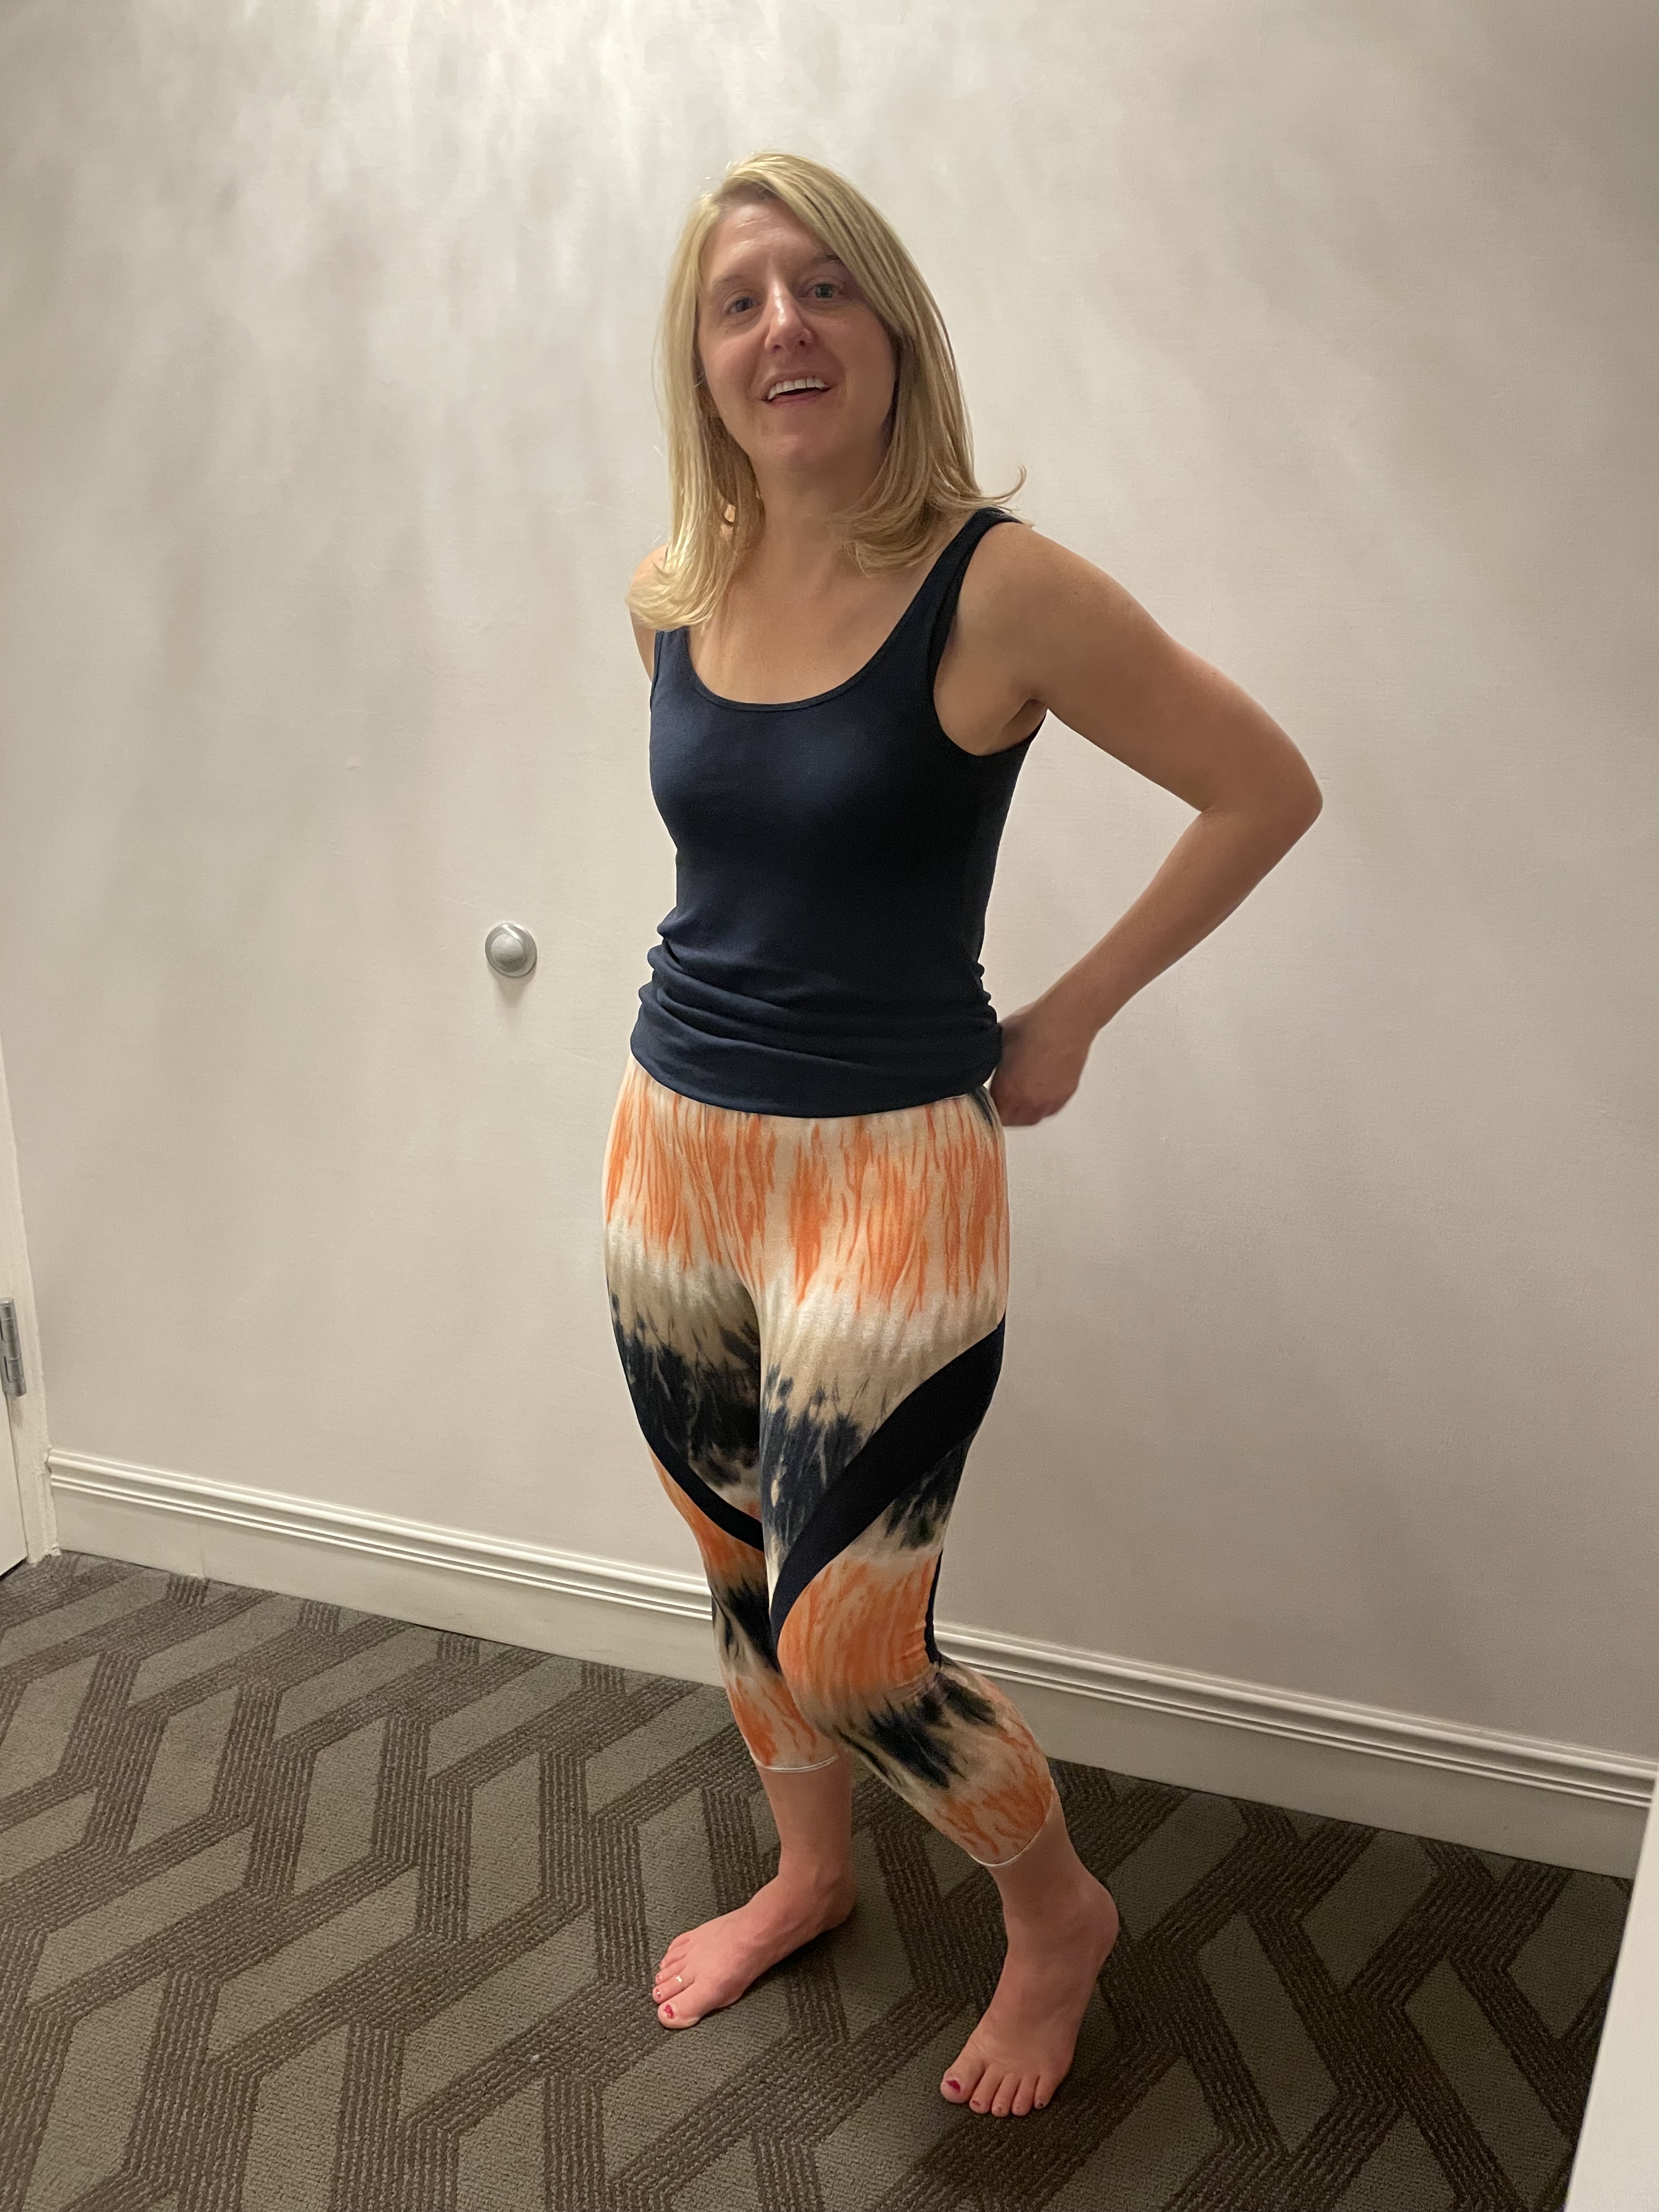
When I finally had time to sew this I realized that this size would also be too big, so I cut it down to a size 8, which seems to be right for my body at this time. The first time I made this, I used corduroy so I knew this was a great fabric for this project. This version used a sparkly navy blue corduroy which I just love.

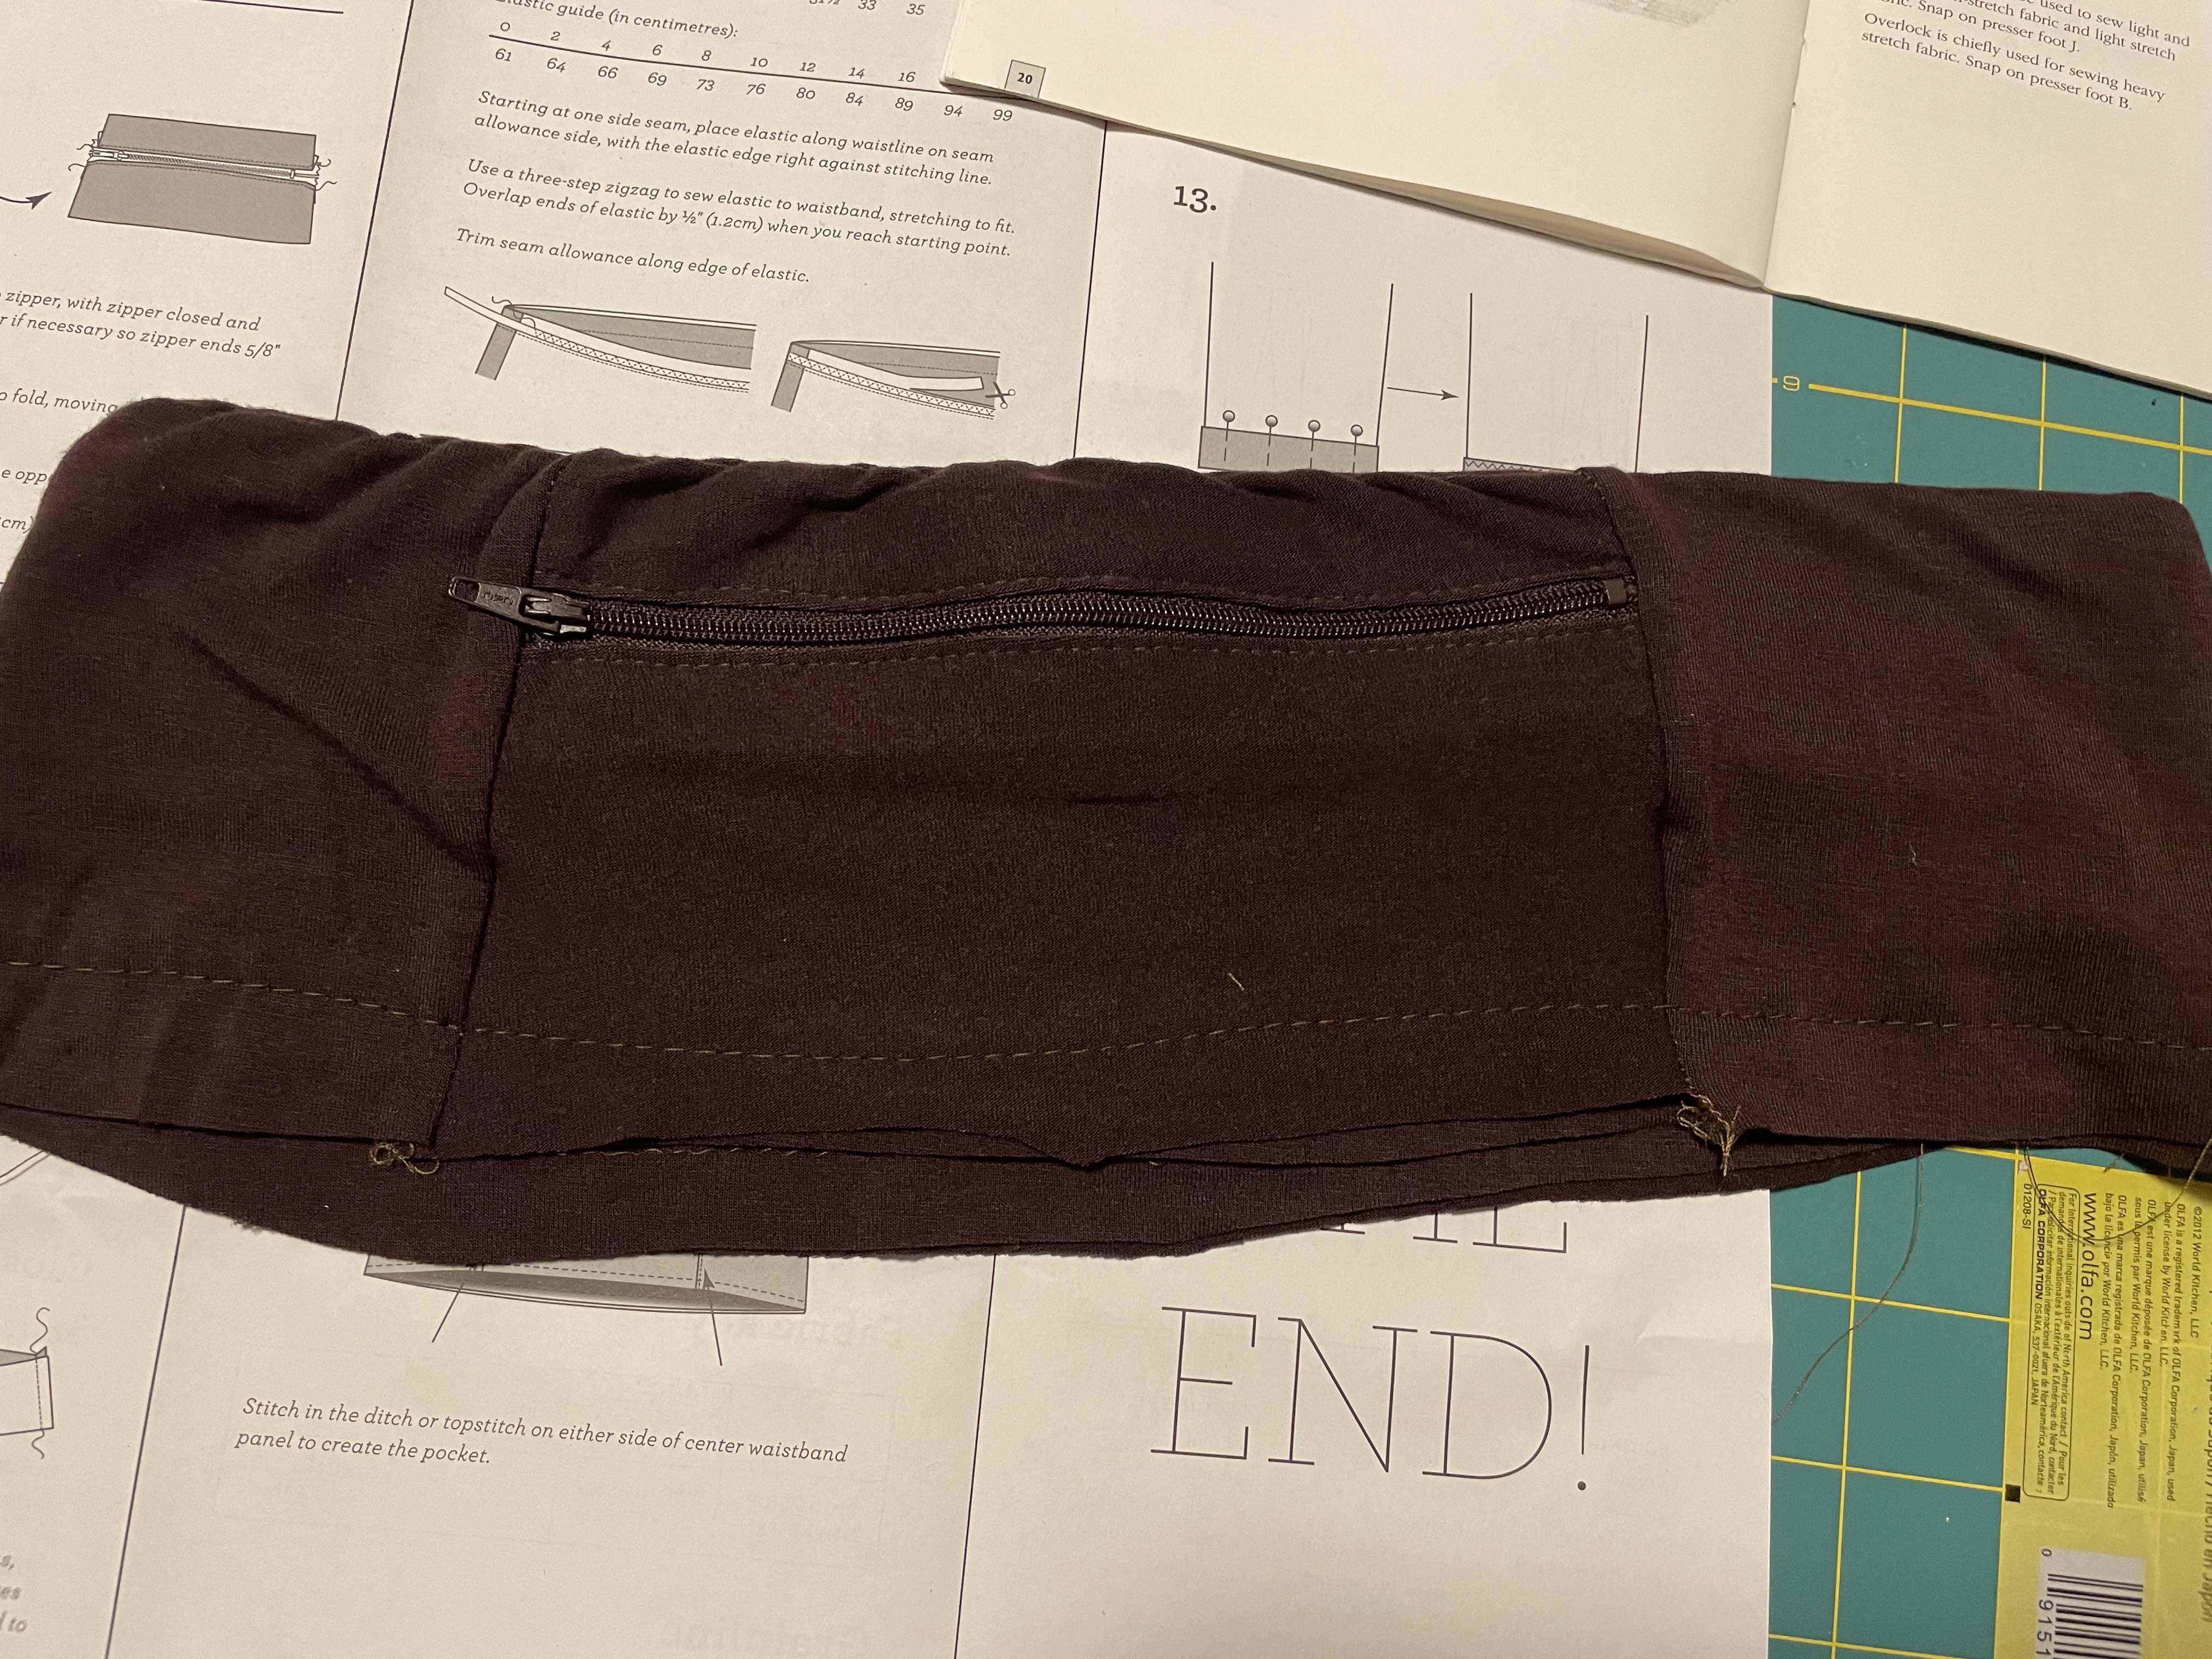
I also used bound seams for this one as well, since it seemed to work well the first time. I still have a whole roll of that Hug Snug stuff left so maybe I need to use this more often as I love the way it presses when enclosing the seam allowances.

This skirt is a pretty fast sew. Although compared to other skirts, this one does have a few more pieces to sew up, especially on the waistband, which made more seams to bind. The only part I am not a huge fan of is you are supposed to gather the front and back. I always have trouble getting these even and not bunched up too much in one place. It’s hard to sew the seams without the fabric folding in which makes it look a bit unprofessional. I think this is mainly because I used corduroy which is a tougher fabric to gather. I think this skirt might look more streamlined if it wasn’t so full with the gathers, so I may look into adjusting this if I make this again. It still looks very nice and a great addition to my work wardrobe for the fall or even winter.

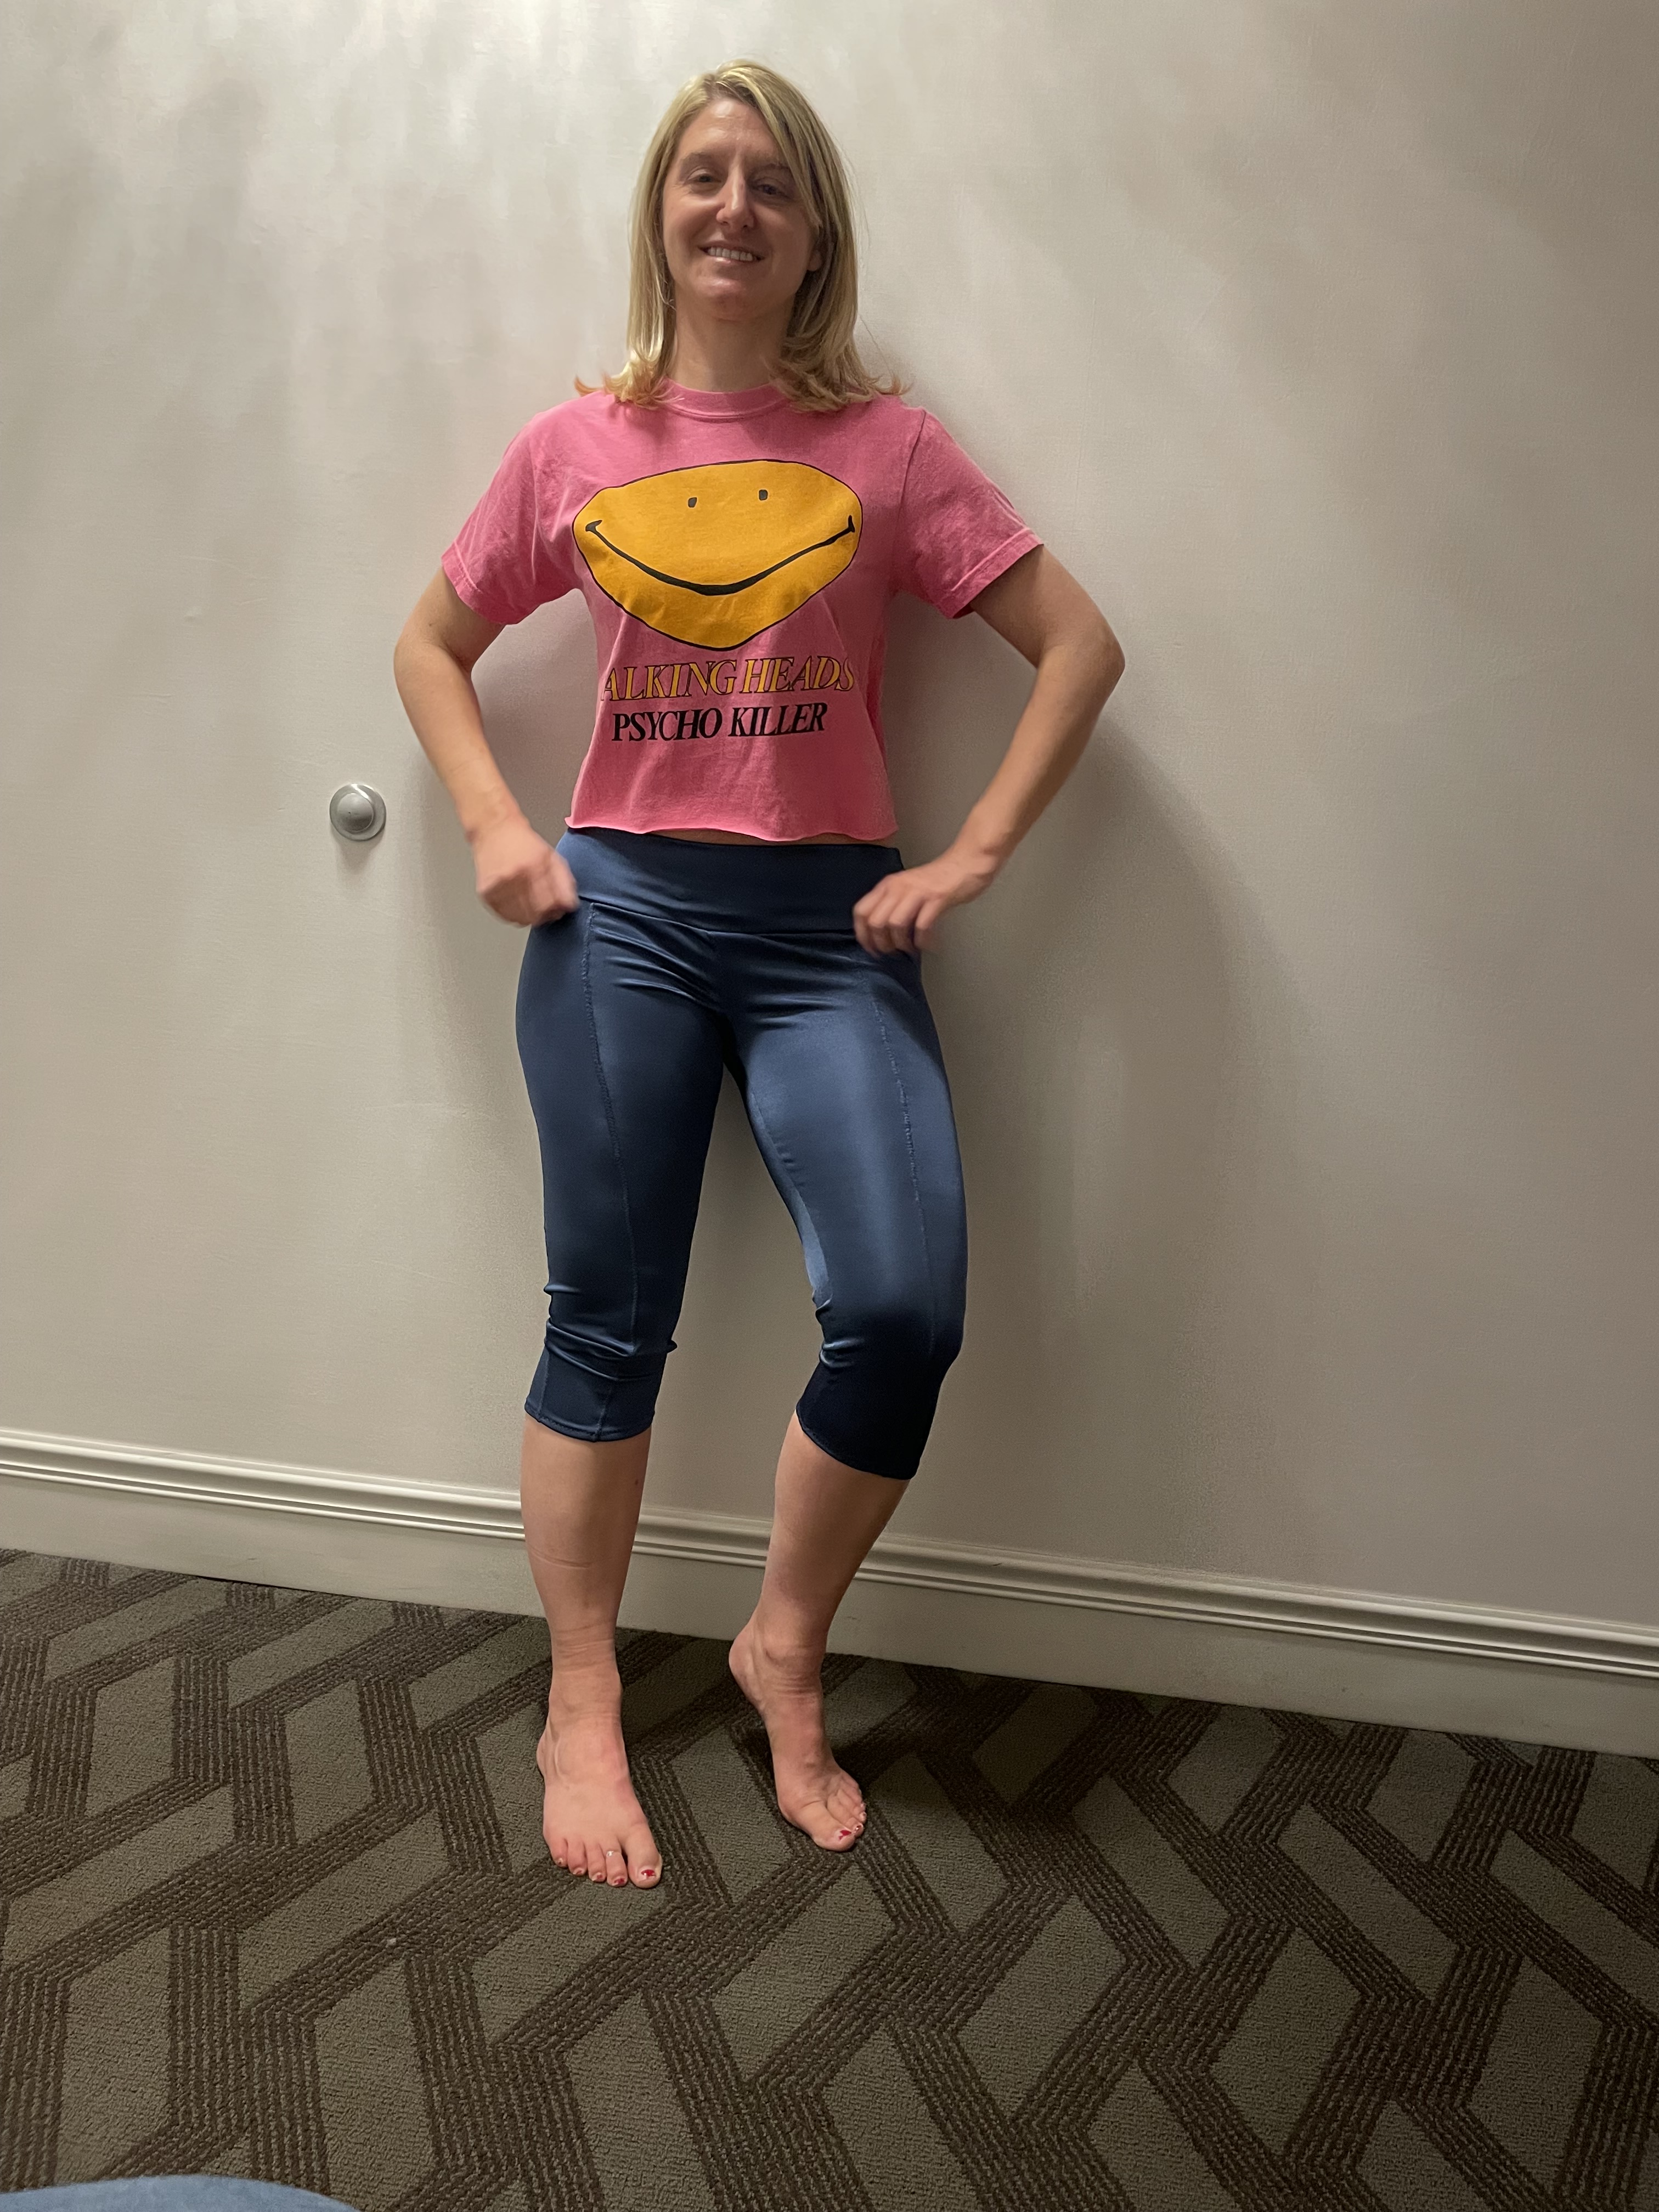
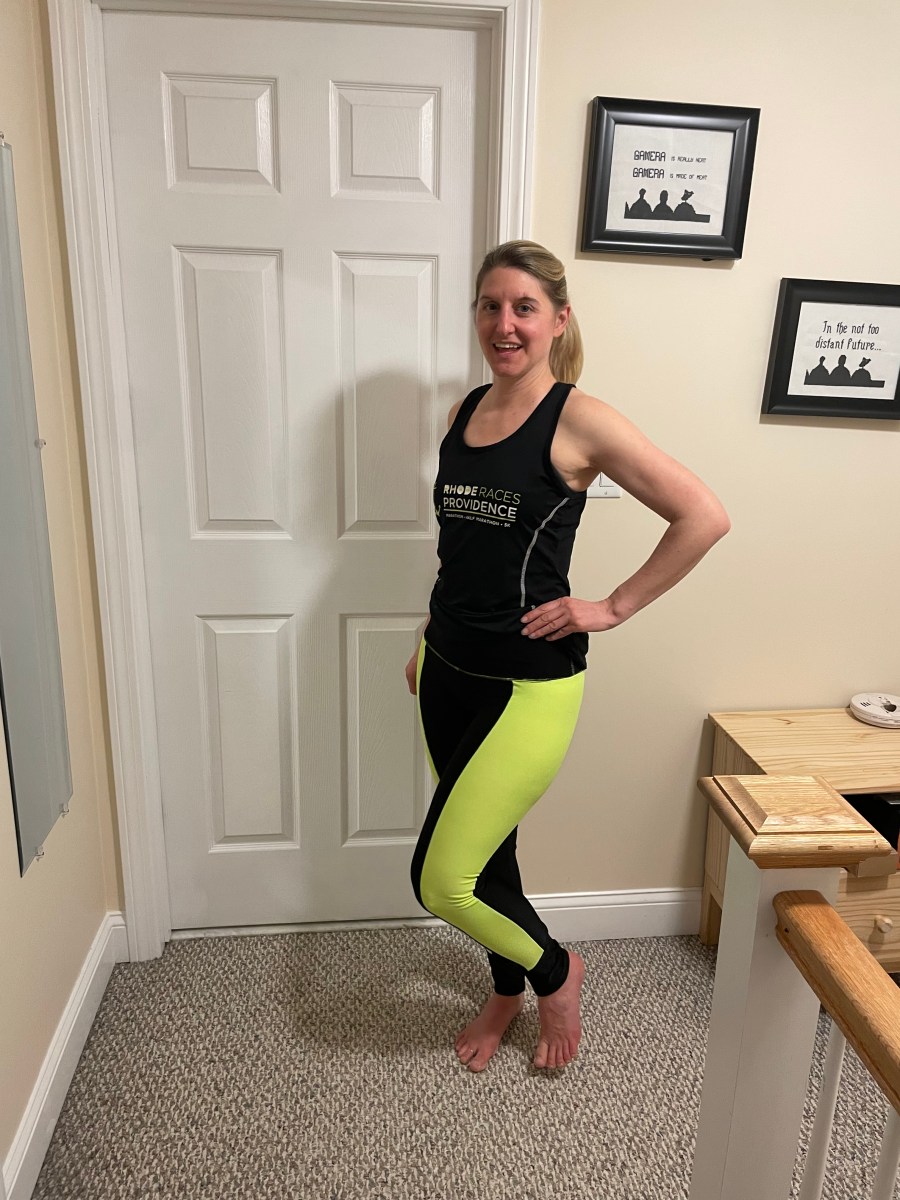
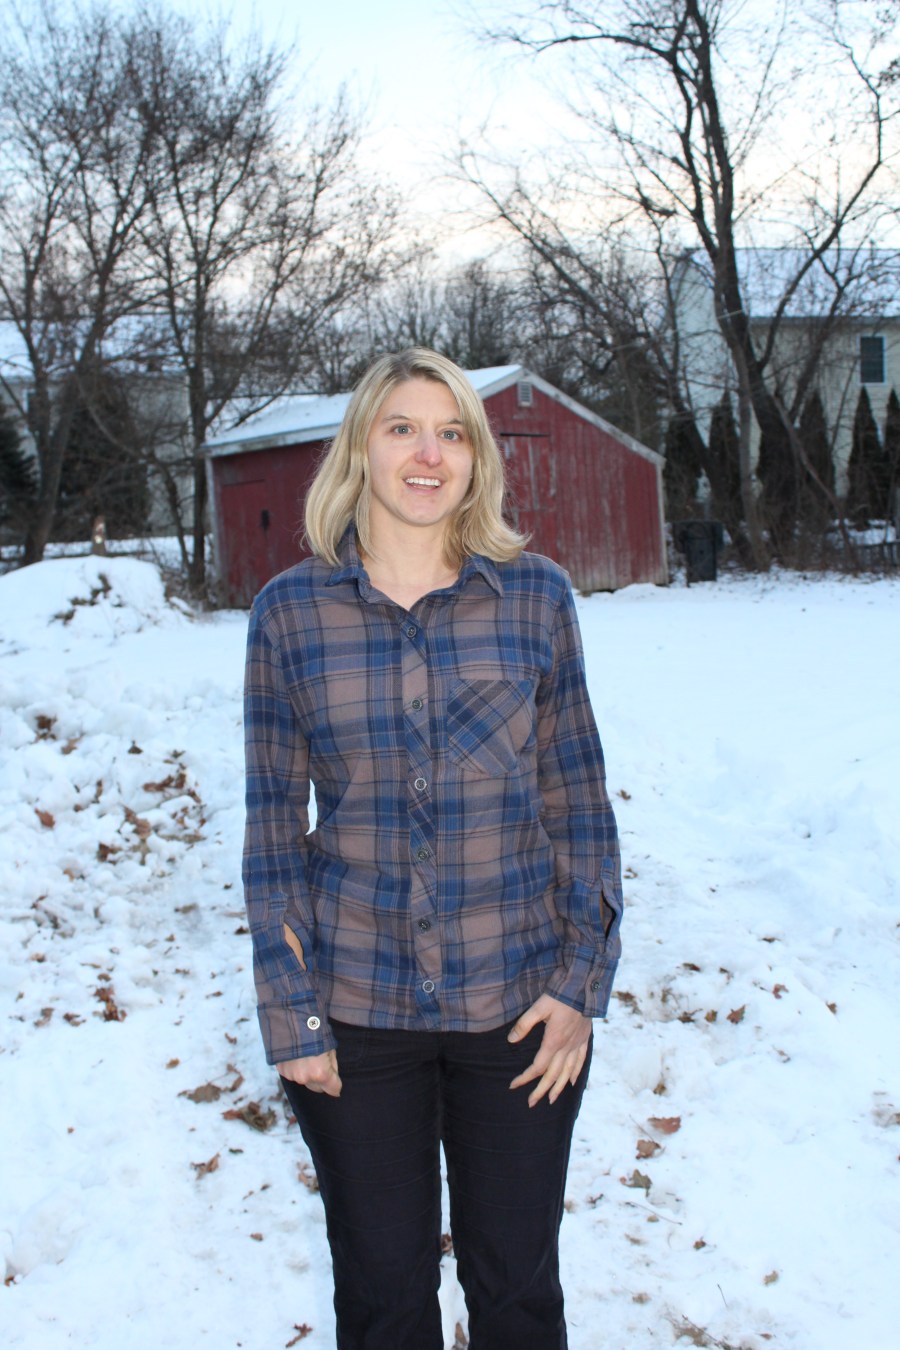
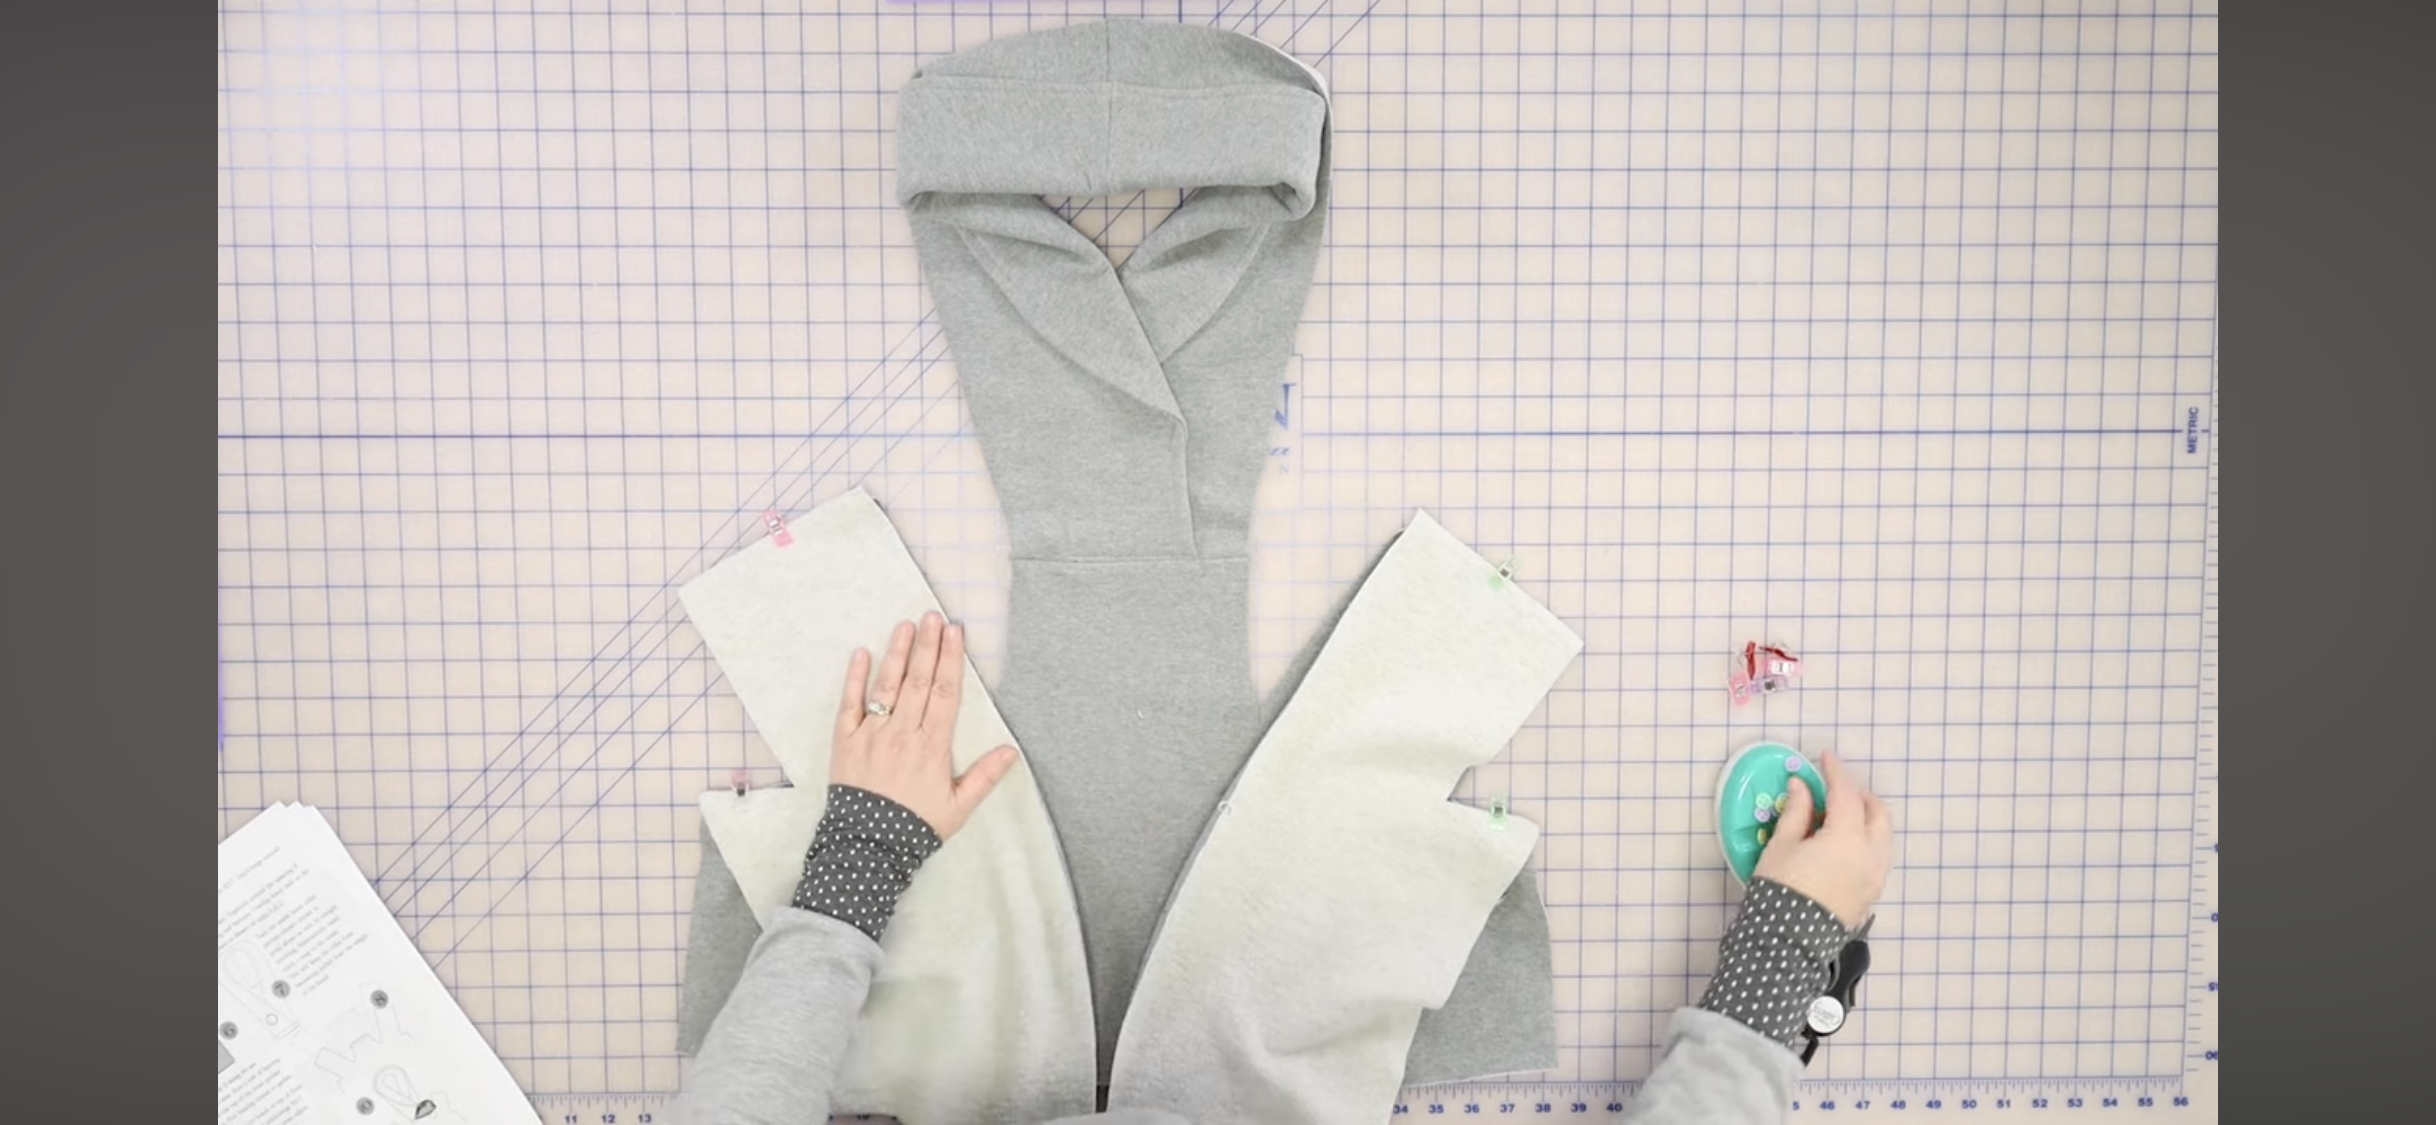
The next project was the Whistler Pull-Over by Love Notions, which was a remake of a sweater I didn’t even blog about. The original was a project I finished during the early days of the pandemic, using some great sweatshirt fabric I got in Amsterdam. I was so disappointed when I had sewed it up and realized that despite not making the “tunic” version, the top was waaaaay too long. I tried to shorten it myself after the fact, but it never quite sit right and I’m sure it’s because I didn’t shorten it the way you are supposed to on the actual pattern. Plus it was hard to figure out with the way the pockets were constructed as part of the front piece.
Also the front seam was always a big crooked which always got on my nerves when I wore this.

I knew I could do a better job if I tried again, so I decided to use up some cool sweater knit I got on clearance at a fabric store in NYC. The fabric kind of has these fun dots in them that remind me of funfetti cake so I decided to accessorize with some fun pink buttons to give it some color.

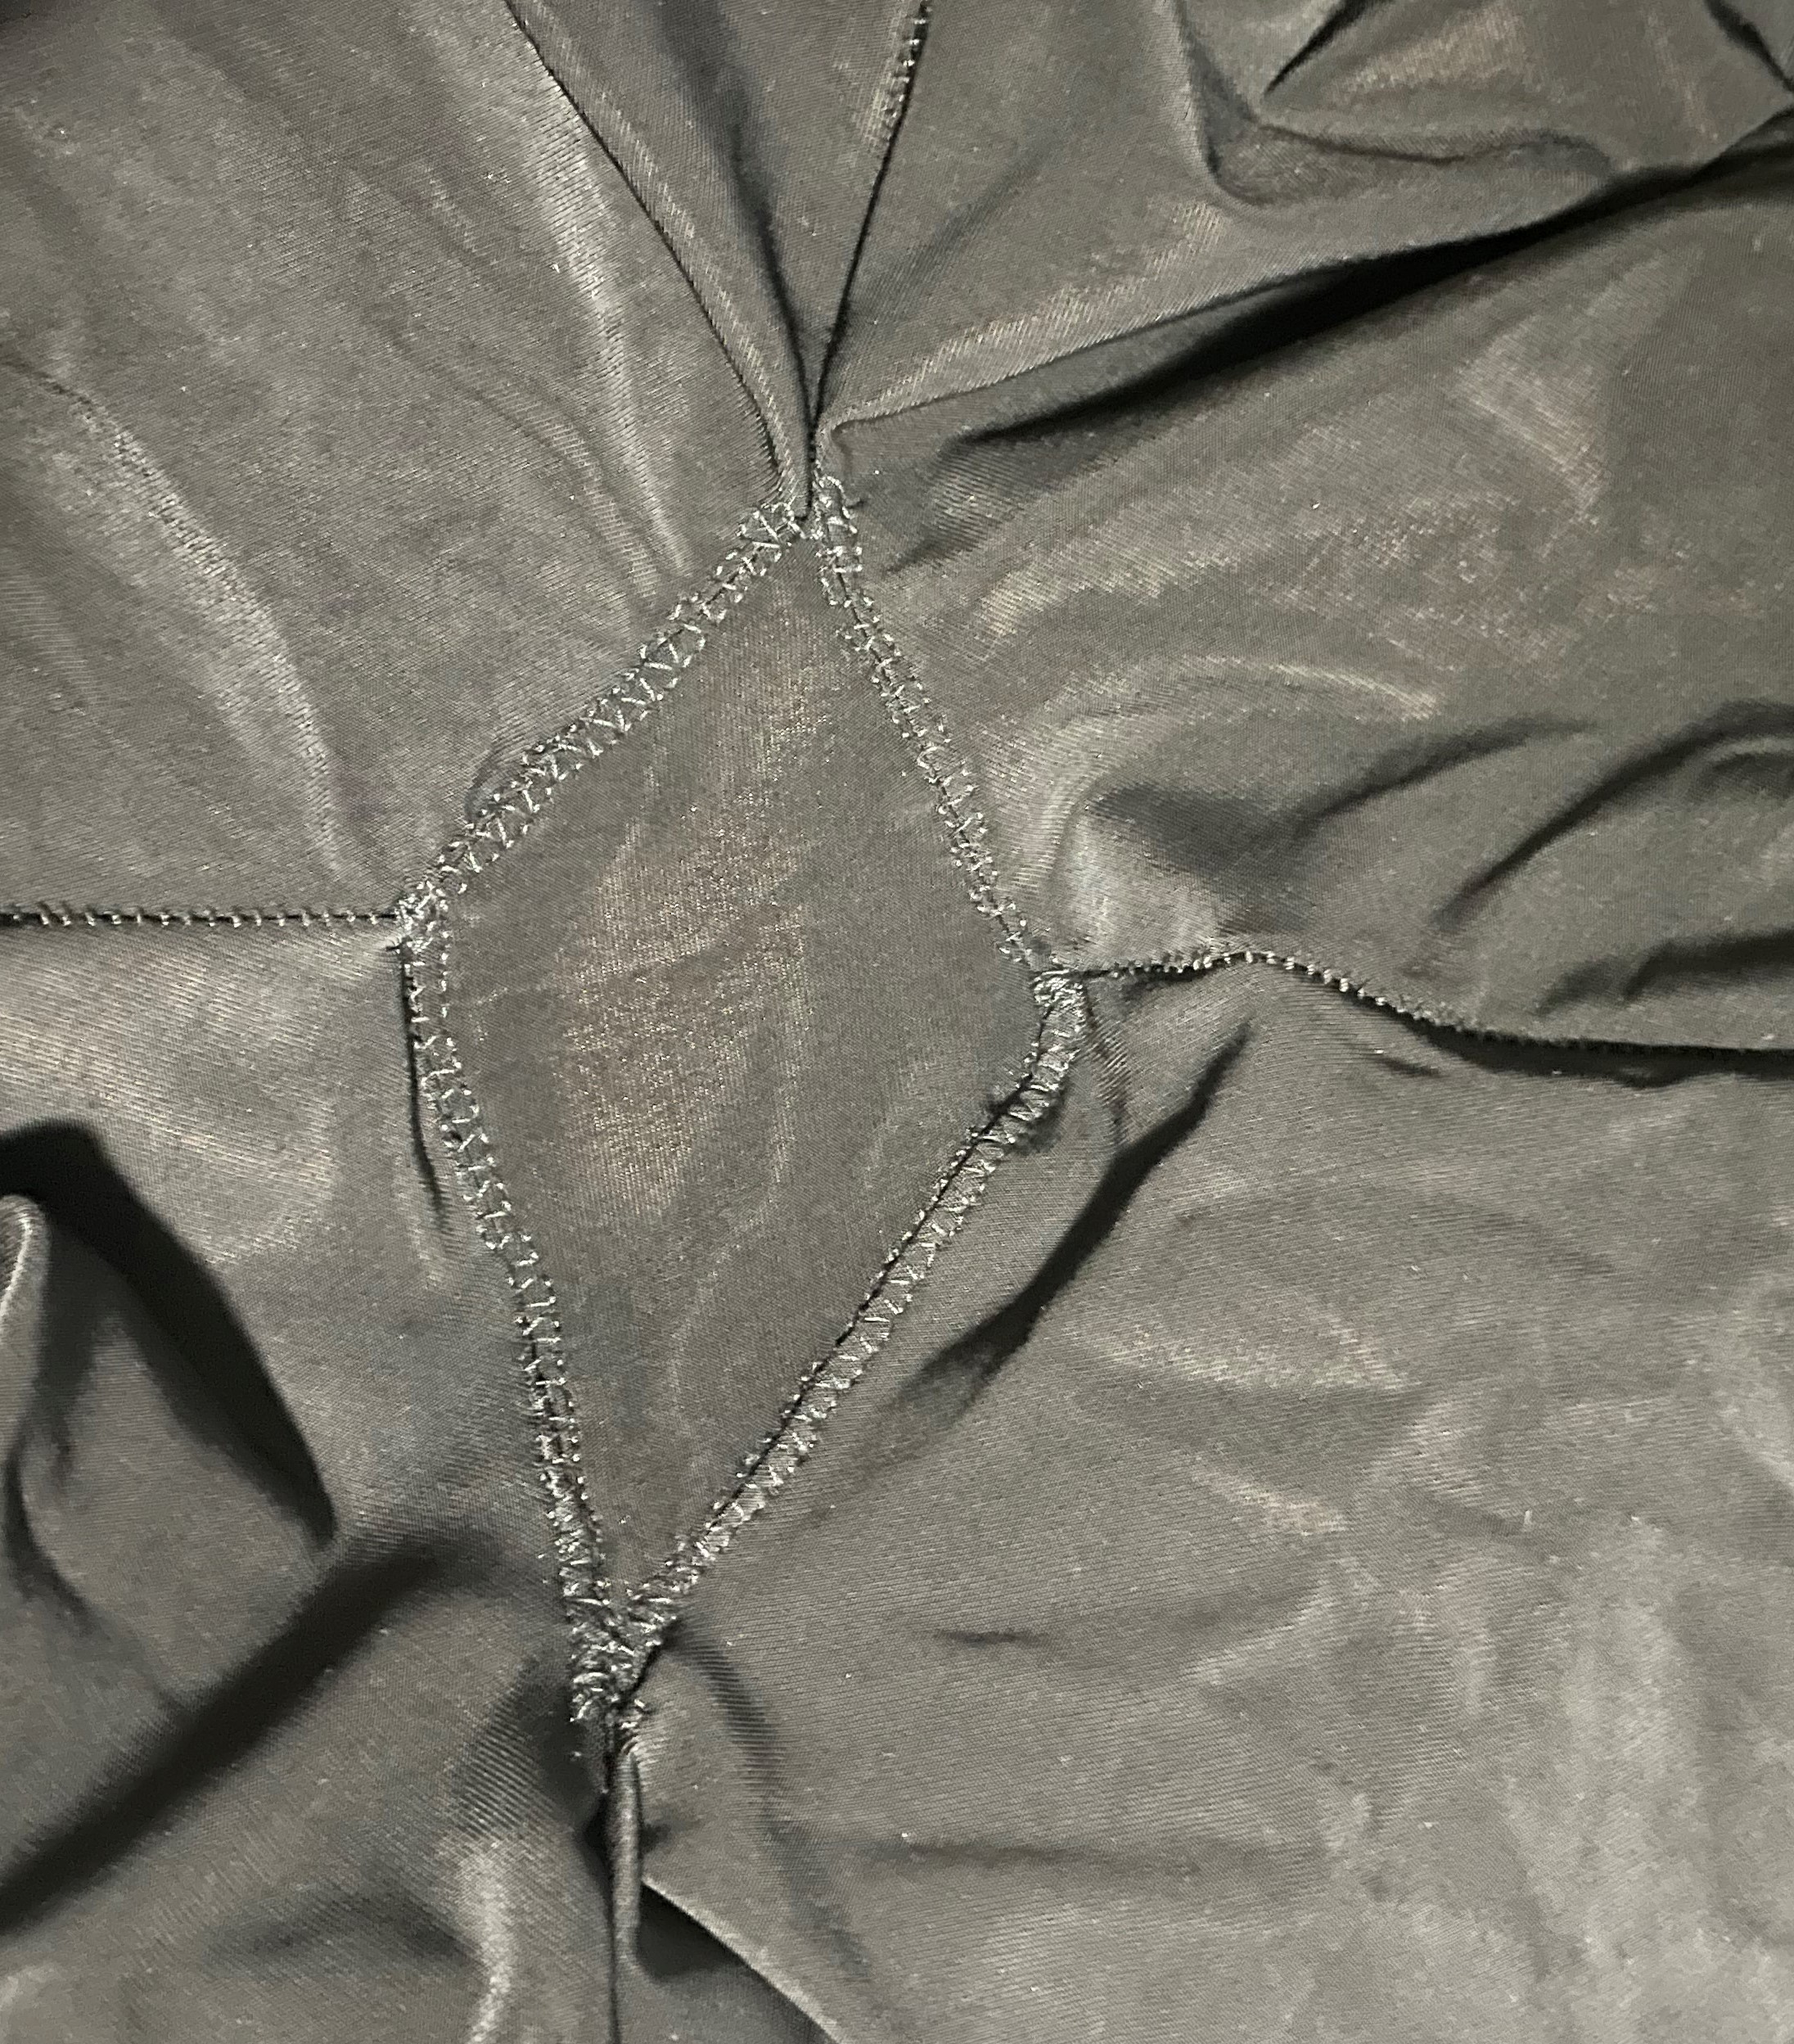
Sewing up the front on this with the pocket panel flipping up to sew to the side front pieces were kind of confusing when looking at the drawings in the pattern. I honestly couldn’t understand what they were telling me to do and it even looked like I was supposed to sew up one section separately instead of sewing the whole section together. I didn’t actually get it until I watched the tutorial video mentioned in the pattern instructions, so I would recommend watching this before starting to sew up this section.

Using my serger, this also sewed up really fast, especially if you opt for using the bottom band instead of hemming. The drawings can be a bit deceiving on this pattern, which also caused the front button piece to not be the right width, but all in all it’s a pretty well written pattern. The videos definitely help. I think this one does look a bit better than my first attempt, although it’s far from perfect.

I also had a near tragedy trying to finish off a seam with the serger where the fabric bunched up and the blade cut a big hole in the front panel. I had to move the seam to fix that hole and so it still seems a bit crooked, just in a different way the first one is crooked. Still, it will work as a comfortable winter top that I’m excited to wear as the air outside gets more of a chill.

So what’s next? Well I’m still deciding what I want to make next. I’ve been wanting to start on my bomber jacket and I was happy to hear that bombers are still in style this winter. I’ve been procrastinating in anticipation of the effort it will take, but I don’t want another season to go by again. I also have another sundress cut out that I’d like to work on and I have an idea for a circle skirt that I just washed fabric for. I also want to start making some bags – as you can see I’ve been having trouble concentrating on a project which is stopping me from actually finishing anything. Hopefully the rest of this month as I focus on healing, I can settle down and figure it all out.