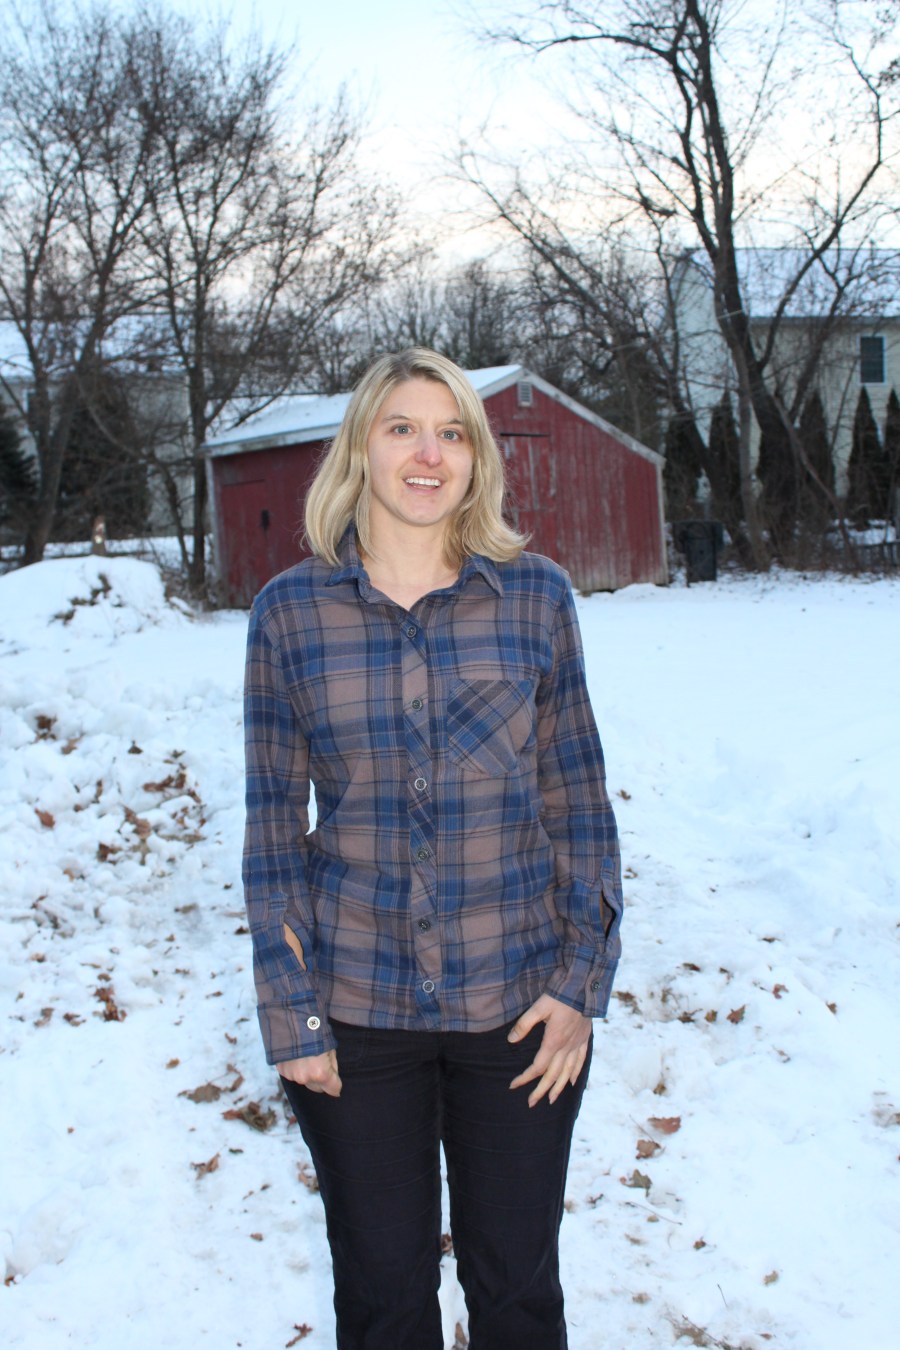
Pattern: Granville shirt by Sewaholic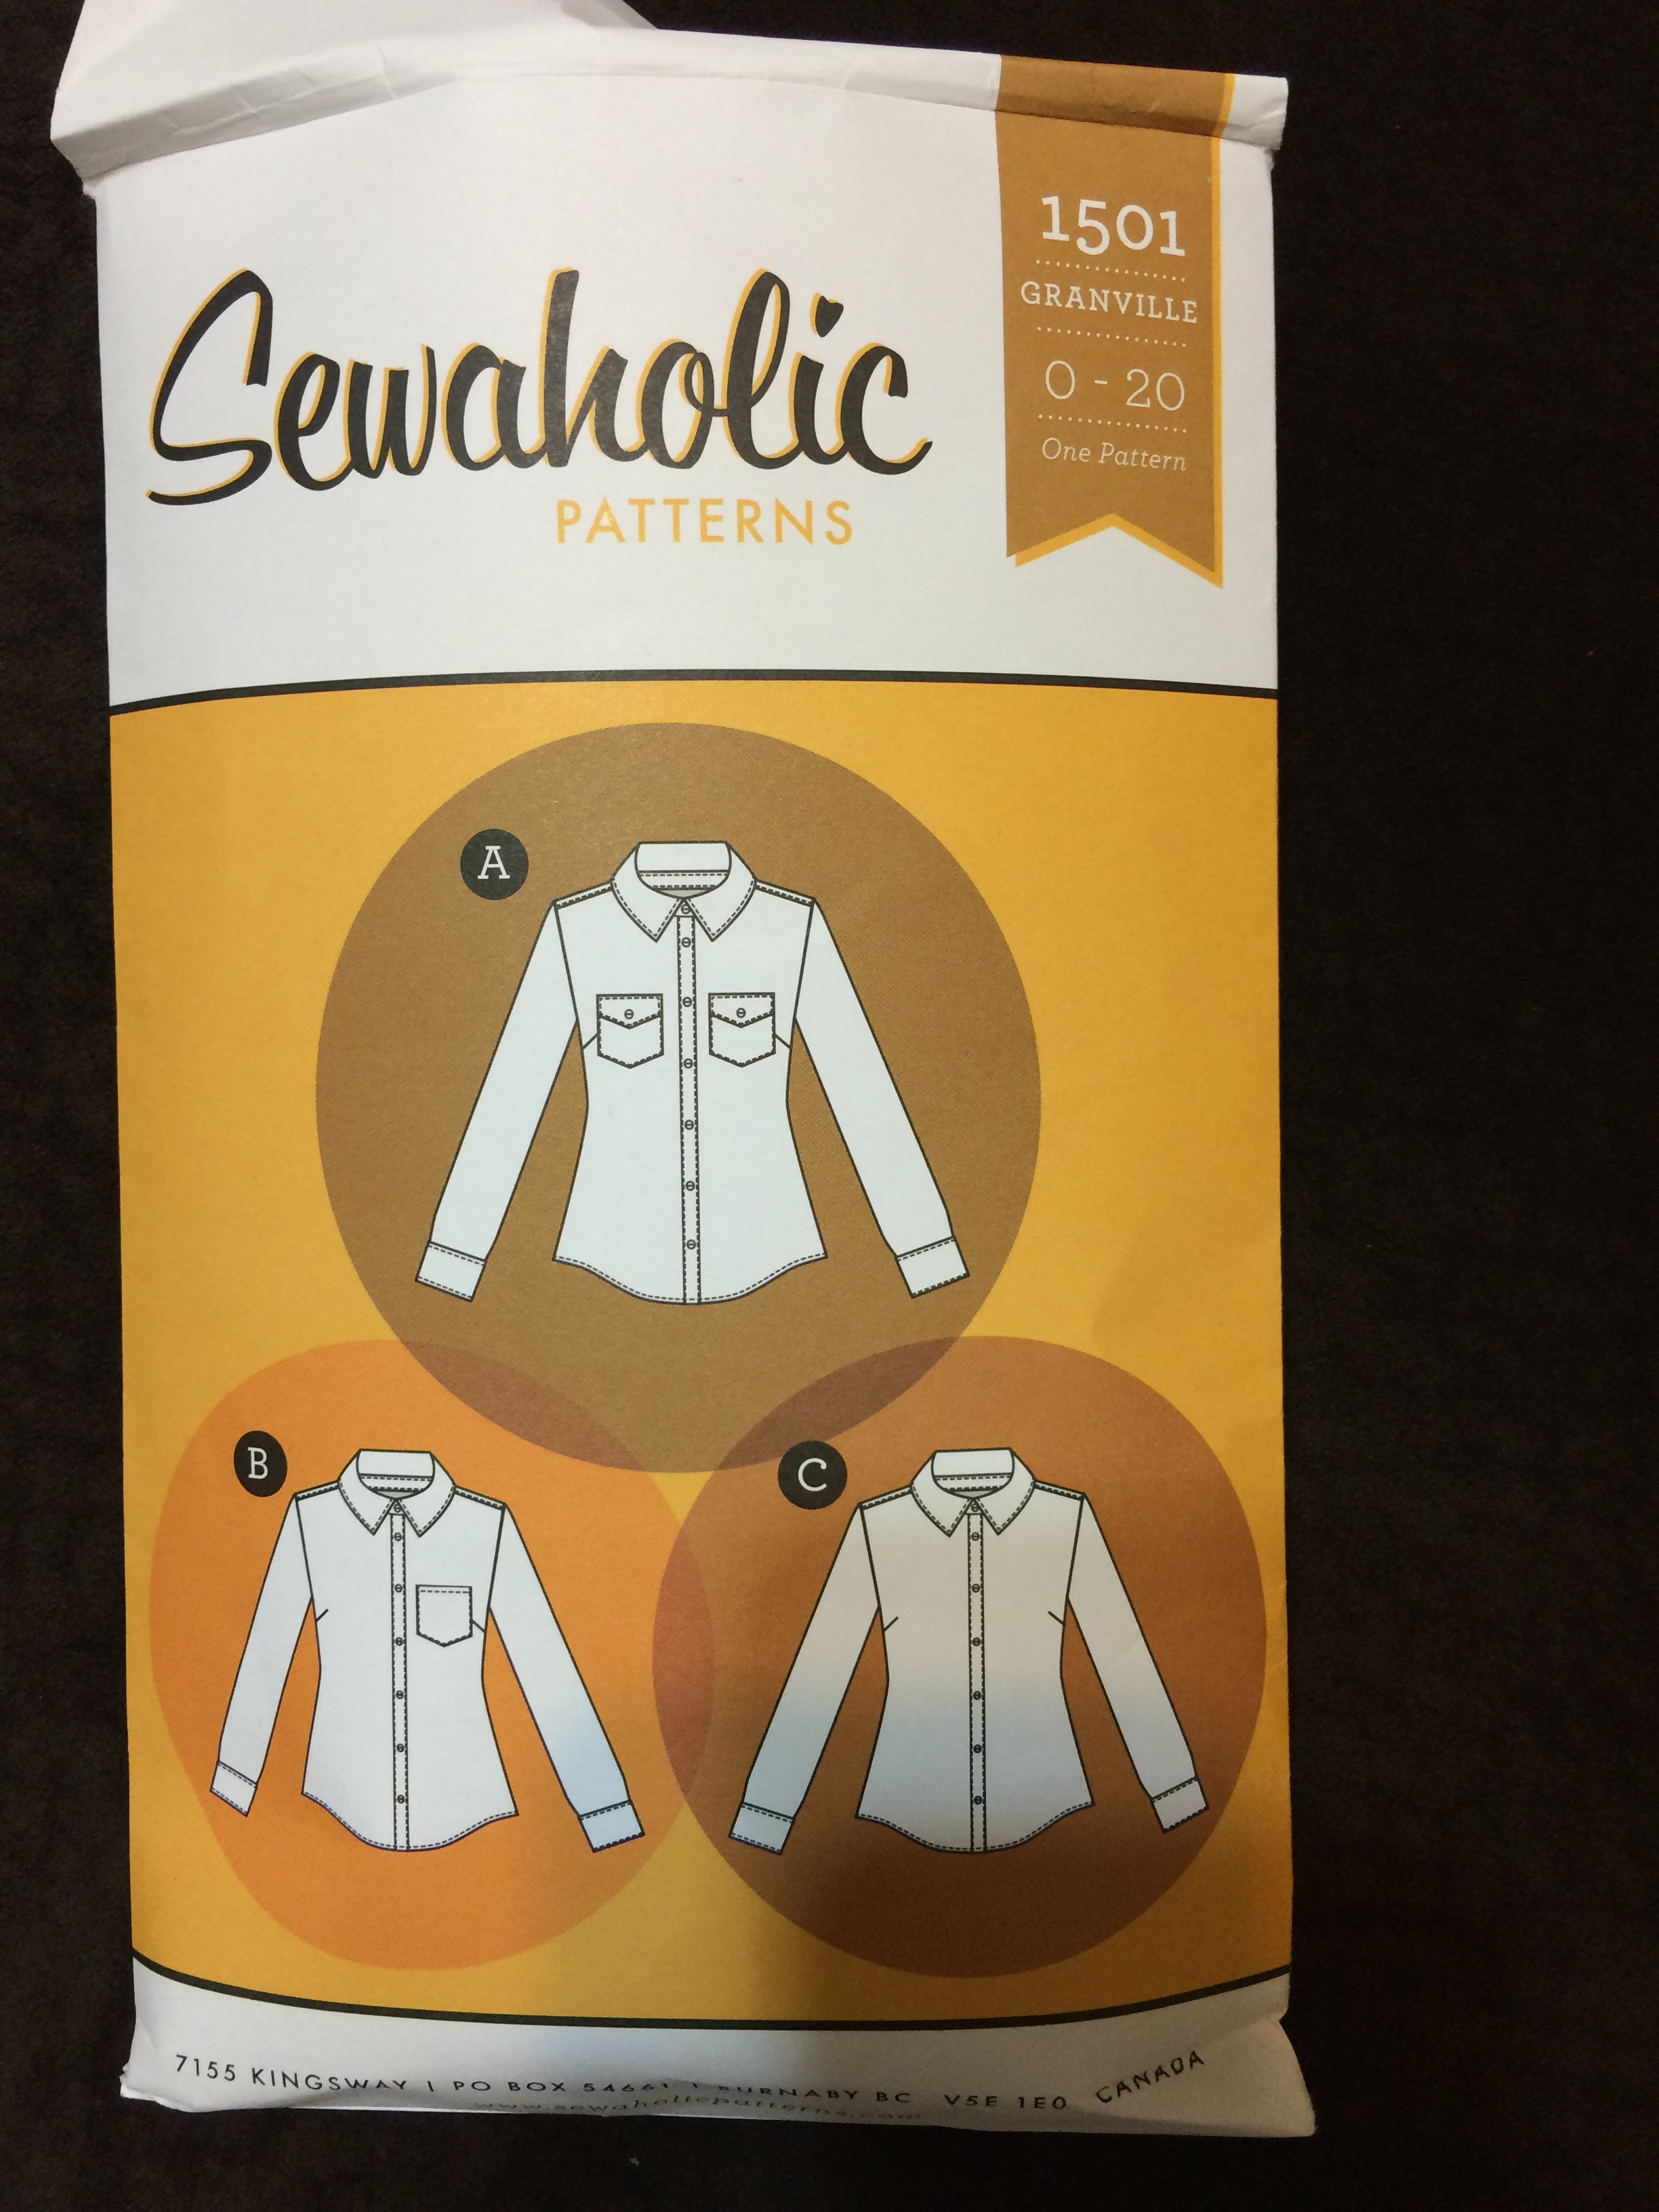
Skills acquired:
- Flat-felled arms
Patience
It’s gonna be different this time.
Or at least that is what I told myself when I purchased yet another 3 yards of plaid flannel. I wanted to make another flannel shirt, one that I could be proud of. I had made 2 before that were okay but had some obvious imperfections. This time I was going to do it right – I was going to practice the techniques making a muslin with some cheaper fabric and make sure I knew what I was doing before I stitched into the flannel. I used the Granville shirt pattern from Sewaholic since I had really liked the fit on the flannel shirt I attempted before. I made it a size smaller since I wanted a more fitted look and I had obviously made it too large last time.
What I really wanted to accomplish was flat-felled seams on the whole shirt. I had tried this with the first shirt, but I found it difficult when installing the arms in the arm hole. It got a bit messy. When I attempted it on the second shirt, it looked so bad that I just unpicked it and sewed them in using my serger, abandoning the whole flat-felled looked for the arms. I cheated. This time, I wanted to get it right so I asked someone I knew who had successfully done this on a flannel shirt of her own. She directed me to this online tutorial. Aha! It all made sense now.
It had been a long time since I had made a real button-down shirt, so I had to re-learn a few things, which made me glad I had this practice fabric. One of those techniques was sewing up the yoke, as I always forget how you sew up the two yoke pieces to enclose the seams.

Luckily there are great online resources that will show you how you are supposed to roll up the shirt and sew the shoulder seams, such as this Crafty blog. Surprisingly, the Sewaholic site didn’t include a detailed tutorial on this.
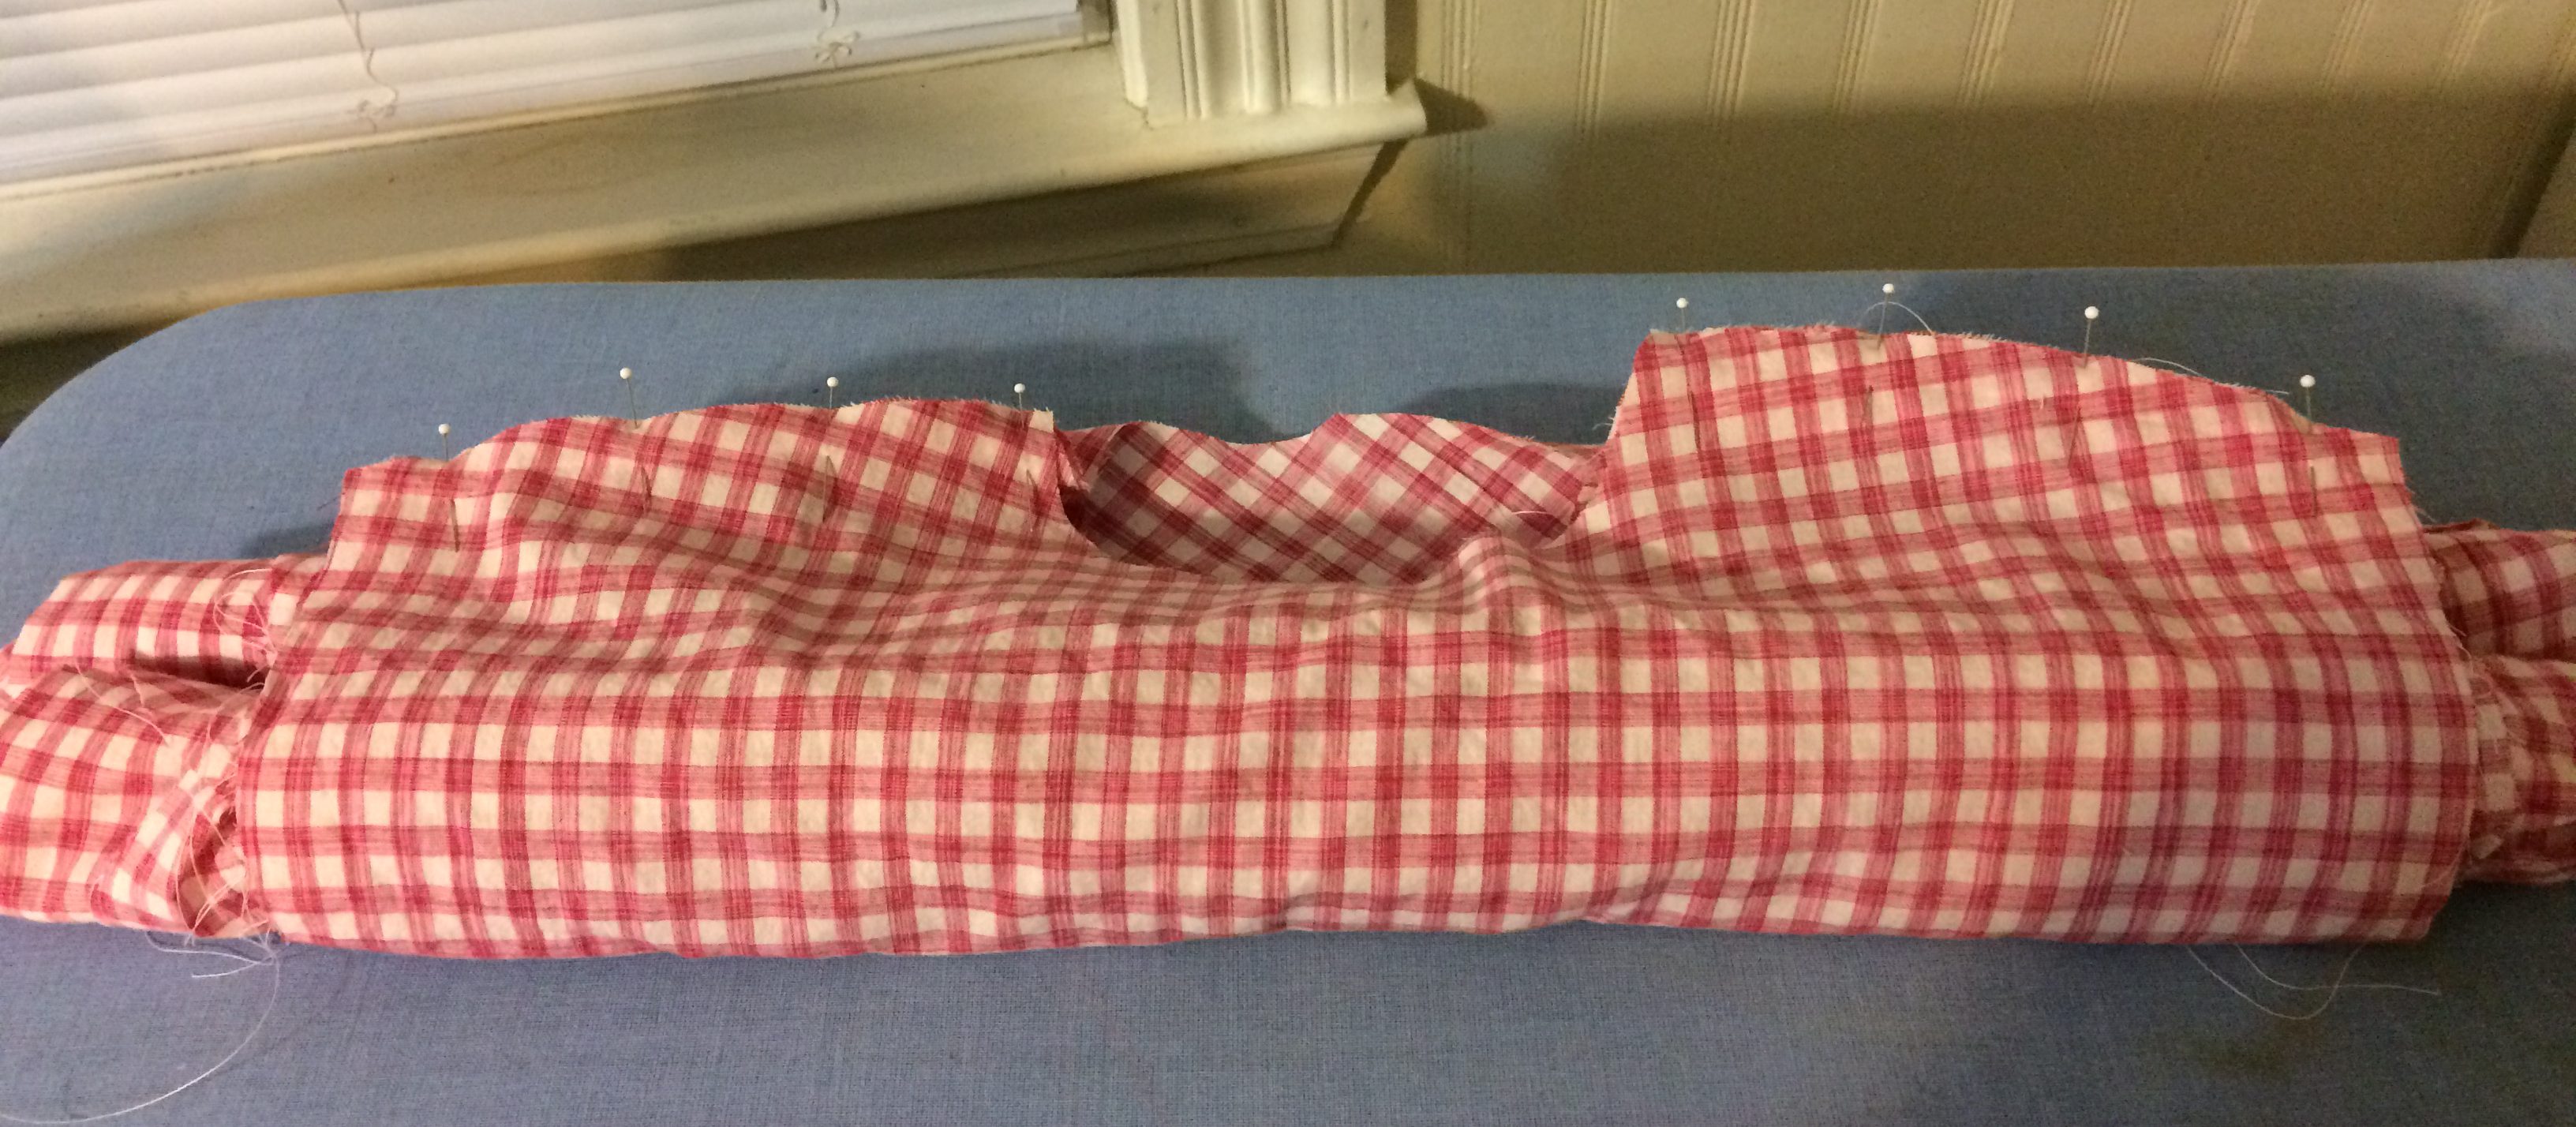
The trick here is rolling the shirt pieces up so that when you sew the shoulders together, you can pull the shirt through the neckline.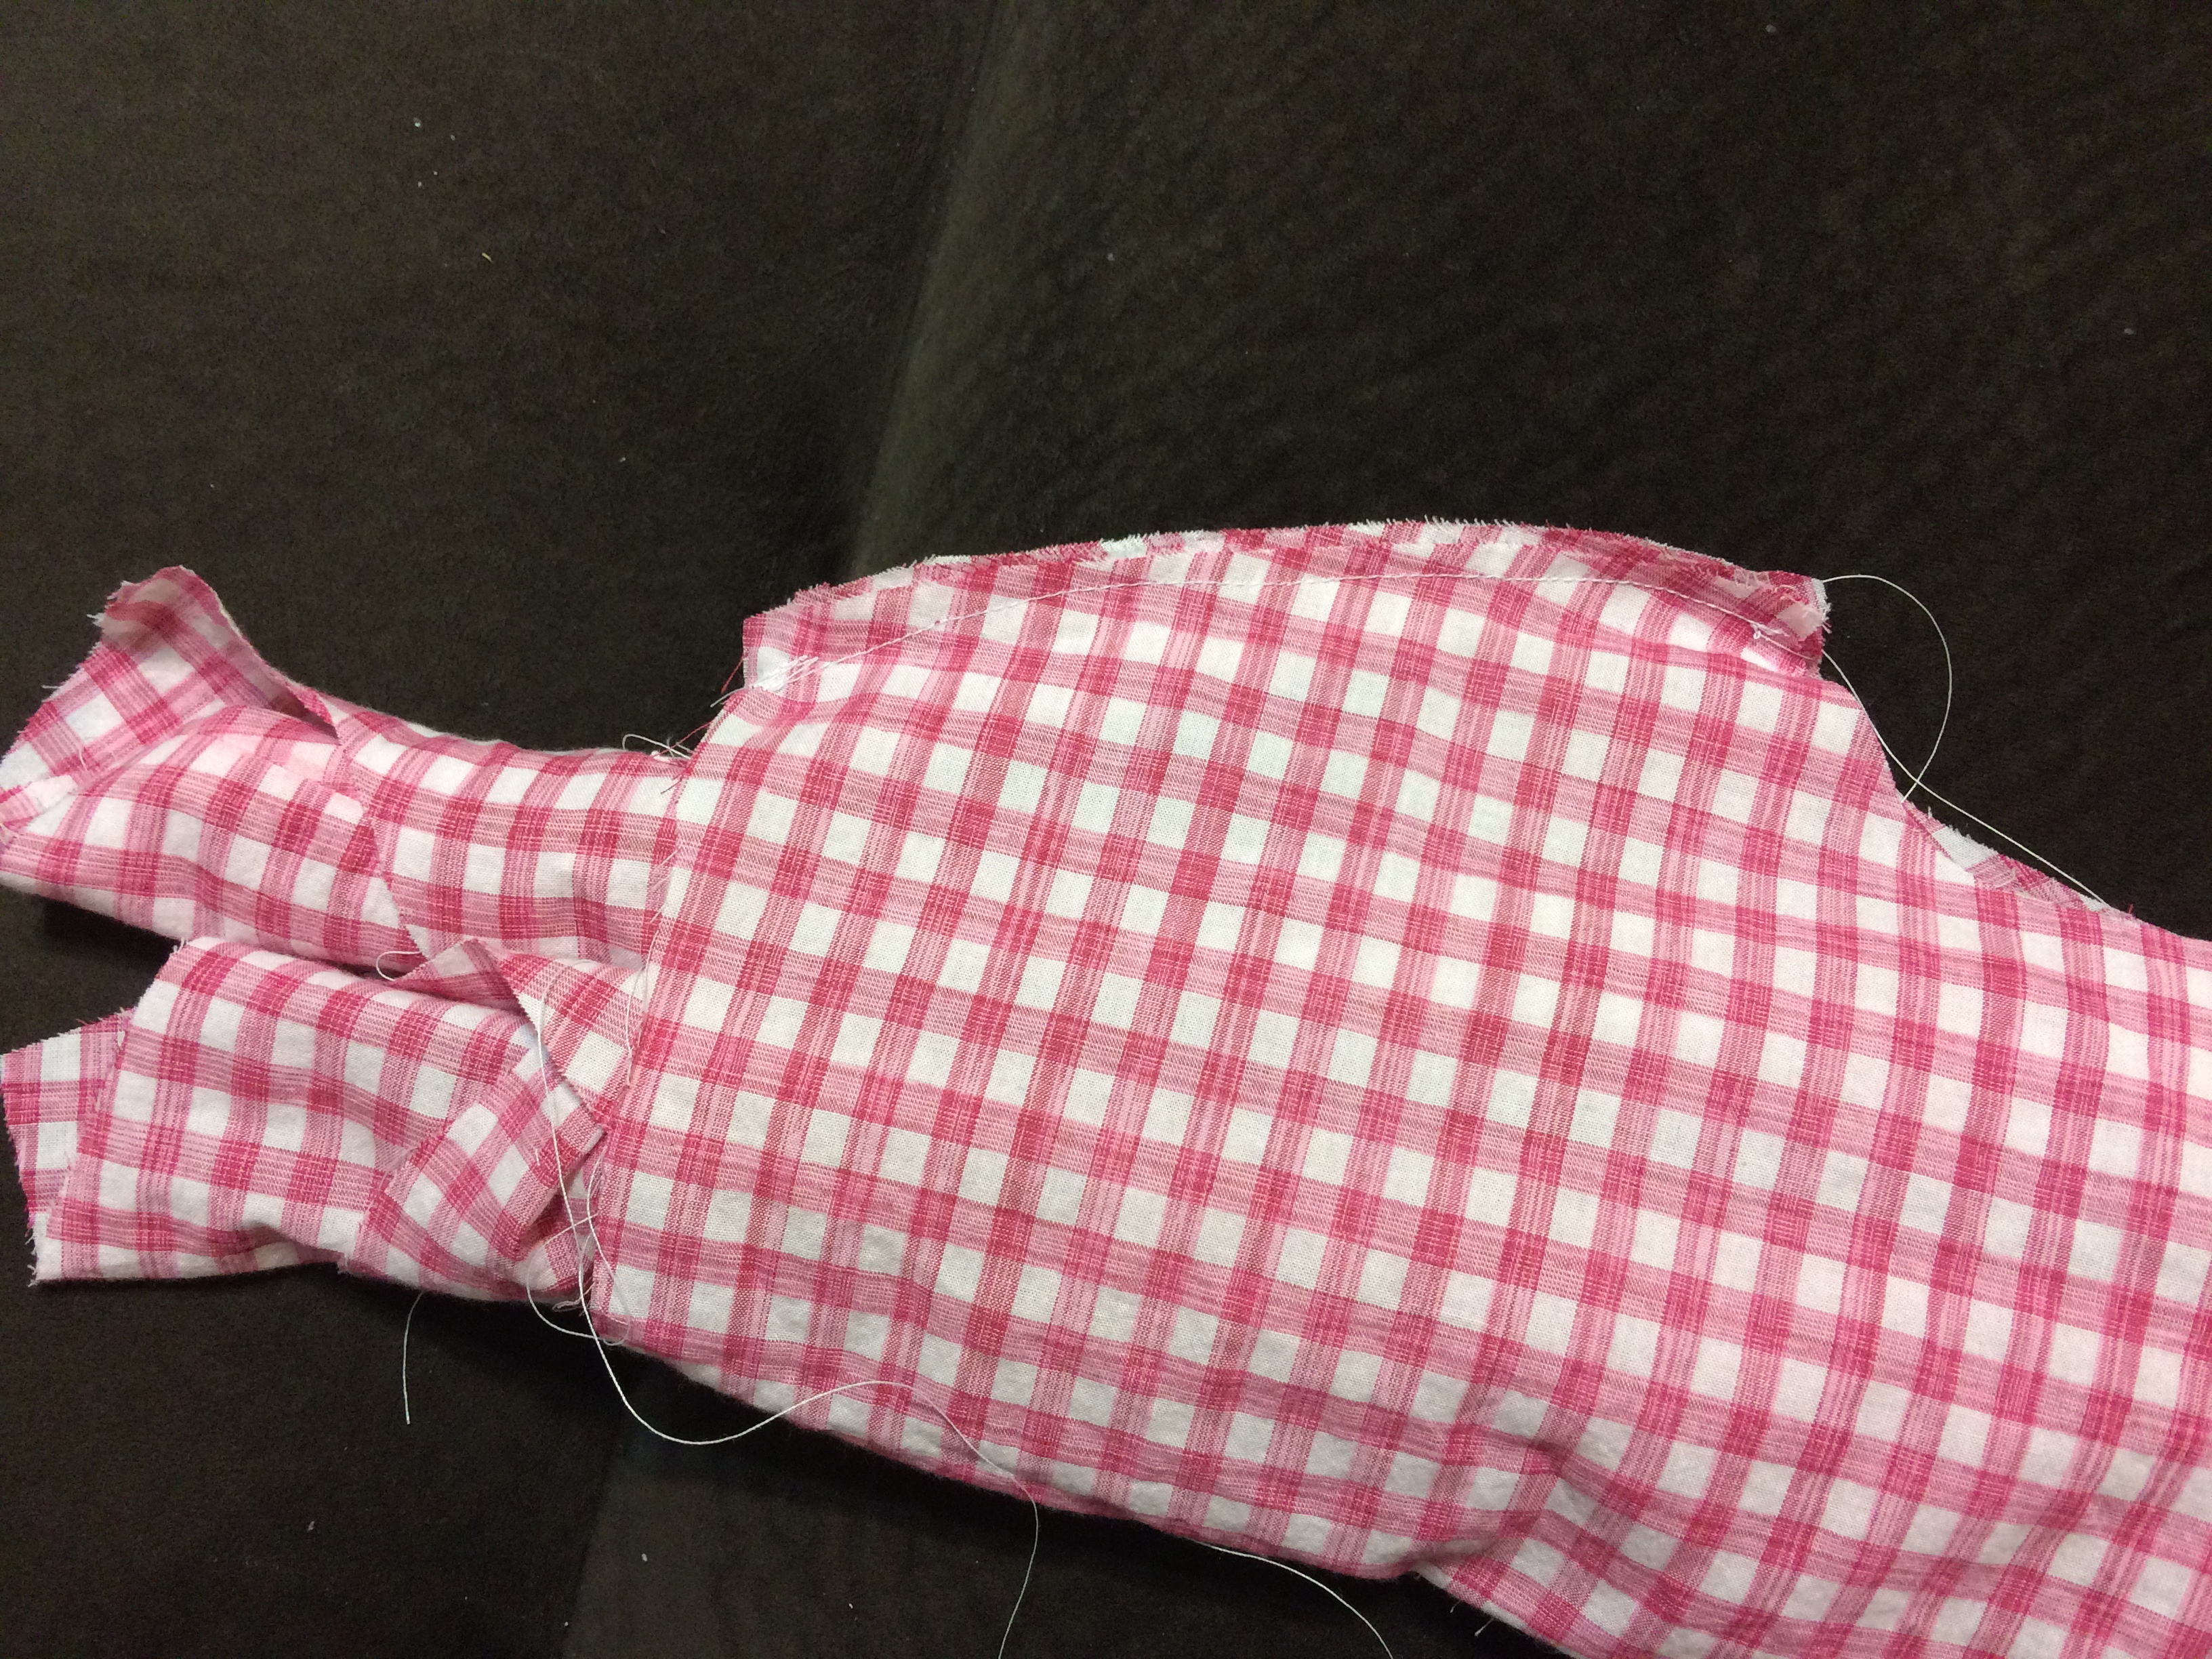
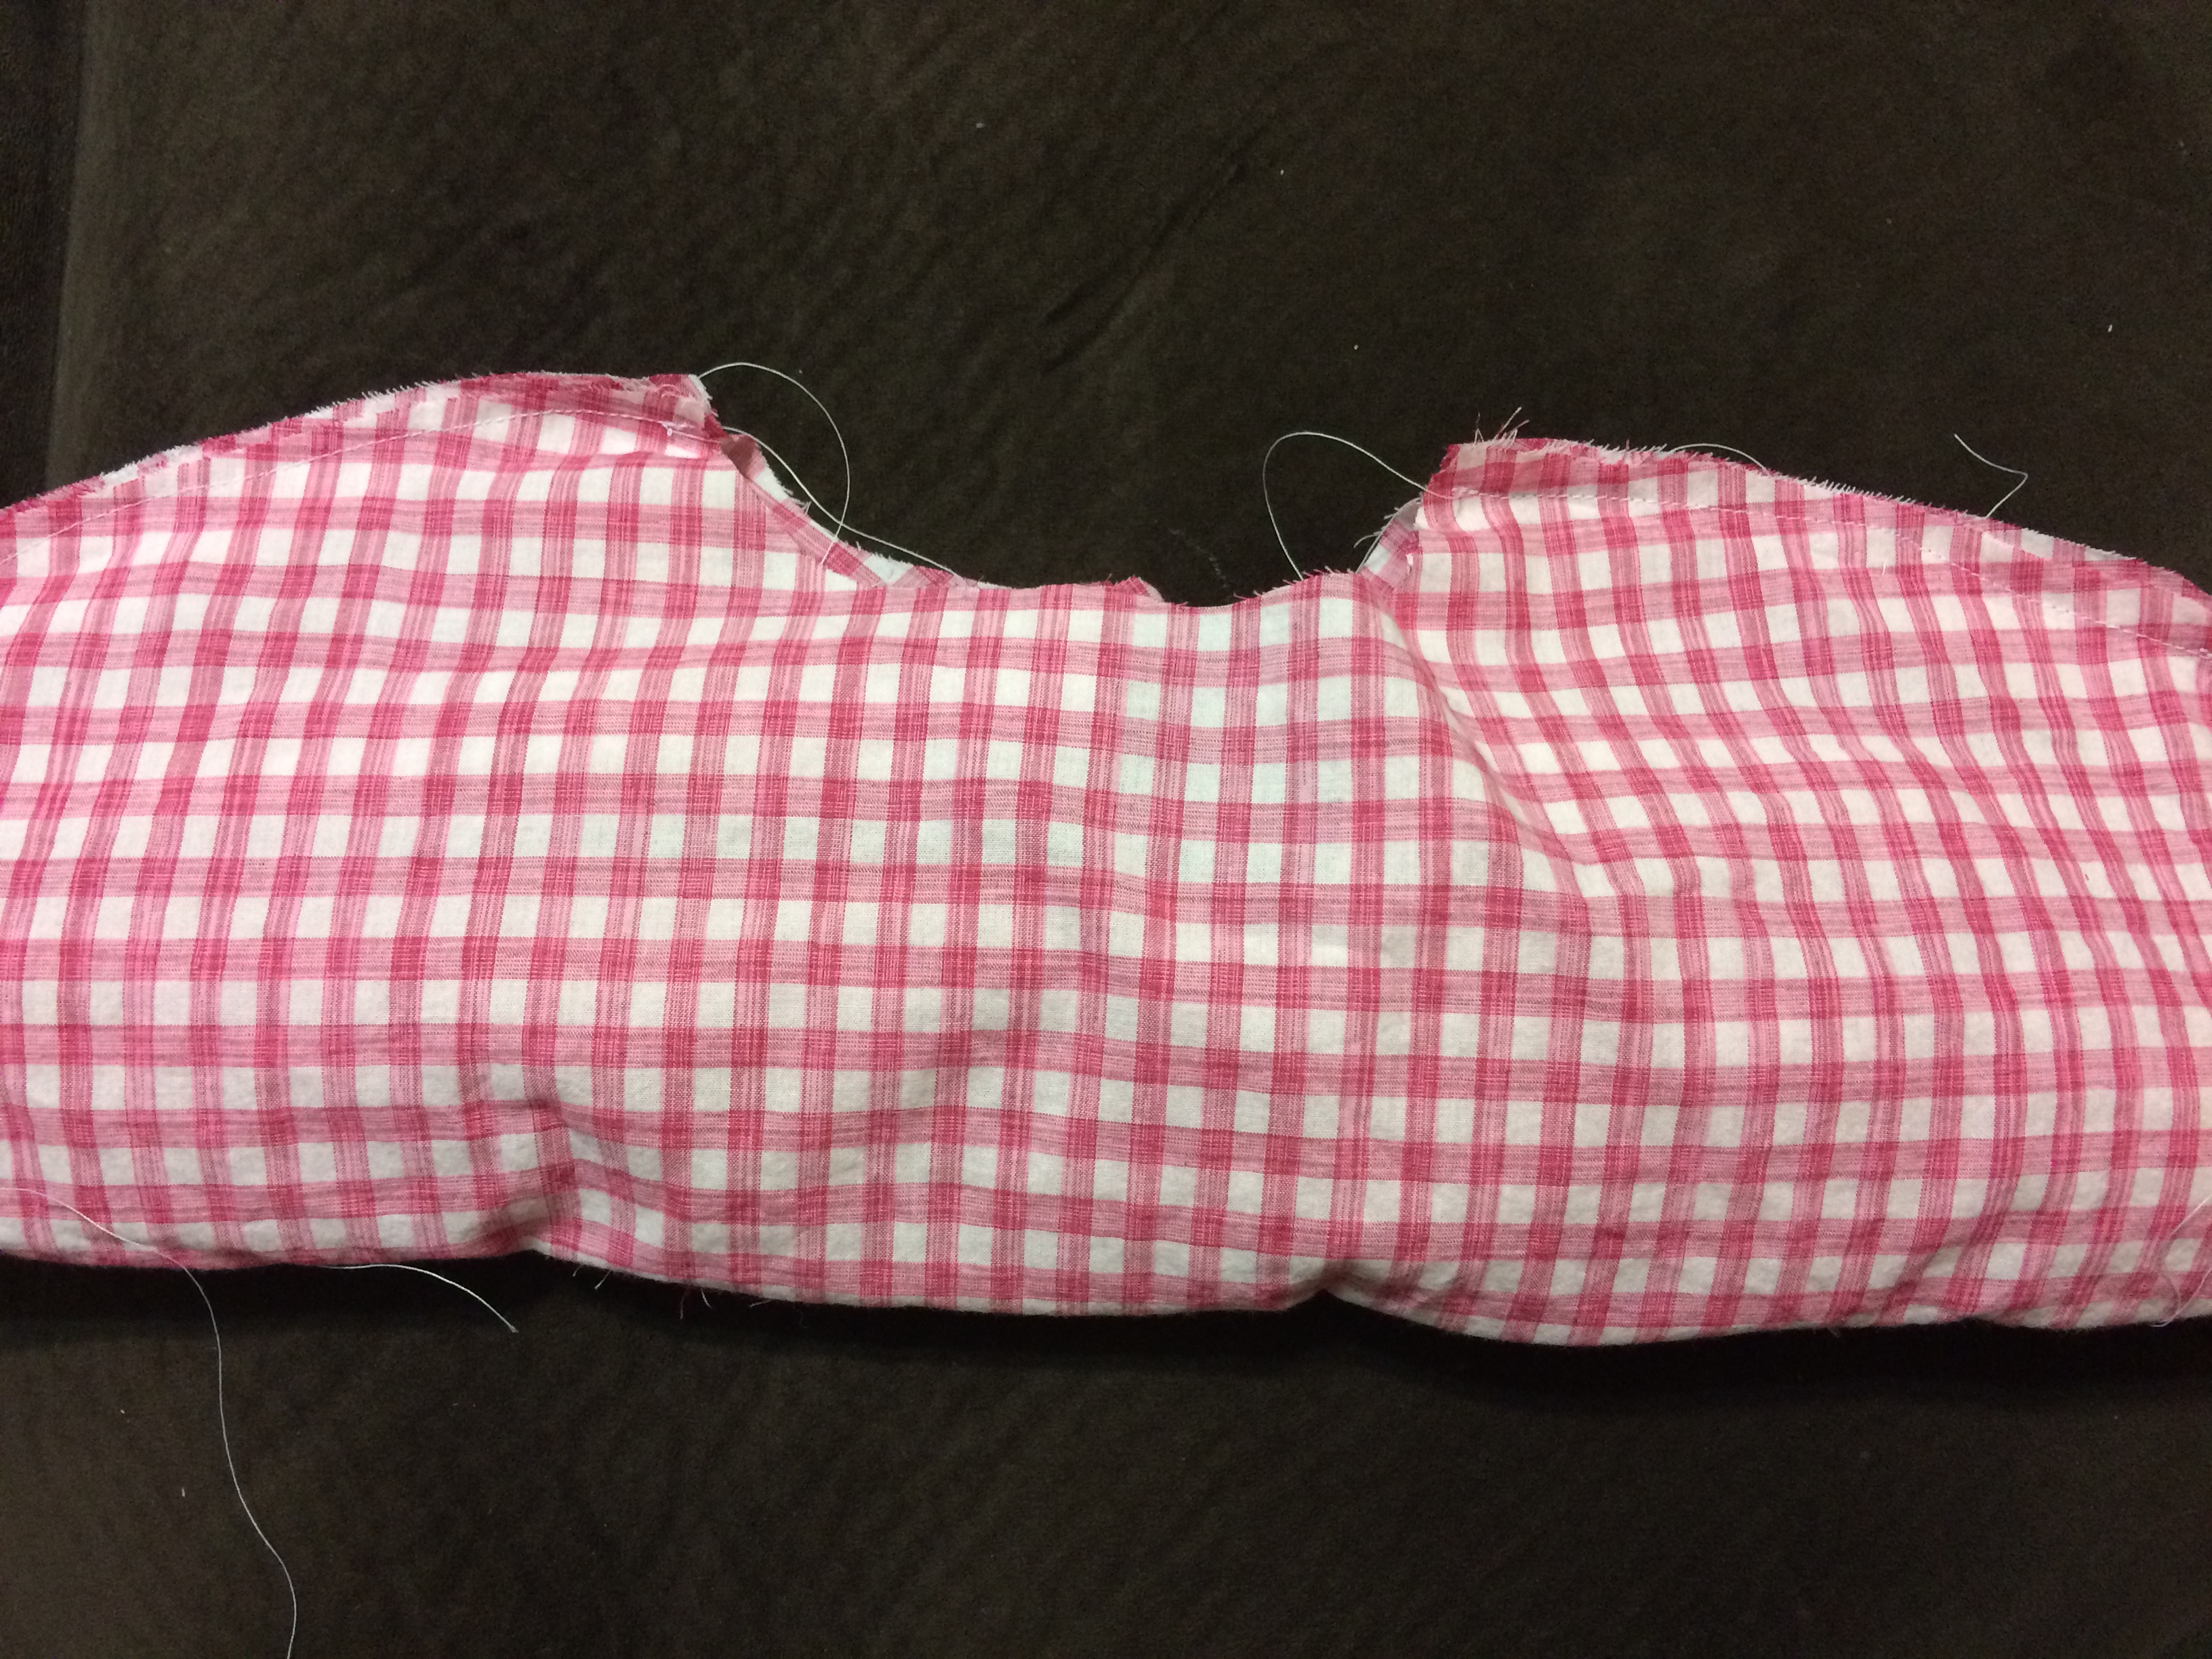
The finished yoke comes out great, using this method, and seams and finished nicely without too much effort.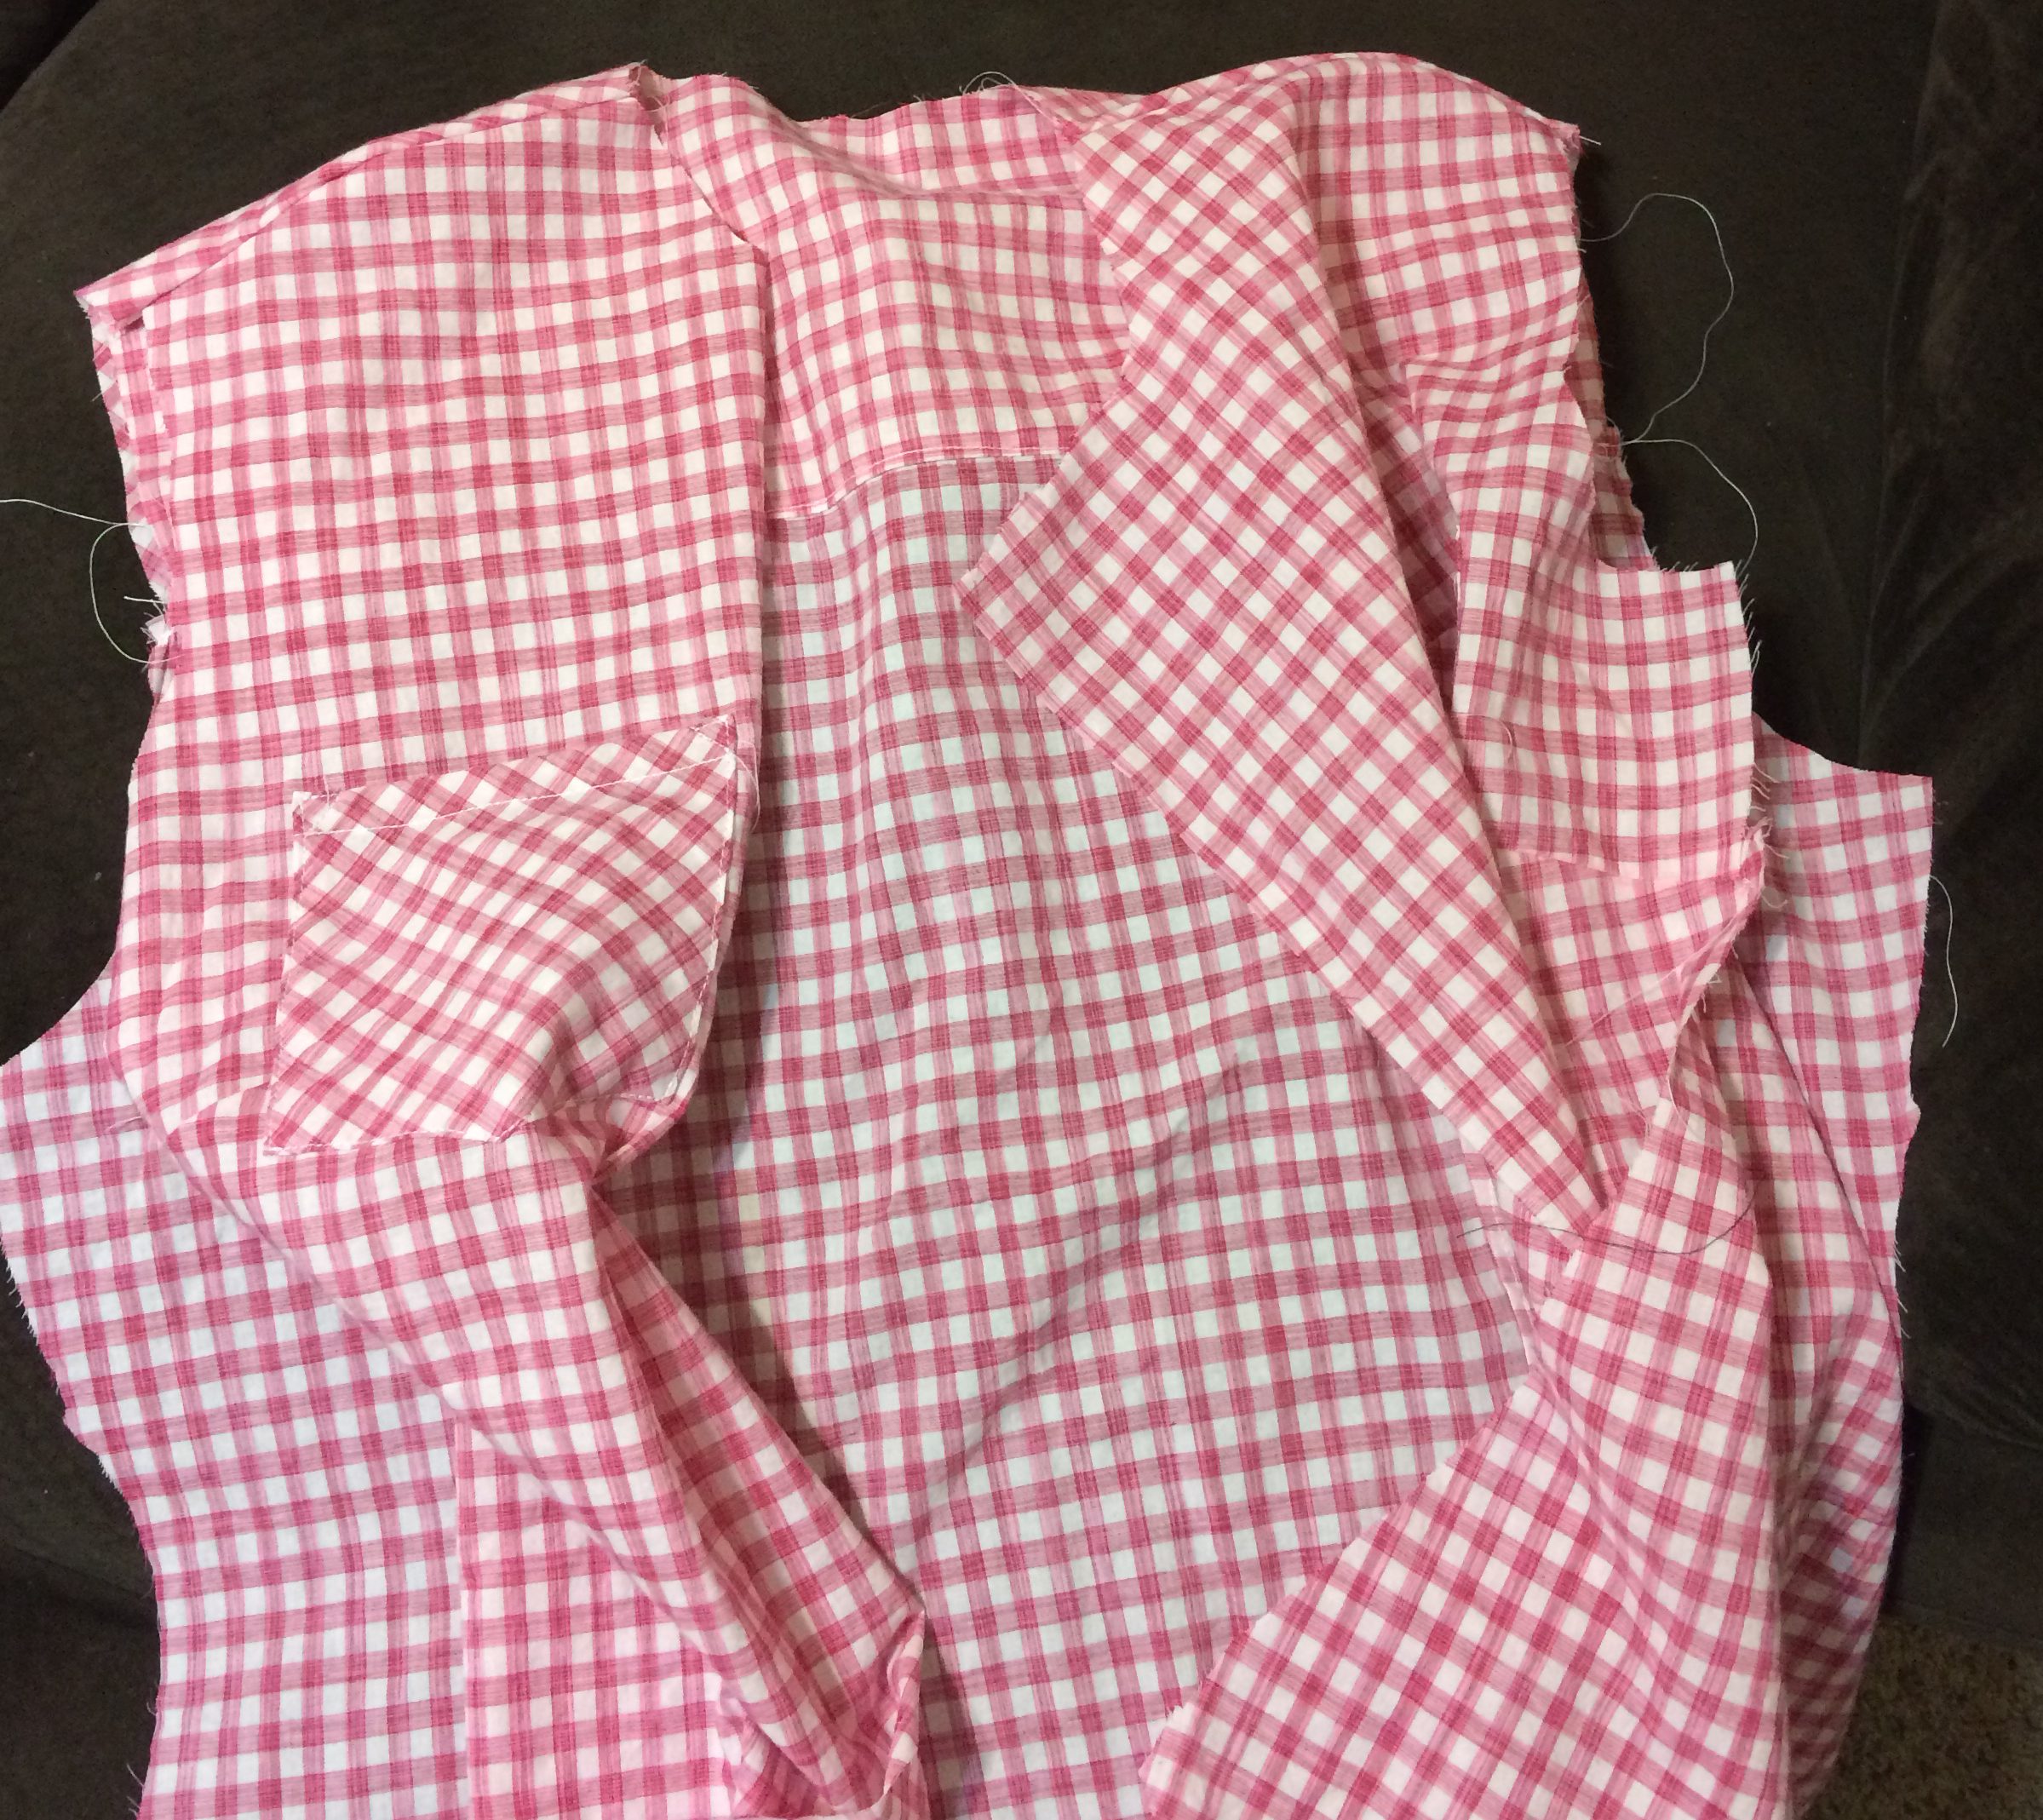 Since the muslin came out so good, I immediately tried this on the real shirt.

Success! Pretty soon it was time for the dreaded sleeves. As excited as I was to try out the new technique from that tutorial right away, I knew that I needed to test it out on the practice shirt. Things were going so well, no need to lose patience now.
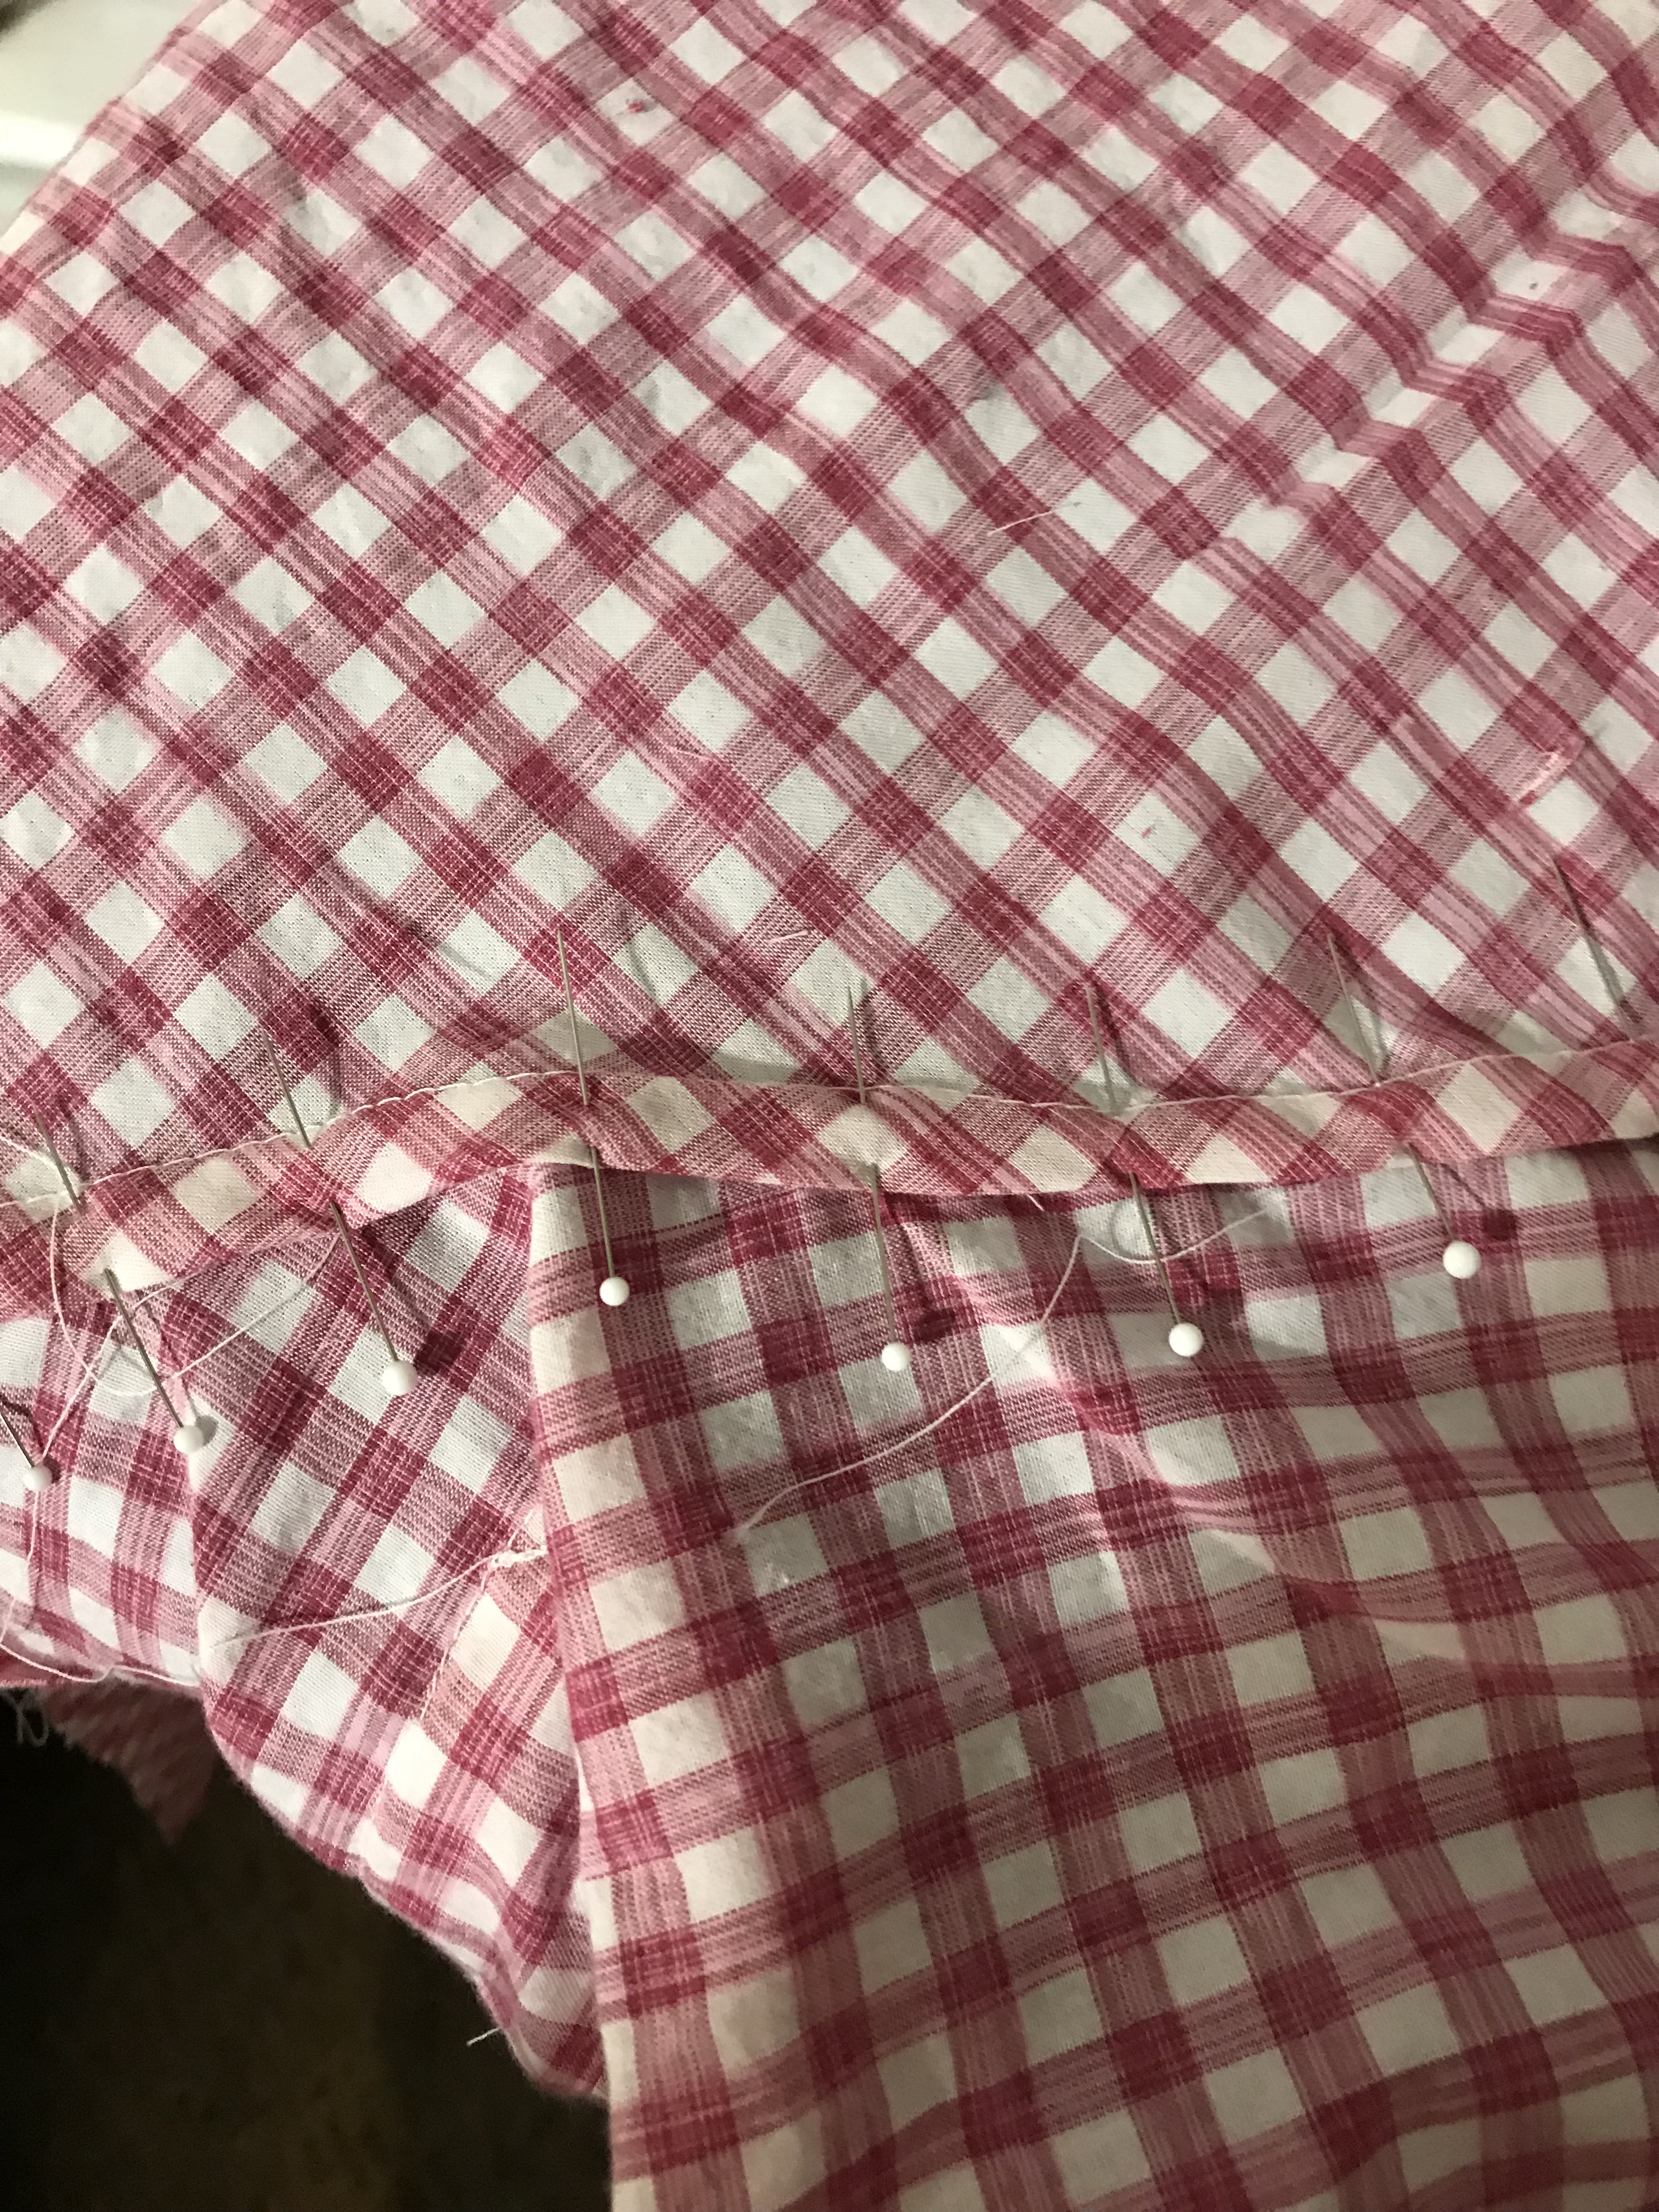
It wasn’t perfect, but I was definitely getting the hang of it. This definitely helped my second attempt come out a lot better.
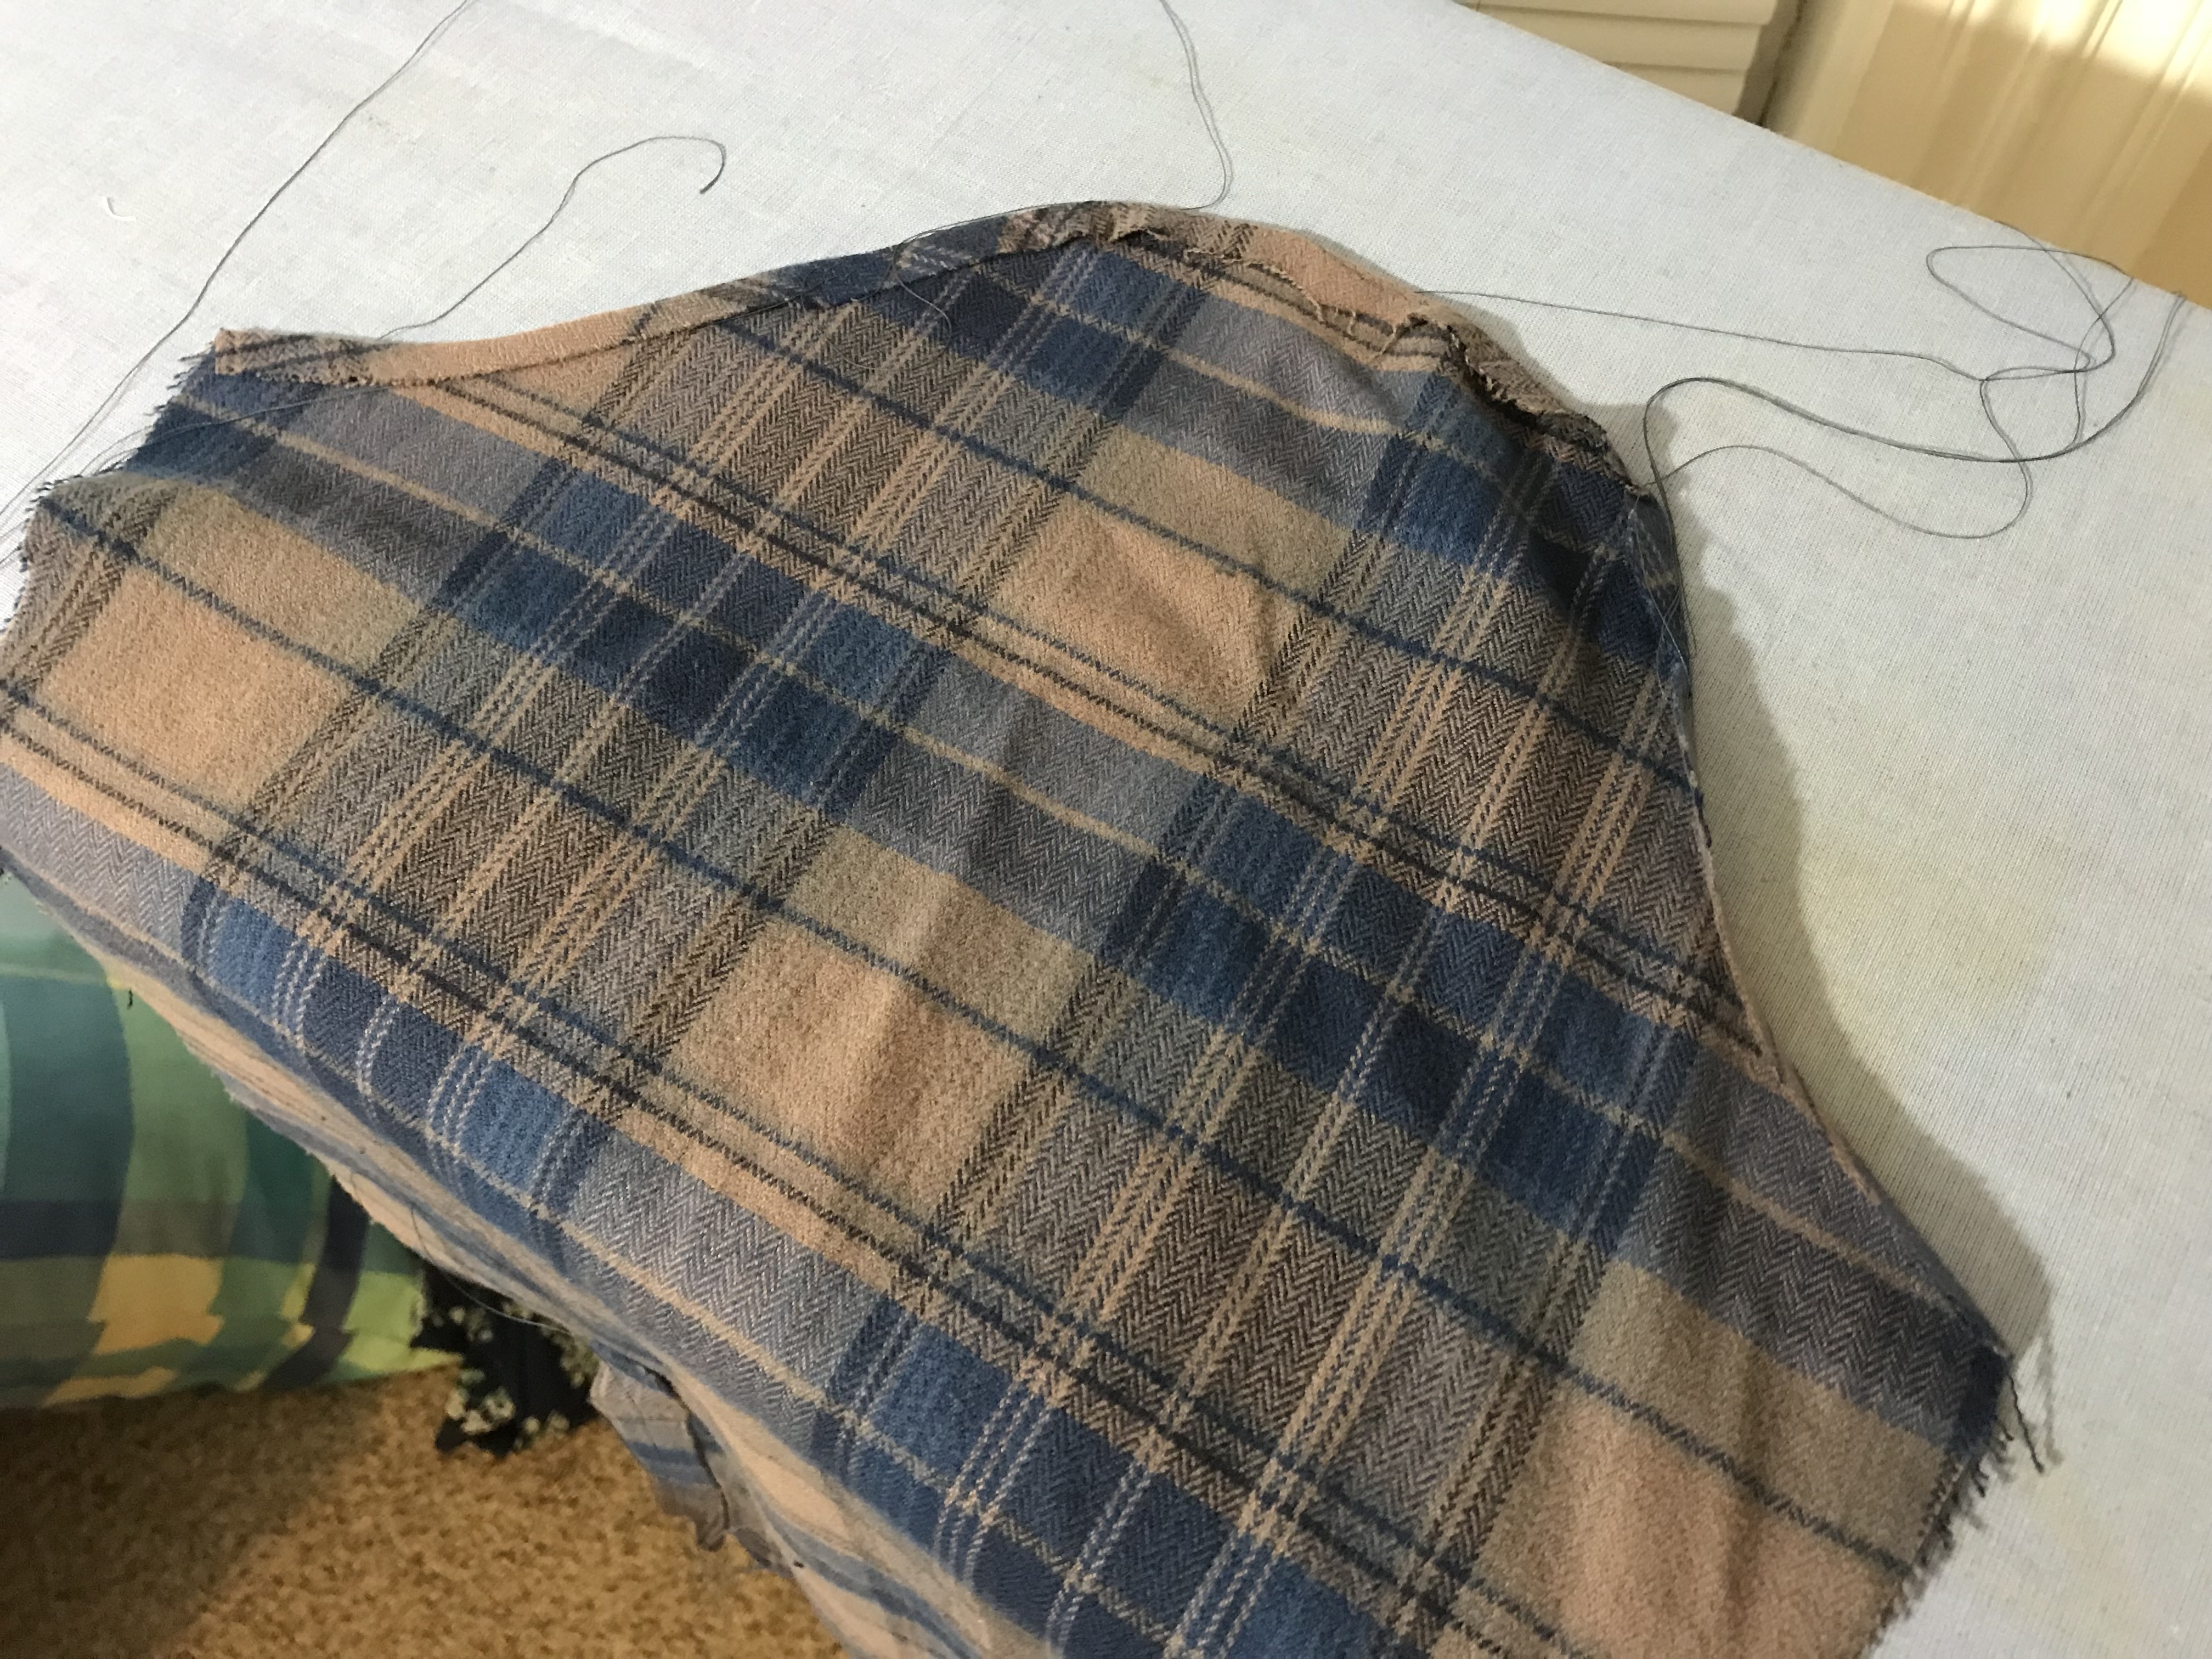
The difference between the shirts was in the fabric – flannel is thicker, therefore more trimming needed to be done to make sure the arm seam didn’t get too bulky. I was happy with the result.

A new found confidence that this shirt would be as close to perfection as I could get it began to take over. However, there was one more obstacle, the collar. I didn’t have much a problem installing collars in the past, so I didn’t worry about it too much. Unfortunately this ended up being my undoing.
I don’t have many pictures of my errors due to frustration, but with the practice shirt I ended up not measuring the opening on the collar stand correctly, causing it to stick out in parts. Oh well, it was just a practice shirt anyway. When I started on the other shirt, I was so focused on my previous collar stand mistake, I didn’t realize I was putting the collar in backwards. I had to pick out the stitches and try again. I used the online tutorials, but was still getting confused as to how the collar actually was supposed to be sewn into the stand. Which side? And why was the bottom folded? In all, I ended up re-installing that collar 3 times, and because I had trimmed it twice, the end result was a collar that was not even on both sides. Sigh, there goes attempted perfection.
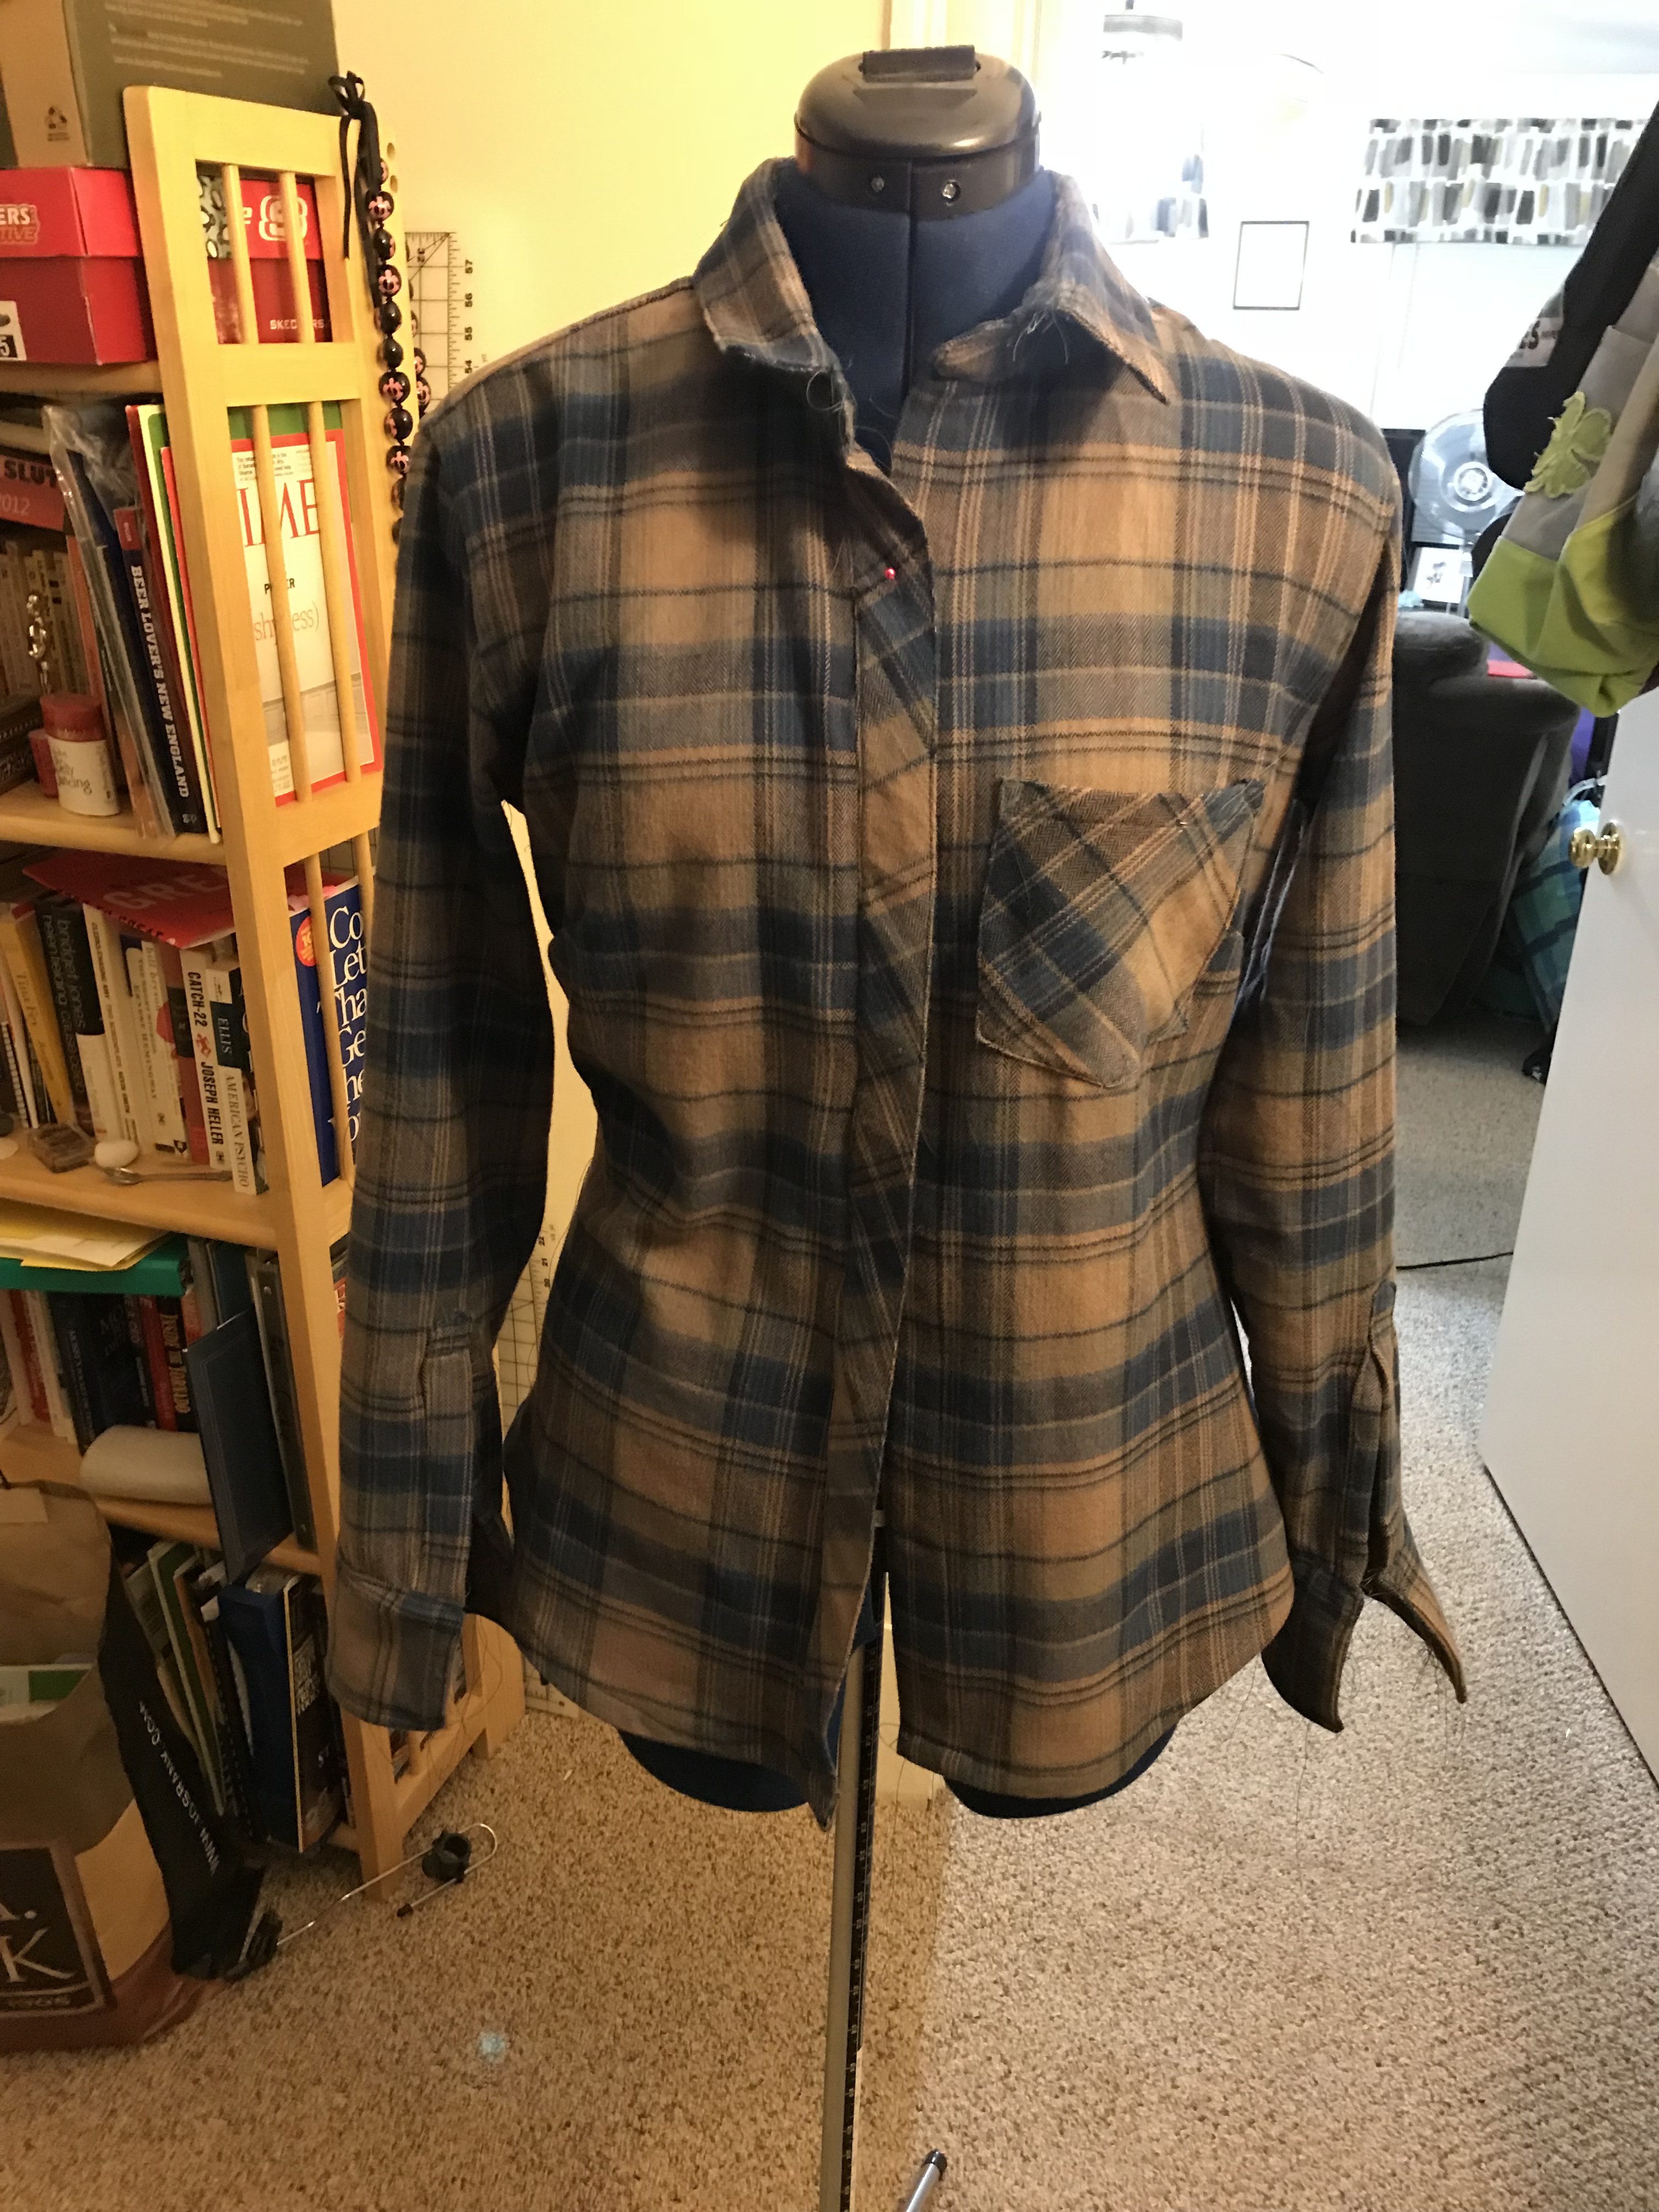
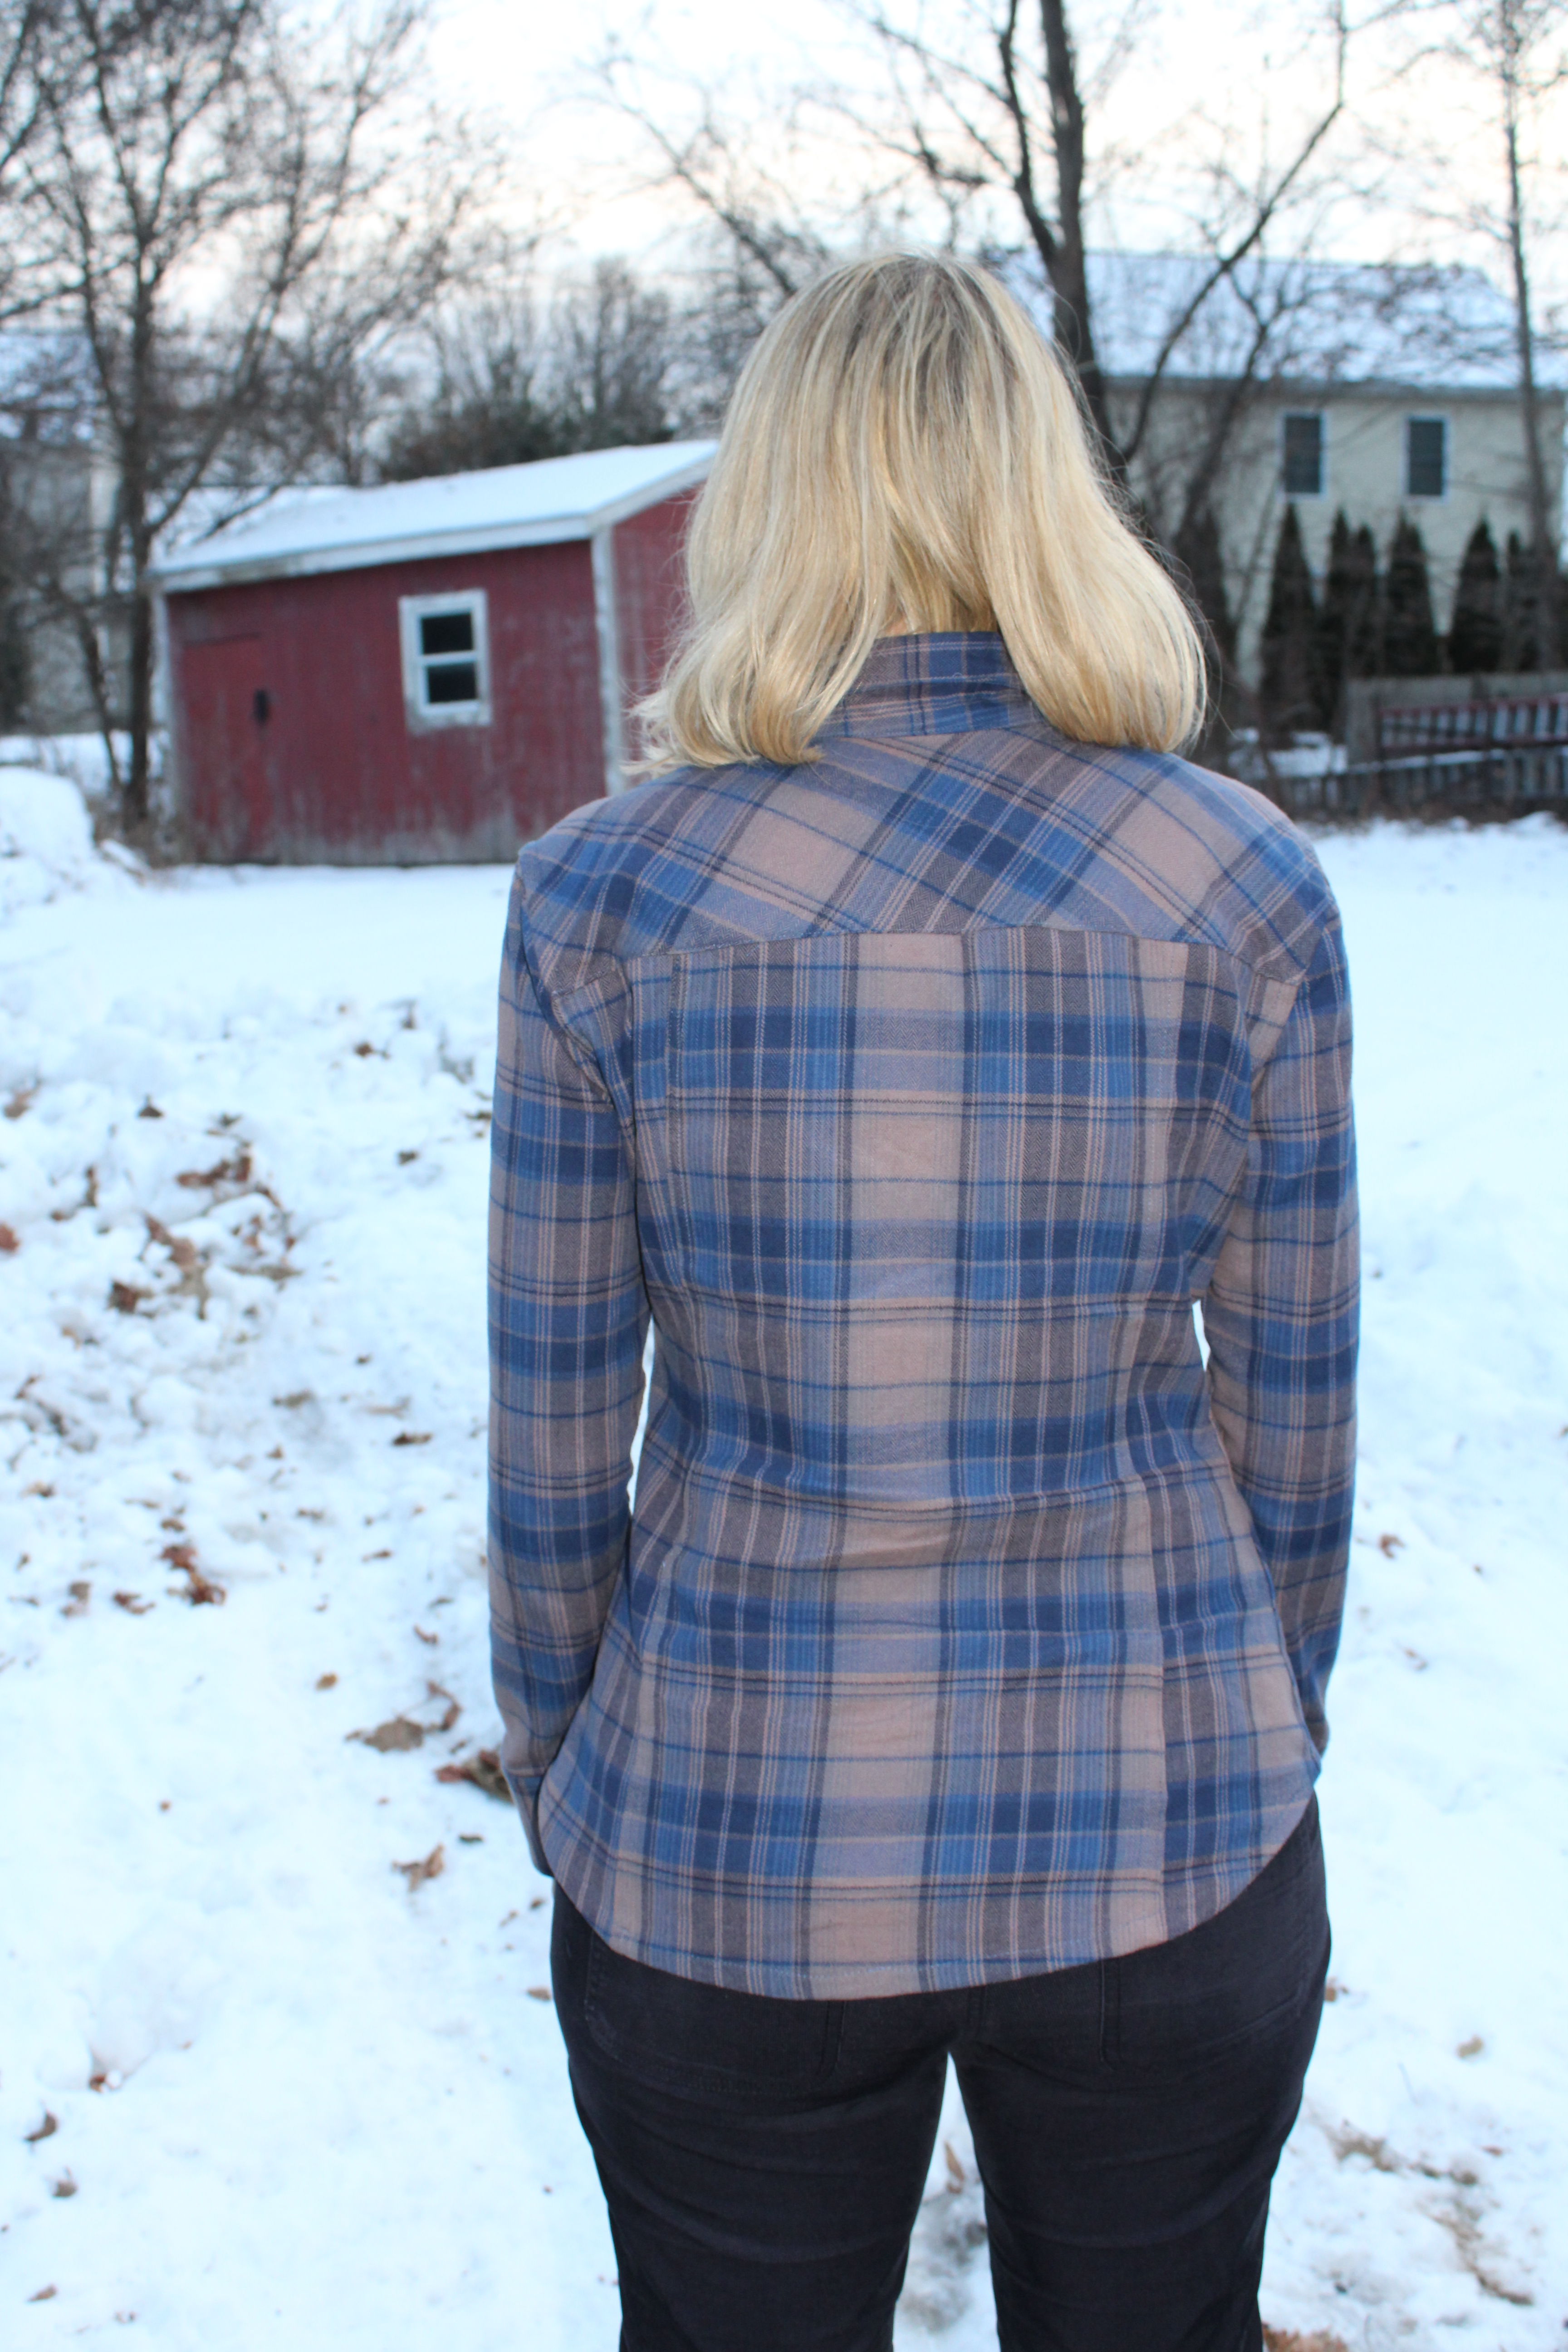
Despite the mistakes, I do believe it’s the best flannel shirt I’ve made to date. The sizing ended up being perfect, so at least I had that going for me. This time I remembered to measure and shorten the sleeves, which tend to be long with this pattern. I’ve been wearing it all winter, no problem and have even gotten a few compliments on it.
In the meantime, the quest for near-perfection continues. I have 2 more shirts cut out. One happens to be flannel.
I will do this until I get it right.


Pingback: Dreary spring & flannels in May | Threading Lightly
It looks great. I can’t see any collar issues through the computer, but I’m sure that next time you’ll get it perfect. I love that fabric and well done on flat felling the sleeves.
LikeLike