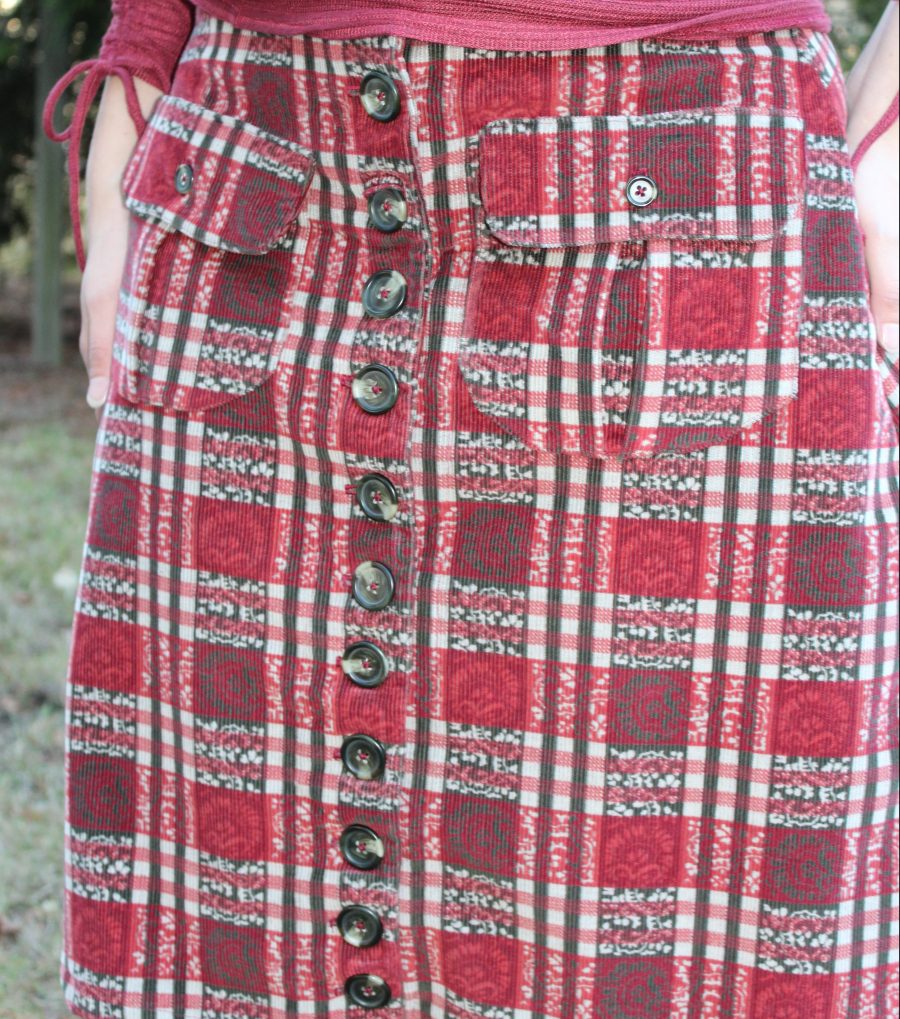
Pattern: Rosari Skirt by Pauline Alice, midi length
I totally love the skirts of the 70’s, so when I bought this unusual-looking corduroy, I knew I wanted something inspired by that decade. I actually bought a number of patterns with similar themes – A-line with buttons up the front. However, when I saw this pattern, I knew it was the one I wanted to try. I really liked the pockets and I’ve also been digging these indie patterns lately. It seemed like the one to try. This is a pdf pattern, which I’m still not loving, but I am getting used to the process of taping the sheets together. I just hate that it doesn’t fold up into a nice little envelope like the paper patterns, but I have made things a little better by storing them in those larger size manila mailing envelopes.
 This pattern has a lot of options to choose from. There are 2 different lengths and about 4 different pocket styles. I went with pocket C, which was an inverted pleat patch pocket and flap. I cut two of these out, but when I read the directions, it seems that I was maybe supposed to have 4 of these – 2 in the front and 2 in the back. I wasn’t sure I wanted to have the whole skirt to be full of pockets, so I stuck with just having the two up front.
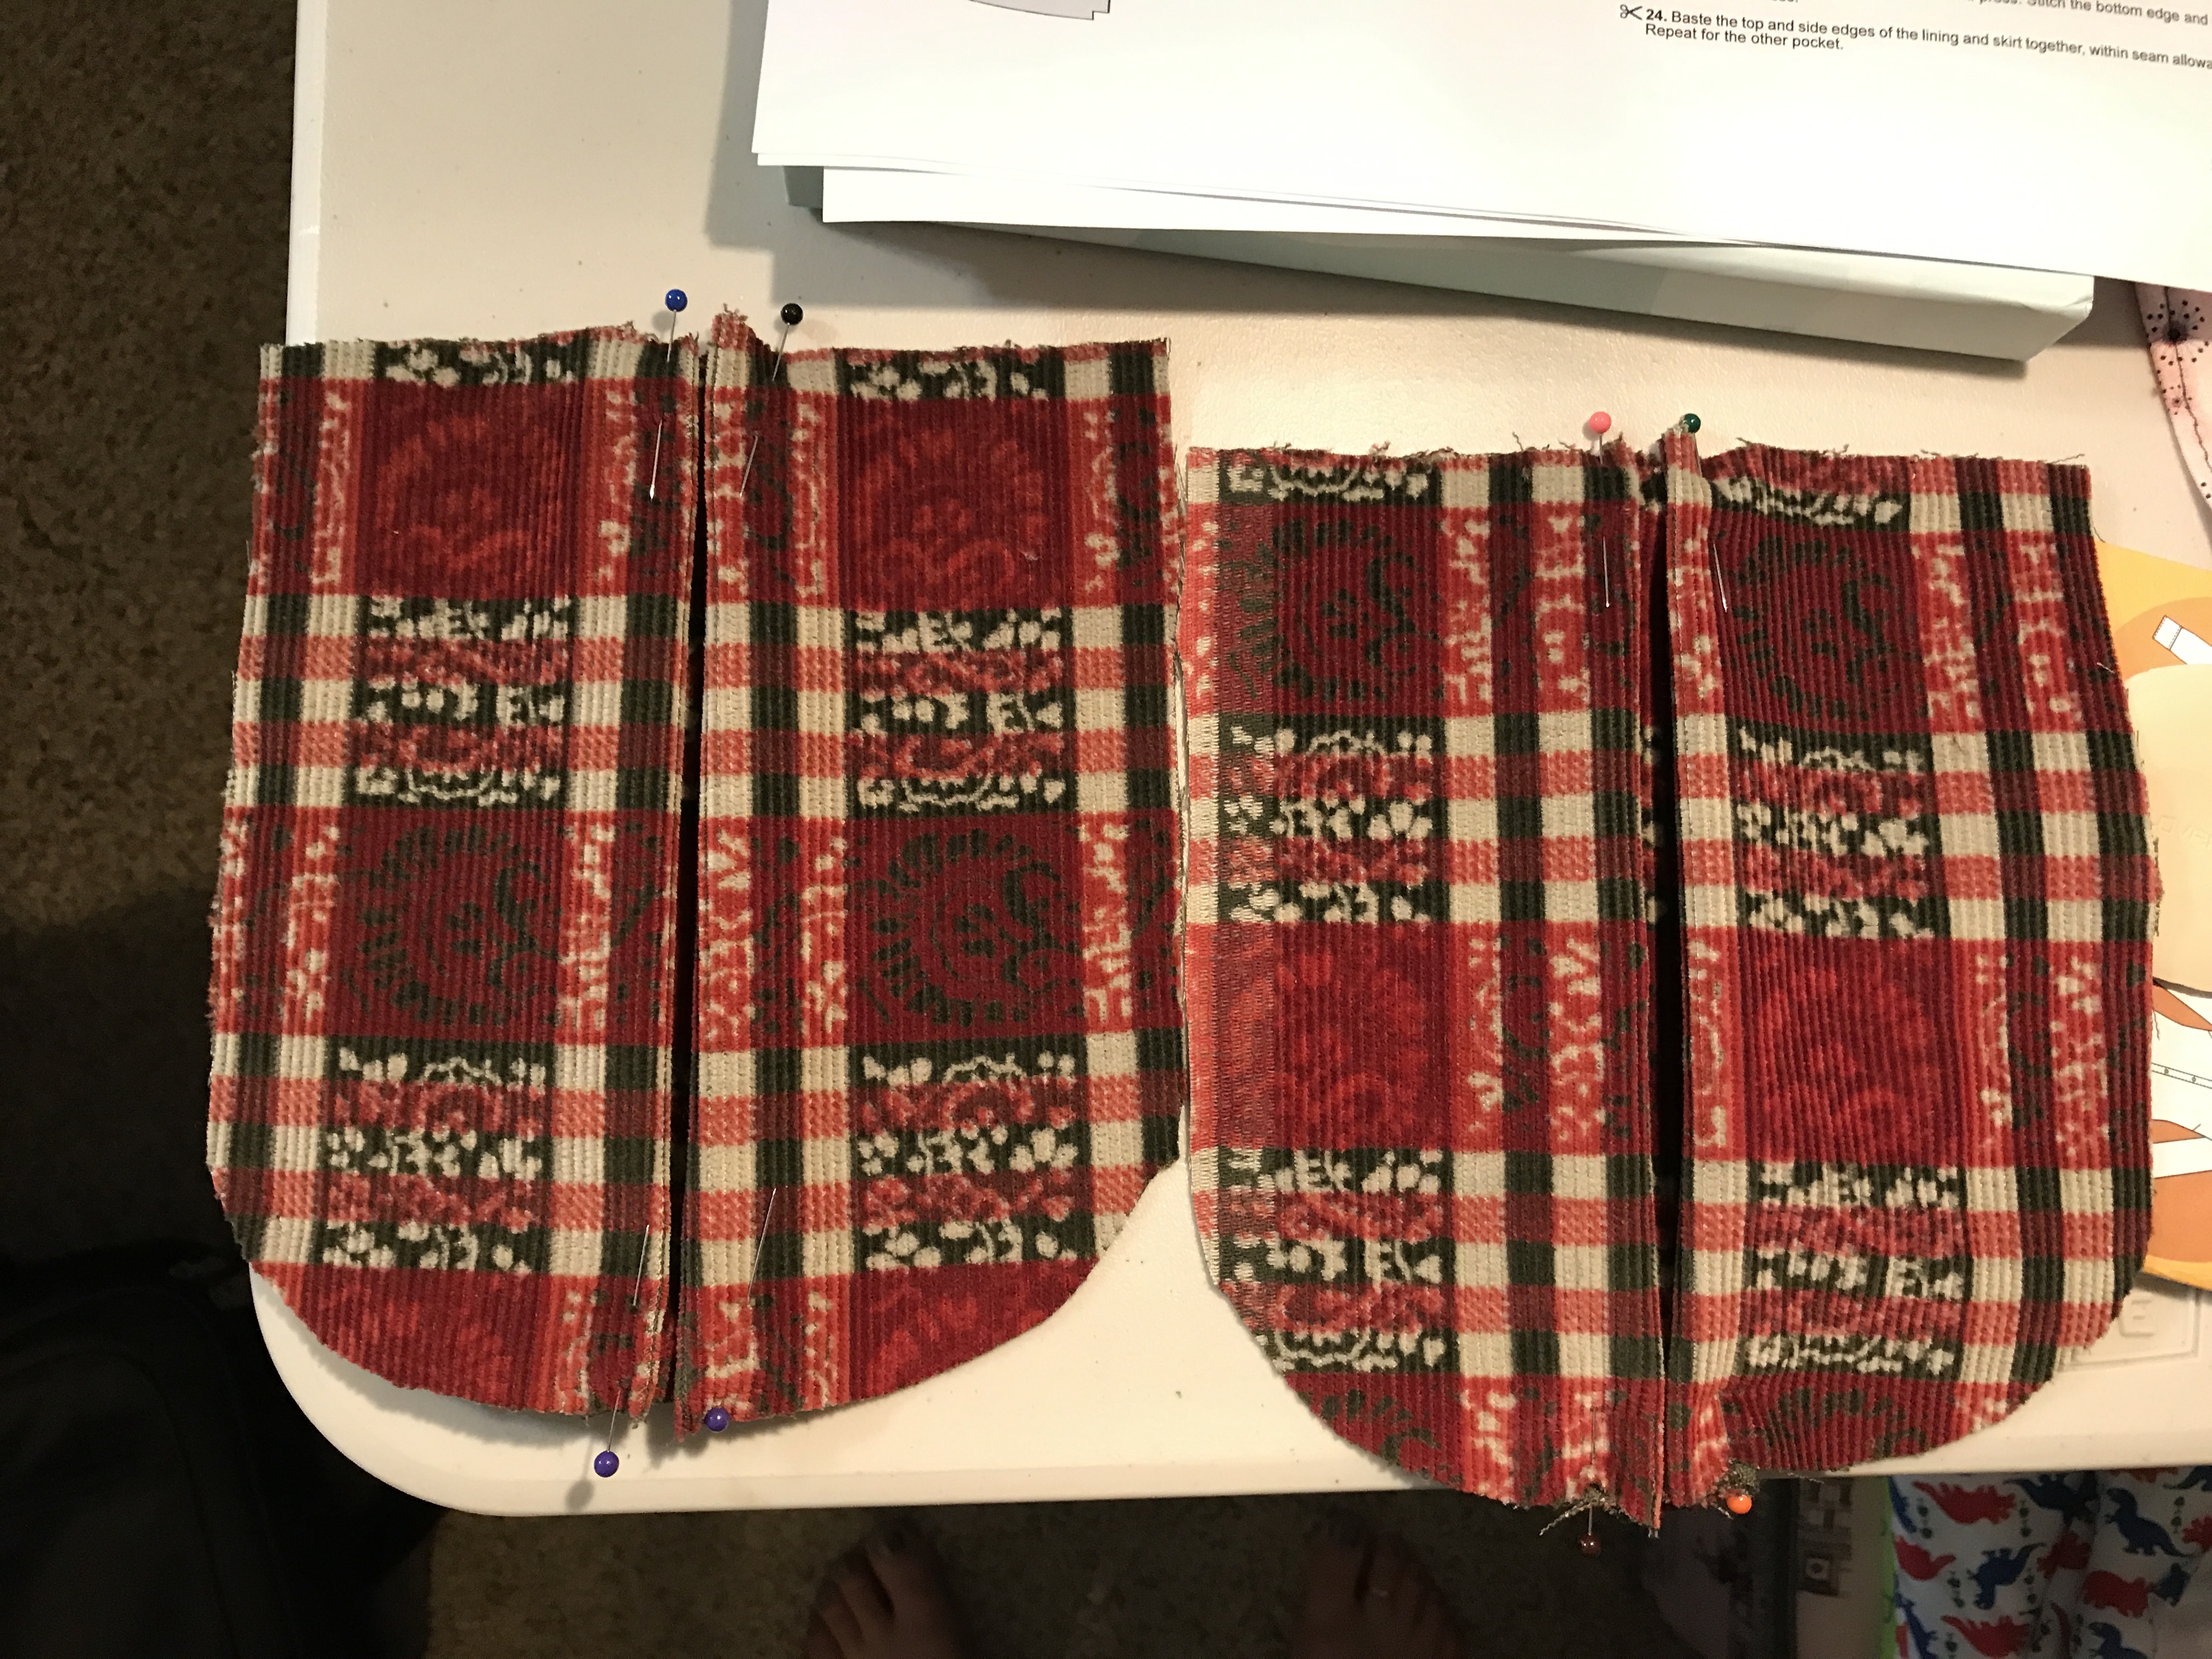 The pleats did not come out perfectly the same on each side, but I do really like the inverse pleat-look. I think it really adds to the 70’s-like style. Next, I created the flaps that are on top of the pockets, complete with button holes.
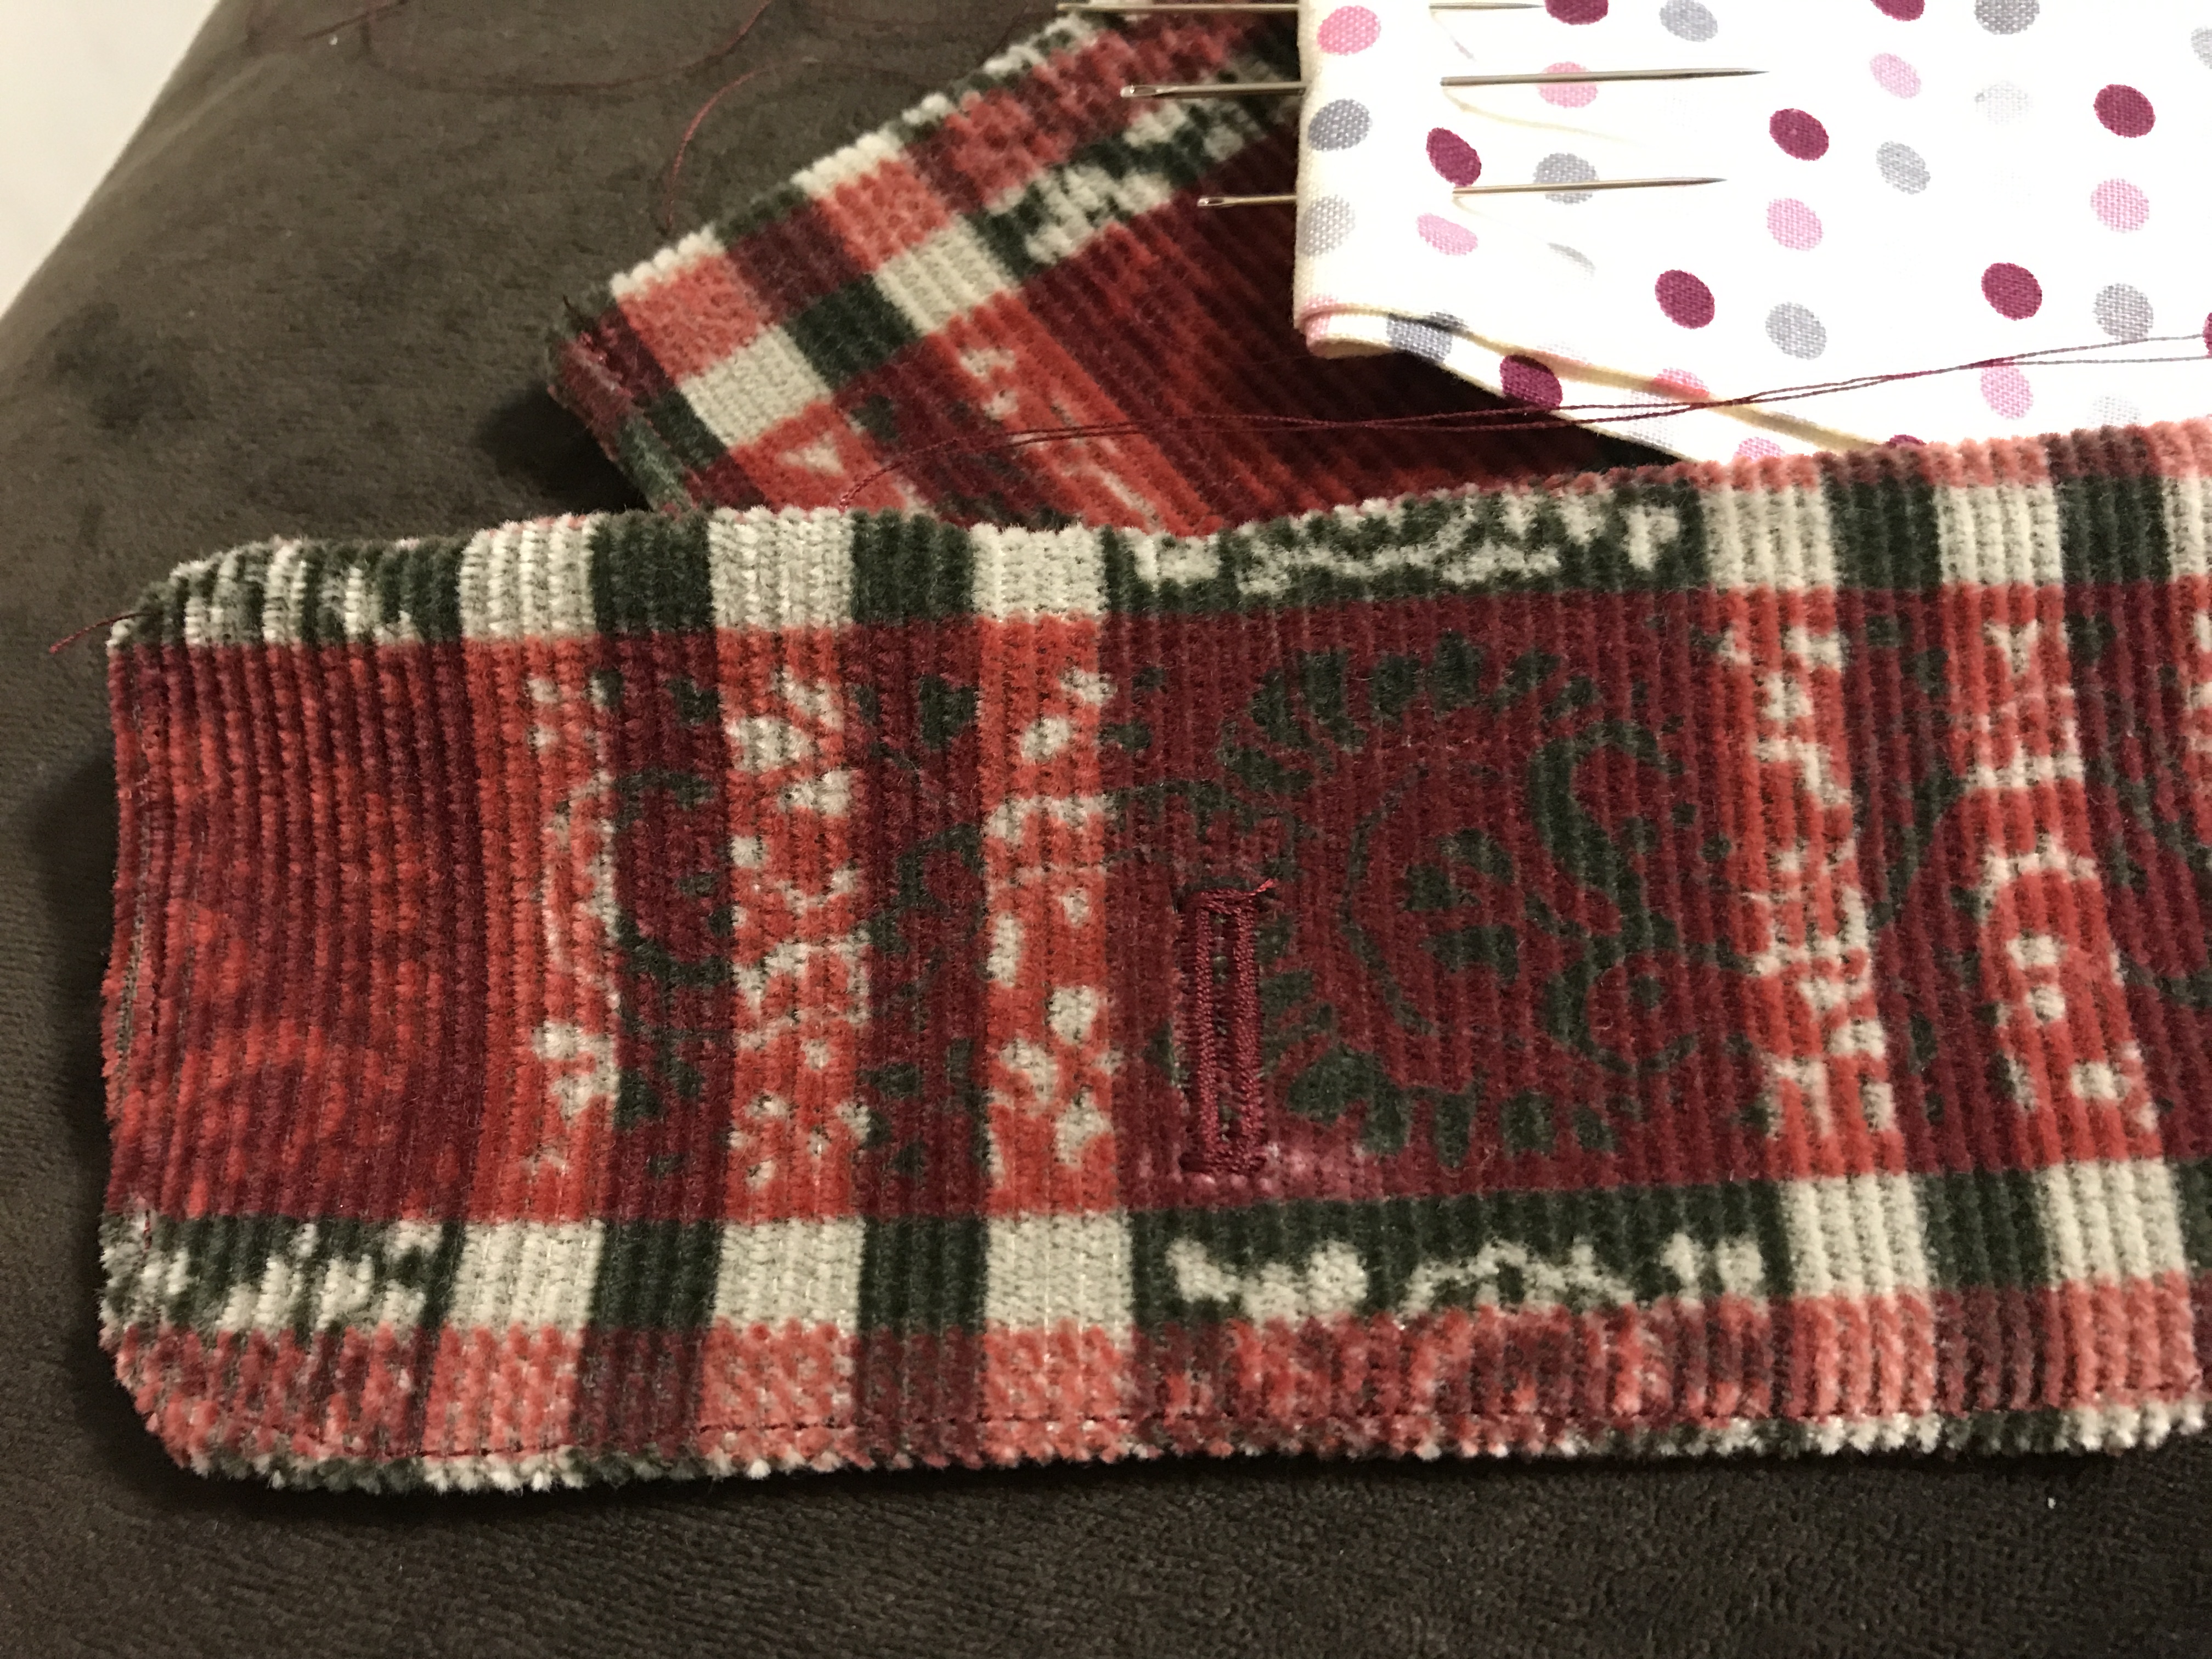 Not bad at all! The rest of the skirt went pretty smoothly. I decided on bound seams for finishing, since corduroy is a bit bulky. I used my Hug Snug seam binding as I feel it works best. However, it had been so long since I used it, I pretty much forgot how to bind the seam properly. It took a few tries, and the stitching is not perfect. Good thing it’s on the inside.

The part I always dread is putting on the waistband, as there seems to be a lot of room for error. I started by measuring a 1.5 cm overhang for when I stitched it to the top of the skirt. I cut off any of the remaining band. You sew the waistband’s side closed with the right sides together, so you can make that nice edge on the waistband. Then the really nerve-wracking part – flipping the band to the inside and stitching in the ditch and praying you are catching everything on the other side and it doesn’t look like garbage.

The outside doesn’t look too bad – the inside is definitely far from perfect, but passable. Even though it’s a curved waistband, it is still a bit bulky because of the corduroy (and maybe some of my inexperience with waistbands in general). I need to be aware of it when wearing a thinner sweater, like I am in these photos, as it can get a bit bulgy in that area.
 Overall, I liked how this came out. The fabric really matches this retro-style. And I like having just buttons for getting this on and off – it just seems a little bit simpler.
 It worked great as a skirt to wear around the Christmas holiday as well, which is what I did use it for. It also would make a great fall skirt as well.

So, there you have it – some retro-ish clothes! Definitely something that works well in my work wardrobe and hopefully stays classic enough to not go out of style.

I love that fabric – it’s gorgeous. And it really does pair beautifully with the Rosari pattern. This turned out fabulous all round. nice work.
LikeLike