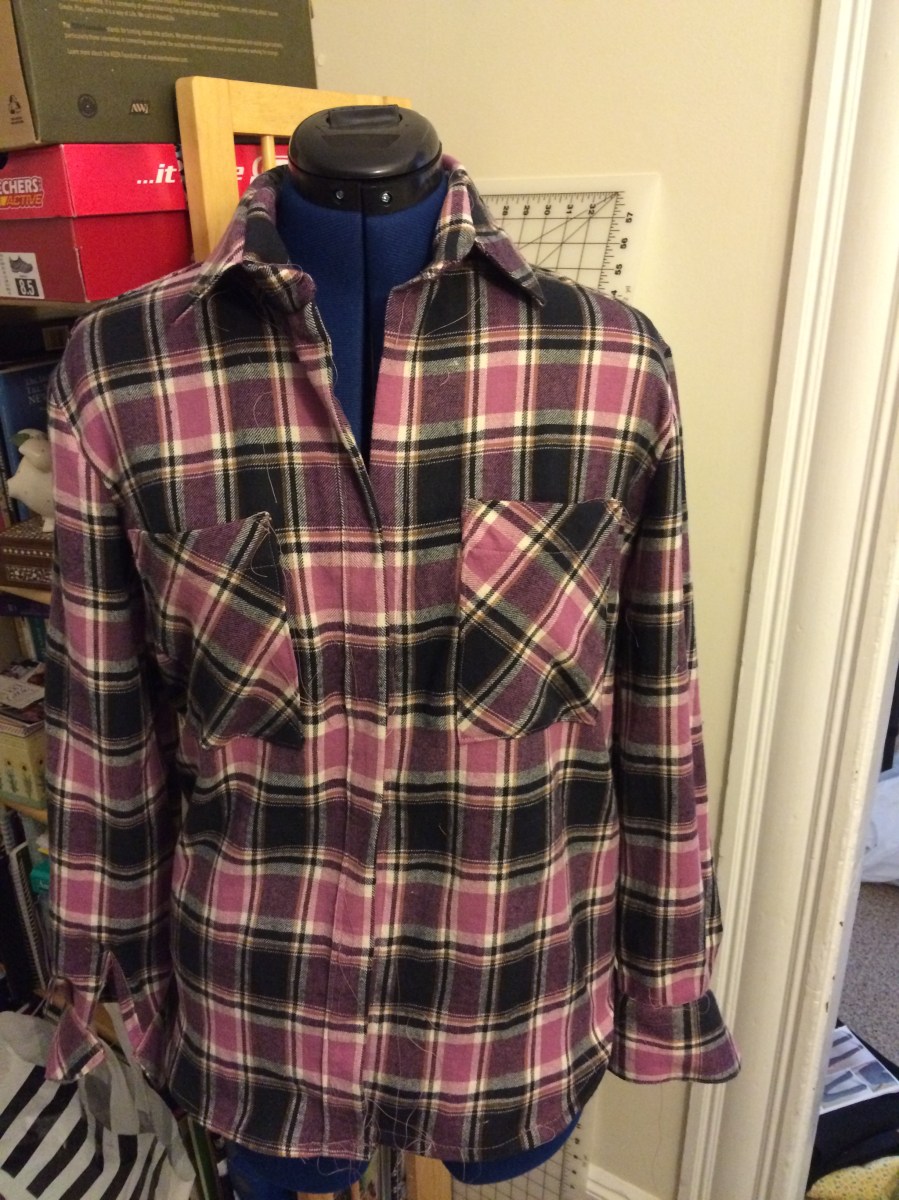
Pattern: Grainline Studio Archer shirt
A/B testing is kind of my thing. I did this a lot at my former job and it’s always exciting to me when I get real results from an idea or theory. I’m a total nerd for data. Back when I was just toying with the idea of making a flannel shirt I had bought two different independent shirt patterns and couldn’t decide which one to use.
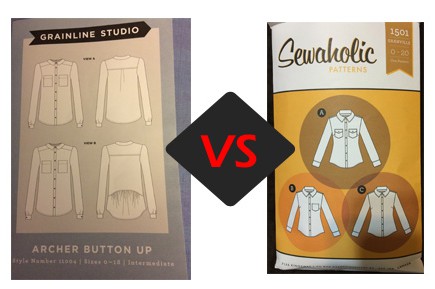
I did some initial reading up on both patterns, and made the decision to start with the Sewaholic Granville shirt because the pattern was designed for pear-shaped bodies (like mine). I liked the result, shown in my previous post, but I couldn’t help but wonder how the shirt would look using the other pattern. Well, the only way to know for sure is to test it out.
Hypothesis: The Sewaholic Granville shirt pattern is the better pattern for making a plaid flannel shirt
Now this obviously cannot be a real A/B test since there are a lot of factors in this test that make it imperfect and not scientific. We all know that the first attempt at something has the most learning curve and so some techniques that were new to me when making the Granville shirt, were more familiar when making the Archer shirt. Also the material I used for the Archer shirt was a lot cheaper, in price and quality, so the overall result would be slightly different no matter what. There is no way to hold all conditions equal for this experiment, but I decided to still test out the following parameters:
- Ease of pattern directions
- Garment details
- Overall fit and look
Ease of Pattern Directions
Both patterns have clear directions that could help anyone making their first button-down shirt. The drawings are all well done and precise. I did find it strange that the Grainline pattern didn’t specify which drawing referred to the interfacing cutting layout. There is just an additional layout that has no label. There is enough information on the pattern where you can figure out what that layout is and that you need to cut out interfacing, but I just thought it was strange it wasn’t specified. I did however like the booklet format of the Grainline pattern directions vs the one pager that Sewaholic had. It is easy to follow and find your place, plus there is more room for those informative drawings. That being said, I did find the language of the Sewaholic pattern slightly more clear with its directions, which is really the most important thing.
Another great resource with these indie patterns are the websites. Both have tutorial sew-alongs with photos that help with every step of the process. With the Sewaholic sew-along, I was easily able to find the pattern online and see all the steps laid out in order on how to assemble this shirt. When you click the link to the sew-along, you see all the links that explain each part of the shirt. From there you can easily navigate and click which step you need help with. This wasn’t as straight forward when going to the Grainline studio. When clicking on the sew-along for this shirt, the layout was like a blog and the top articles seemed unrelated to what I was trying to do, which was to get step by step instructions on a specific part. If you are following along as a true sew-along, it works fine. However, if you are like me and just look up sections where you are confused or stuck, it made it a little more difficult as it wasn’t immediately intuitive to scroll down to find those specific tutorials.
Compared to other pattern directions, both of these were better than average on the clarity of directions. Sewaholic did come out slightly ahead since the online tutorials were so clearly laid out in a way that worked for what I needed them for.
Points
Grainline: 1
Sewaholic: 2
Garment Details
There were different details in each of these patterns that made them unique. Each pattern had some small things that I liked that added to the appeal of using one pattern over another.
Collar: In the Grainline pattern, the collar is made up of the outer collar that is one piece and the inner collar that is two pieces sewn together. I got a bit confused and the directions didn’t draw it out very clearly and I accidentally sewed the collar on backwards, so now the seam on the inner collar can be seen. Since the Sewaholic pattern just had two full pieces for the inner and outer collar, this was never an issue. I actually prefer the fact that the collar doesn’t have a center seam, even if I was smart enough to figure out how to put the collar on. There were other tricks as well that made the collar on the Sewaholic pattern sit a bit better and have little margin for error.
Yoke: When working with plaid, I love having pieces cut on the bias. It especially looks great with the back yoke.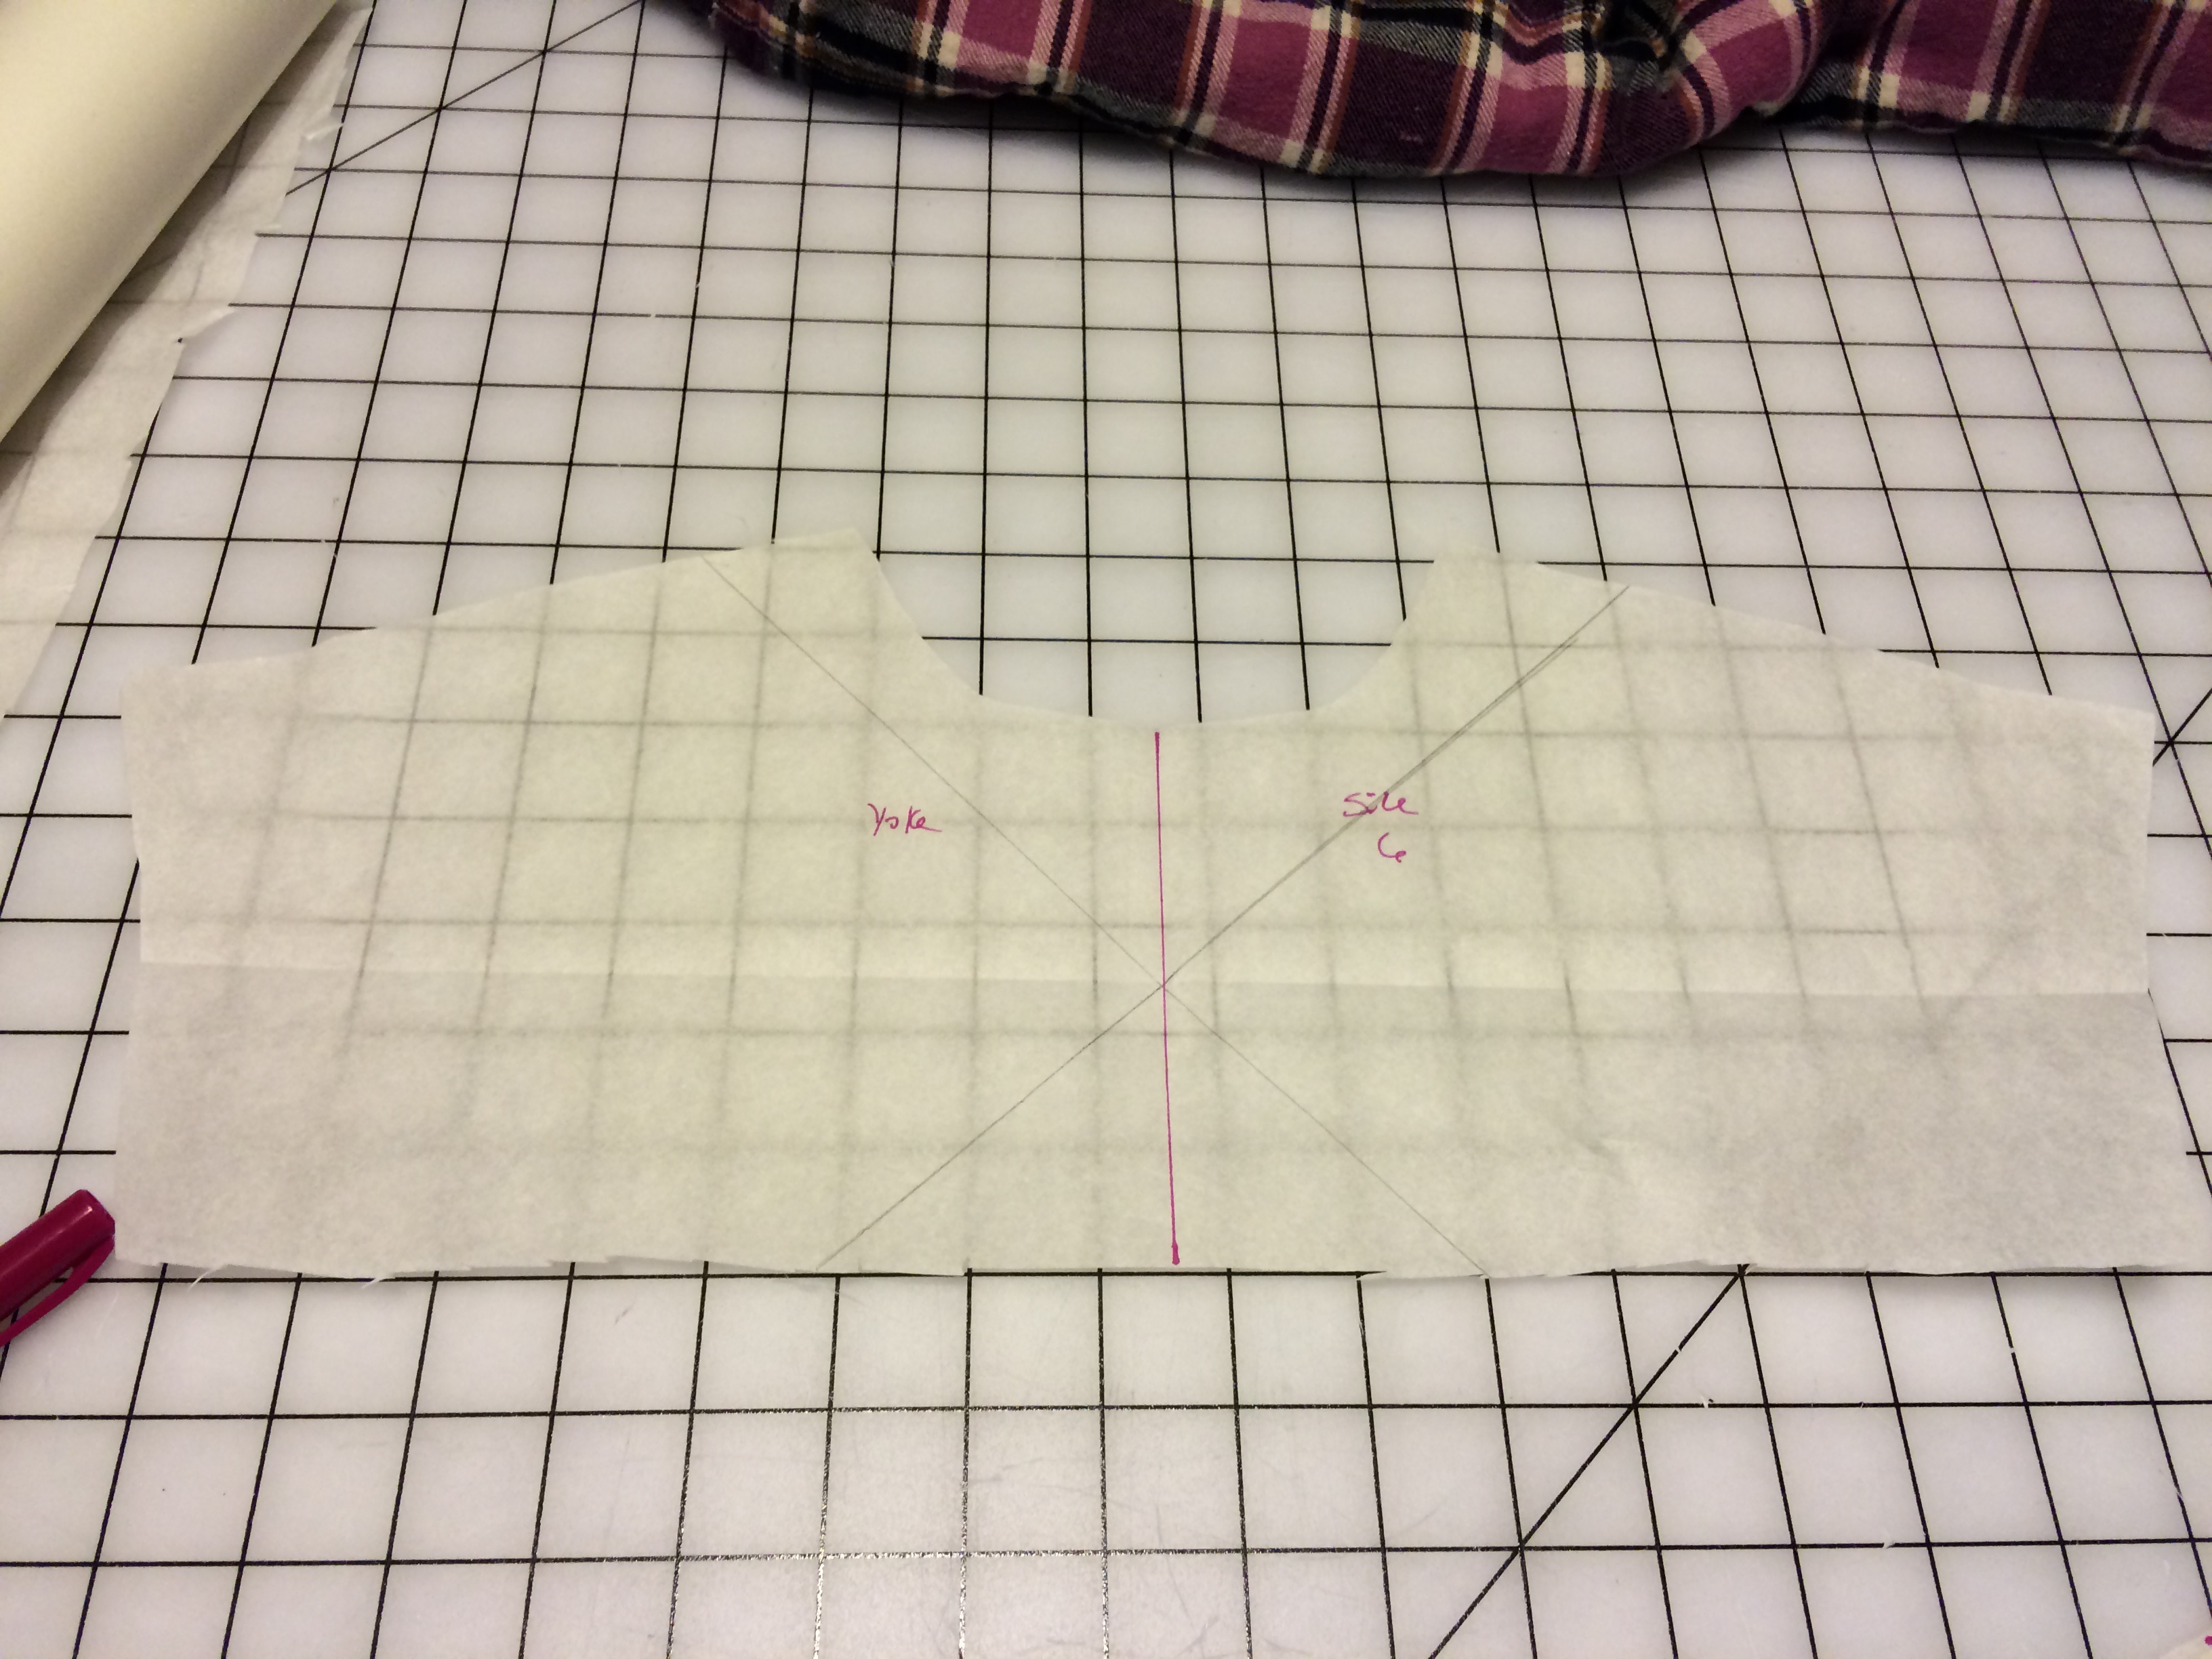 Grainline features a nice illustrative tip for how to do this with great result, drafting lines to line up against the plaid lines. I used this method and was very happy with the way it turned out. This tip is not on the sew-along portion of the website, but on the tip & tricks section of the website. It is still a great resource and helps set this detail up for success.

Pleats: The Grainline pattern featured a couple of additional pleats that were not in the Sewaholic pattern. The first one is in the back – a small detail but I think it really adds to look of the shirt. I see a lot of button-down shirts that have this feature and it’s such a quick thing you can add. 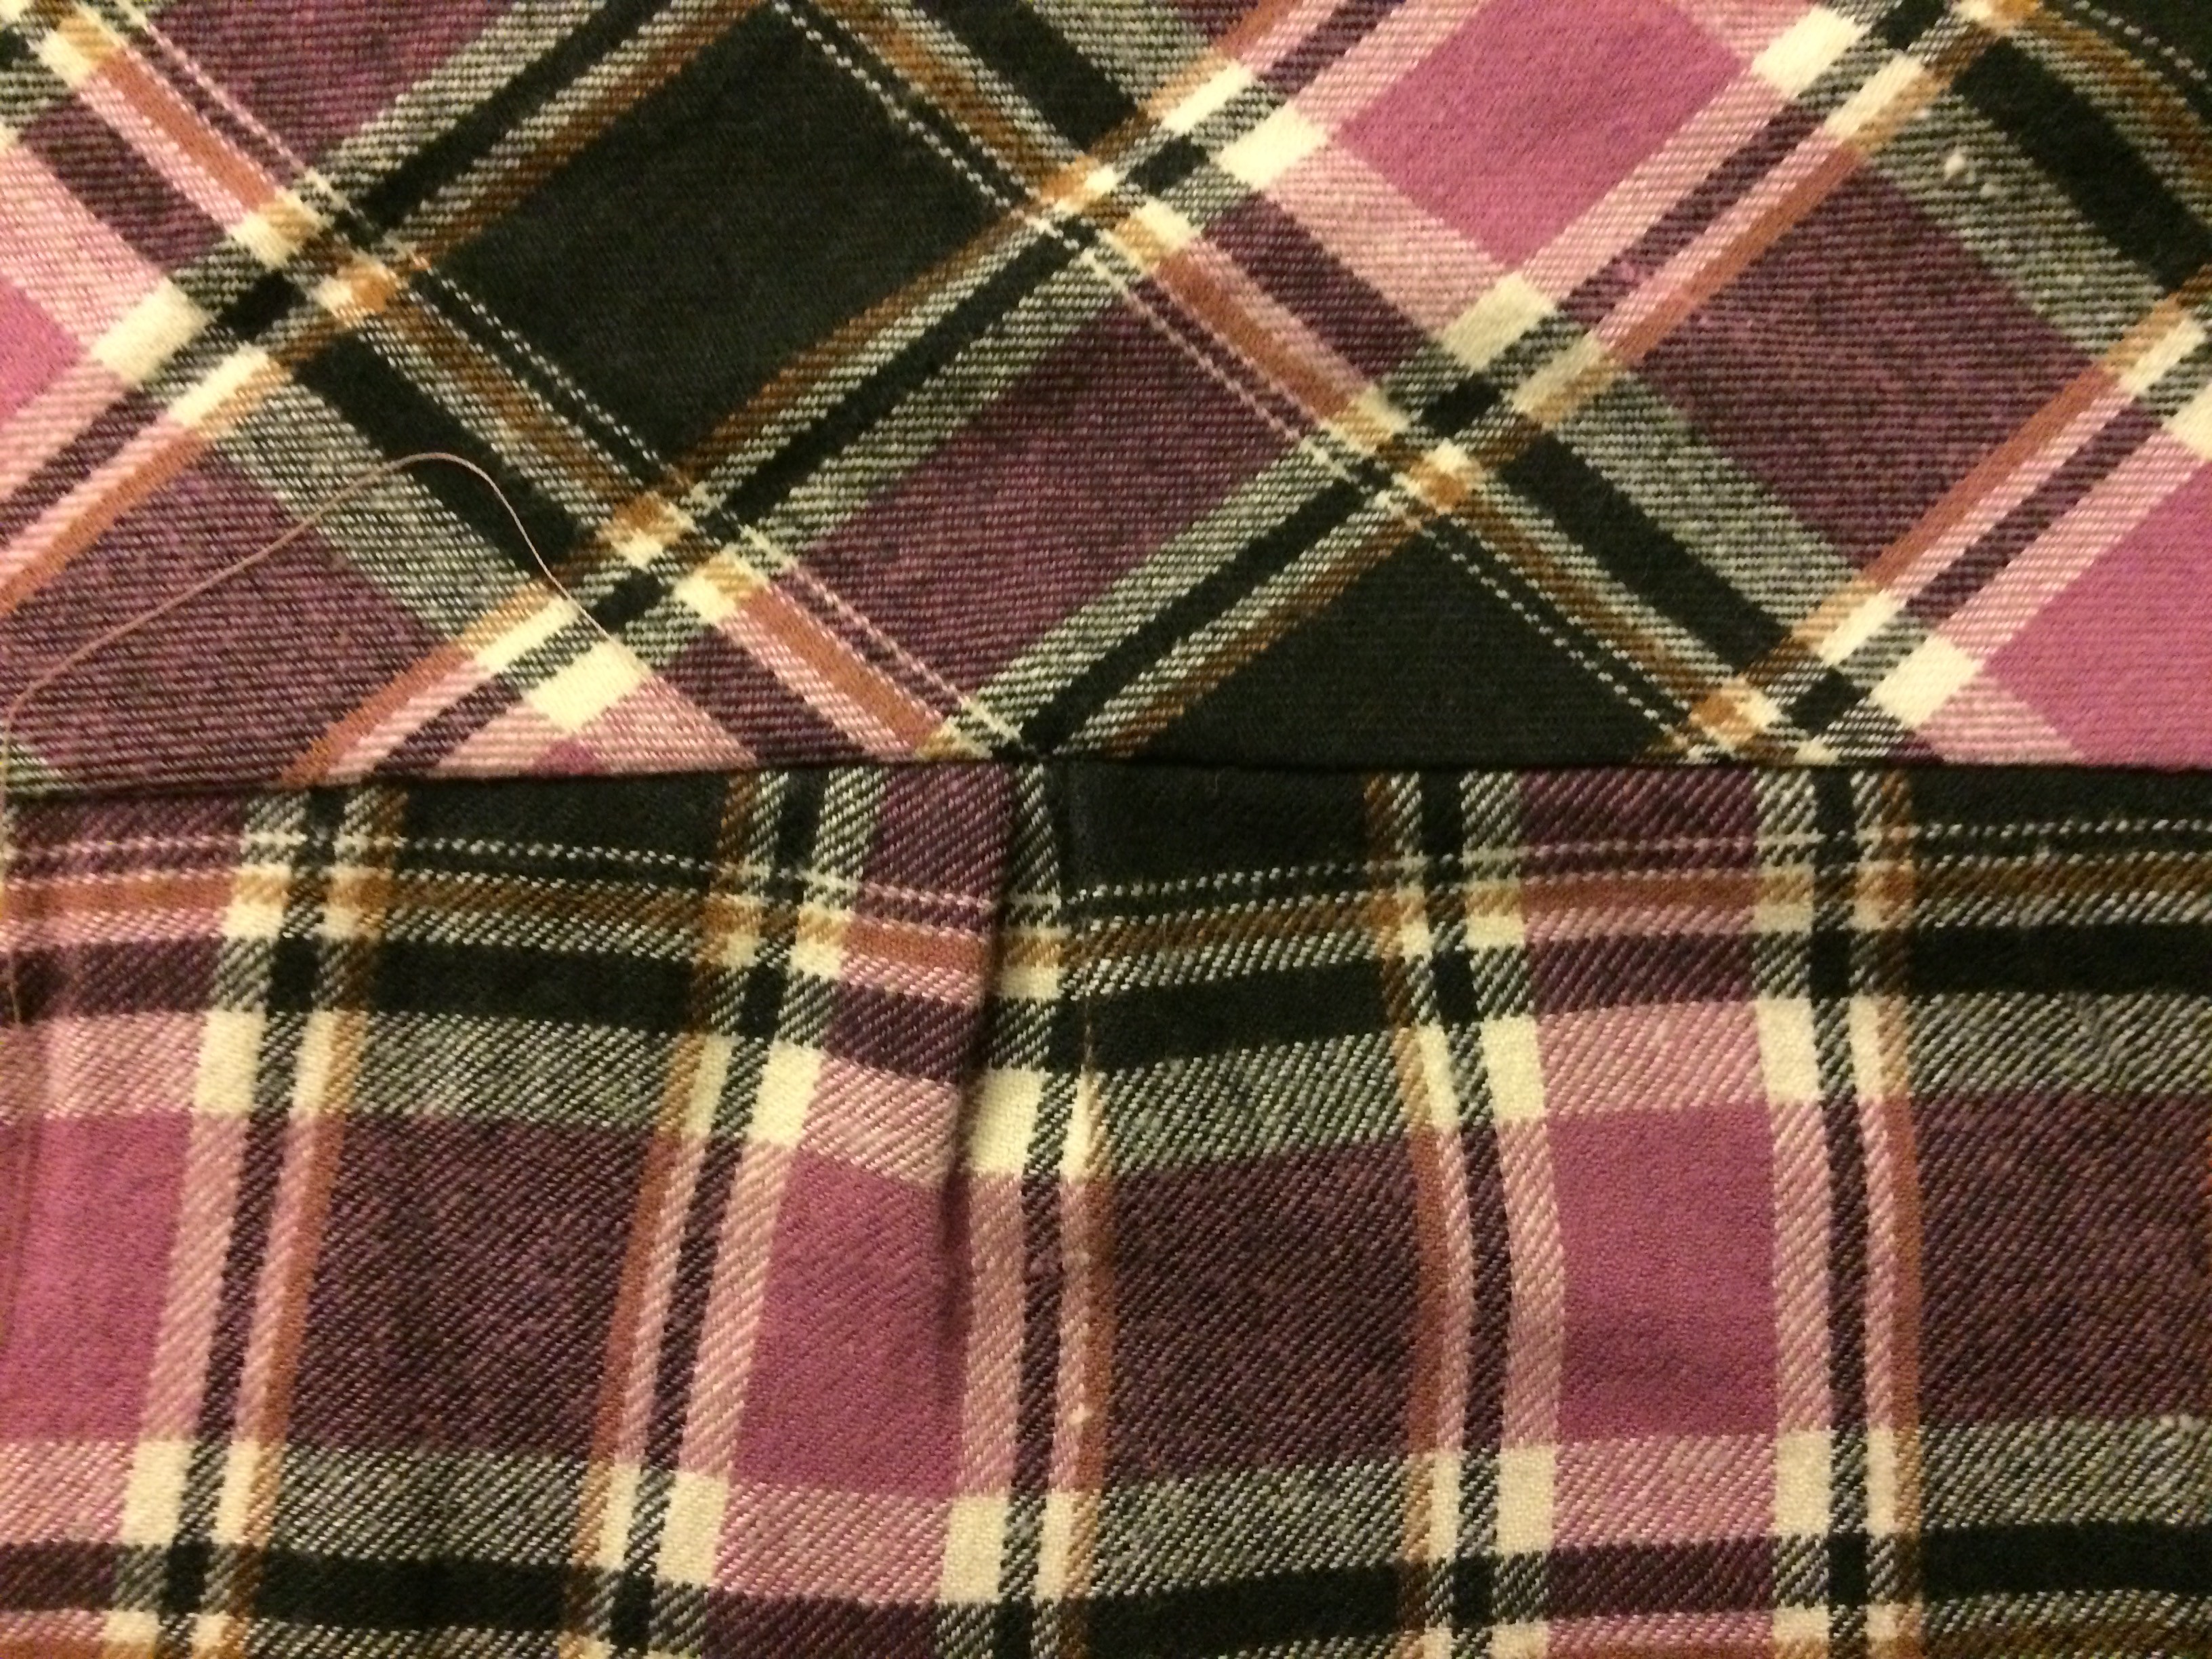
The Grainline pattern also features two pleats on the arm above each cuff. Again, I think this contributes to the professional look of the button-down shirt and a great detail to have.
Pockets: While the Grainline pattern features very simple pockets, the Sewaholic version has some pocket alternatives where you can add a buttoned flap. I liked this look when I made my first plaid shirt and it is really nice to have the option of both looks instead of just an open pocket.
Plackets: Both patterns feature nice plackets above the cuff, but each one is different in shape.  The Grainline pattern has a very simple strip cut from the fabric that wraps nicely around the slit in the arm. The Sewaholic placket is a little more complicated, where you have to basically make a house-shape. Both look nice, but I really liked the Sewaholic version since it just has a more professional and interesting look, despite the extra work required.


Points
Grainline: 3 / 4 total
Sewaholic: 3 / 5 total
Overall Fit and Look
For both of these patterns I used the measurements indicated on the packaging. Both shirts fit well enough to have as a legitimate addition to my wardrobe. The difference and where Sewaholic is the winner is in the main cut of the body of the shirt. I happen to have larger hips and Sewaholic is made specifically for pear-shaped figures. The Sewaholic shirt definitely fit my shape perfectly and sits over my hips nicely. I also like the shape better as it looks very much like the more tailored flannel shirts I have been seeing people wear. The Grainline shirt is slightly boxier and tends to bunch a bit since it doesn’t perfectly fit around my hips. For someone with a straight figure, I think this shirt may look a bit better than the Sewaholic shirt. But for me, this shape just works, so I have to give the point to that pattern.

Points
Grainline: 0 / 4 total
Sewaholic: 1 / 6 total
Hypothesis: Proven! Sewaholic Granville is better for making a plaid flannel shirt, therefore I will use this pattern on my next piece of plaid flannel.
Results
Total Points
Grainline: 4
Sewaholic: 6
The Sewaholic shirt did come out a little ahead in the testing than the Grainline shirt, despite both being fantastic patterns for button-down shirts. I have bought some great blue plaid flannel that I want to turn into yet another shirt (hopefully with less errors), and I will be using the winner of this A/B test. I do still want to use the Archer shirt pattern again in the future, maybe for a regular button down shirt that is not flannel. Going through this methodical process really did give me some great data useful for my next shirt project. And it reminded me a little of the testing I would do at last job. It’s great to get my brain working in this way while I am unemployed so that I can stay sharp when my next opportunity finally comes along. I hope it’s soon as I’m anxious to crunch some real numbers.
And now… some more shots of this fantastic shirt:


Pingback: Dreary spring & flannels in May | Threading Lightly
Pingback: The quest for perfection: or just another button-down | Threading Lightly
I love this comparison. Its always giod to see the pros and cons of two similar things. And I love your shirt, it looks great.
LikeLike
This is a great idea and really helpful! Thanks for comparing. I wish more people did this. Love your shirt!
LikeLike