
Patterns: Sewaholic Tofino pants, McCalls M6681 & free-form pants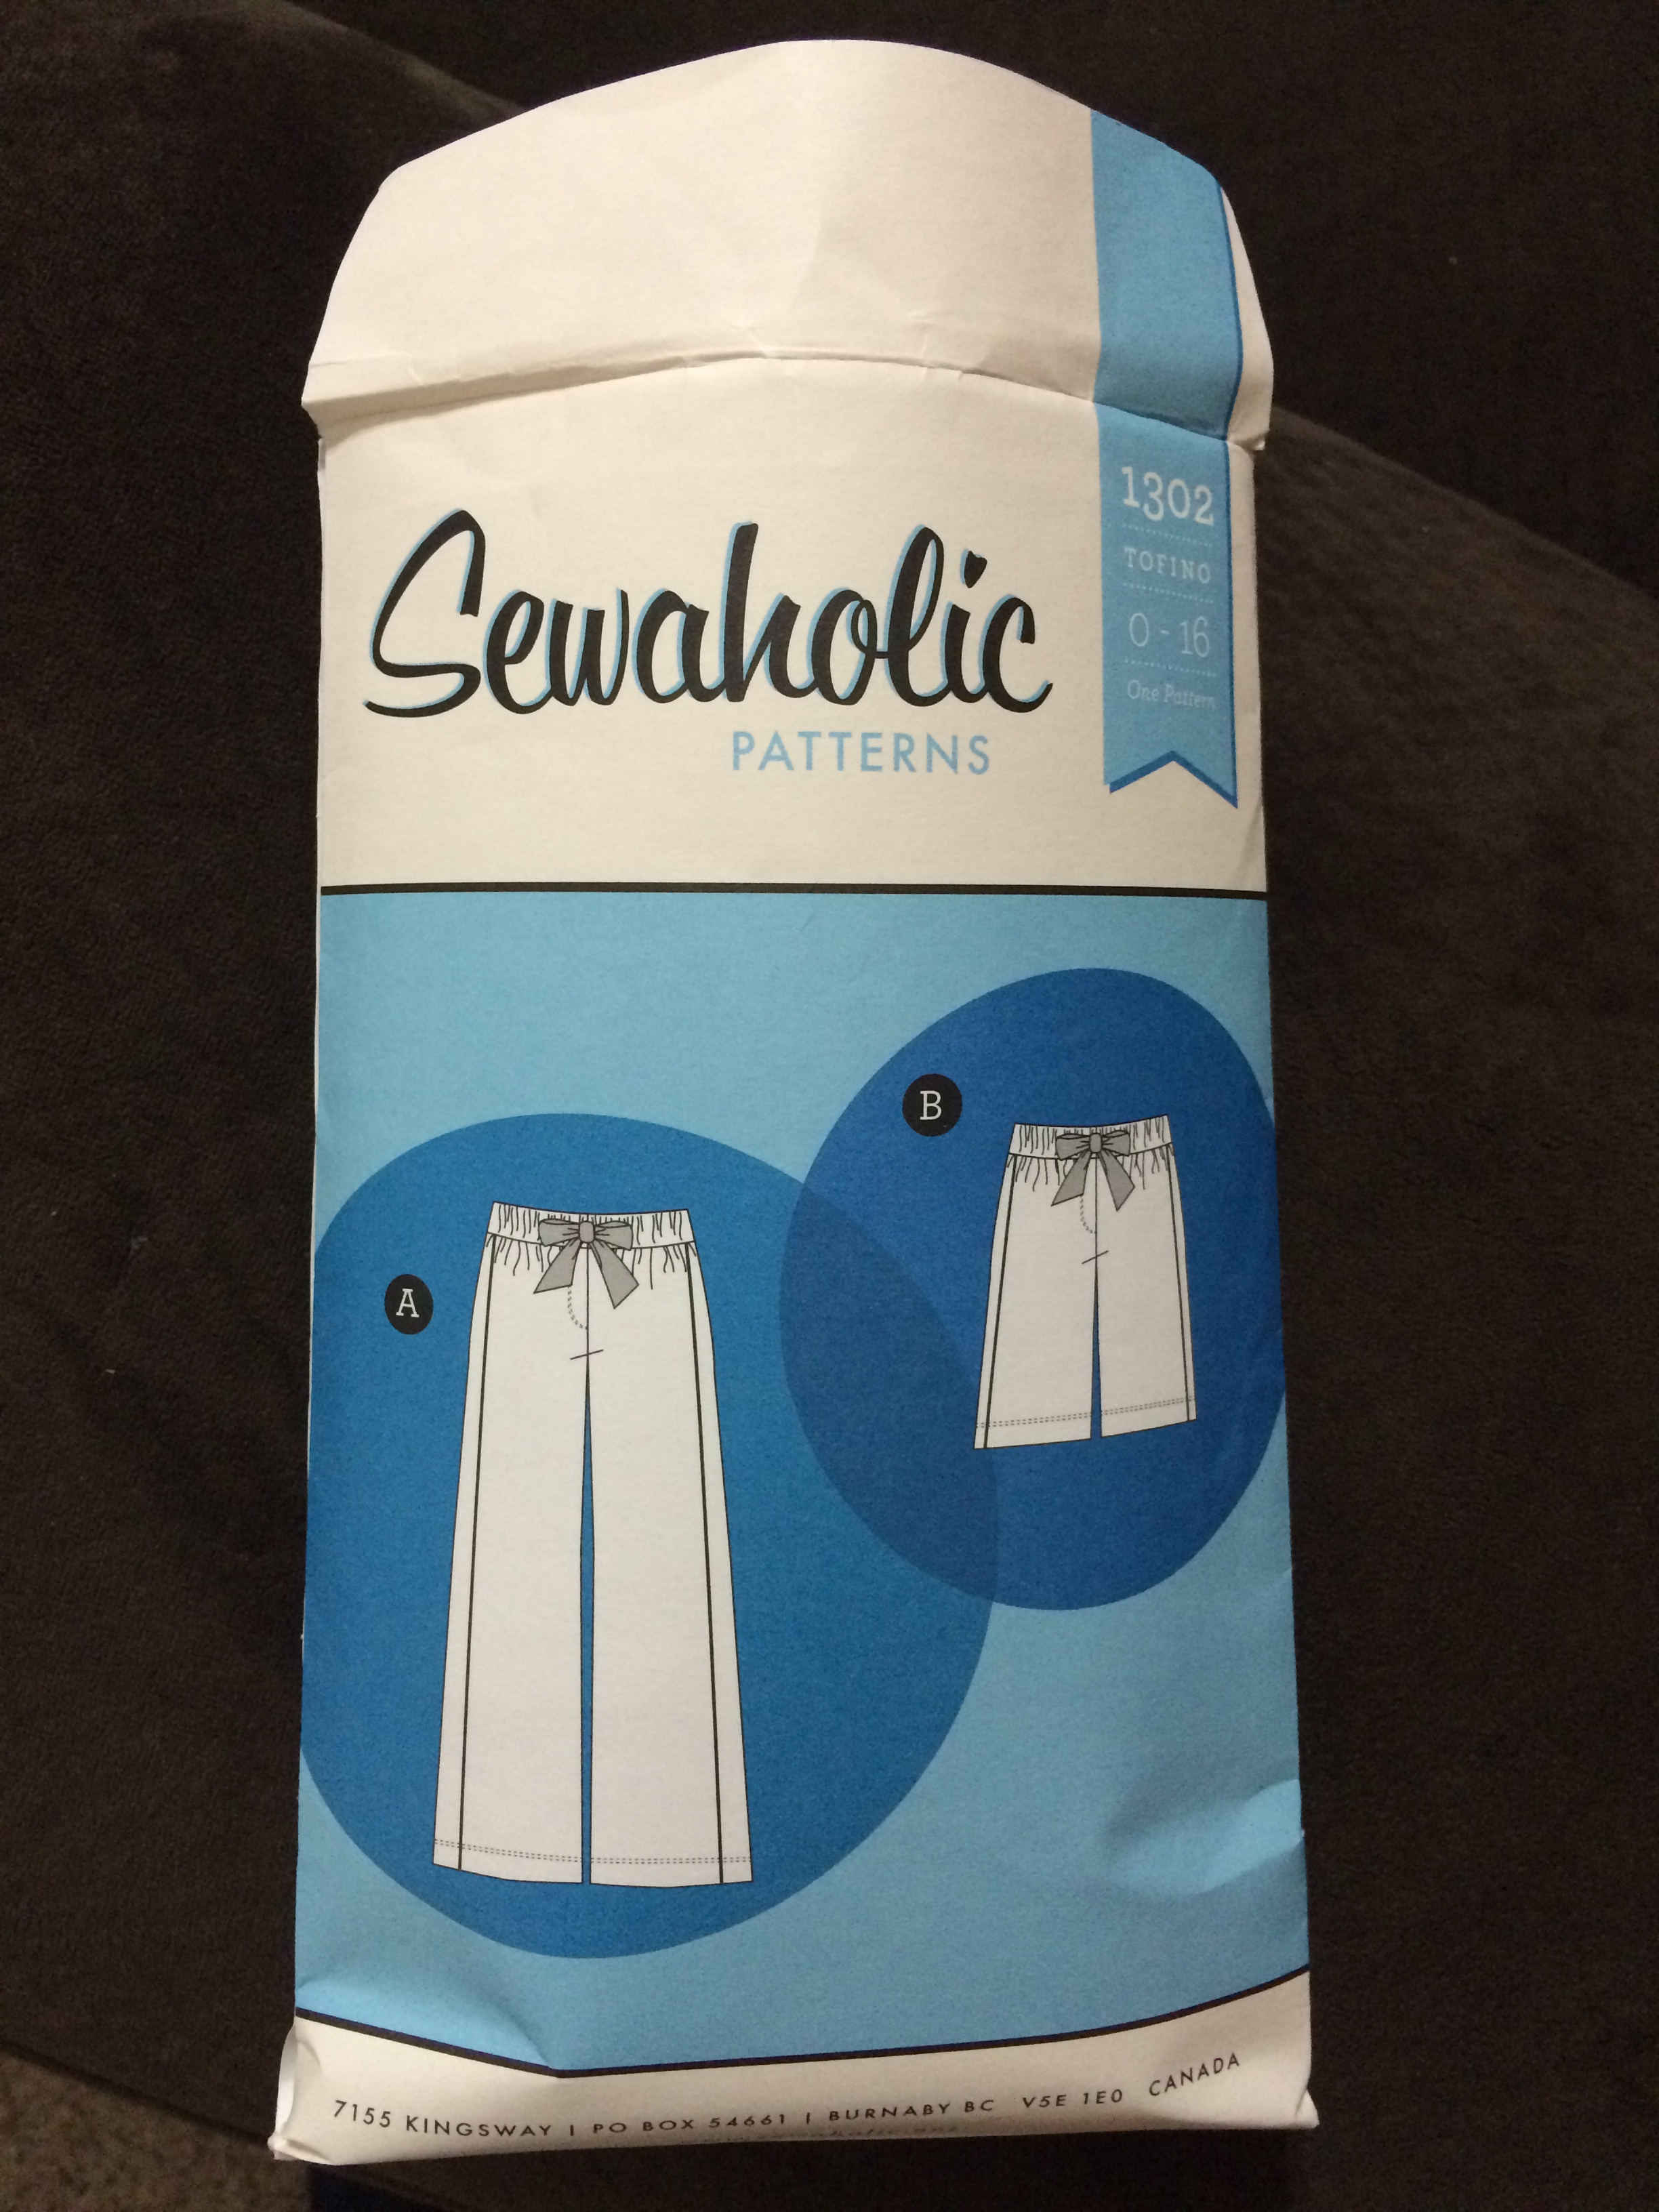
Skills acquired:
- Adding pockets
- Piping
I’ve made some PJ pants in my time, in fact I’ve made a lot recently. I decided to consolidate them all in one post, for more efficiency (another one of my job skills – companies take note!).
Pajama pants are probably the most basic garment there is. It’s the perfect thing to make when you are first learning to sew. You don’t really need a pattern, there are no zippers and they are made from basic cotton fabric. There are ways to dress them up and build off the simple design, but for the most part there is nothing easier. The most basic patterns have two pieces for the front and two for the back. These all get sewn up pretty much how you would imagine (even the order doesn’t matter too much) and you end up with two legs. The waistband gets folded down, an elastic is added, the pant legs are hemmed…and voila! Something you can lounge around in that you made all your own.
Put it in your pocket
I wanted to make my boyfriend a new pair of lounge pants since I felt like I could improve upon the pants I had made him a while back. He said to me, “If you do make another pair, could you add pockets?” Hmmm…this was something I never thought of. There aren’t too many patterns out there that include pockets on such a garment and I didn’t really trust myself to figure this out on my own. I found this handy tutorial online and decided to experiment with some pants I was going to make myself, just so I could get it right. I had a remnant of flannel which I really liked, although I did not have enough to make full length, which is why these are cropped.

It was all pretty straightforward, however I kept messing up because I had a hard time remembering which section was the front while I was making these. This could be due to bad design since I was using my self-drafted pajama pants I had used before. My previous version came out alright, but for whatever reason I am not crazy about these flannel ones. They are a bit bunchy in the front and don’t look as flattering. I think I need to draft a new pattern. As for the pockets, everything worked okay except for the placement. It says to measure 3 inches from the top, but these ended up too low. For the next pair, I think a good placement would be 2.5 inches from the top.
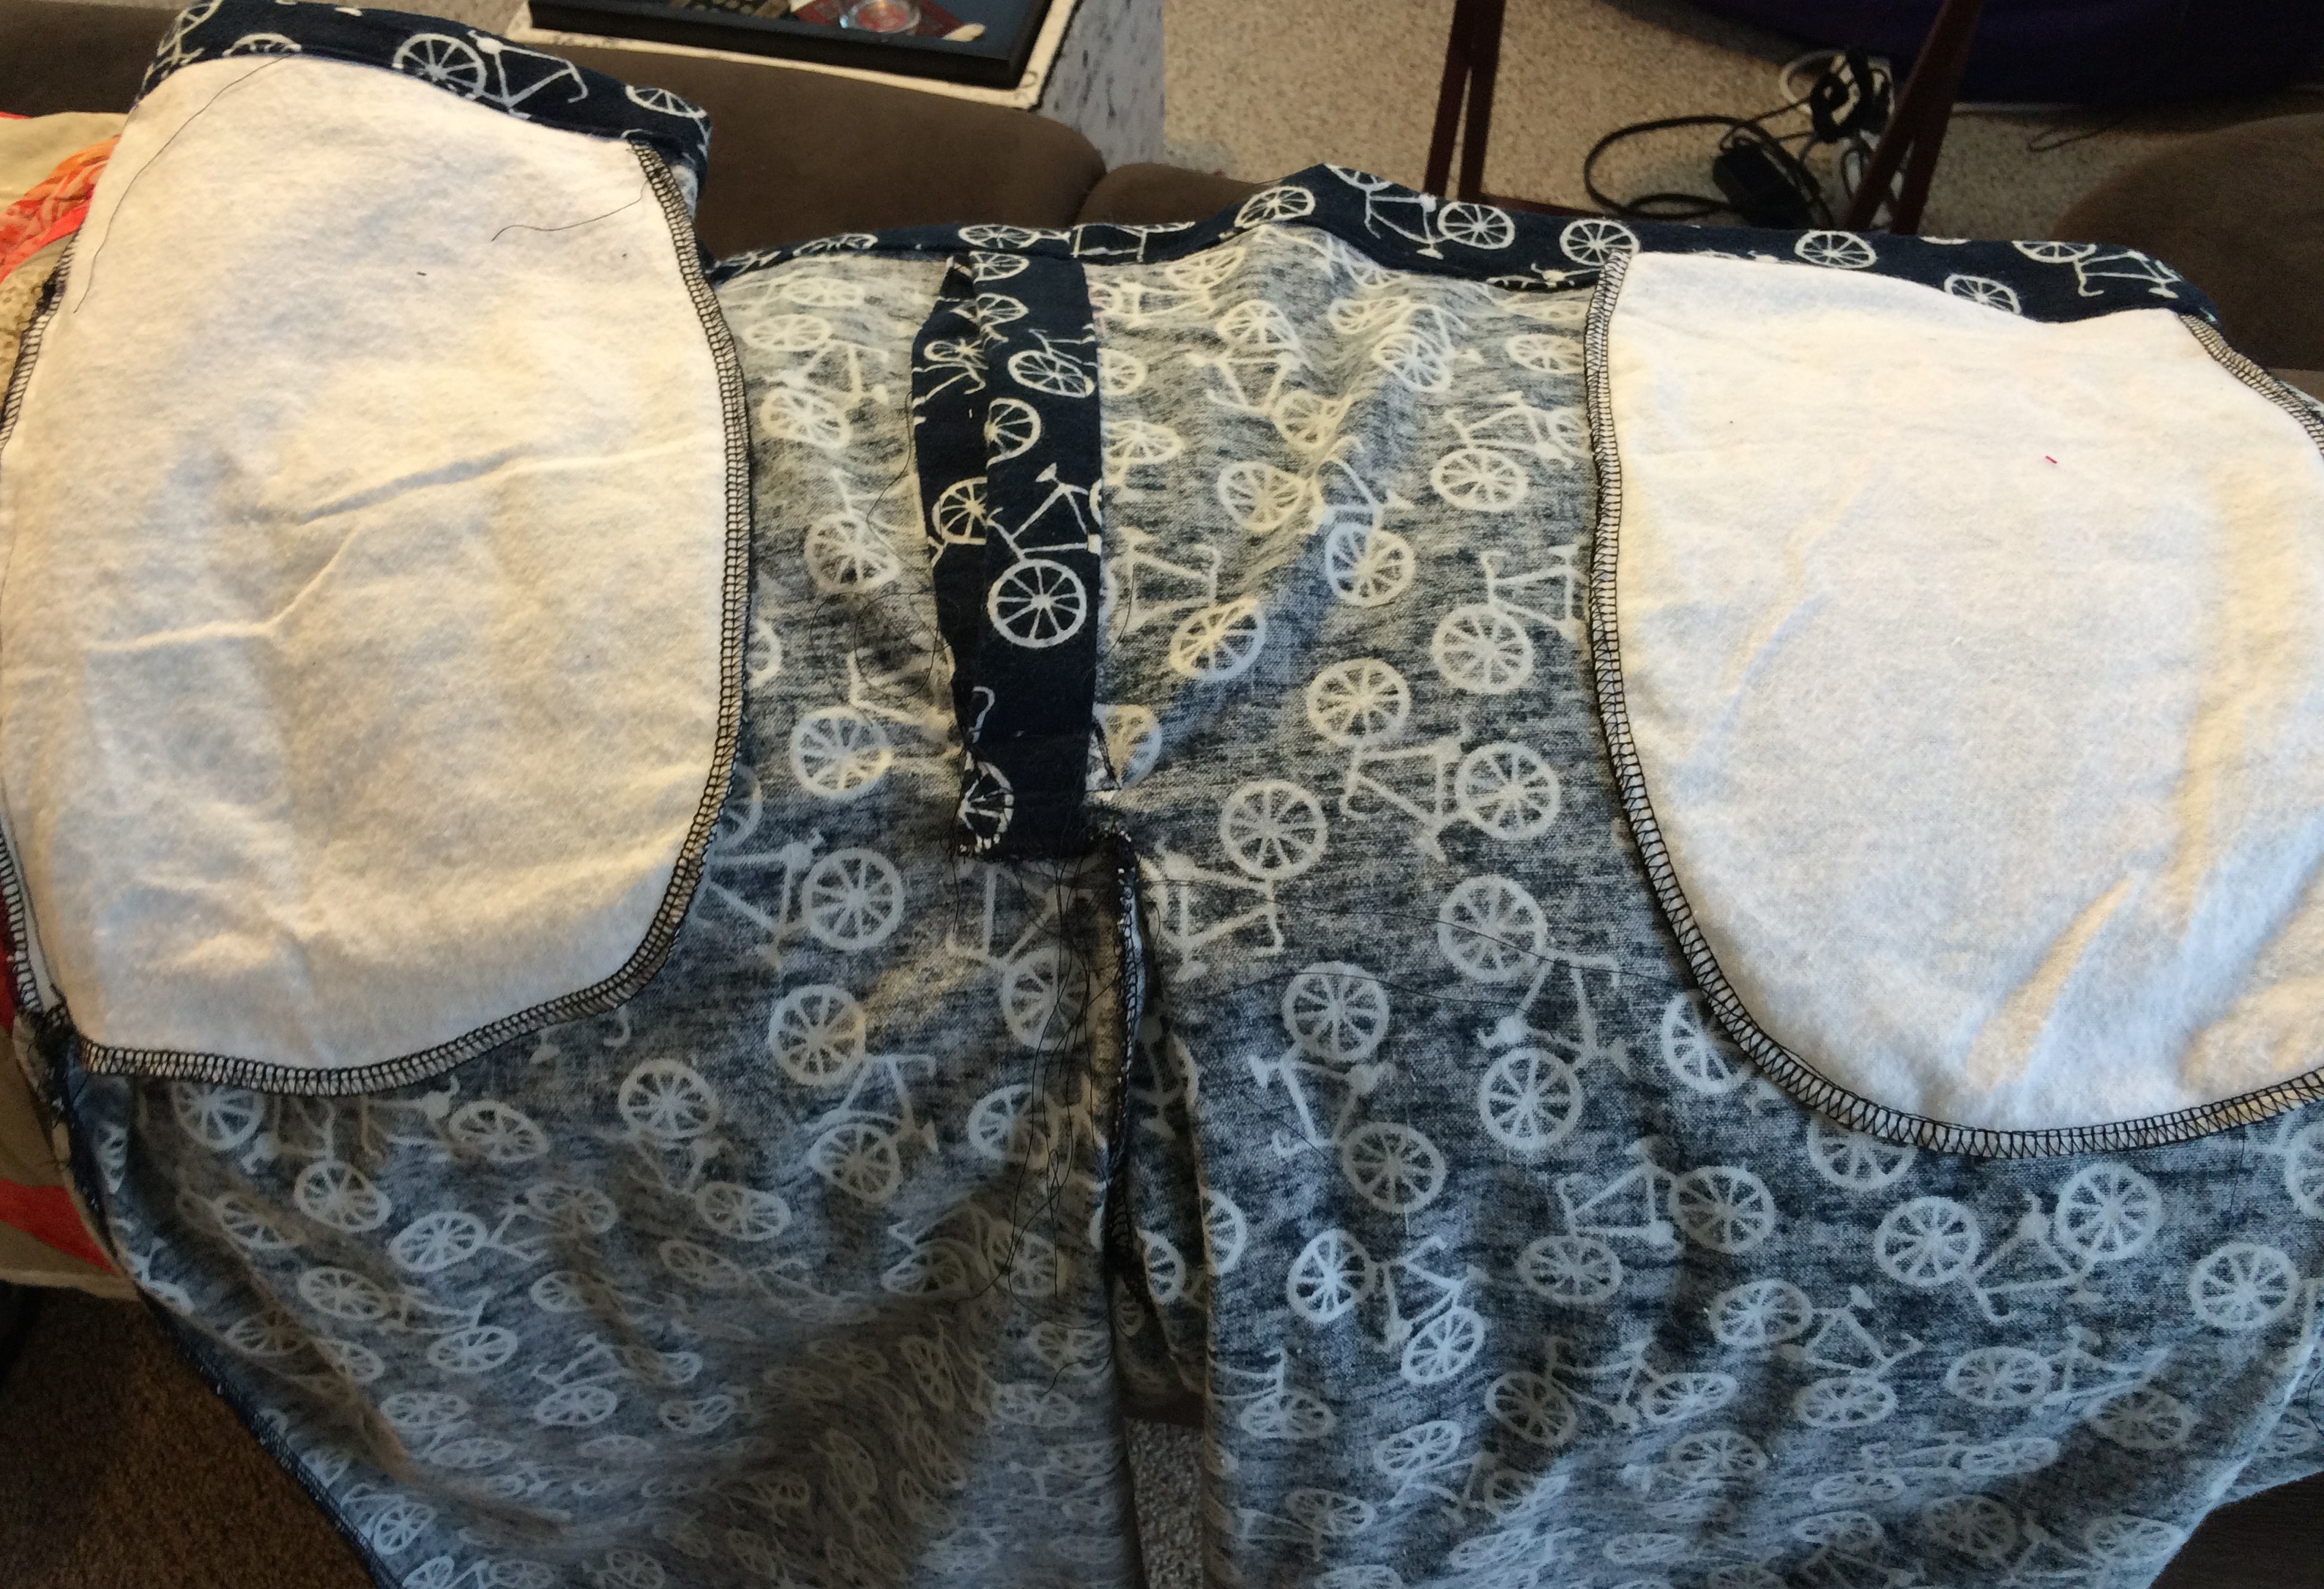
Speaking of the next pair – I did end up perfecting this skill for my boyfriends pants. And this time I took pictures! The pockets also come in four pieces – and once you sew one piece to each of the leg pieces (being careful to make sure these line up, front to back) you can sew the pocket sides while you are sewing the pant leg sides. 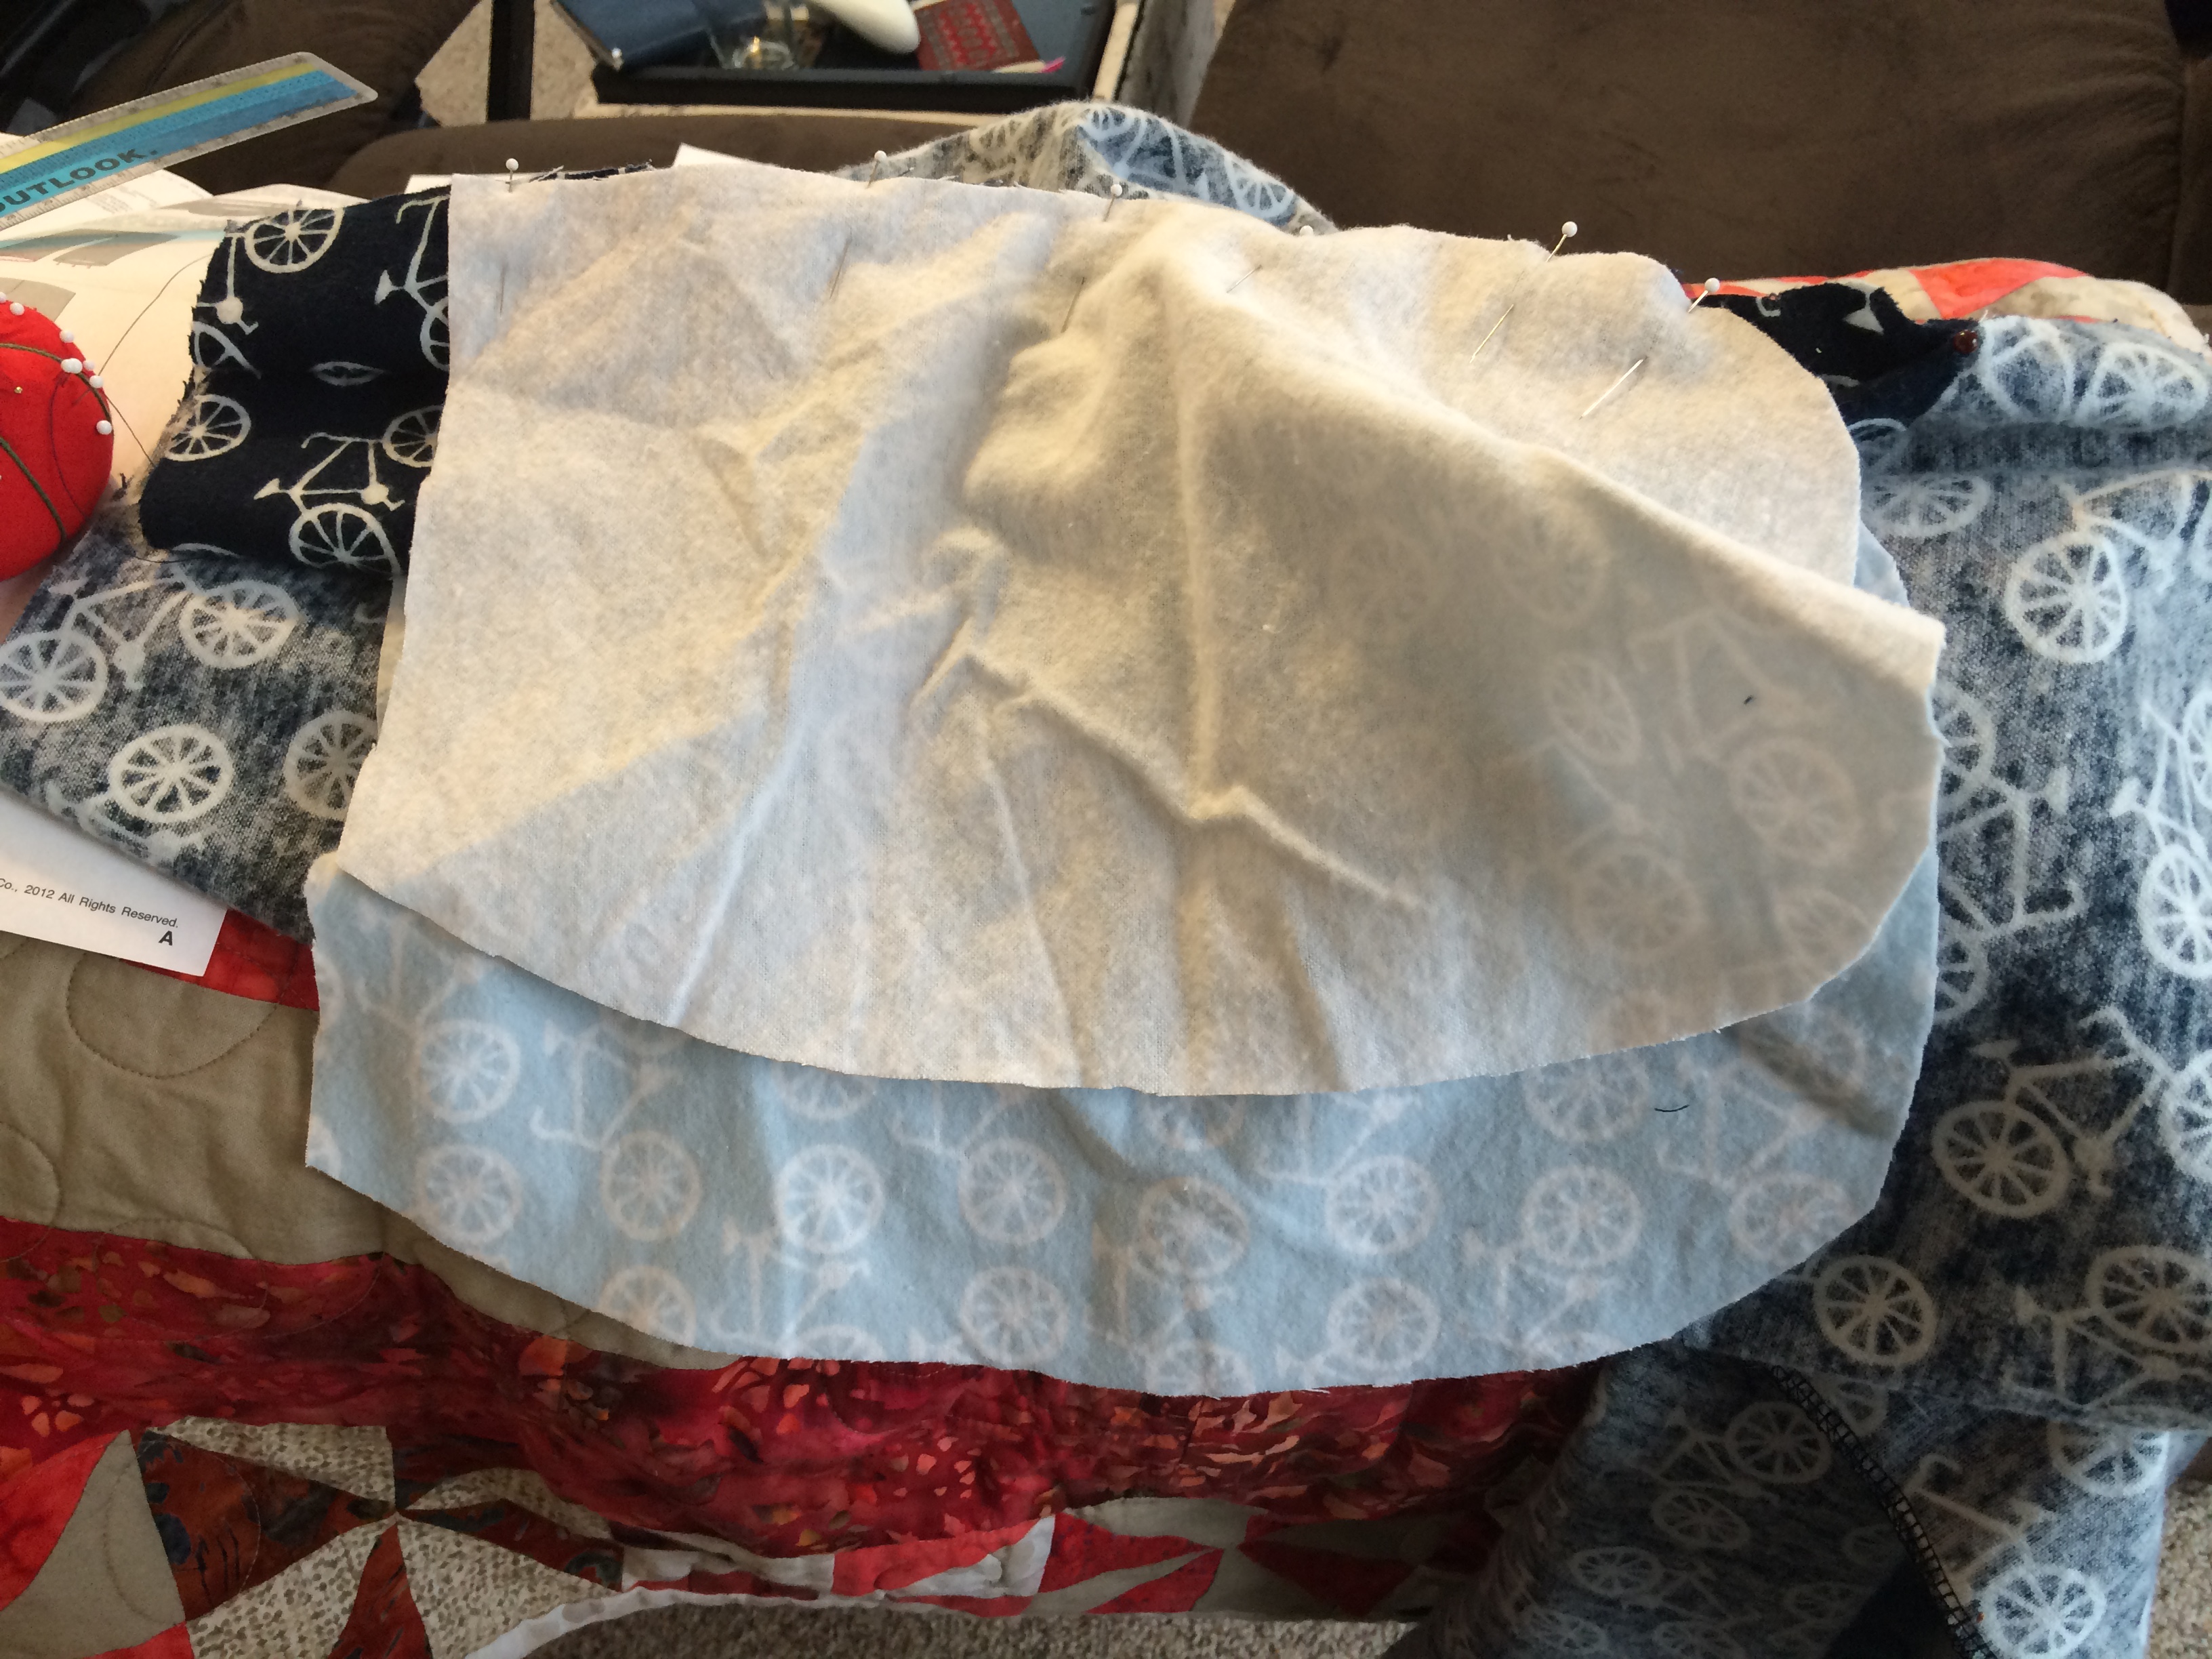
The pockets then get secured to face the front when the waistband is sewn. Luckily since these pants had a fly, I was easily able to tell which side was the front!
Well, I don’t have a finished picture of these yet – I would need my model to pose since the legs are ridiculously long on me. The second try definitely came out better on these and I’m glad to know that I can make this addition to my existing patterns.
Piping dreams
Since I was not too impressed by my own pajama pattern, I decided to try the Sewaholic Tofino pattern for a different style of lounge wear. This required me to make my own piping. The lady at Joann Fabrics looked at me like I had 3 heads when I excitedly told her about my newest task. Well whatever, sour-puss.
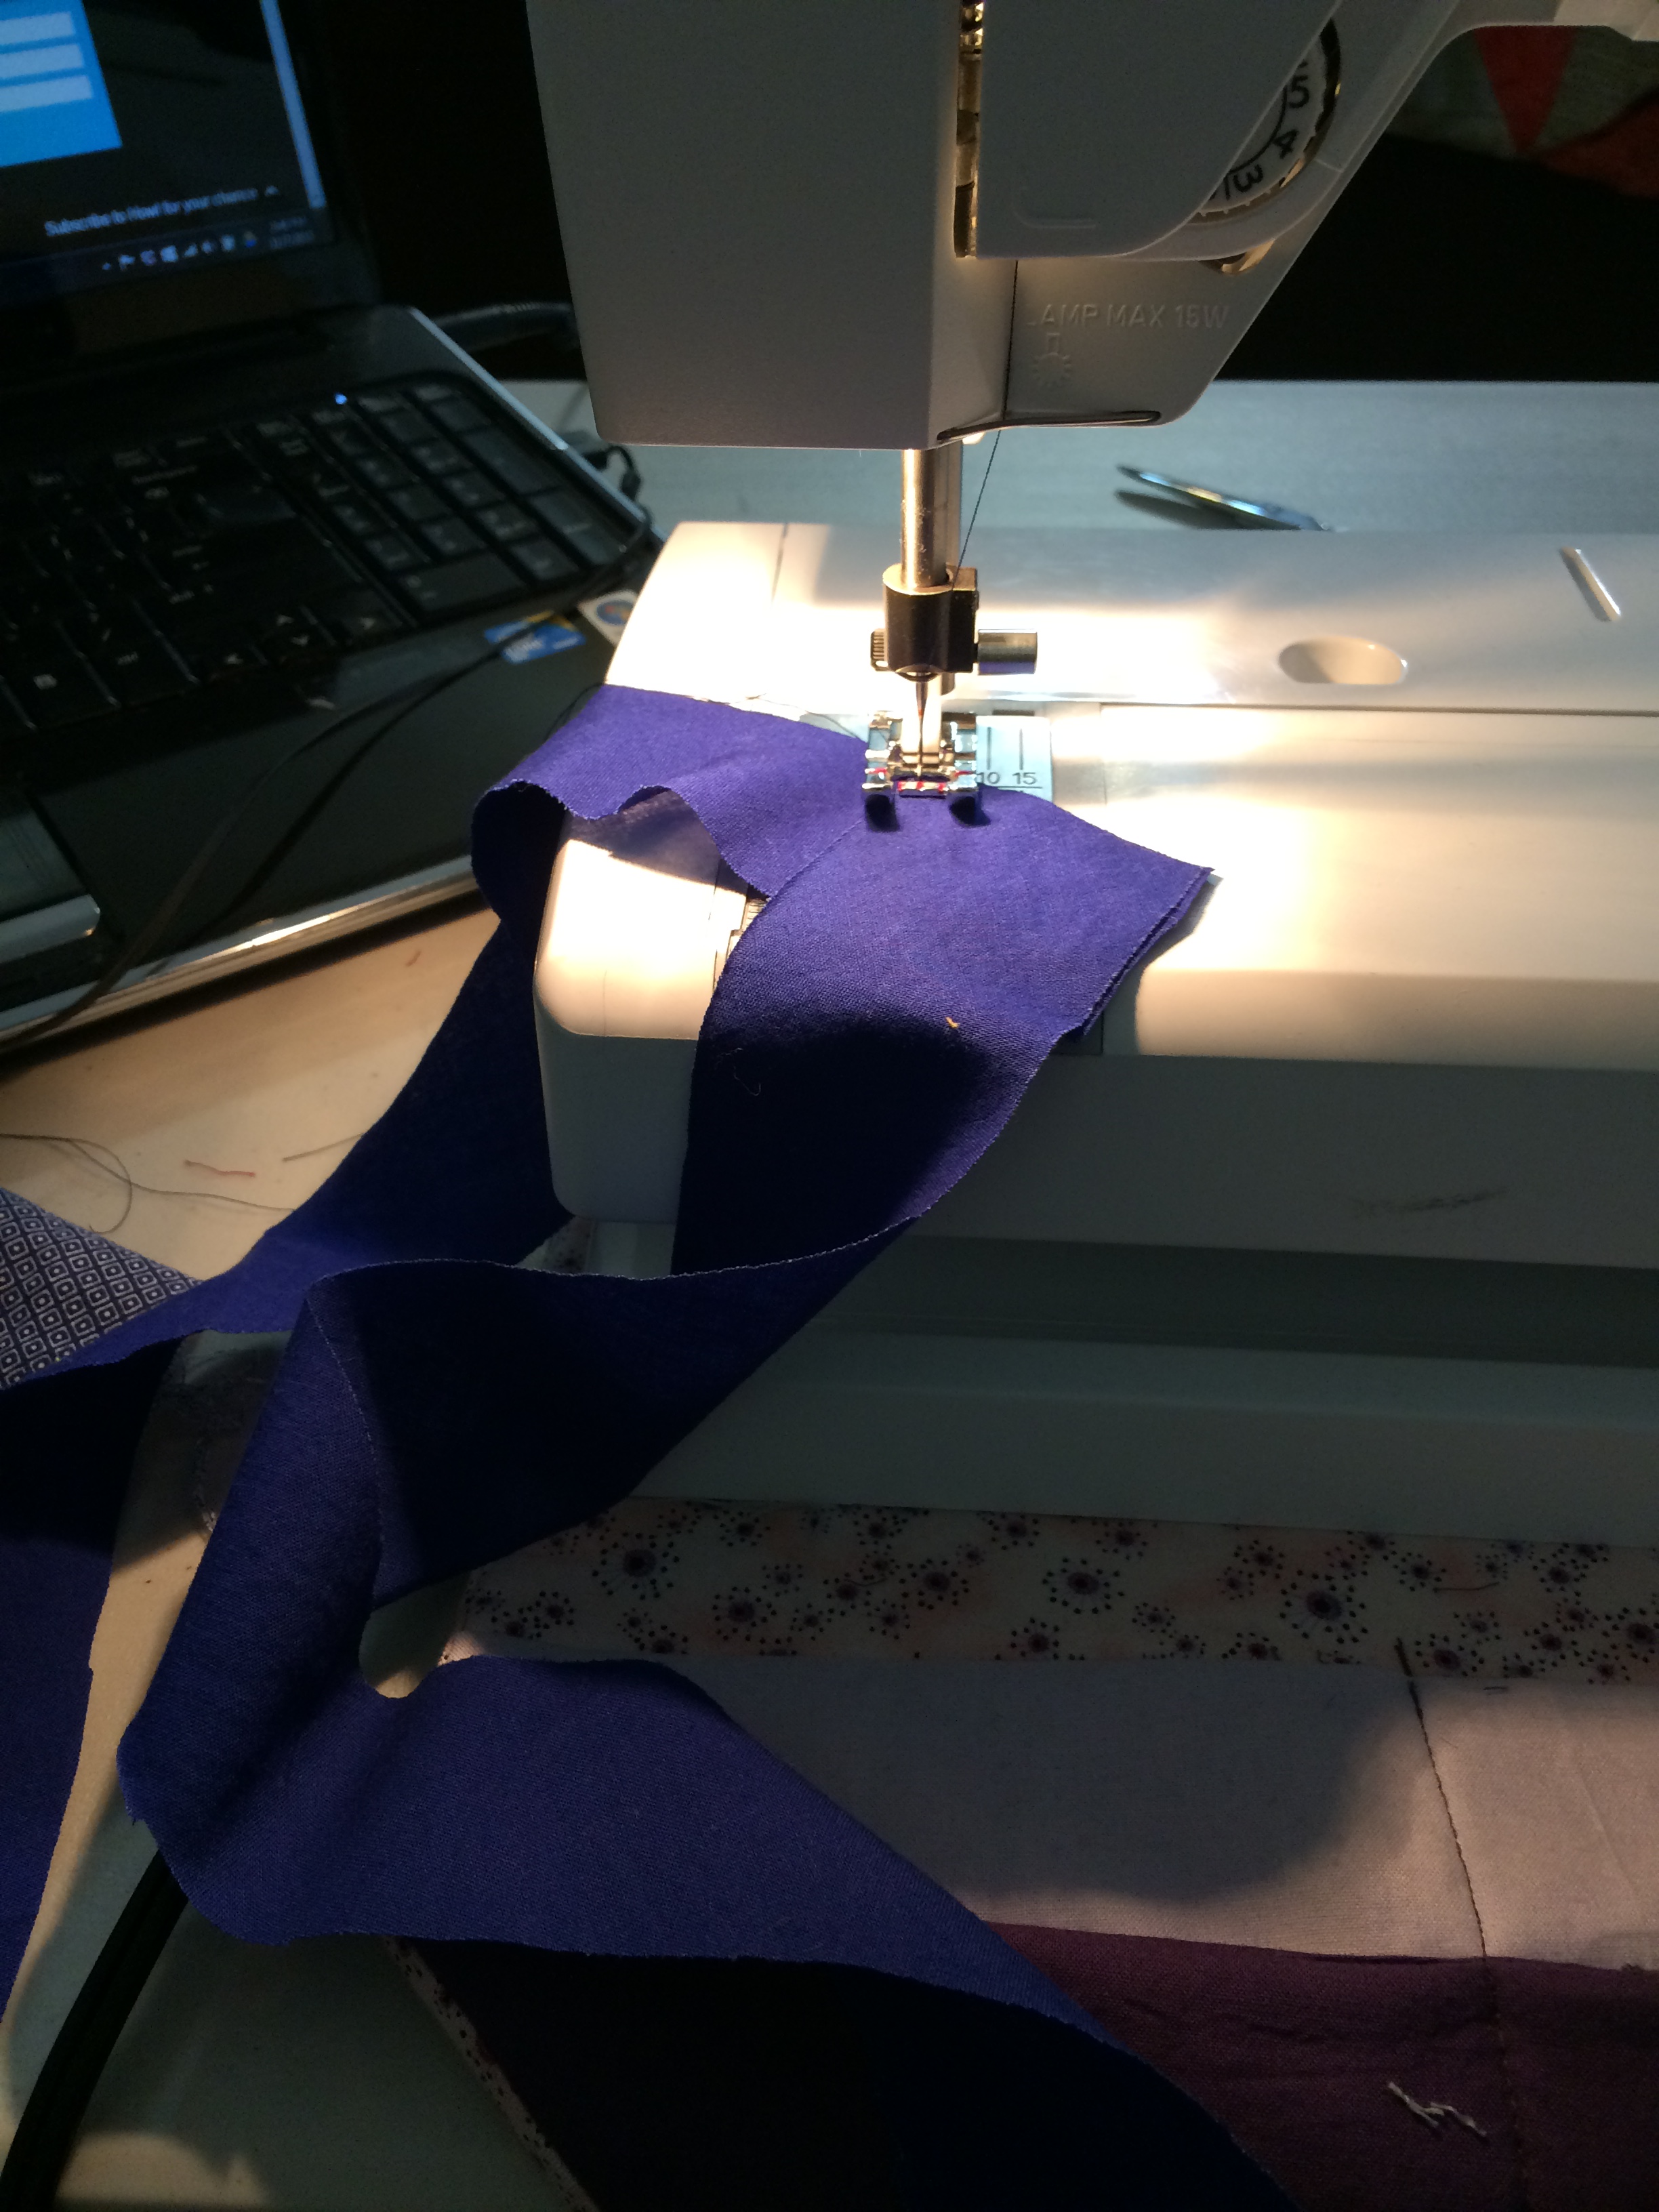
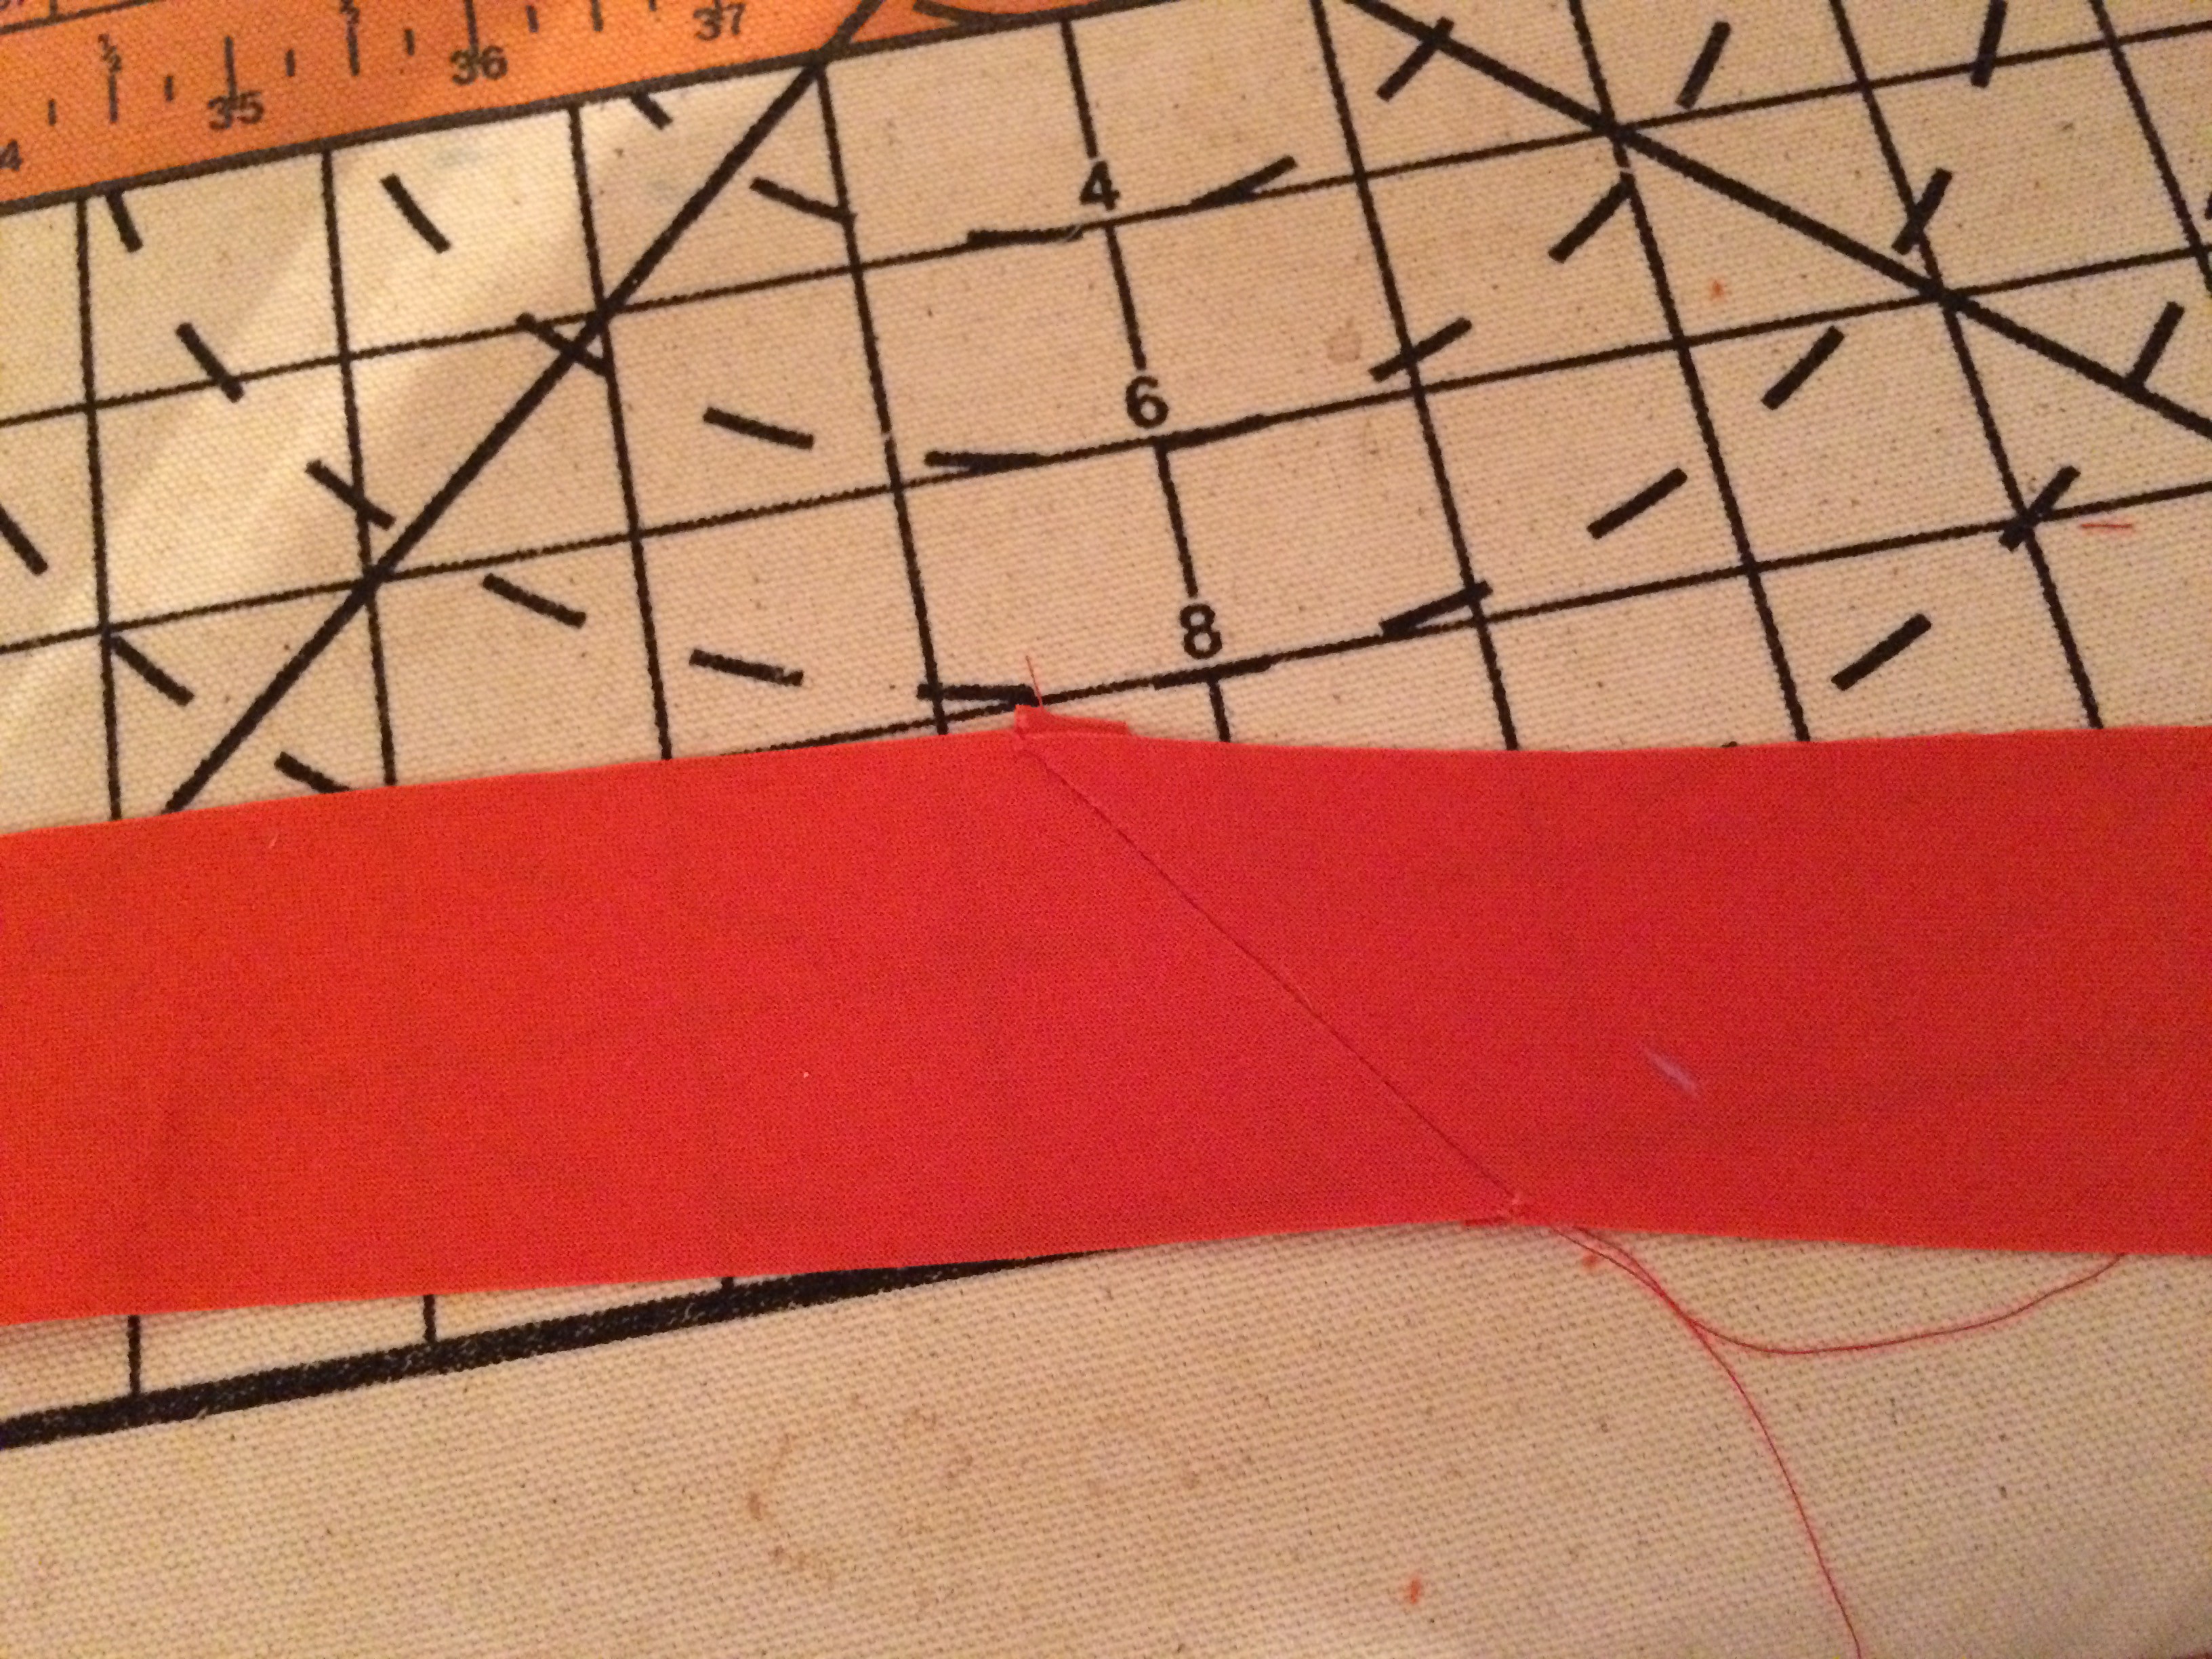
I started out making a summer-style pair, which in true rookie fashion, I made in the fall. These went in storage the second they were completed. The piping was not as complicated as the Joann Fabric lady made it seem – this pattern makes it even easier since they have a pattern for the bias strips  you need to cut out. After these are sewn together, you add the piping string and sew together with a zipper foot.
For this pattern, I felt it worked best when I stitched the piping on the pants first with my sewing machine and then serged the seam to finish the edges. When I tried using just the serger, I had a hard time keeping the piping straight. The piping is sewn on the additional side panel of these pants, which does require a bit of extra material.
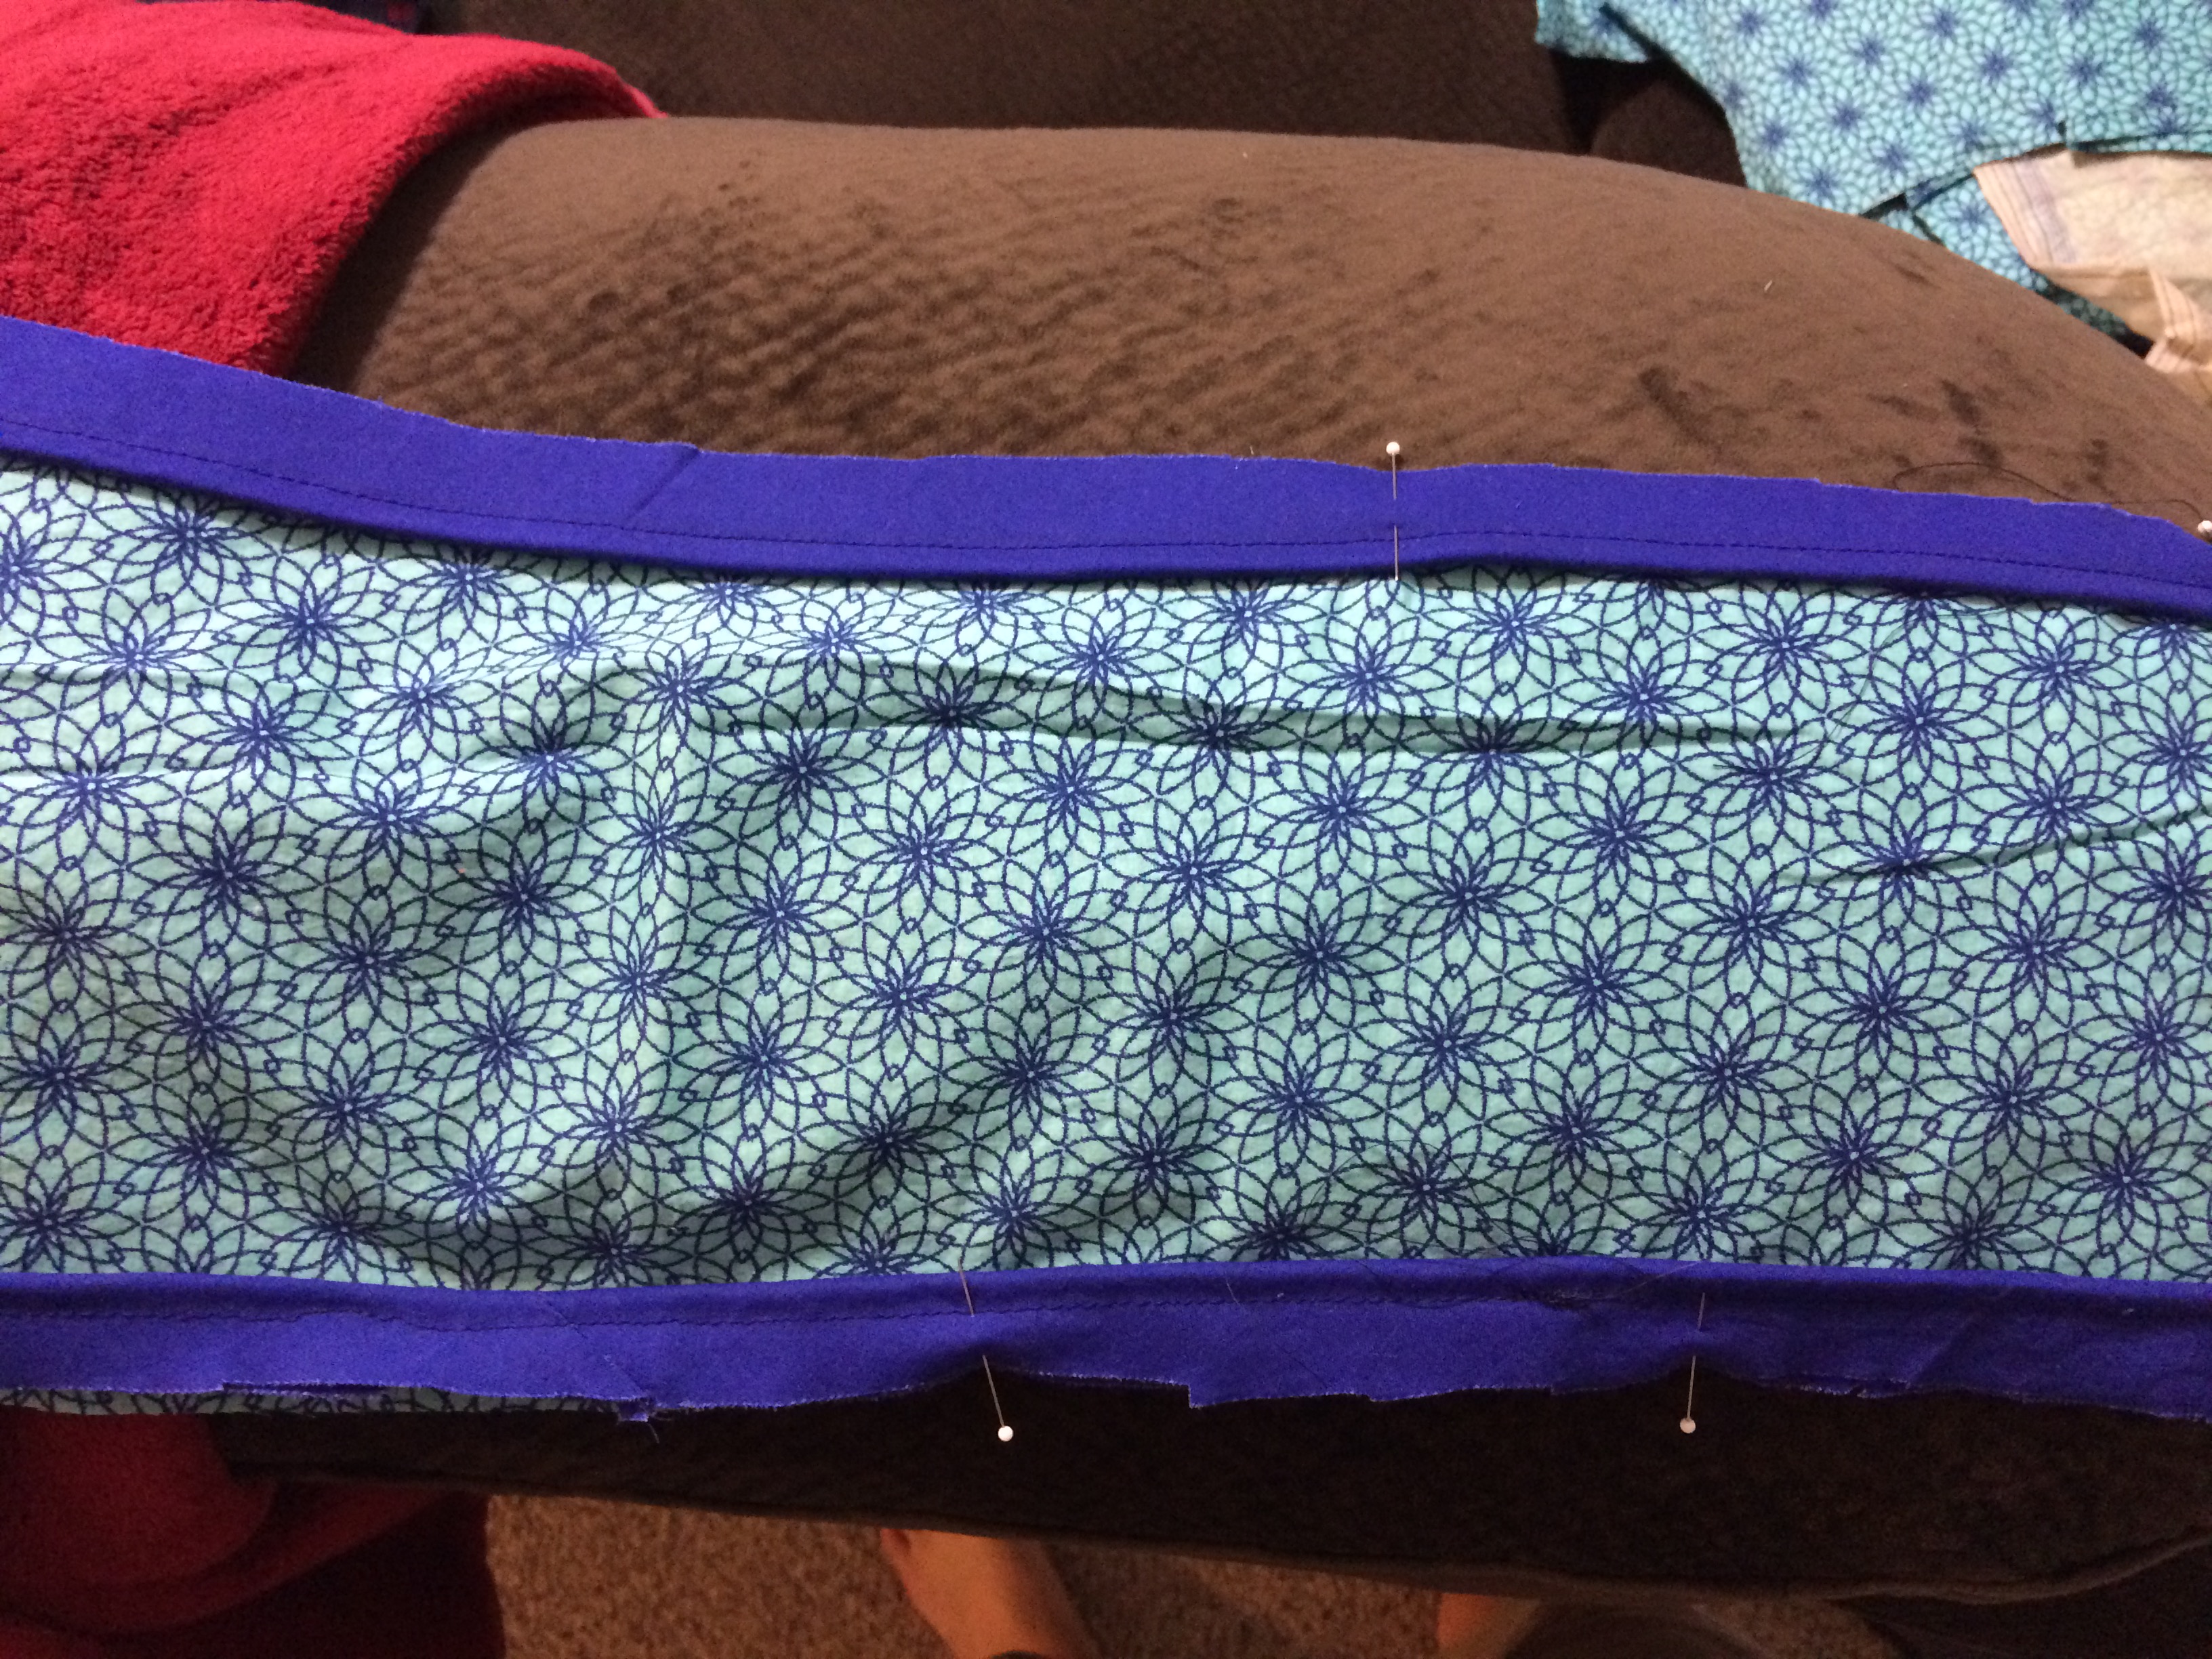
The belt is supposed to made from the contrast material, and I admit it would look better if was the same blue as the piping. This color ended up perfect for contrast, but I could only get a yard of it off the bolt. As it happens the main pants fabric is slightly thinner and worked better for tying a belt.


I liked these so much I decided to use the same pattern to make a winter version with this really interesting fish  flannel I bought.

The piping came out even better the second time – and yes I got the same weird looks at Joann’s when I went there to buy more string.
Luckily I did make these in time to enjoy them during the cooler weather. However, I think the first pair actually came out slightly better, which is very rare. The piping is a bit uneven and I also had issues trying to cut out the waistband due to poor planning. I still love these pants anyways. As you can see it’s the best thing to wear while I’m browsing Facebo… I mean job openings.

You can’t see it in this picture, but I did make an orange tie belt with this one as I did have enough fabric this time.
A little short
Last but not least, I had some leftover flannel from an over-shirt I had cut out. The same pattern for the shirt (McCalls 6681) included a pattern for casual shorts and pants. I didn’t have enough left over for pants, so I thought some flannel shorts would be really cute. The pattern was very straightforward, with just an elastic waist. I would recommend this pattern as a pajama pant starter for any beginner. The shorts ended up looking great with the Southwestern flannel I bought in New Mexico last year.

If I had more material to work with, I probably could have matched up the print a little better. These are definitely working for me right now as the weather in New England this winter has been all over the place – hot one day and snowing the next. They are also the perfect thing to put on after a nice long run.
Well that wraps up all my lounge wear projects. I believe that anyone with the desire to learn sewing could master any of these as a first project.

Pingback: An update on loungewear | Threading Lightly
Those are really dressy pjs – I could wear them all day!
LikeLike
So many pajama pants – these are all great. I love the piping it looks like you did a great job on it. well done.
LikeLike
Man! Those Joann’s ladies need to work on their encouragement skills! Nice pants. 🙂 I’m impressed with the piping!
LikeLike