
Pattern: McCalls stitch n’ save 6681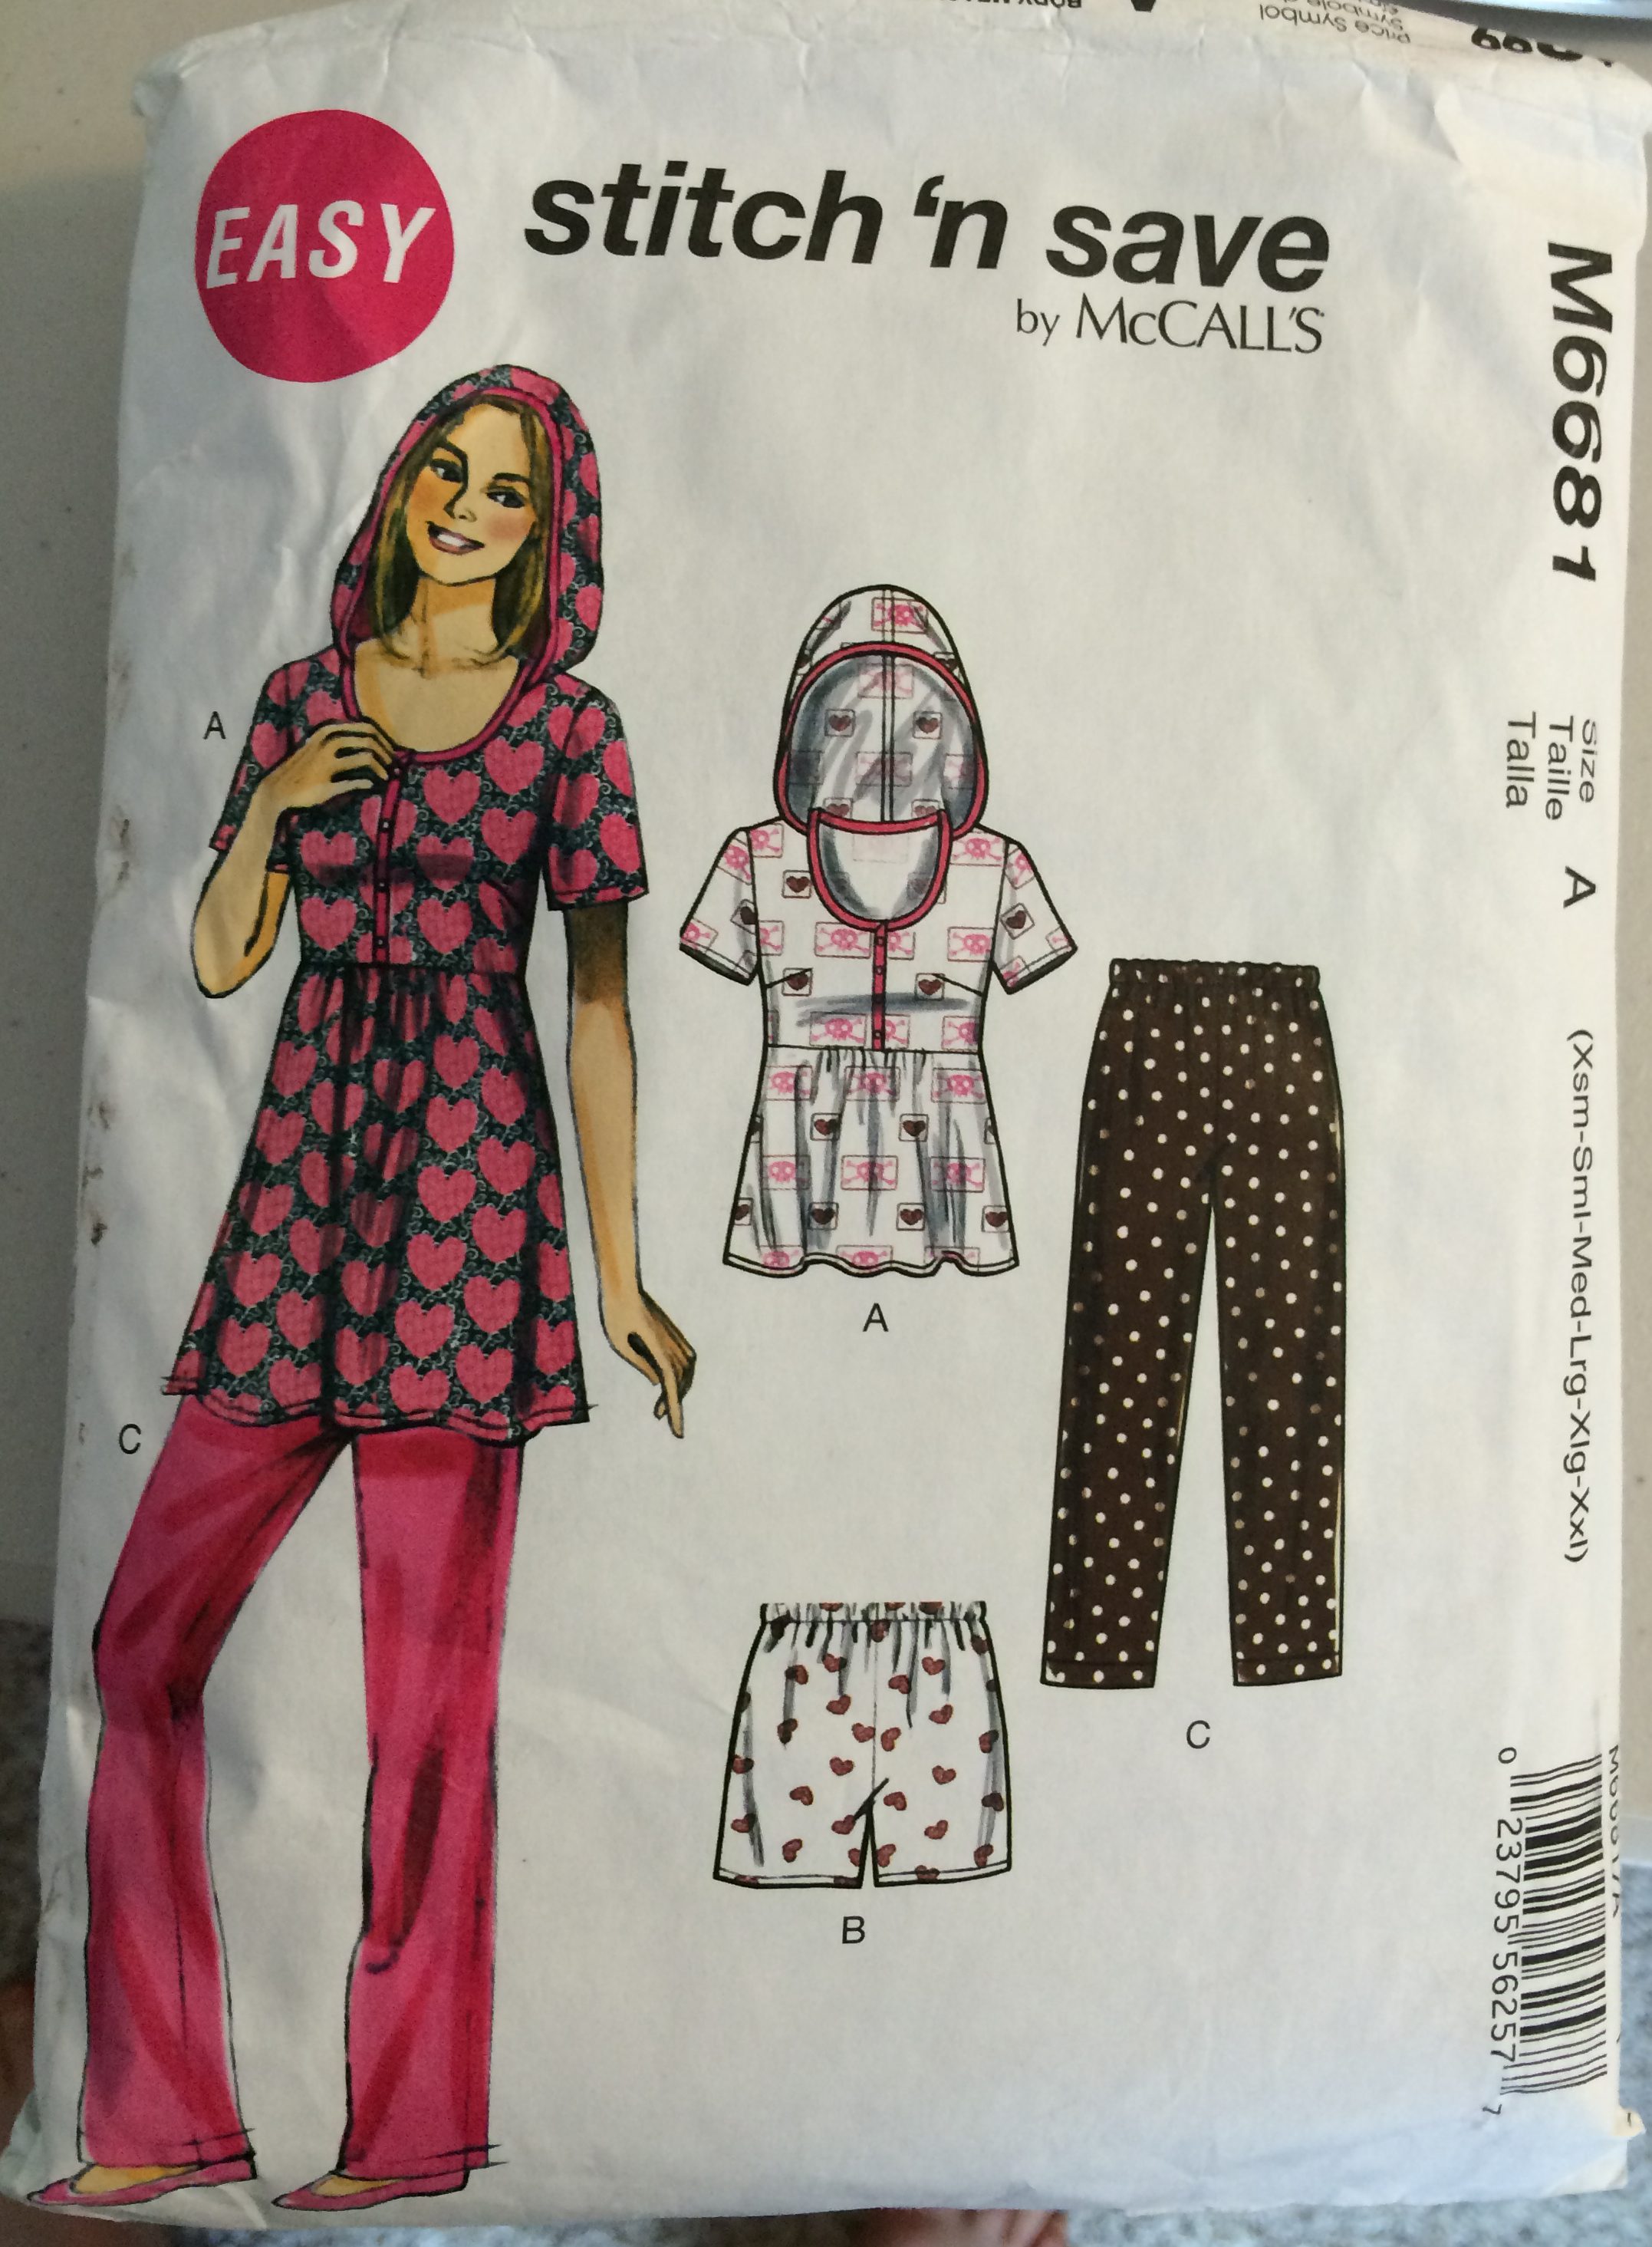
Skills acquired:
- Homemade bias tape
- Hoods!
There comes a time in every sewist’s life when they realize they are still learning. I’ve been killin’ it on so many projects lately (with some minor complications), I really thought I was heading up to the big leagues. Then I had to make a hood. I don’t know why this baffled me so much, but looking back on it, it all seems rather stupid.
First of all this pattern is labeled “easy” right on the front. This should not have been as much of a challenge as it was. I think some unclear writing and my own inexperience with making a hood contributed to this lesson.
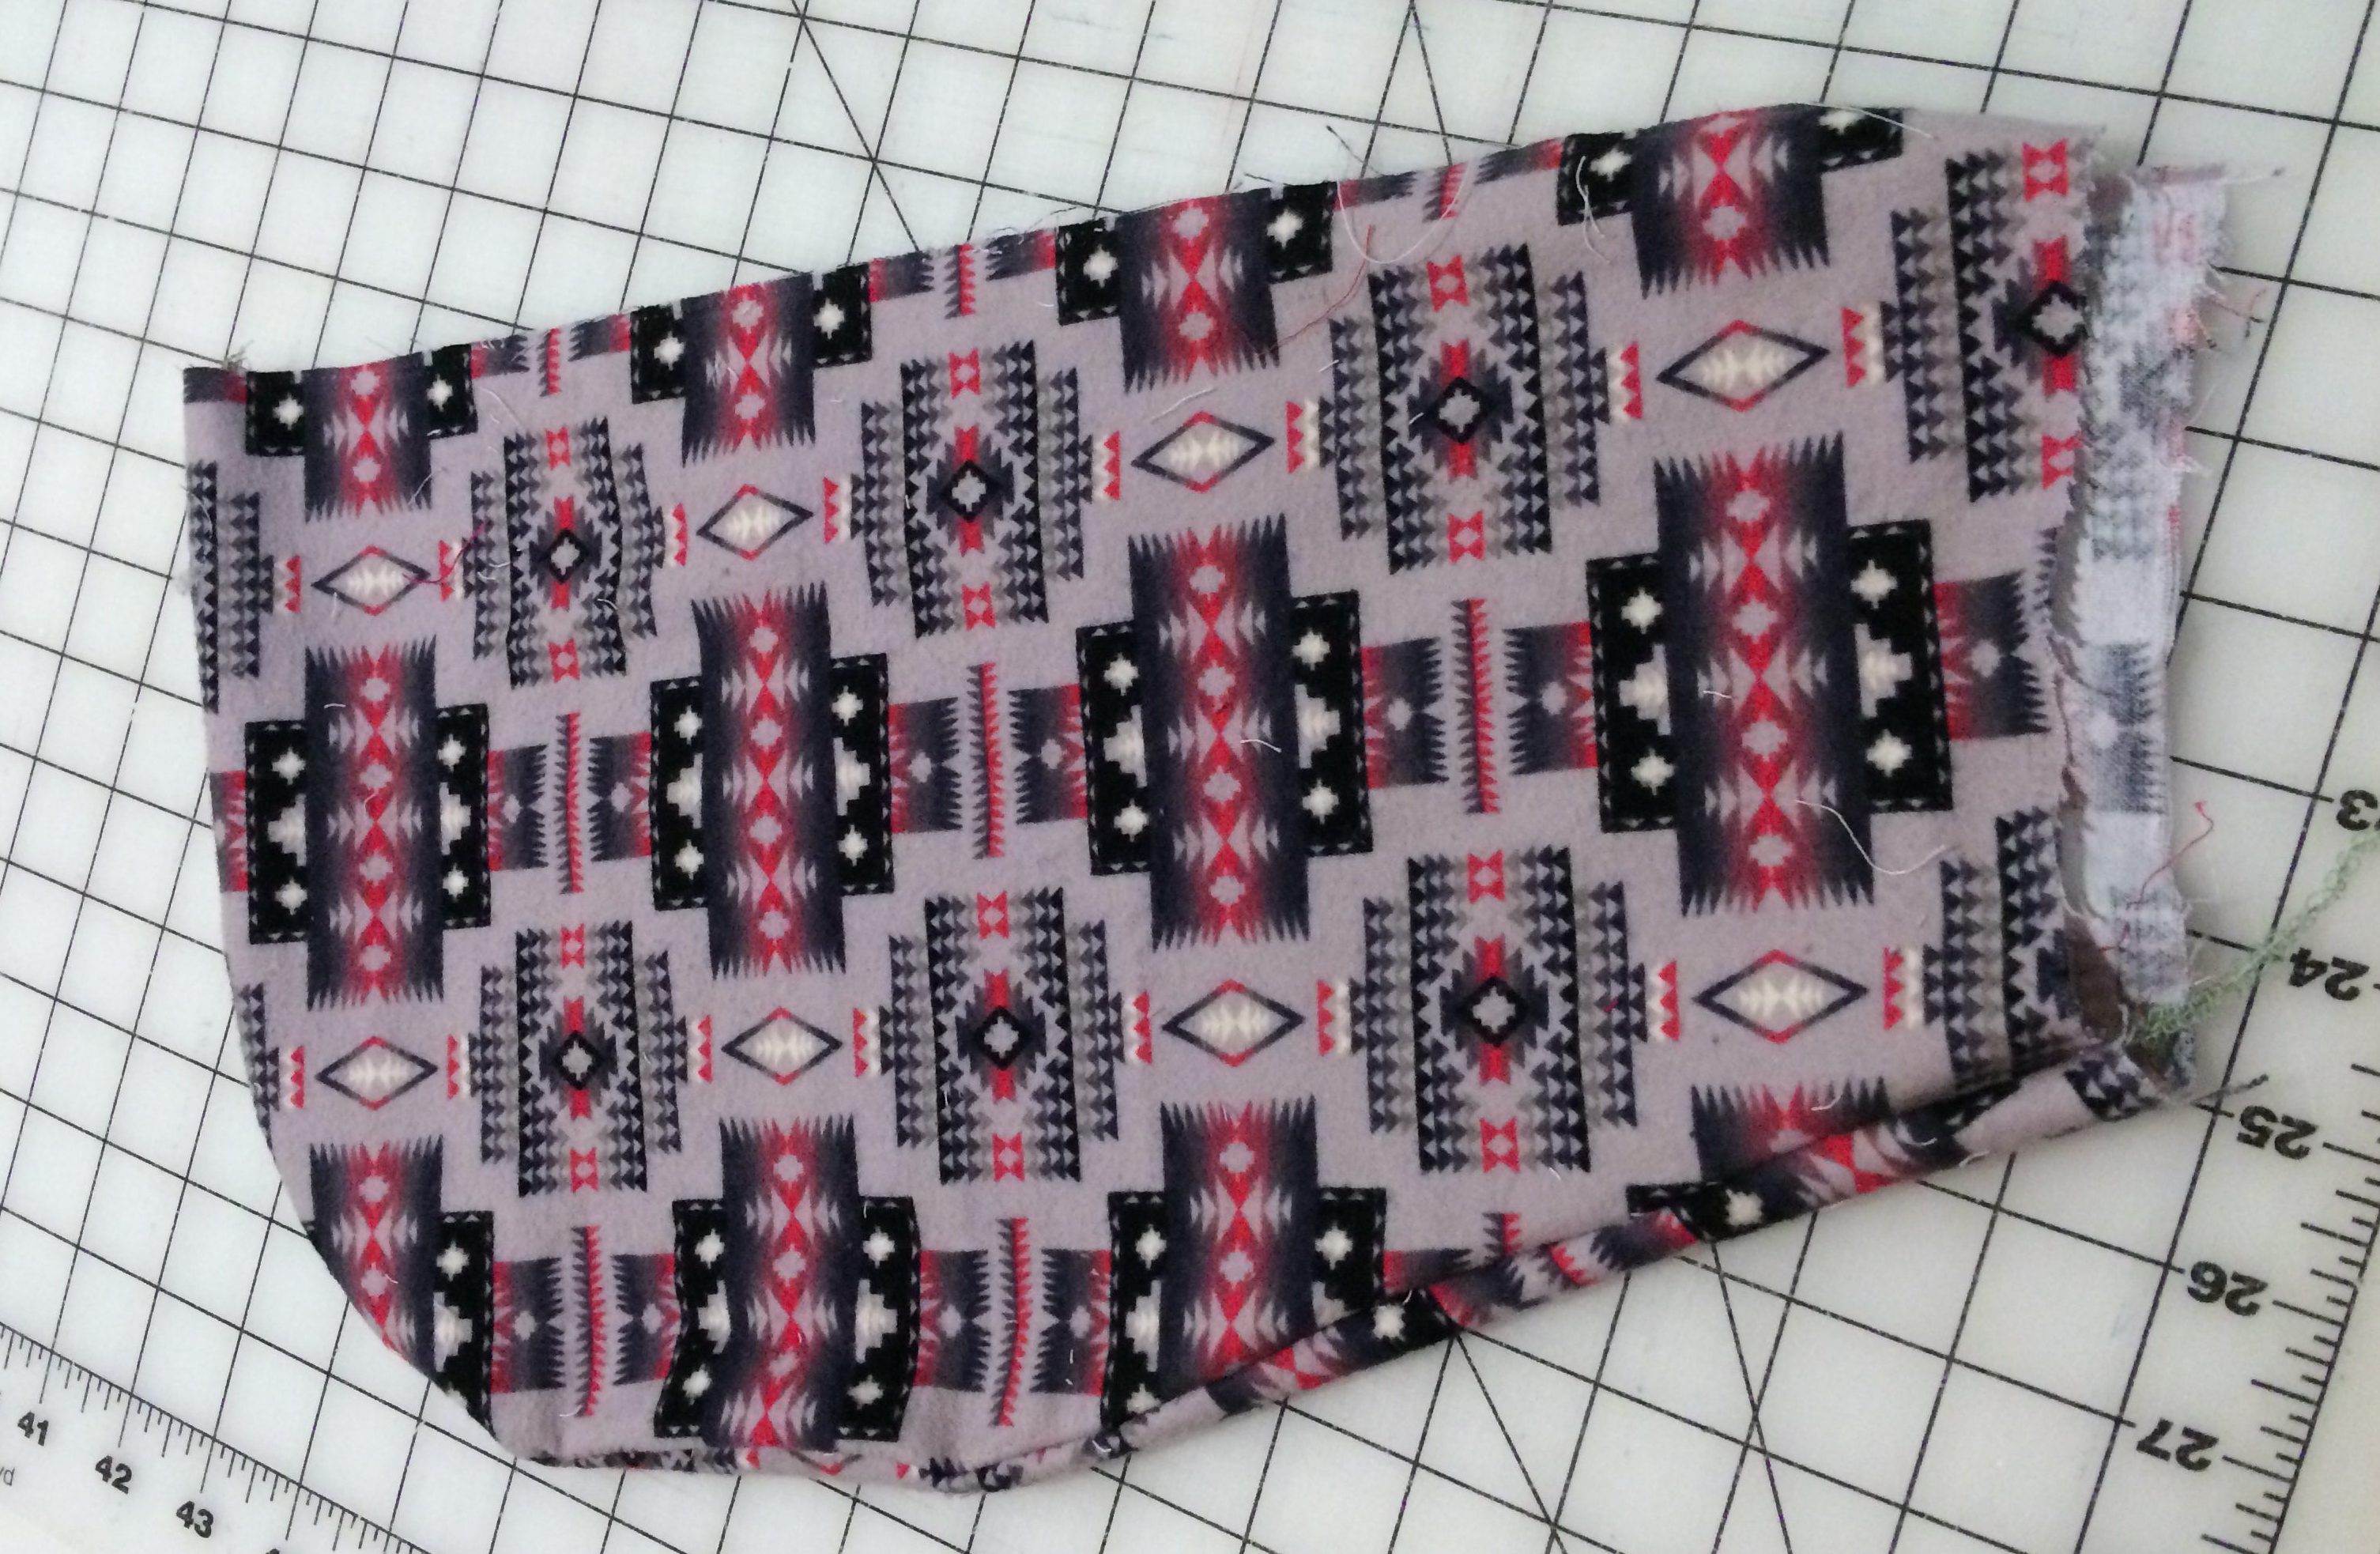
Let me step back a minute on this one. I chose this pattern because I wanted to make something else besides pajama pants with this cotton flannel I had bought when on vacation in New Mexico. I specifically searched for patterns for flannel fabric and figured for this type of native-american-like print some sort of over-shirt would be nice. I thought this pattern looked cute with the hood and everything so I decided to go for it. I wanted to have a garment that I could wear, would keep me warm, and would remind me of my fantastic vacation. Also to note this particular vacation has a soft spot in my heart since it was the first full week vacation I spent with my boyfriend. We both have so many fond memories of our adventures in the Southwest.
True Bias
For this one I made my own bias tape! I could have bought some pre-made stuff since I really only needed a solid color to accent the print, but I wanted to be truly authentic with this shirt. Plus I’ve heard it’s so much nicer when you use your own. I used a technique that I found online where you make a kind of twisted tube and then you are able to cut one long continuous strand of bias tape instead of sewing all the strips together. I will document this in another post as I tried this method out first on some spare fabric I had. But it is really cool when it works, especially since I was really dreading sewing all those strips as I had when I made my piping.
The pattern recommended folding the bias tape around the raw edges and sewing through the layers. I know from past experience it is really hard to do this when you are a sloppy sewist as I am. What I ended up doing was sew one of the bias tape edges to the right side of the fabric. The picture below shows this better than I can explain.

This holds the tape in place on that side. Next, you wrap the tape around the raw edge, and then sew close to the edge. The second stitching will be visible. To avoid showing your stitches, you can slip stitch by hand on the other side, but in this case it made sense to have the stitching show.

Hmmm, something seems off with that hood…but I’ll get to that.
The pattern mentioned something about putting in mitered corners when there was a right angle in the garment. The explanation in the pattern about how to make a miter simply said “fold bias tape around corner, making a mitered pleat.” Well, what the heck is a mitered pleat? No explanation. After some research, I was still left confused since the projects online seemed different with what I had to work with, so I just made up my own thing. I think it looks pretty good.

Its the hood that makes it good
Yes, so I know you are asking, when is she going to get to the hood? Now!
I’ve never made a hood and the I thought I was following the directions carefully. You had to sew the two pieces together at the center back seam. Then you want to sew the two hoods together, since one will show up on the outside and one on the inside. I wasn’t clear when looking at the picture and ended up with a very round and flat piece of fabric. I thought it would make sense after I had installed it into the garment. But…

That does not look like a hood. I consulted my mom and she explained that I had sewn the wrong sides together. you were supposed to sew the rounded parts together – like so.

Or like sew! I should say.
Okay that can actually fit around a head now, I get it. I ended up having to un-stitch and redo the entire thing and you guessed it, I had serged it all together to make the edges neater for the bias tape. That was a not-so-fun project.
Oh well at least I now know how to sew a proper hood together. And my over-shirt is complete!


And for the back….
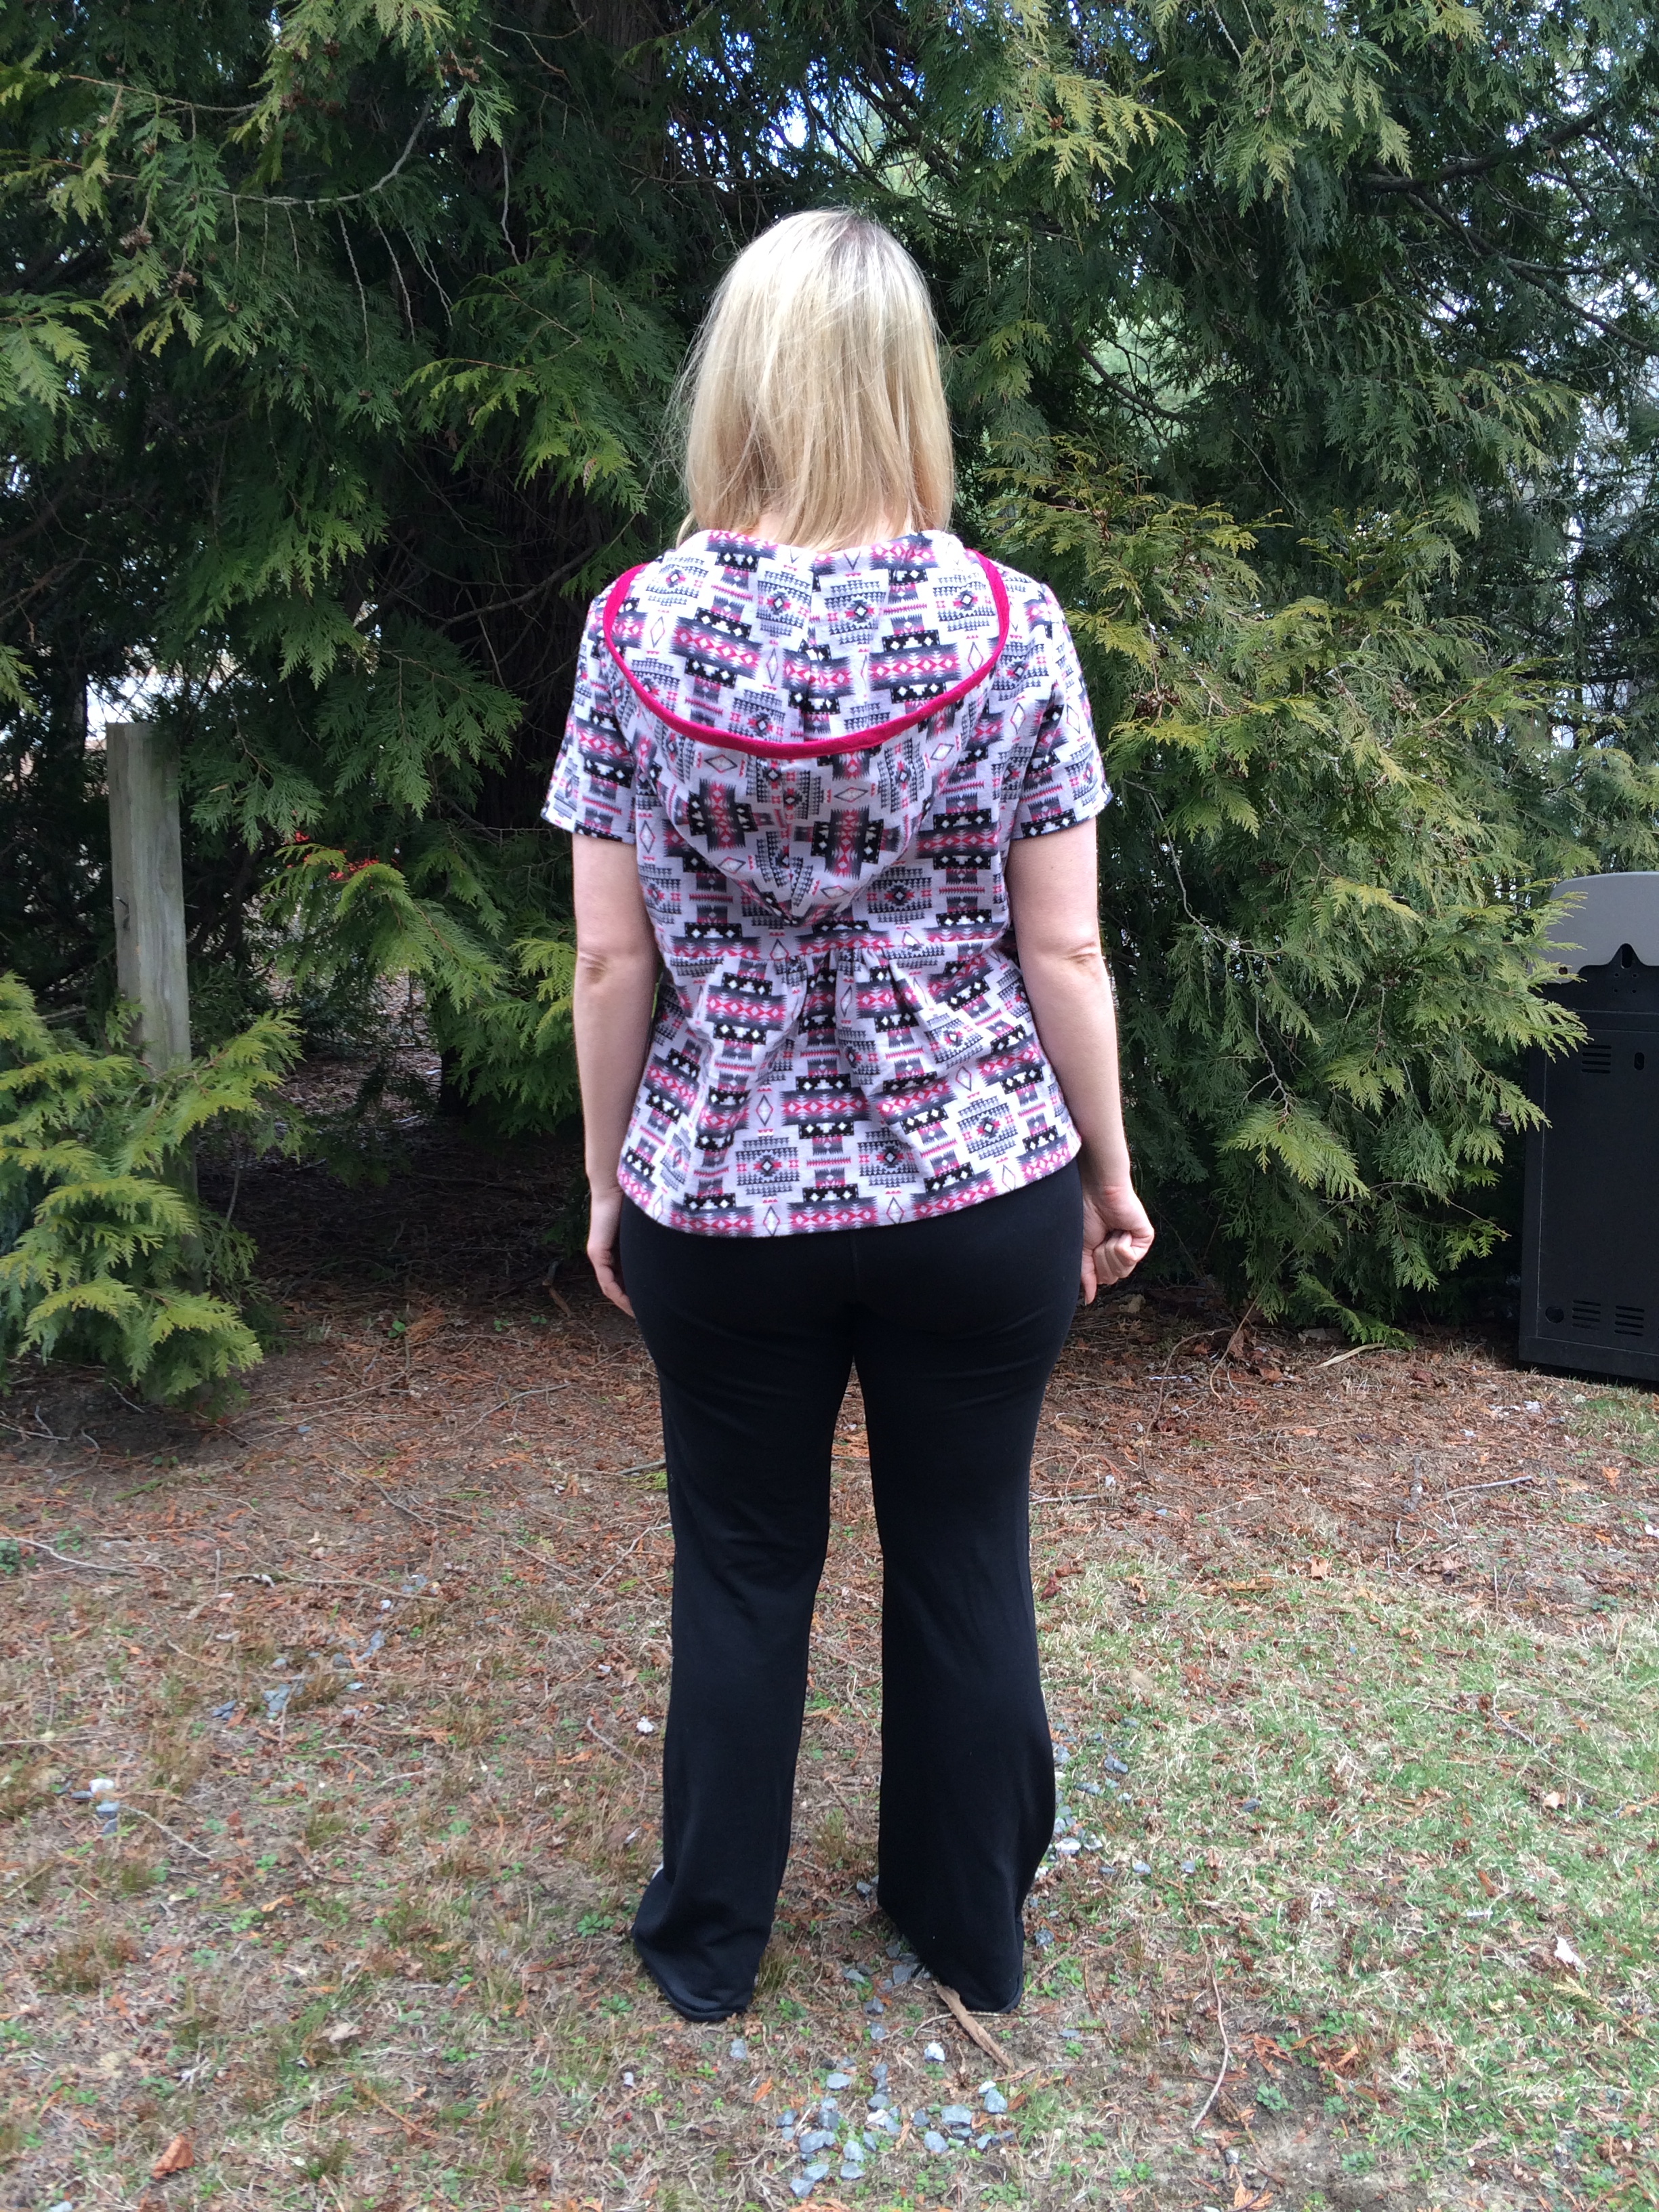
I got to use some hardware and hammer in some snaps as well which was fun for me and my neighbors I’m sure. It’s a little shorter than I expected from the pattern picture, but I like it. I also had some leftover fabric which I made some shorts using the same pattern as documented in my previous post. What do you think?
And because this is a throwback to my New Mexico trip and since the TV show Better Call Saul just ended for the season I will conclude with this fun picture I made from before…

Happy sewing & travels from Q!

Lovely top – I had to laugh at the first picture of the hood, but I was laughing with you – I have been known to do things like that many times – sew the wrong pieces together and end up with a HUH? moment. Well done on figuring it all out….and I have to say your mitered corner looks great. Well done.
LikeLiked by 1 person
Yes, it was so silly in hindsight, but I had to document it because it was so funny after the fact. Thanks for reading!
LikeLike