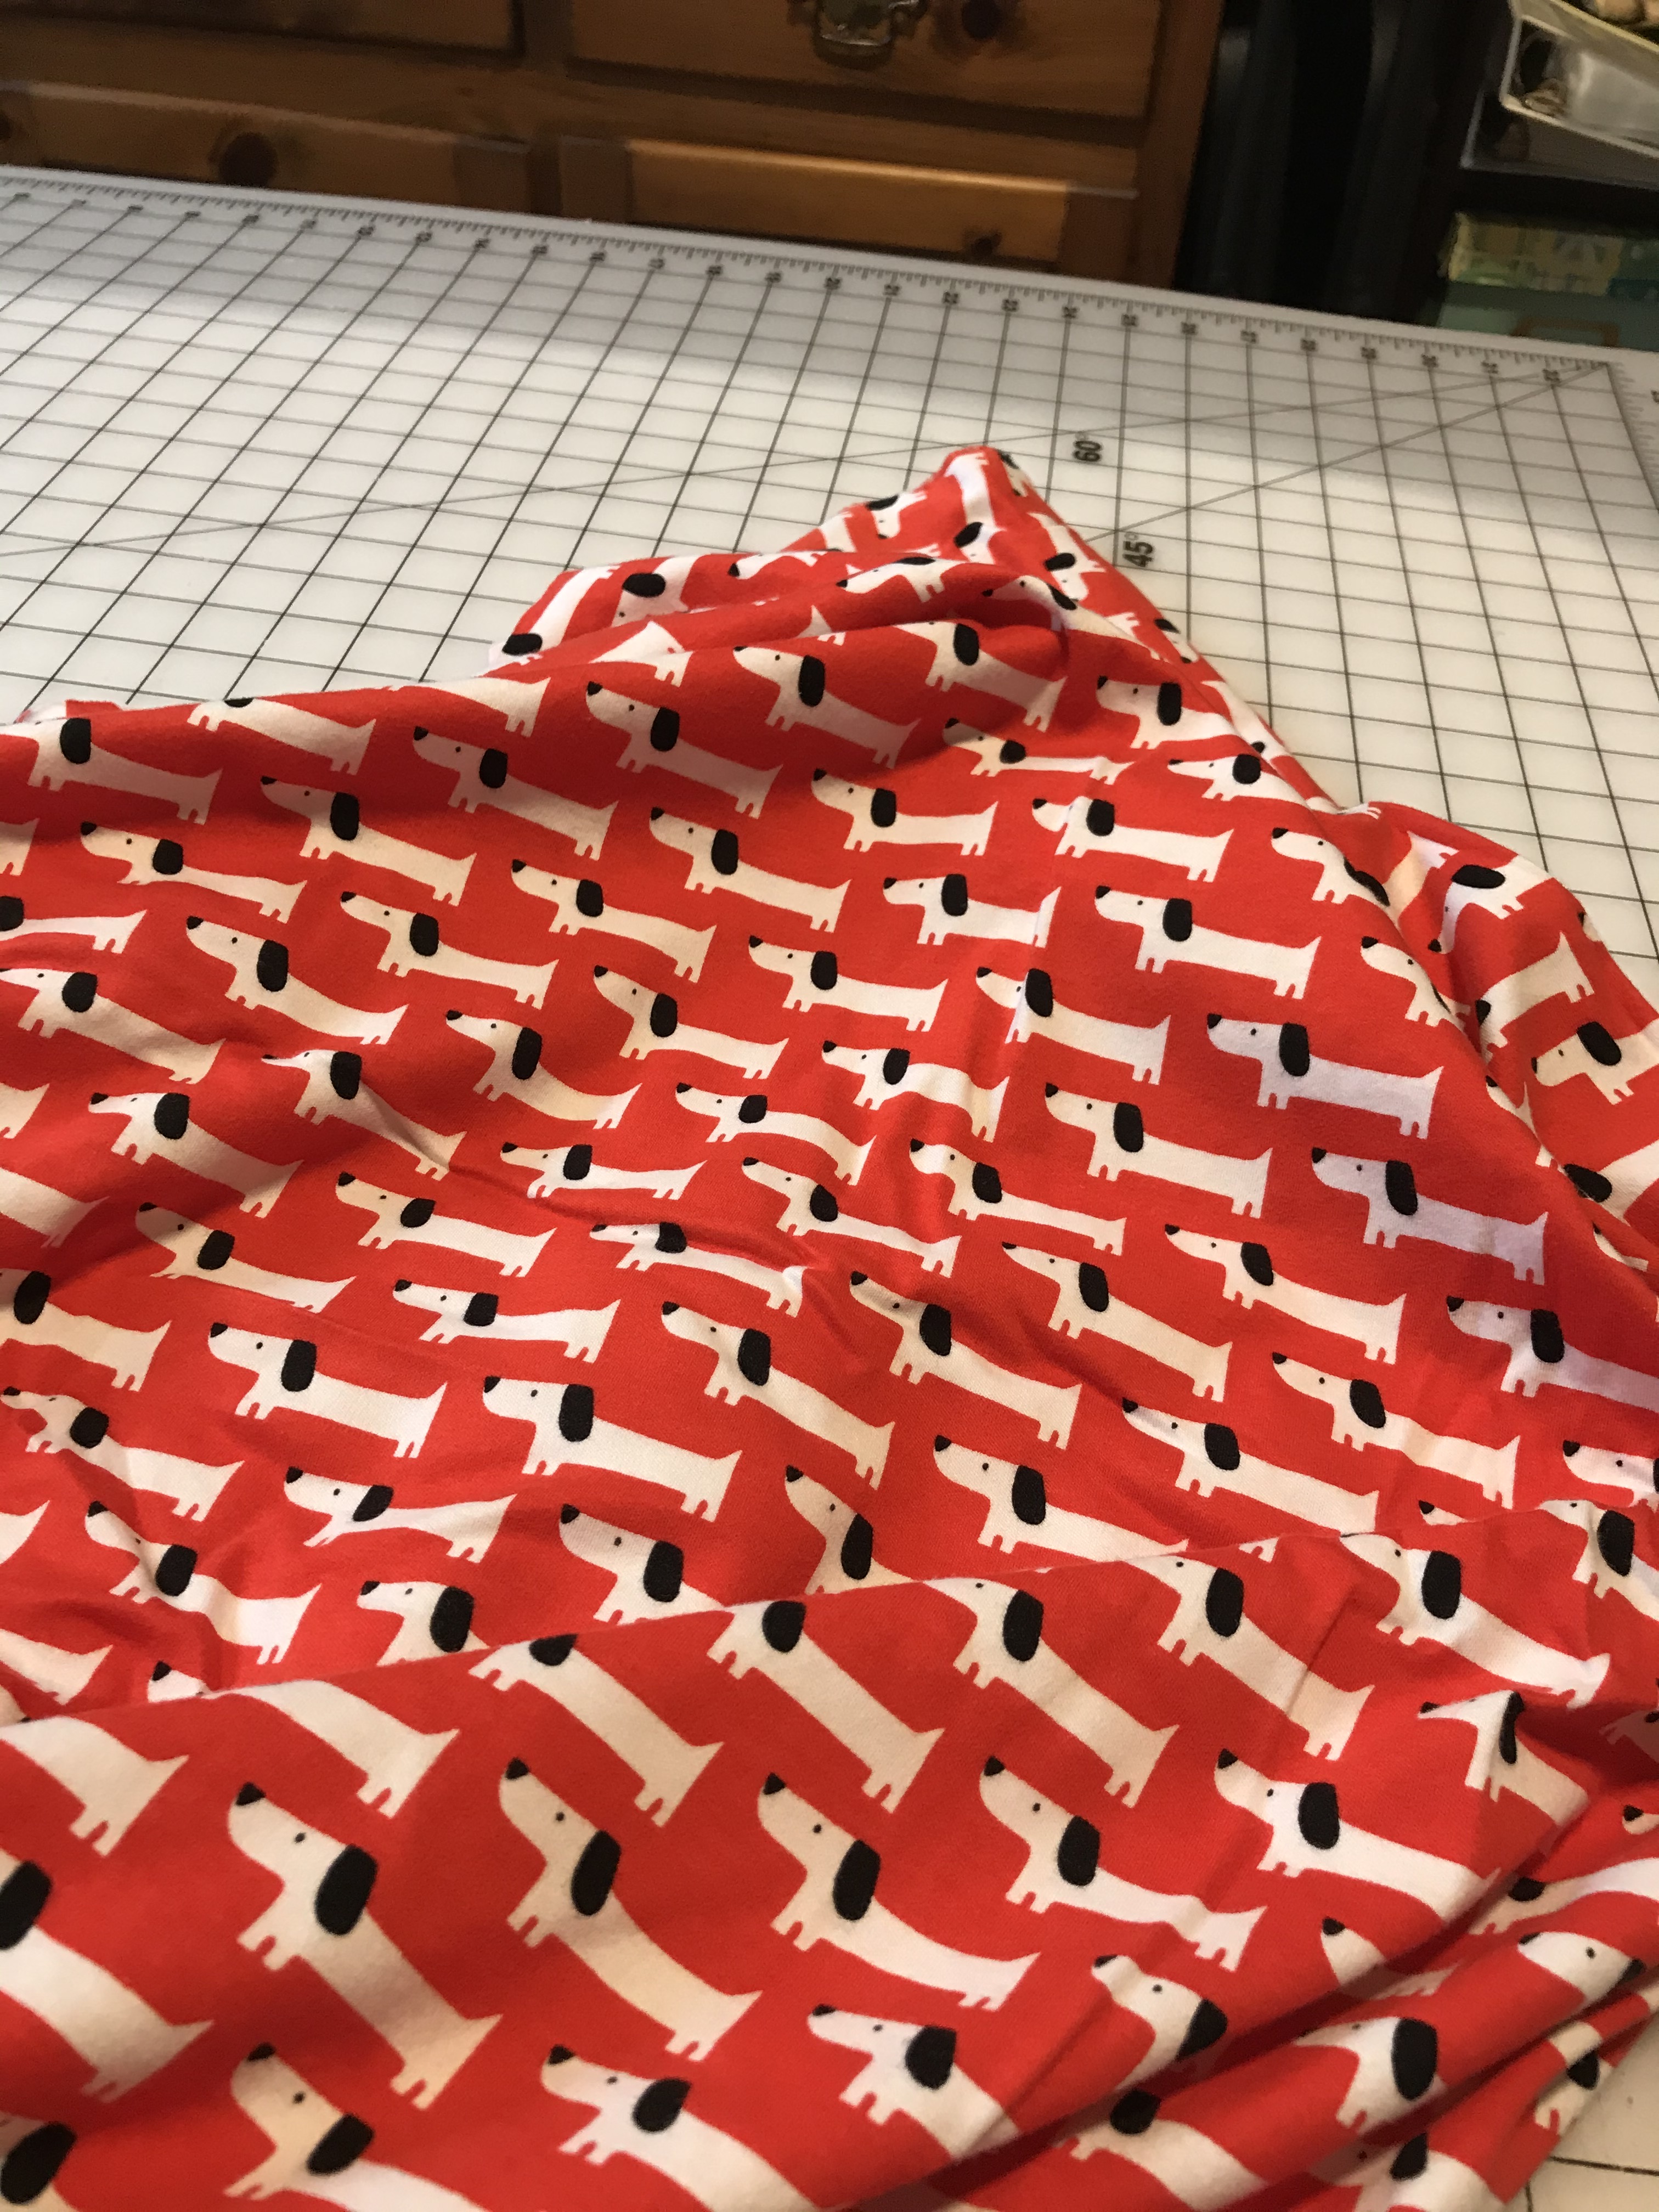
With the holidays in full swing and me being sick every other week, I have not had much time for my sewing projects. However, I was able to make some quick lounge pants with the rest of that knit I used for my Riley top. I knew I wanted some fun pants, but had no idea what pattern to use as I didn’t want to make just typical pajama pants. I found the Nusle Joggers from Itch to Stitch a great option, despite the fabric being just a thin stretch cotton. I liked the long split hem option for the look and it seemed like a fast pattern to sew up.

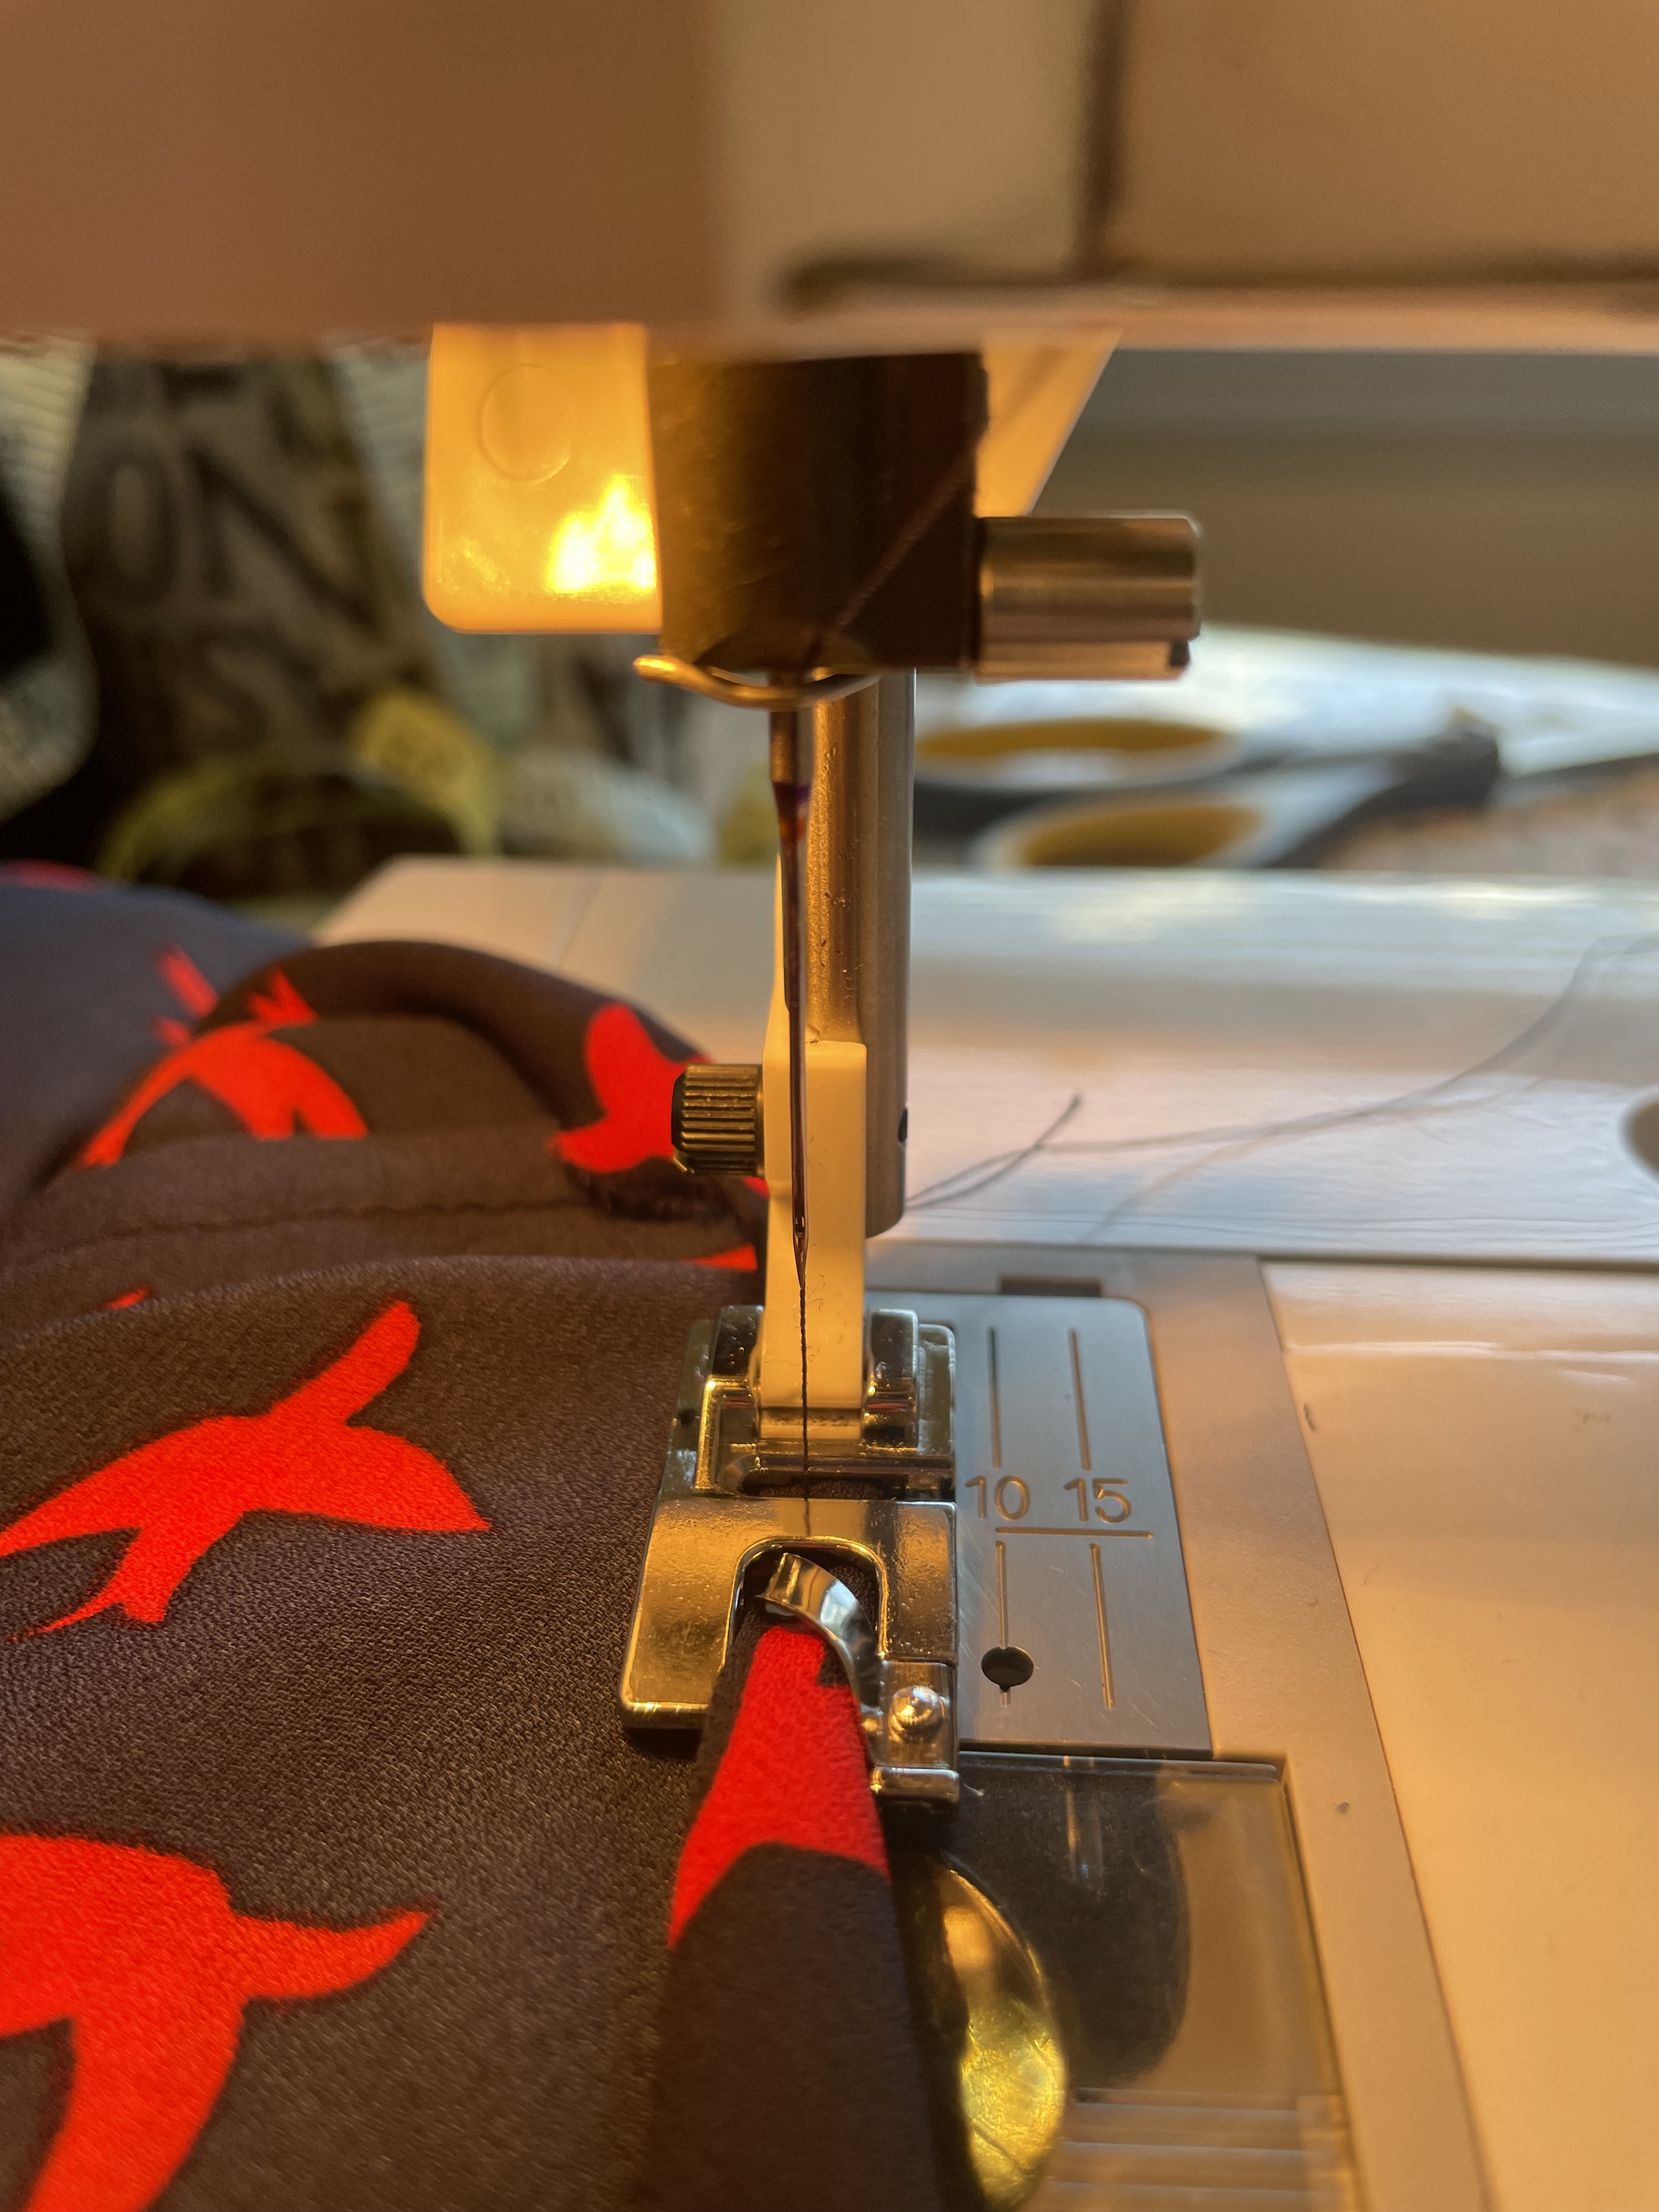
Everything was going really well and finishing the split hem on the bottom was a lot easier than I originally thought. But for the waistband, I realized the pattern was calling to add grommets for the drawstring to go through. Even though I could have just decided to sew buttonholes instead, I liked the idea of adding the grommets for a different look. I tried to use the metal eyelets I already had from some shorts I made. However, because the eyelets didn’t have a back, they weren’t able to grip enough of the thin fabric to securely fasten on to the hole, even with interfacing. I decided to purchase different grommets that I could put together and hammer in with a tool. It seemed to work well and I was very pleased with the metal holes for my drawstring. I put together the waistband and after a few tries, got the stitching around the waistband to a place where I liked it.

When I finally acquired the drawstring, I went to use the trusty safety pin I usually use to install it into the waist. However, this pin was too big to fit through my grommet. I tried a smaller pin, but the head was still to big to fit. As I was looking for an even smaller safety pin, I remembered that I actually had a special tool that is used to thread a drawstring that had a pretty small loop at the end. It fit inside, so I started pushing the string inside. As I pulled it around, I noticed that it had somehow pulled the whole grommet off as well and I was left with a torn up hole in it’s place. The second grommet came off as well as I tried to get the string out the other side.

I couldn’t believe I had come this far with finishing the project now to have the whole thing ruined. There was no way to reinstall the grommet without taking apart the whole waistband and the fabric around those holes were so weak now, there was no way anything would be able to grip them. I knew I could probably hand sew around the edges, but I really didn’t want to do that. Plus it probably wouldn’t be too secure. I had the thought if only they made hole reinforcers for fabric like they do for 3-ring binder paper. I could iron on something that protected that hole and all the frayed material.
I couldn’t find anything that exists fitting that description, but I did find some iron-on cotton fabric that I thought I could cut out some holes to go over the fabric. I just need to figure out how to draw and cut out a decent looking circle. My attempt didn’t come out half bad…

Well at least these are just lounge pants and probably not anything I will be wearing too much out of doors. I’m guessing this grommet issue had something to do with this the fabric being so thin and not the proper material for the grommets to stick too. If I made these again in a thicker jogging pant fabric, it may work a lot better. Live and learn.
Besides this project, I have also been working slowly on my second sundress. The bodice is pretty much done and I was able to add some piping to make it more interesting. I’m trying to decide if I want to put more piping around the bottom of the midriff too – I will probably baste it on to see how it looks. I think I was able to get the straps right on this, but I probably won’t know until the whole thing is put together. Maybe one of these days I will figure out how to make adjustable spaghetti straps, but in the meantime, this will have to do.