
Pattern: New Look 6104
New Skills Acquired:
- French seams
- Tucks
I’m so proud! I took one piece of slightly stained discount fabric and made an actual blouse! With buttons!
As much as I like the end result, I did find this pattern a little difficult to follow. I think the main problem was it assumed I already had experience making pin tucks and shirt cuffs. It took some concentration and some interesting maneuvers cutting around a few stains, but in the end I made a pretty nice trial blouse.
Tuck Ever-Exhausting
I decided to make view C because I liked the short sleeves and I didn’t think the ruffles would work with the almost flannel-like material. The directions on the pattern basically just said to fold the material on the line provided to make the tuck. I had no idea which way to fold the material or how to make the seam. Even doing an exhaustive search on youtube confused me, since the videos usually showed using multiple lines for guidance. Using a practice scrap, I attempted my first tuck. Annnnddd I folded it the wrong way. Well I’m glad I practiced.
Tucks are created by basically folding the fabric up on the pattern line, with the wrong sides
together. Then stitch a line about 1/ 8 of an inch from the fold and press to one side.
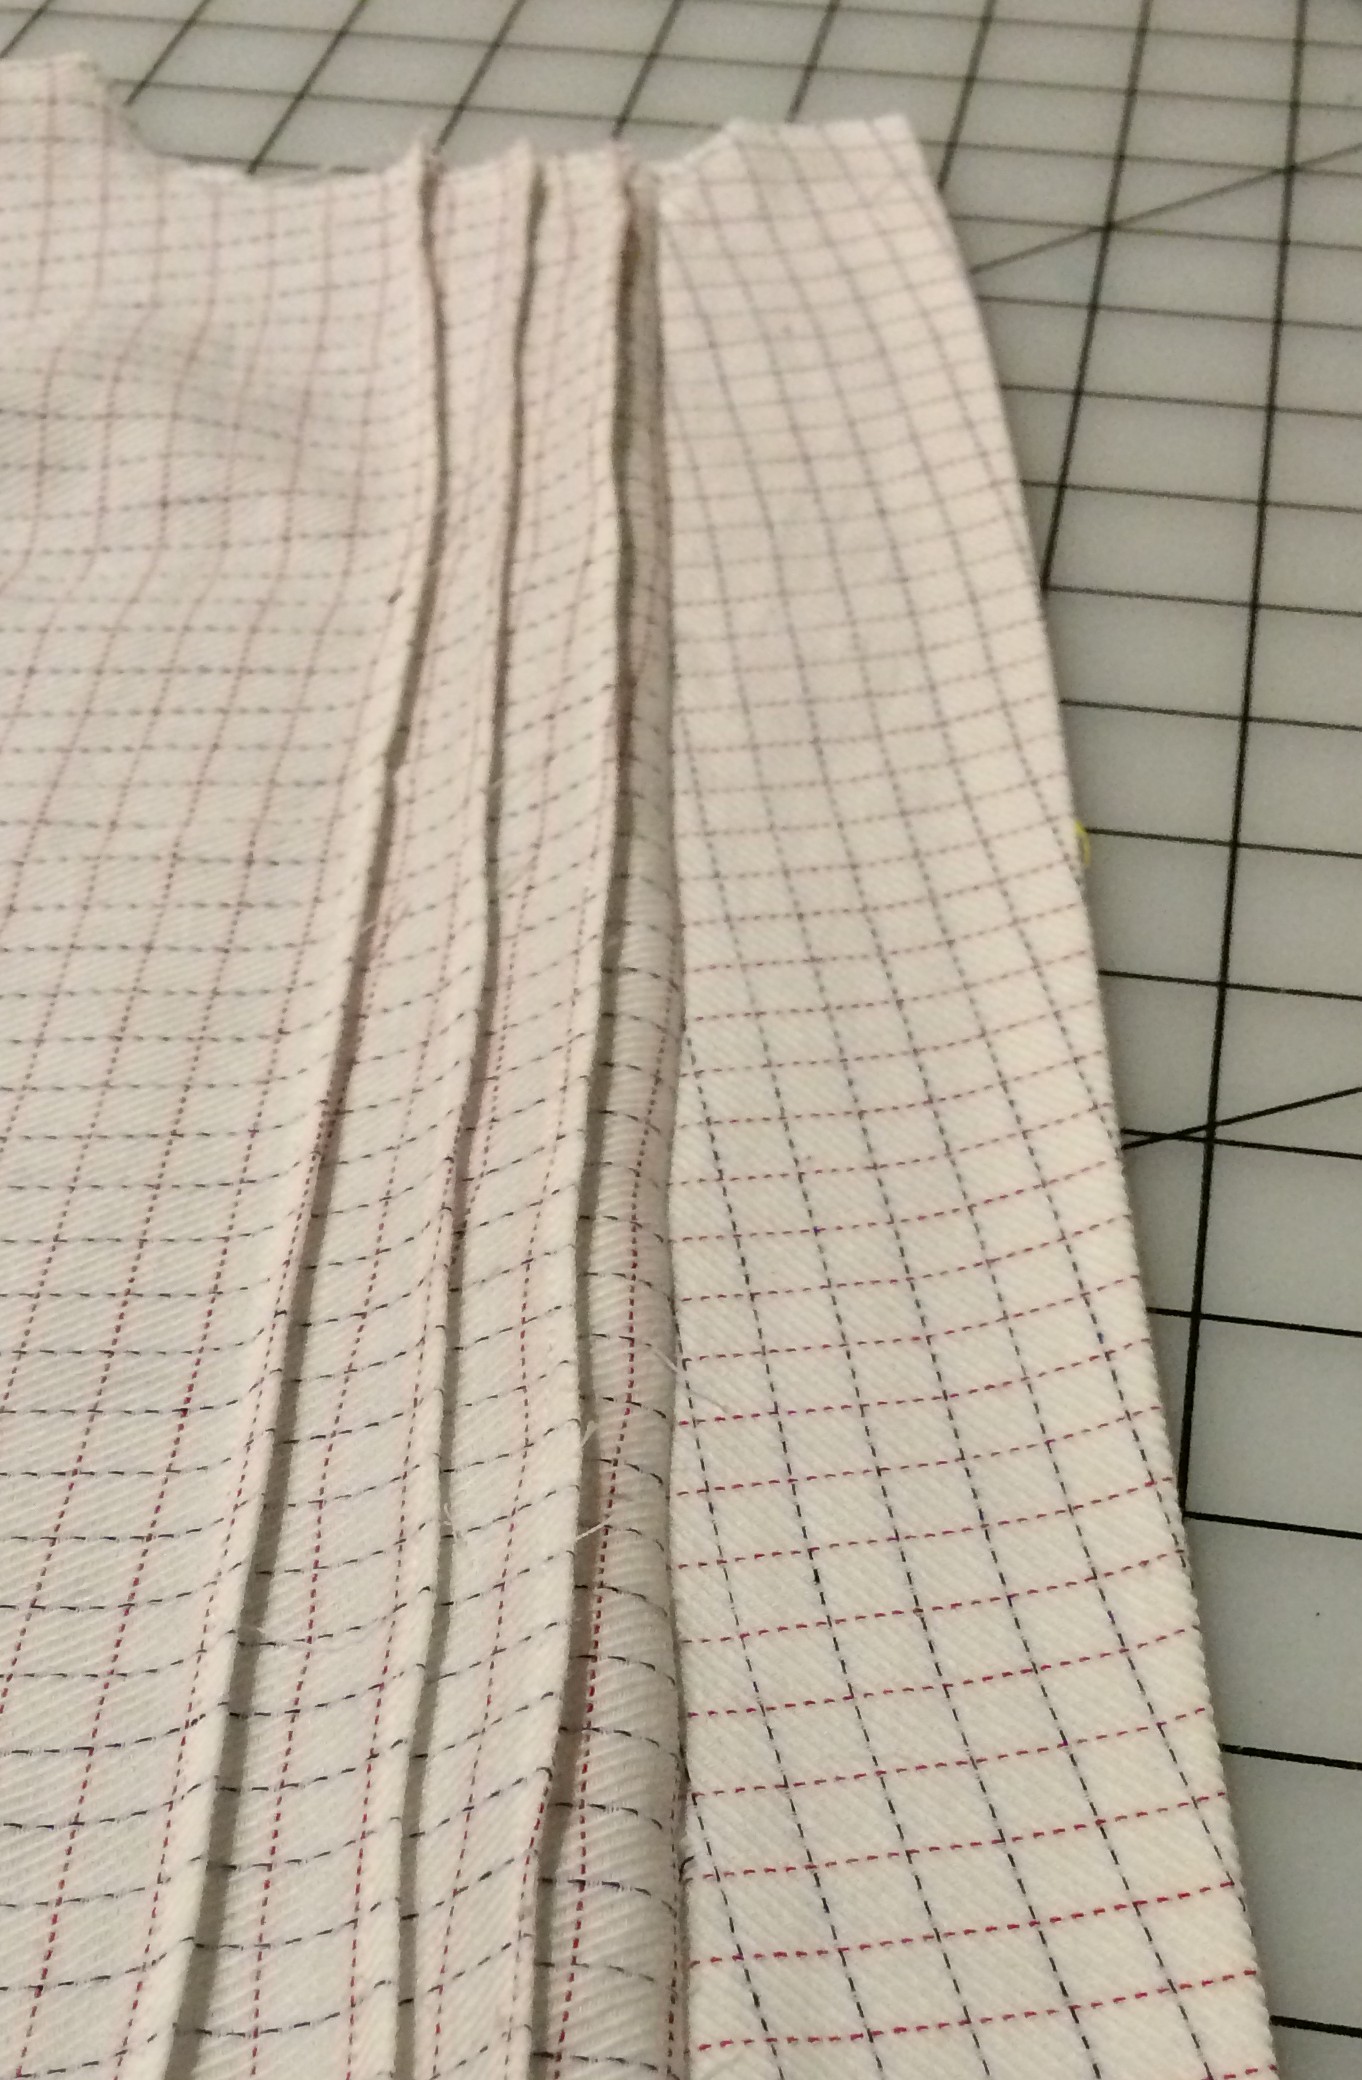
Once I figured it out, it was easy. But trying to figure it out on my own took some time. To add more confusion, the sleeves also mentioned making a tuck on the cuff. The directions on this pattern are about as clear as mud. Basically with the sleeve inside out, you fold the bottom up twice, stitch 1/4 inch from the fold, then flip the sleeve right side out. The tuck essentially forms itself, if you follow these steps exactly. Looking at the drawings really helped with this pattern.

The Buttonhole Problem
I knew making a blouse meant buttons! And you can’t have buttons without buttonholes. Well you can, it just won’t do much for the shirt. I never actually used the buttonhole stitch on my current machine. After reading the directions, I thought, okay this is not complicated. I just need to practice a bit.
After my 10th attempt, I finally had to admit that my machine was just not working right. It works in 4 steps, and for some reason it wouldn’t perform step 2. I couldn’t get it right, since one whole side of the buttonhole just wouldn’t stitch. Luckily I still had my old machine…and the ancient buttonhole attachment that went with it.
I had to take half my machine apart installing it. But old school-ness aside, it worked well from the first buttonhole I made. All I had to do was install one of the different “molds” that represented various sizes and shapes the holes could be. Once attached to the machine, you turn the back knob to place it at the start of the hole and the machine does the rest! The accuracy on this was better than expected, and the mechanism itself was sturdier than some of the more modern attachments I’ve seen.
Pardon My French
I almost forgot the best part – I figured out how to make french seams. Since I don’t own a serger and I’m not thrilled with the finishing stitches on my machine, I thought I would try something new with this blouse. There are a lot of videos and resources on the internet on how to make french seams, but here is a little trick to help you:
Sew wrong sides together, trim, flip, & reverse it (ummm…I mean sew right sides together)
You basically sew the same seam twice: wrong way first, then the way you would normally sew it. And you end up with a seam that looks like this on the inside: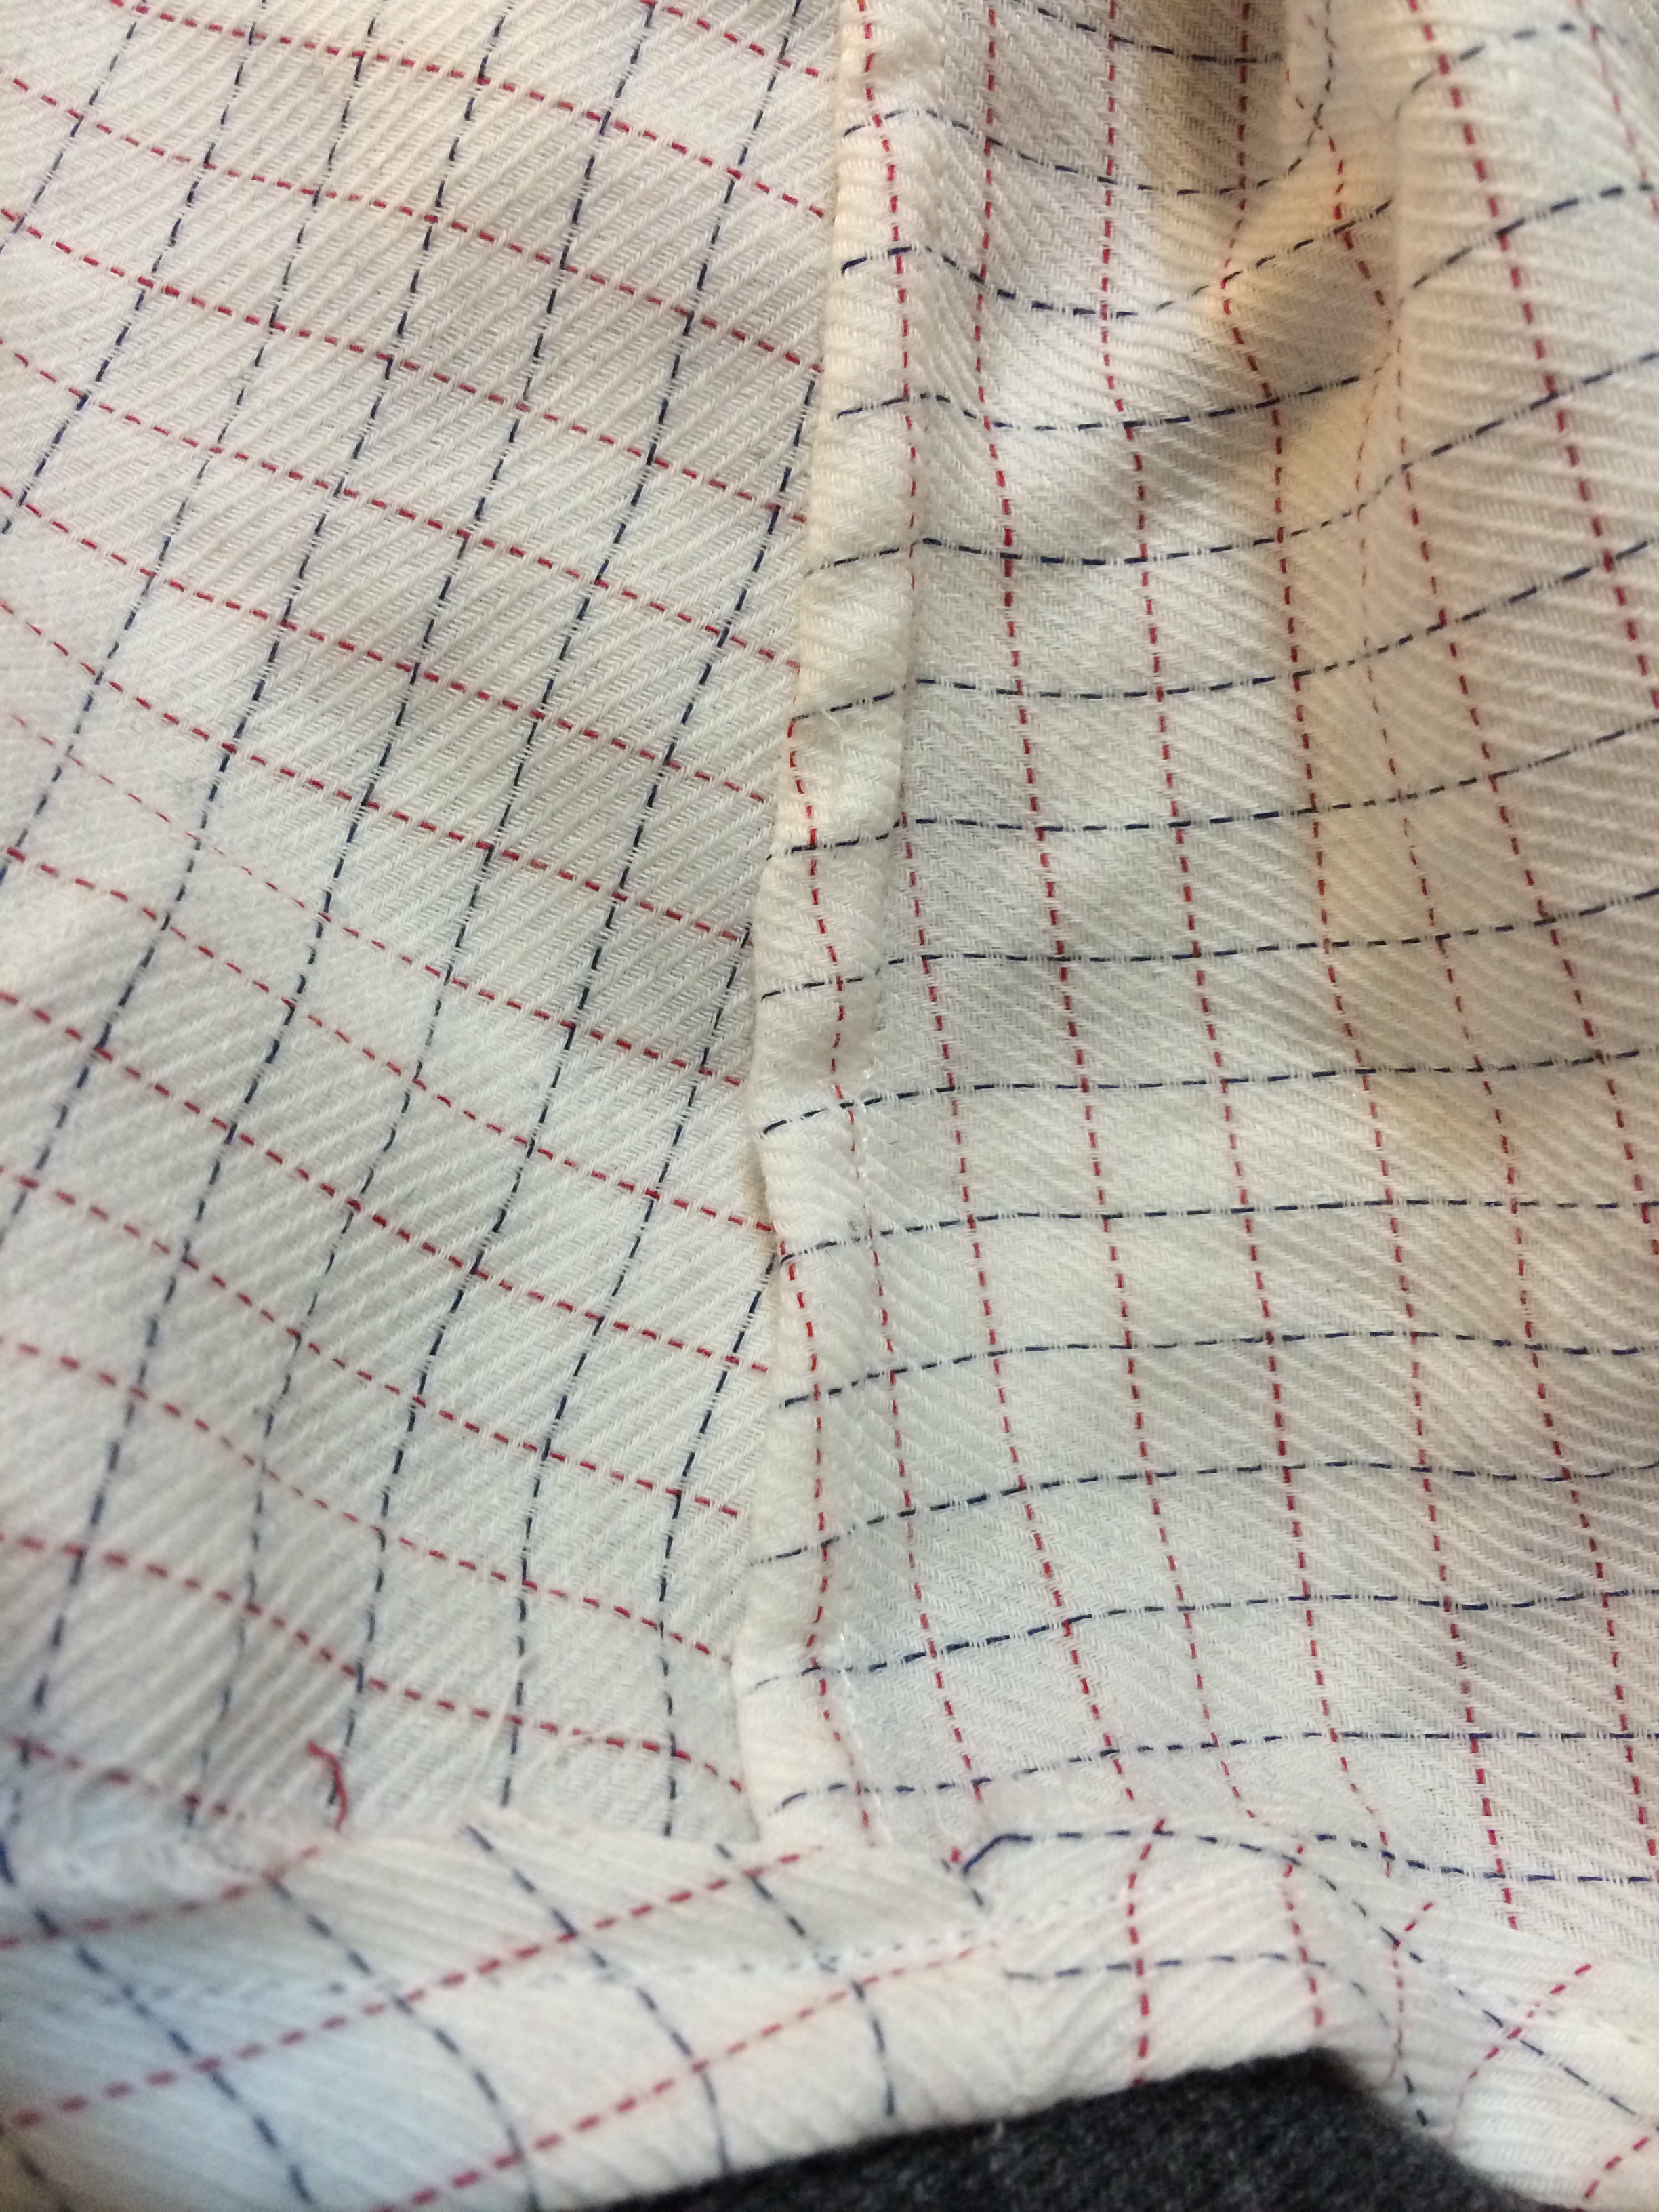
So I muddled my way through my first blouse. The tucks on the front could probably be a little straighter but I think this shirt looks fine for a casual look. I have plans to make some dressier tops in the future so I’m glad I worked some of the bugs out with this one. What do you think?


Pingback: Summer sleeves…make me feel fine | Threading Lightly
Great article.
LikeLike
Hard to believe it’s your first, it looks very nice! And you learned so much!
LikeLike
Pingback: Visiting the Neighbours | Life of Janine
Excellent job Monique! Pin Tucks are difficult to master and you did so well on your first try. French seams are a great addition to your repertoire and make for that professional finish. I think the blouse is fantastic. Kudos to you and onward to the next project!
LikeLiked by 1 person
I’m really liking the french seams. I made a sheer dress using them too, so this was great practice. I will be sharing that one pretty soon as well. Thanks for the comment :o)
LikeLike
You did a great job! I’ve found that a lot of pattern instructions are not clear at all. Takes a lot of patience and a really great seam ripper sometimes!
LikeLiked by 1 person
Truth! My seam ripper gets a lot of action. And patience is definitely key. Like with this pattern, when I took my time and slowly moved through the directions, I made less mistakes.
LikeLike
Gosh you chose a hard project with so many opportunities to make a mistake but it looks really great and you did brliantly. I normally try to learn one new technique a time!
LikeLiked by 1 person
Well I think I paid $1.99/yard for the fabric, so it wasn’t too much of a gamble making a mistake. It’s definitely not perfect, but good practice for those techniques. Thanks!
LikeLike