
Pattern: McCalls 6969 (view c)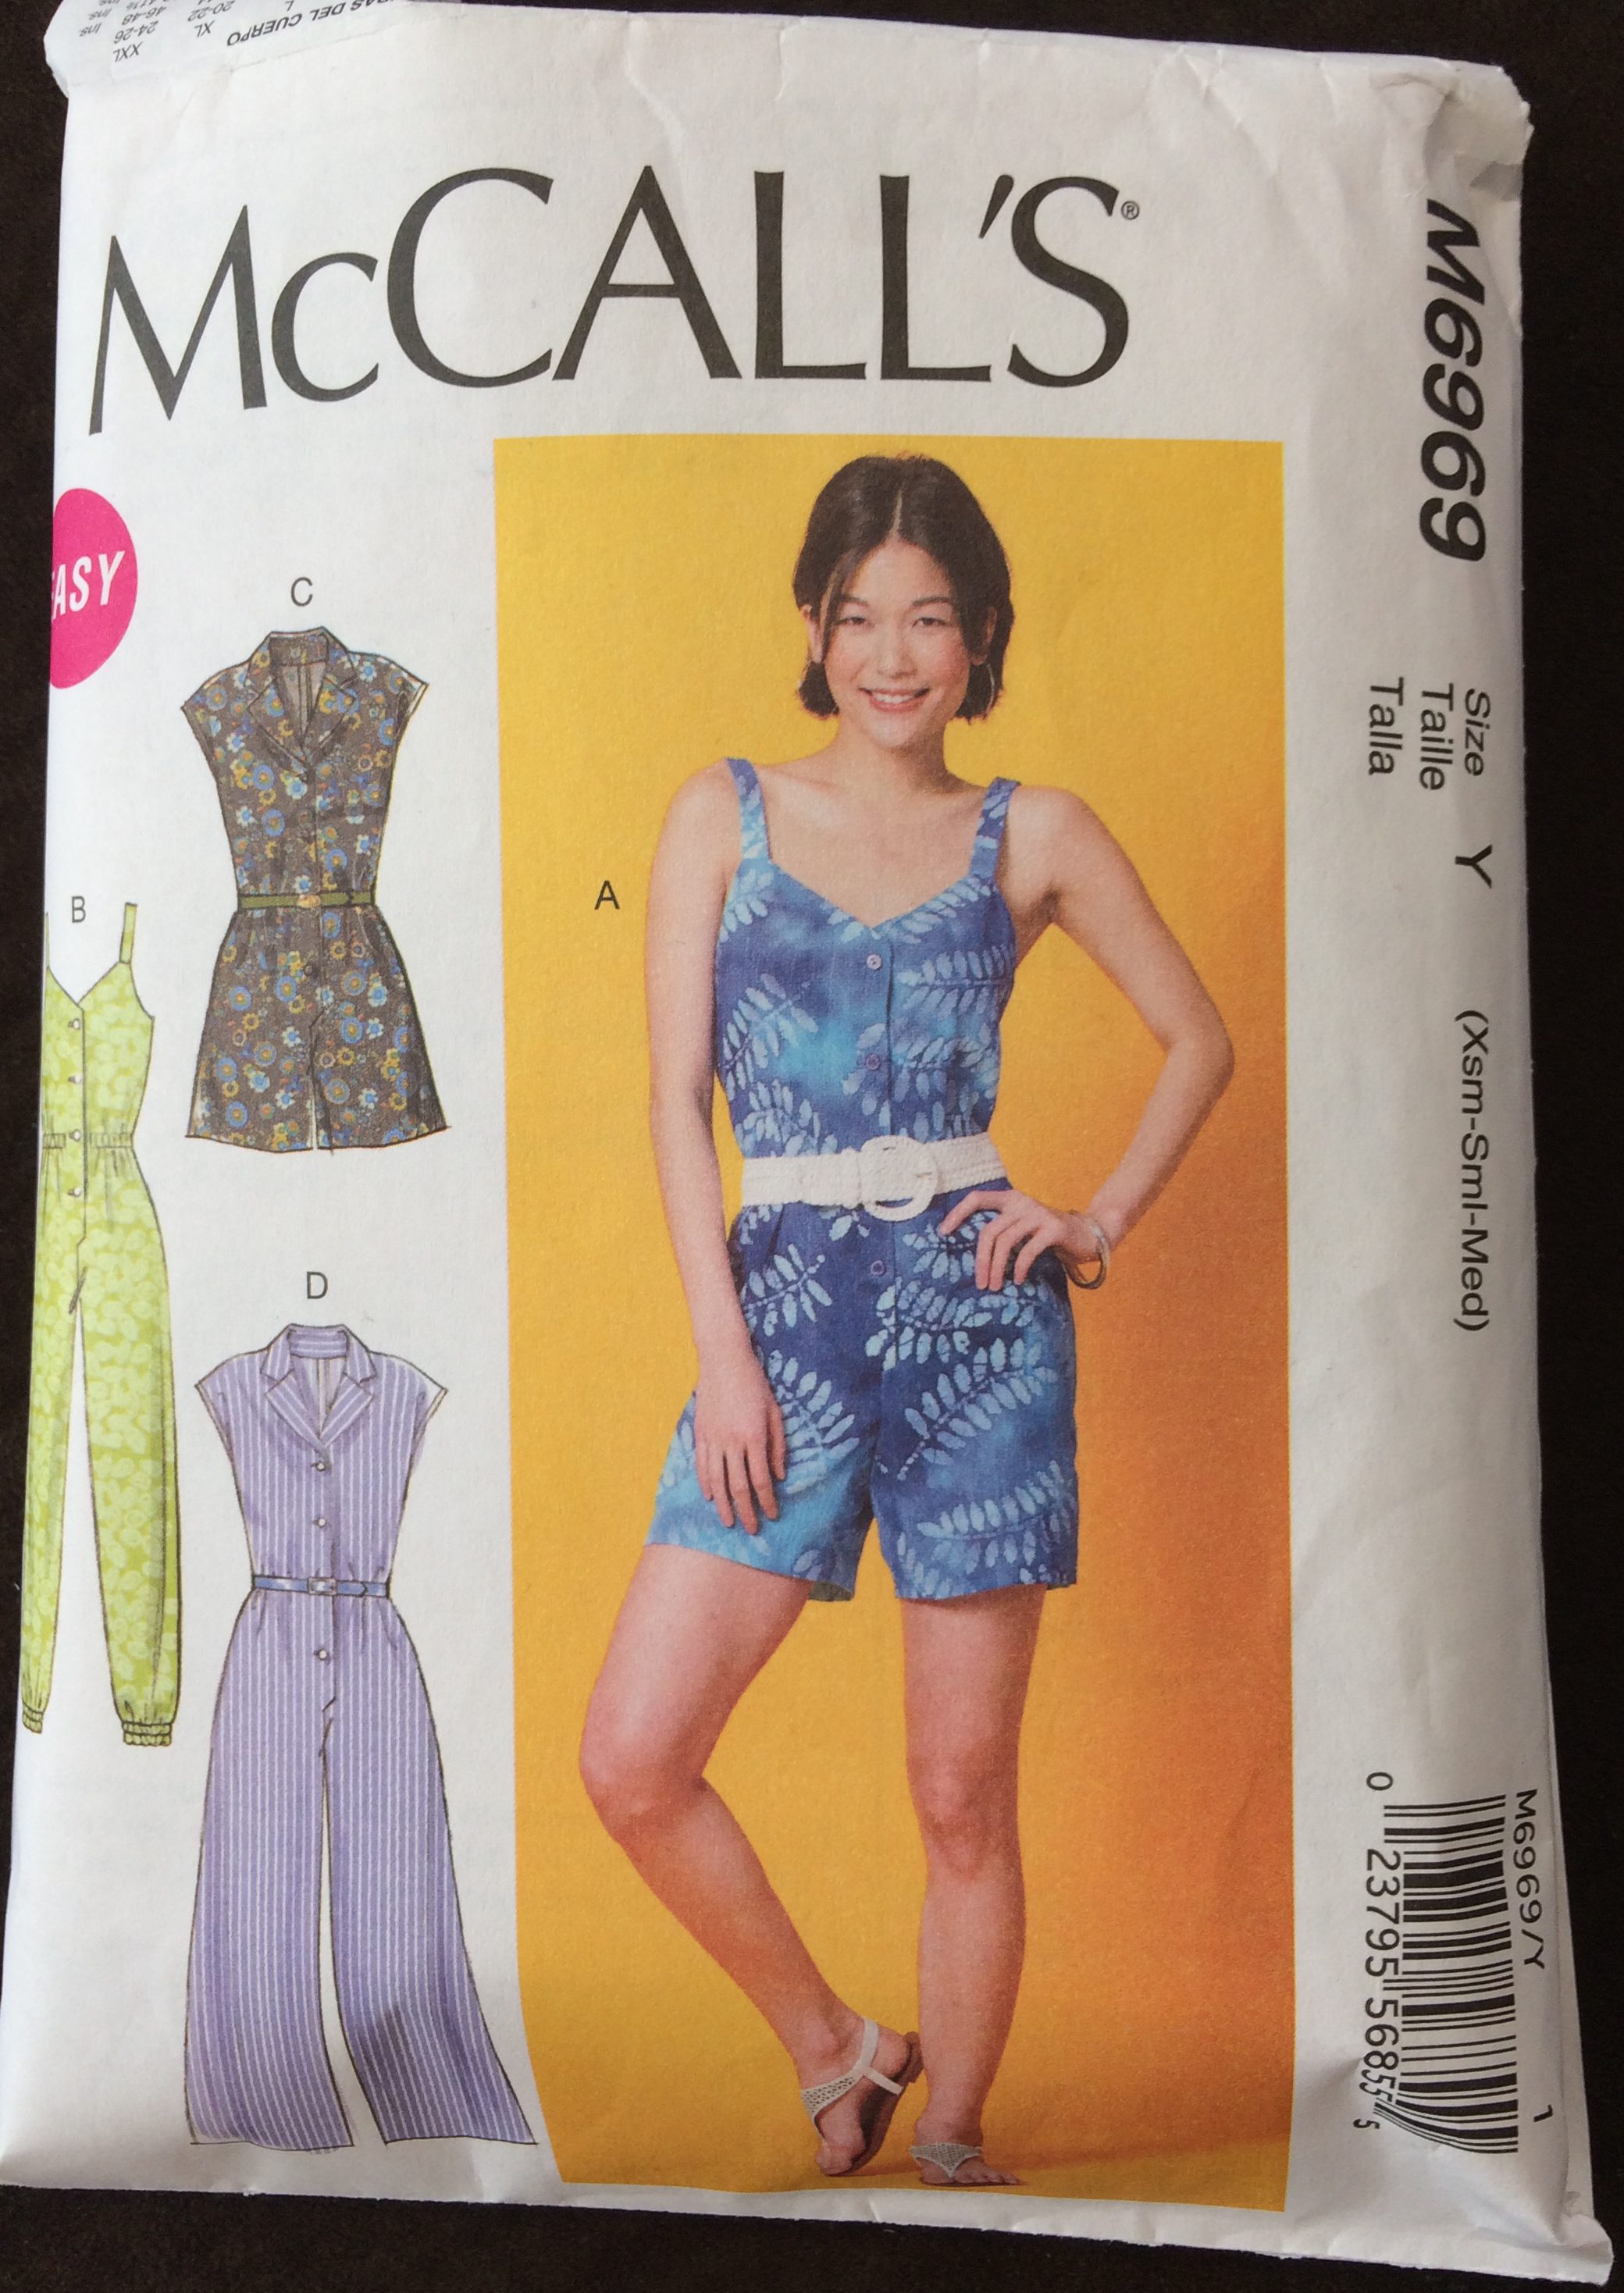
Well that is a very interesting pattern number. I only just realized this as I am writing it out. I assure you I didn’t purchase this pattern based on that!
What can I say. It is well into November and in New England, the air definitely has a chill. Every morning I have to scrape a layer of frost off my windshield. Leaves have pretty much fallen off all the trees and Thanksgiving is next week. Yikes! What happened?
This summer brought many changes – the biggest one being a new job and a new commute to work. I’ve also started getting more involved in my running club and have been racing and training, despite suffering from a nasty sprained ankle injury. Somewhere in the midst of all these changes, I started a summer romper. This was a project I have wanted to try for awhile, having bought the pattern years ago. This summer I saw someone in an arcade wearing a romper and it rekindled my desire to make one. Never mind the fact I probably wouldn’t wear it that often and one-pieces don’t always flatter me. Luckily I had some rayon to burn! As summer drew to a close and the September obligations piled up, I started to cut into my fabric and piece the body together. Things were going okay…..
Under the collar
Here is where the directions stopped making sense – when I had to install the collar. I re-read it several times and I still couldn’t figure out what I was supposed to do, so I actually brought it over to my mom’s to enlist her help. In the end she figured it all out perfectly, which was such a relief. the first problem I had was understanding that the bottom part of the collar, was actually the facing. The directions said to finish the edge of the facing, but I couldn’t figure out what edge to finish. Then after everything was stitched on, there was a bit of origami folding on the inside to get things tucked under the slip stitching done on the collar itself, but I don’t think I could replicate this if I tried. I took some pictures to see if I could help anyone else out trying to make this, but I’m still a bit confused looking at these. Which is a shame because the drawings in this section of the pattern instructions are pretty terrible.


The case for casing
This may be my own ignorance, but when I first read the instructions, I did not get that I was supposed to sew the bias tape around the whole inside waist to make a casing for the elastic. Of course it was the only thing that logically made sense, since the elastic was supposed to be cut to fit around my waist. The bias tape would hold the elastic in place. Most people would probably get this right away, but I thought the directions were a bit fuzzy here, with no drawings showing how this casing would fit around the whole garment (only on how to attach on the side). There wasn’t much of an explanation for this step at all so I made up my own technique here:
- I picked a point on the inside of the garment where I felt the elastic should start.
- I folded over the bias tape to finish the end, but only pinned this in place and left the edge open.
- I stitched the bias tape to the inside of the garment, only stitching the long edges (both top and bottom).
- I then folded over the other end of the bias tape when I reached the right place on the other side of the waist.
- I fed the elastic through one side with a large safety pin, like you would do with any casing.
- Finally I sewed each edge that was folded over, making sure to “catch” the elastic in the stitching at the ends. I stitched back and forth a few times for reinforcement.

This is probably what was intended in the directions, I just don’t think it did a great job explaining for beginners or anyone who hasn’t worked with elastic before. It almost seemed a bit rushed in the description, like it was an after thought.
Bunchy
After everything was put together, I realized that there was a lot of extra material that bunched at the bottom of the front opening, on the inside. I have a feeling this is due to some mistake I made in attaching the facing to the main garment. Or maybe I was supposed to tack something down that I didn’t. It kind of annoyed me, so I decided to try to serge part of it off. It did reduce the bulkiness in the crotch area, but I’m not sure this was the right way to fix it. Oh well. There is now a small flap on the inside, which I was able to tack down. Not the neatest, but at least it looks normal on the outside.

These were my main issues with this pattern, which I think could be remedied with additional drawings that illustrated all the steps. Having said that, I really like this pattern and the collar actually came out looking nice. I also barely needed any fit adjustments, which is unusual since my body type is not perfect for one-piece outfits. It is perfect for rayon fabric and it will be a very cooling outfit when summer finally does come back. If I do make this again, I will have to adjust the arm holes, as they ended up a bit big and revealing. I will need to wear a tank top underneath. Although, I’m not sure I will make this again since I remembering how I assembled that collar and facing will be another moment of frustration for sure.

Pretty soon, November will be over and you know what that means. Christmas. New Years. Weight gain. However seasonally inappropriate this outfit is, actually finishing something has brought a bit of my sewing mojo back. If I can only make a commitment to set aside some time, I might be able to have a few makes before the year is out. And *spoiler alert* I did just buy some new sweater knits that were on sale. Who knows what the new season will bring.


I so appreciate your write up of this and the casing! Lovely make. Thanks for sharing the link!
LikeLike
Pingback: The year ending 2016 – a look back | Threading Lightly
Good work. It looks fun to prance around in, even if it is a bit chilly. You could wear thick tights and a cardigan and it would also look super.
LikeLike
I love this – great job battling through all the problems I’m glad you figured it all out at the end – and I do think it was worth the trouble. It looks grest
LikeLiked by 1 person
Thanks! I’m surprised it ended up looking as good as it did!
LikeLike
Well done on battling on and finishing it, looks like something you’ll wear a lot next year.
LikeLike
I think so! I wasn’t sure when I looked at the pattern, but the outfit came out better than I imagined.
LikeLike
Looks great! I always have such a fuss trying to get one piece outfits like this to fit. You got the fit just perfect for you!
LikeLiked by 1 person