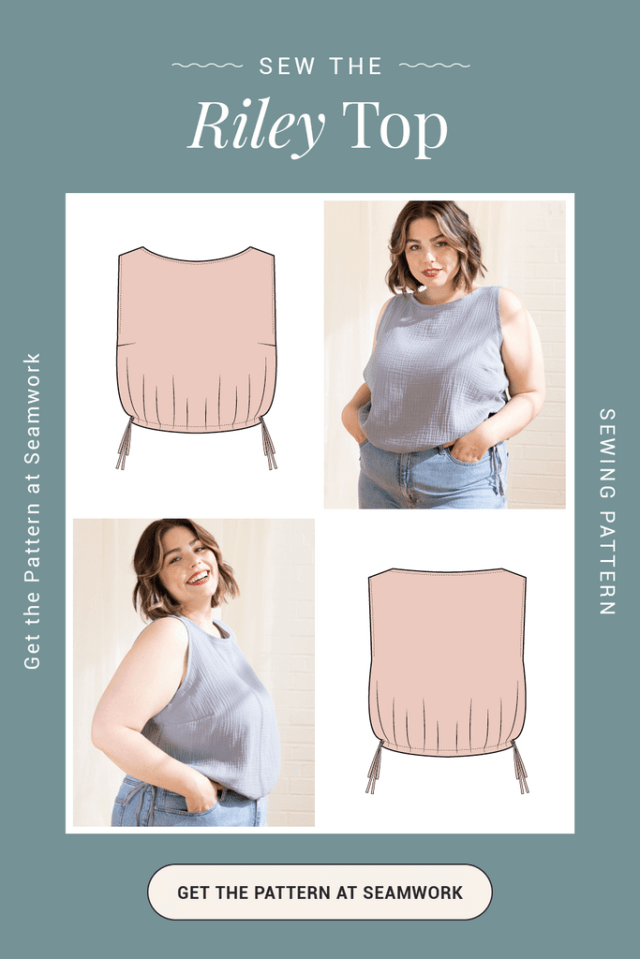
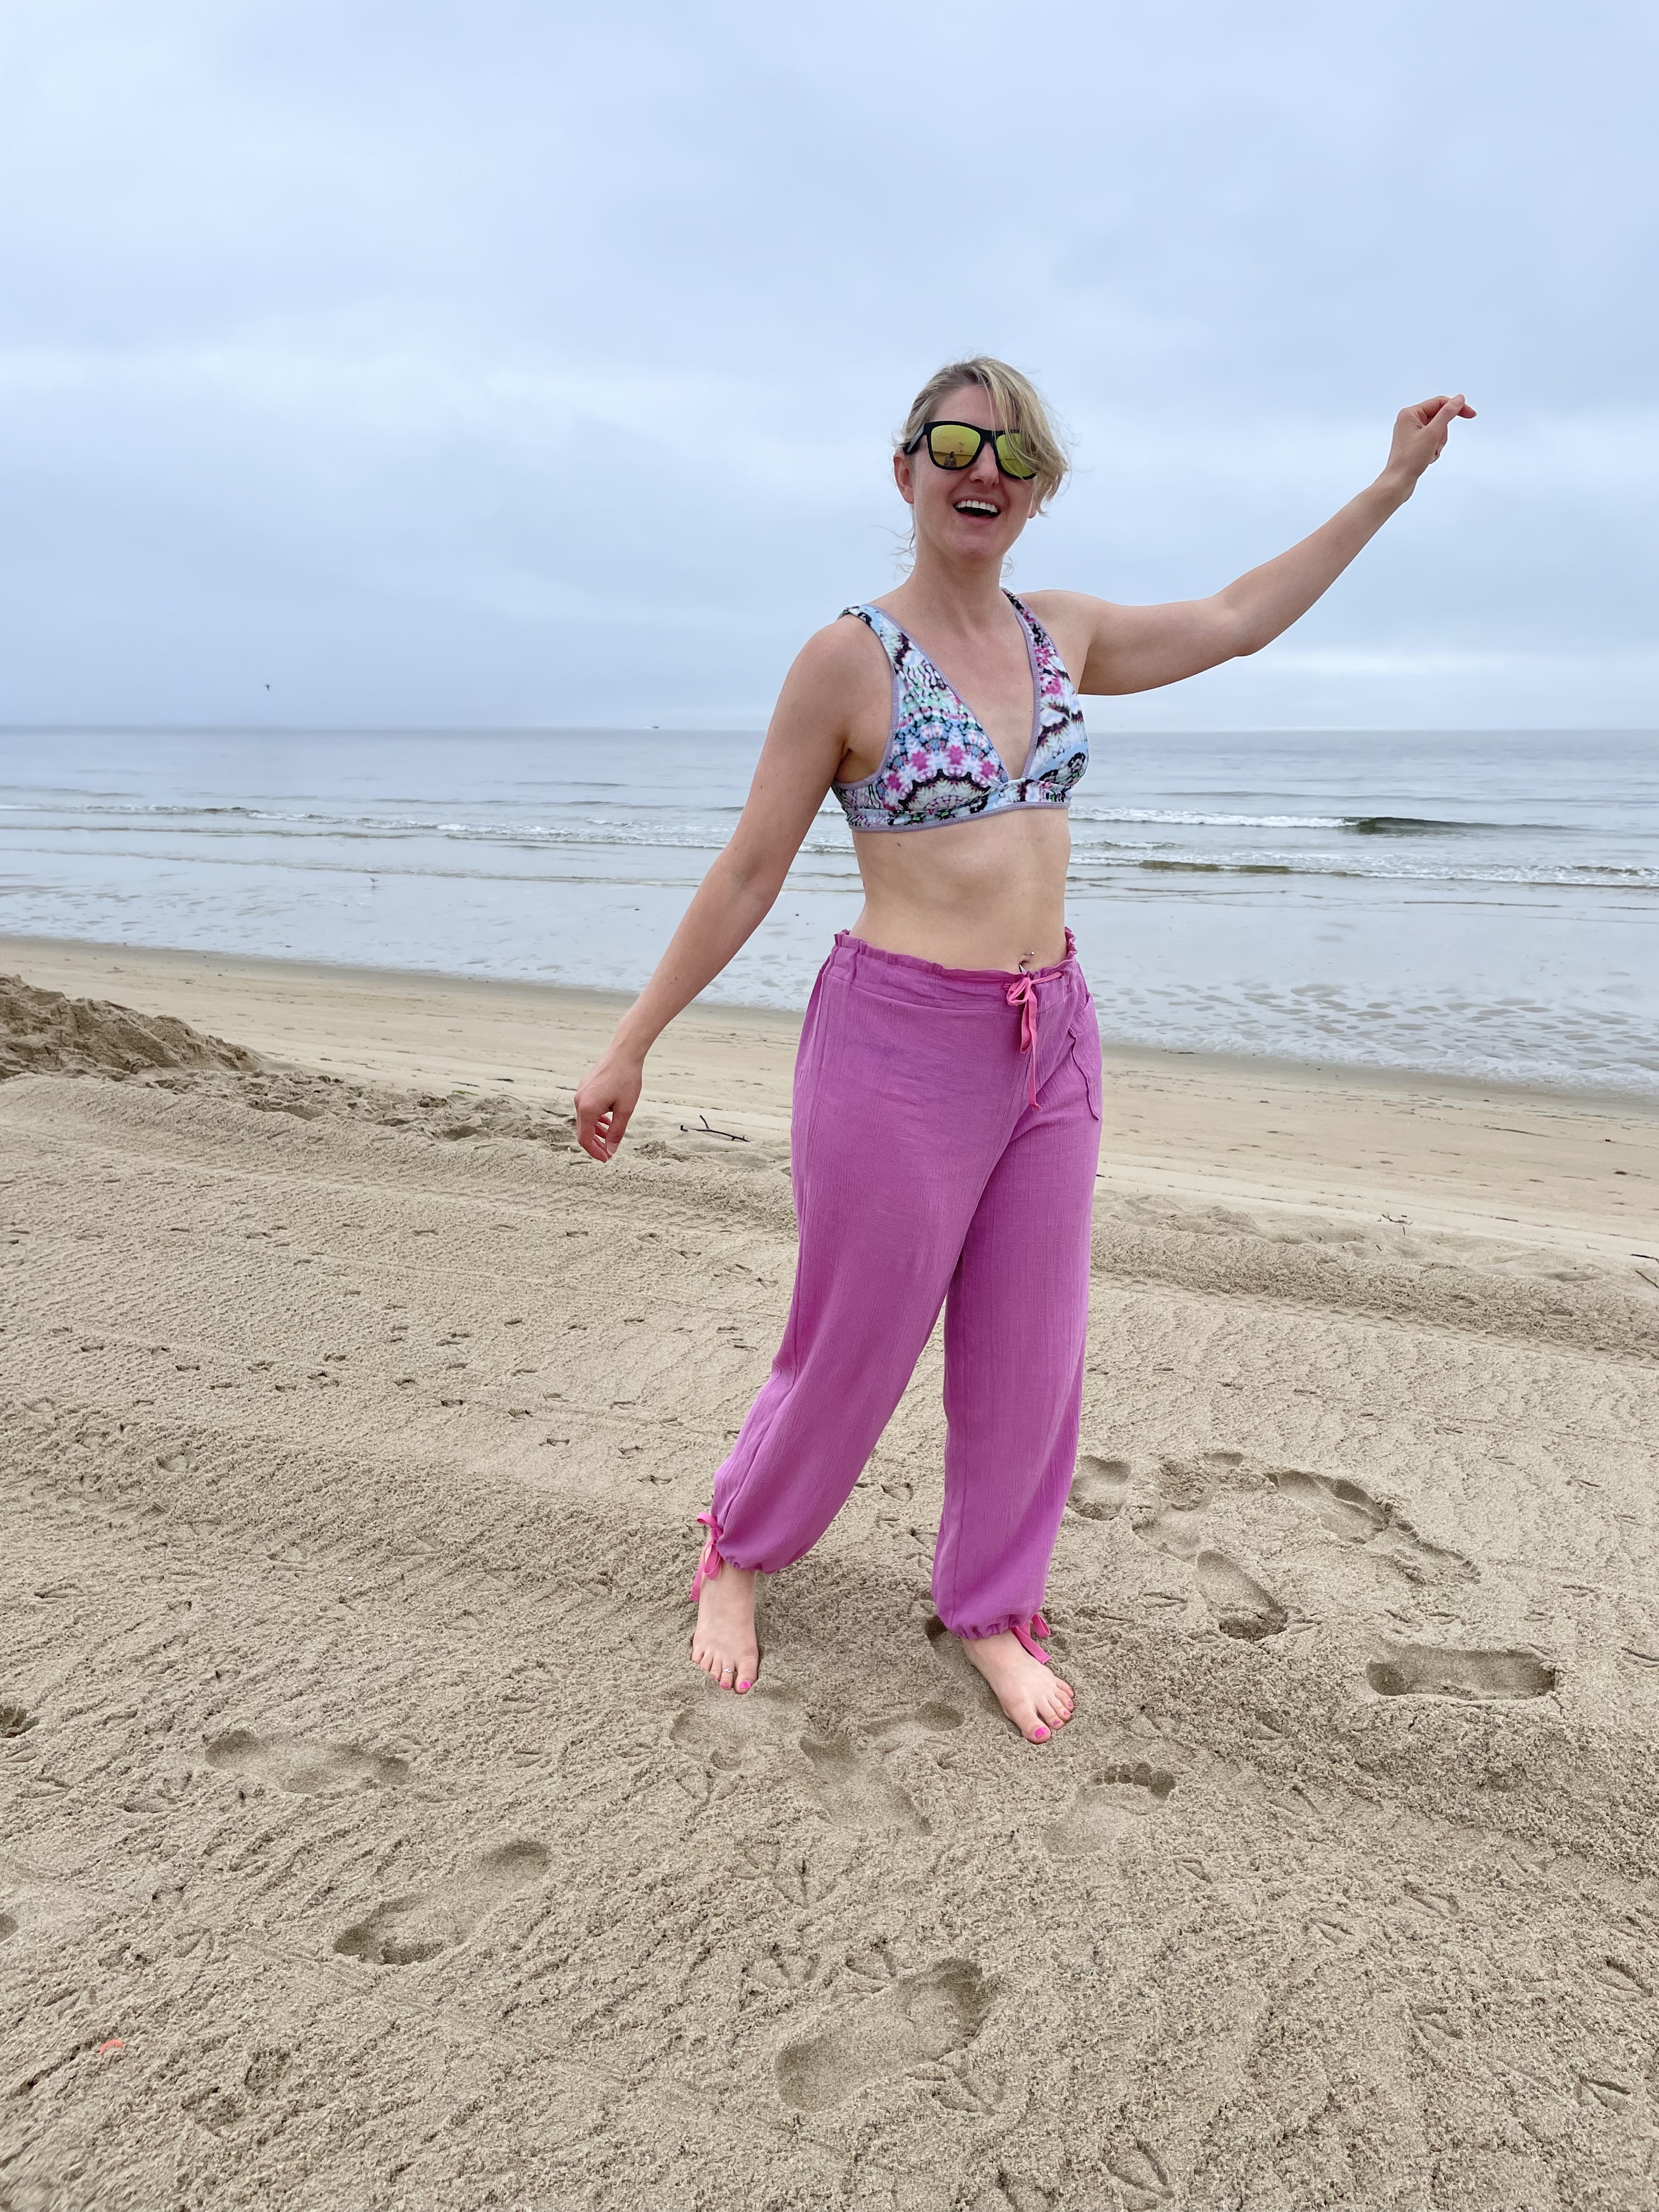
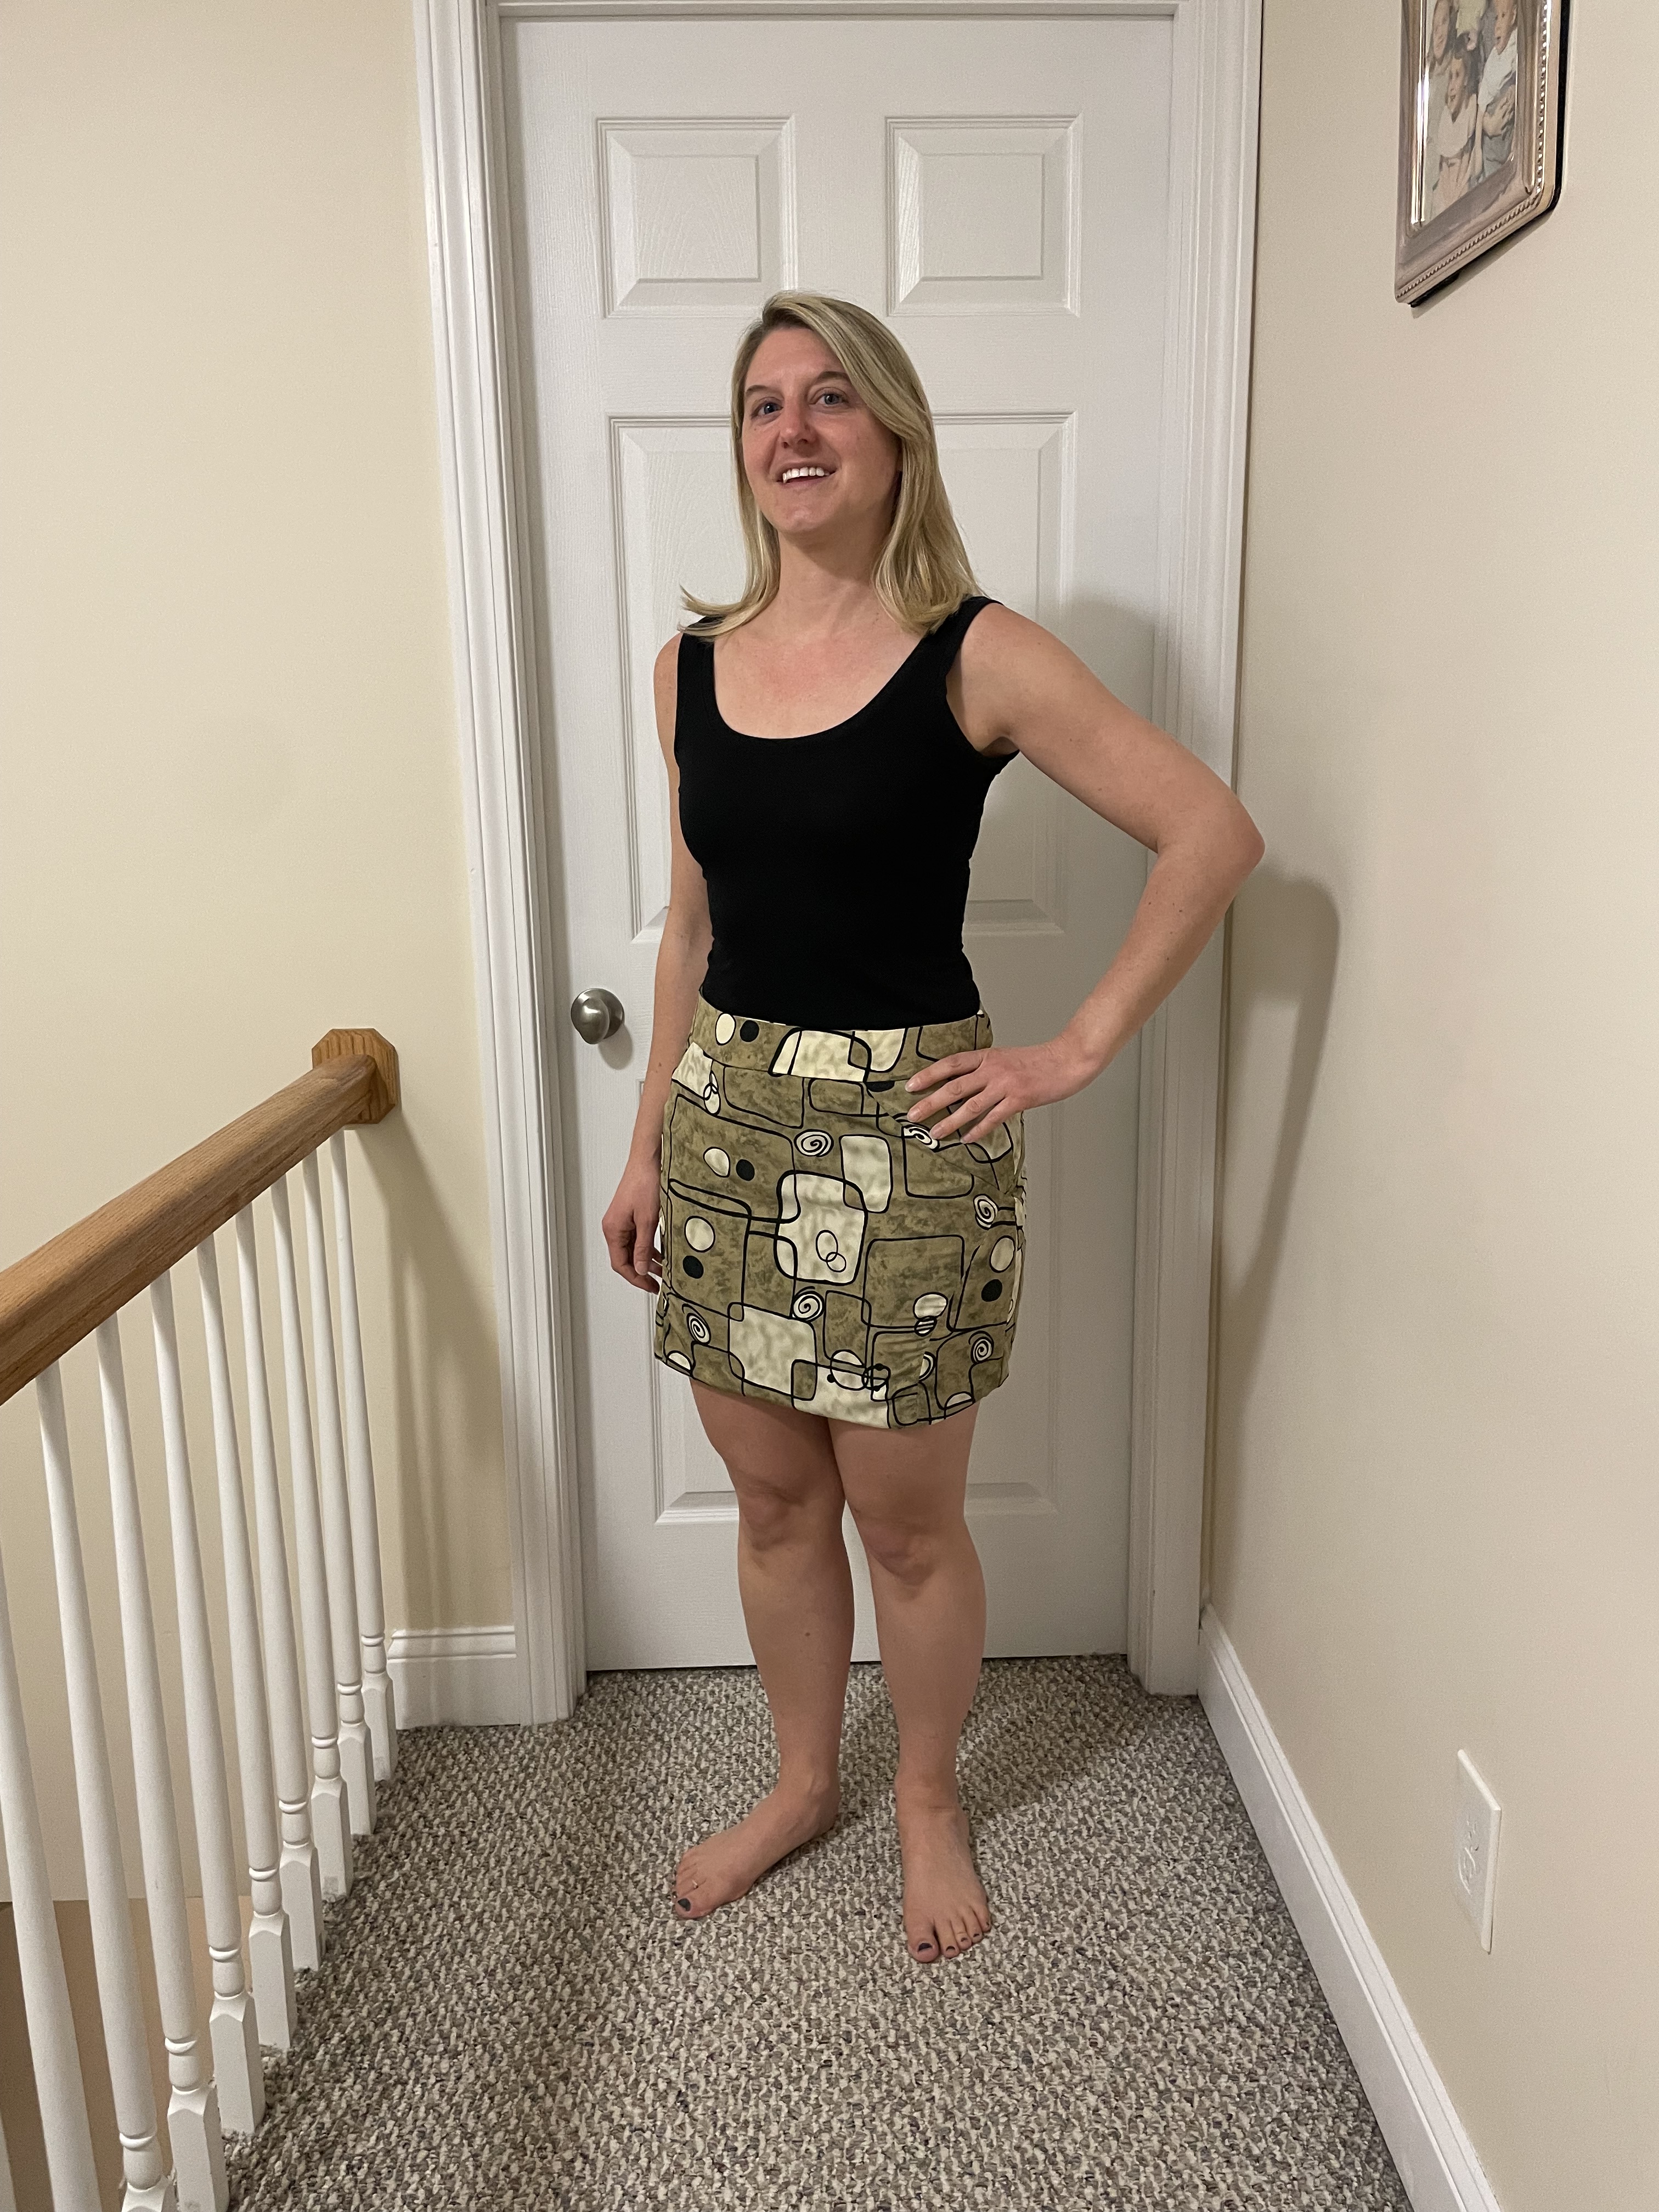
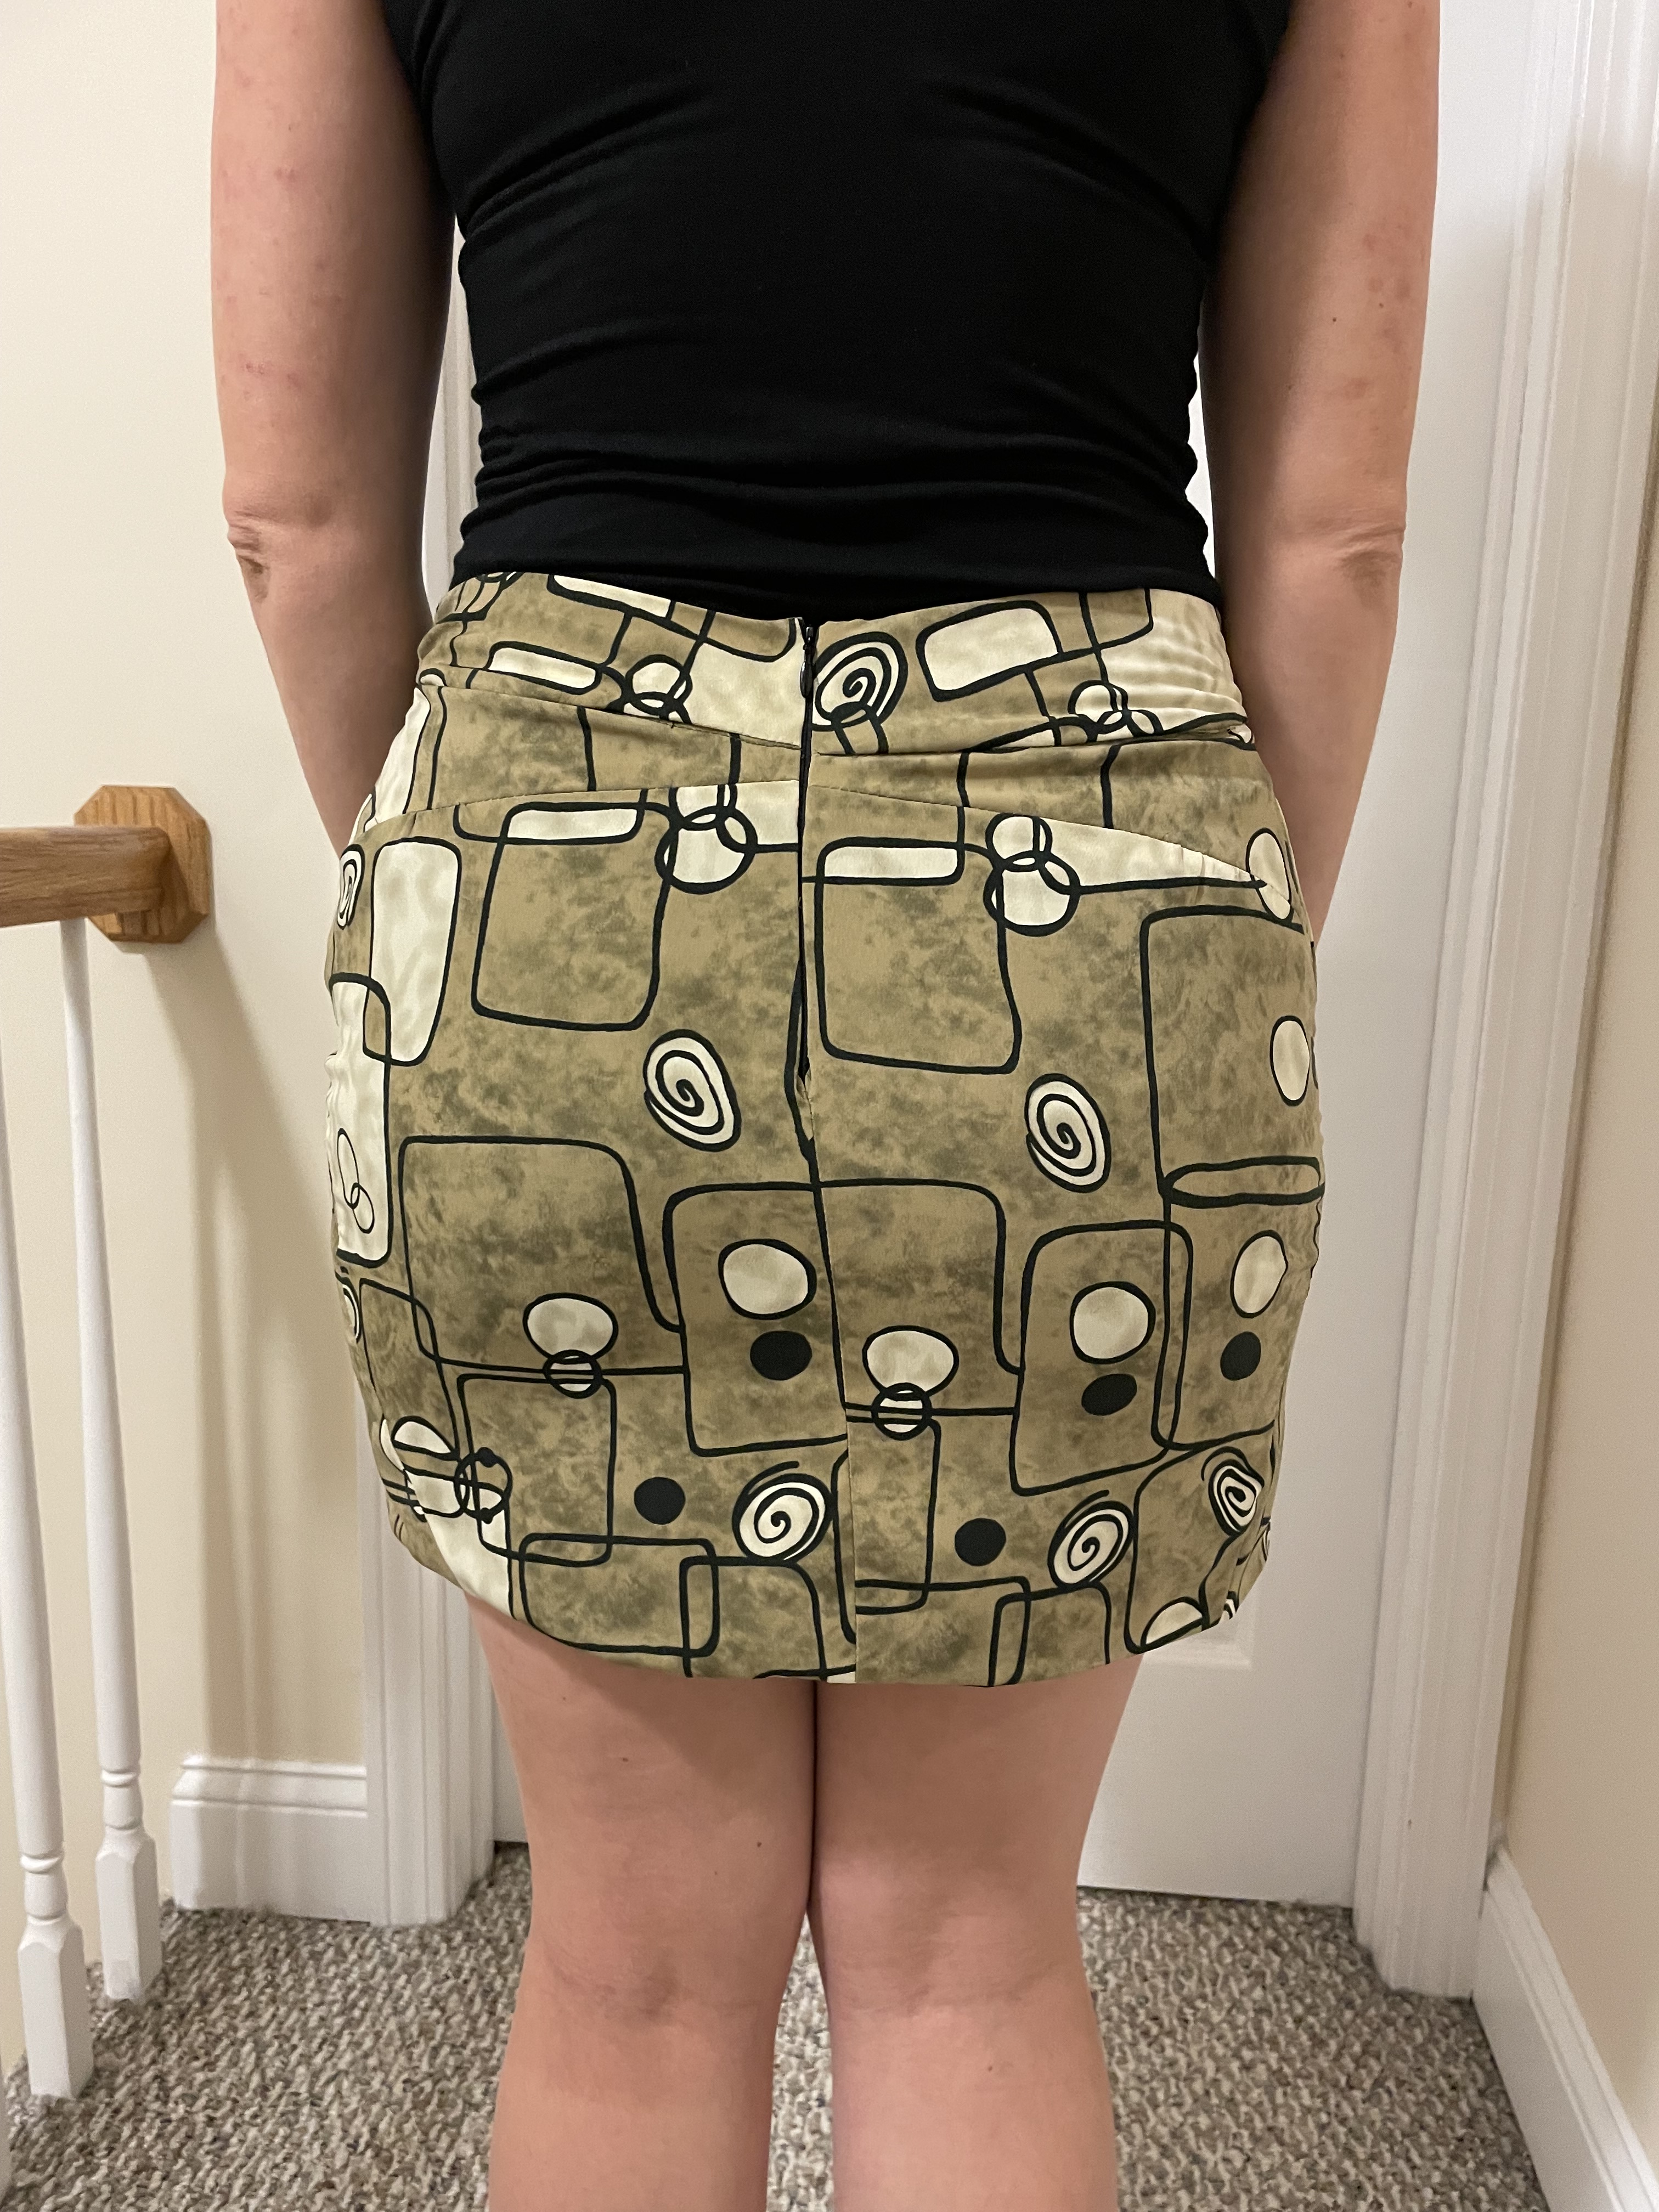
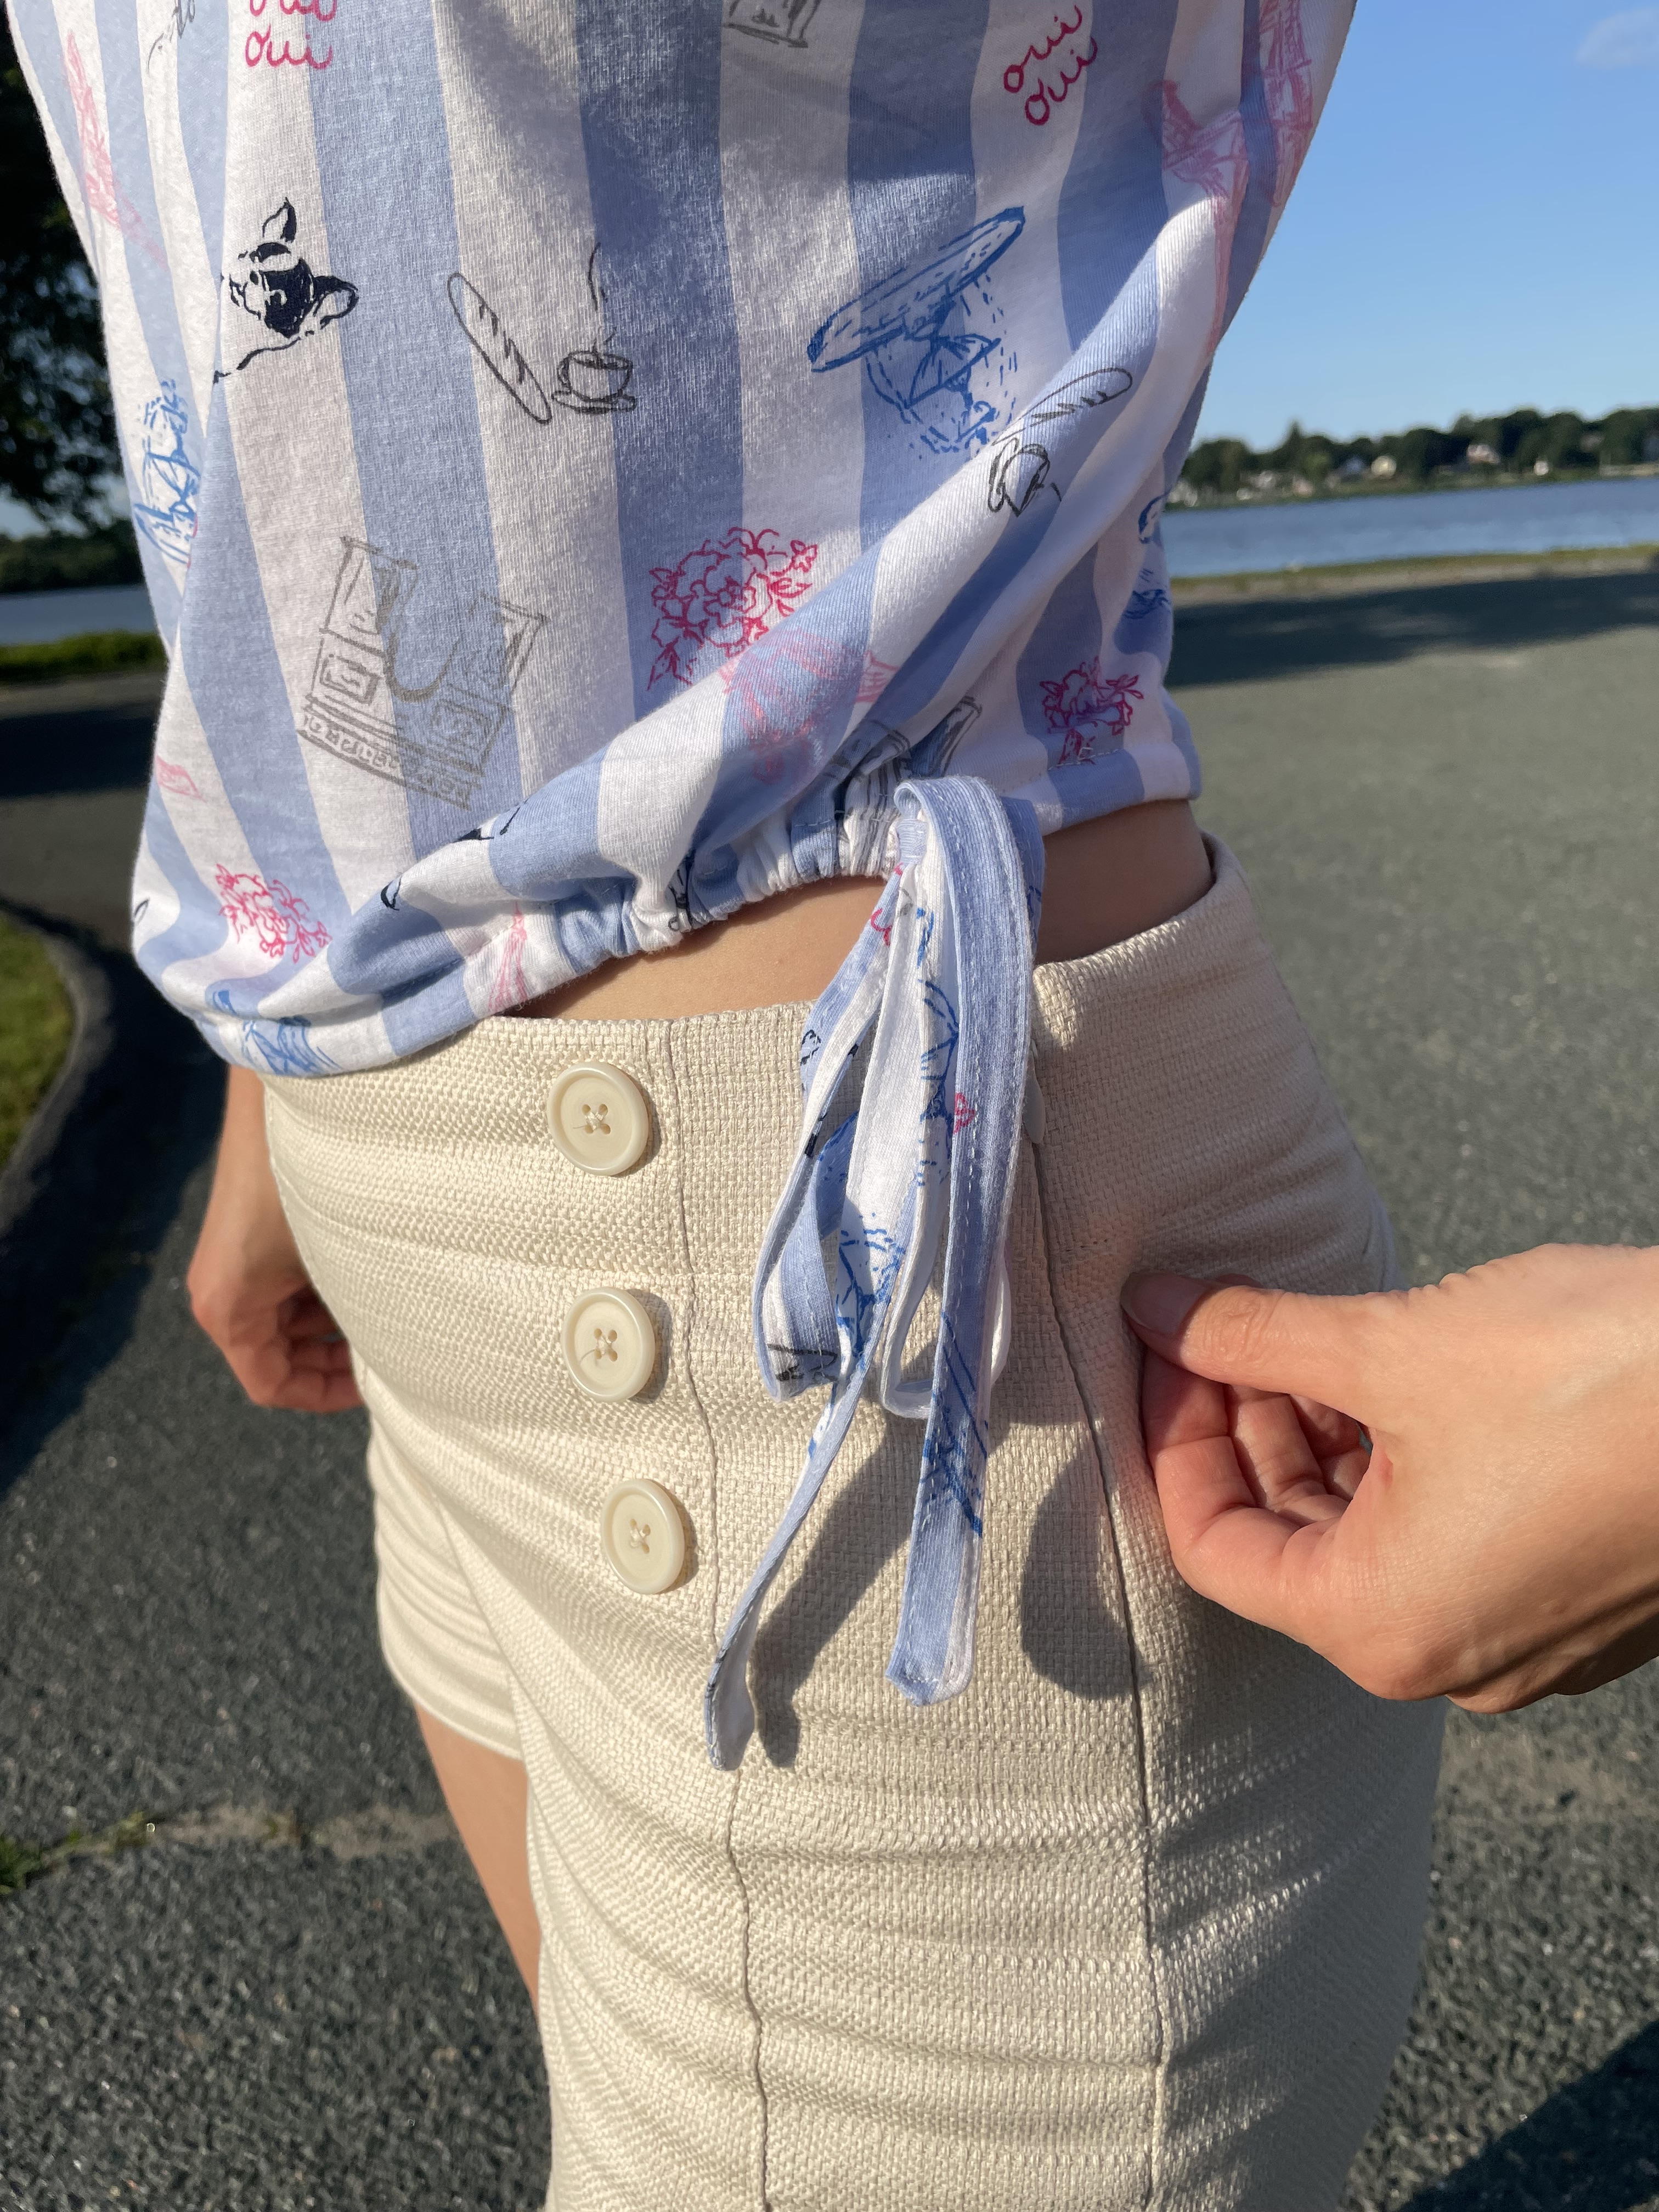
Summer in New England does seem to go by too quickly and this year is no exception. It’s been kind of a strange season weather-wise, but I’ve been able to make the most of it with a beach day here and a hike there. I got caught in a few epic rain storms as well, ones where rain coats and umbrellas don’t seem to do much. I’m not going to get to do all the things I wanted to this summer, but I was able to finish my second Riley top. I am calling this one a success since I was able to lengthen it enough so it works with midrise pants and it looks good despite using the wrong type of fabric. The ties on these are a little wonky, but when its all tied up, I don’t think it will make much of a difference.

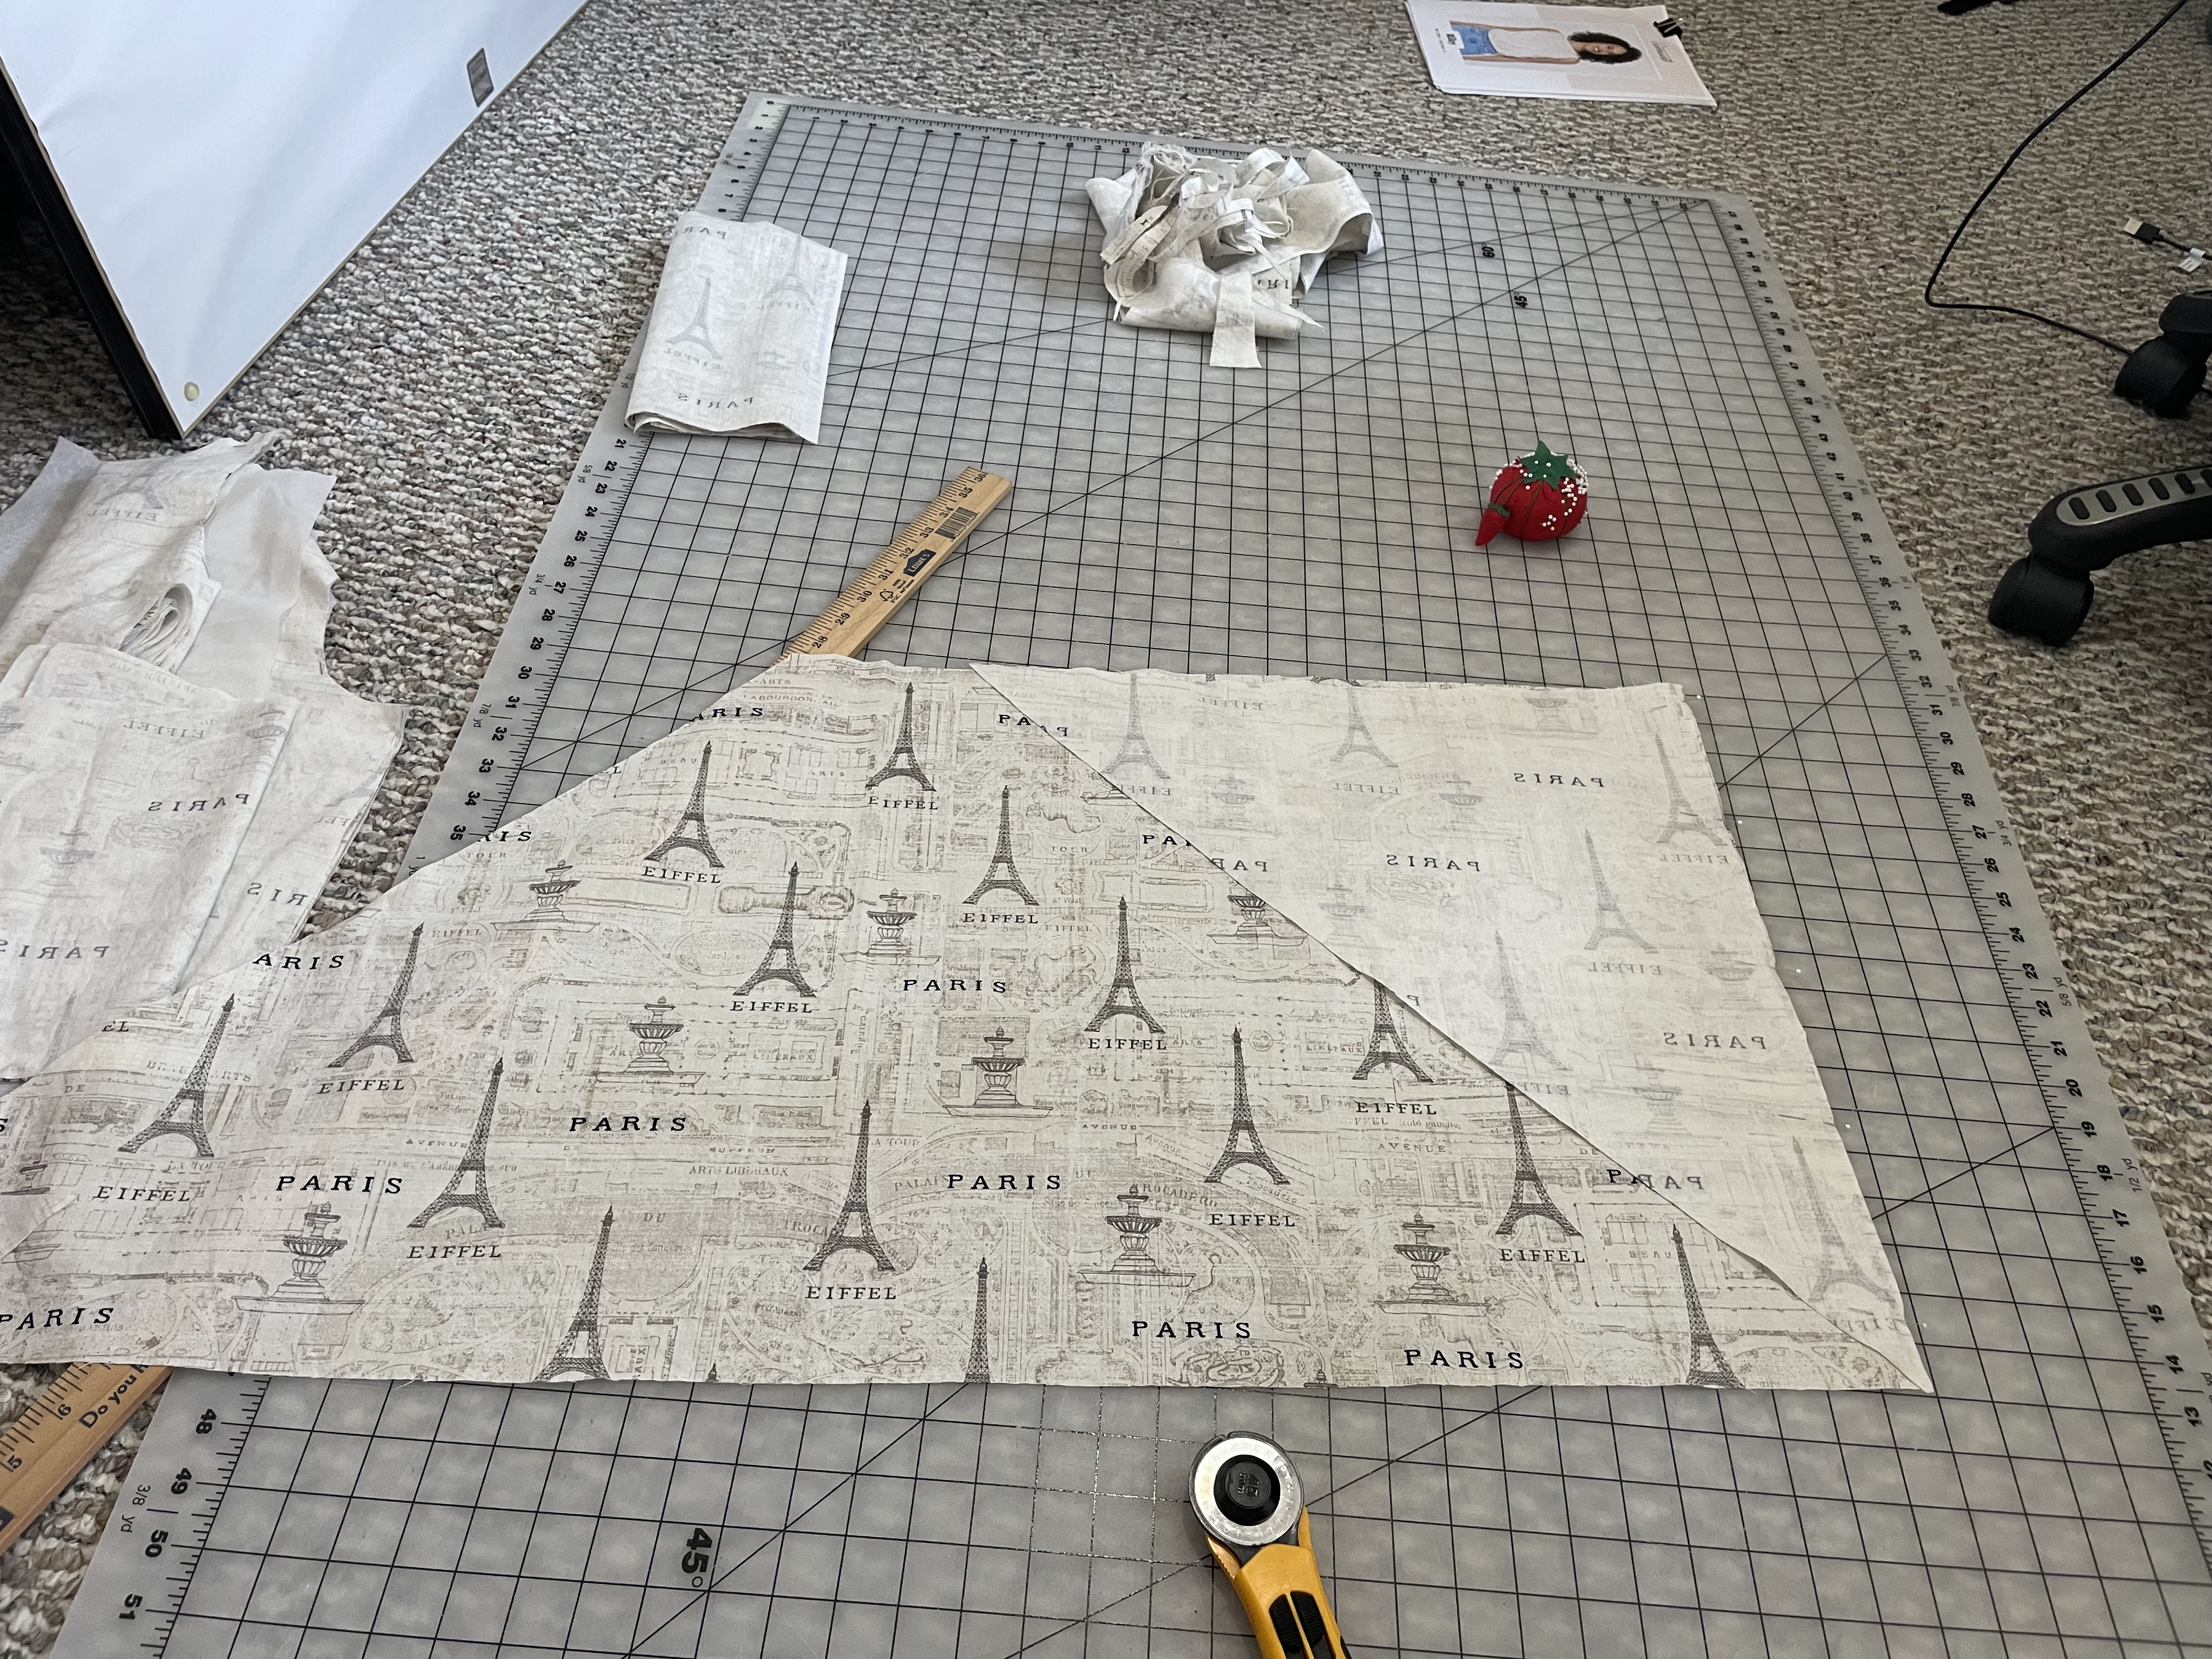
I even was able to make bias tape for this one with the fabric, although it didn’t quite press as well as plain cotton, which made for a very frustrating project.

Despite this, it worked ok for the facings. I extended the length of the top by 1.5 inches, so it still has a slight cropped look.

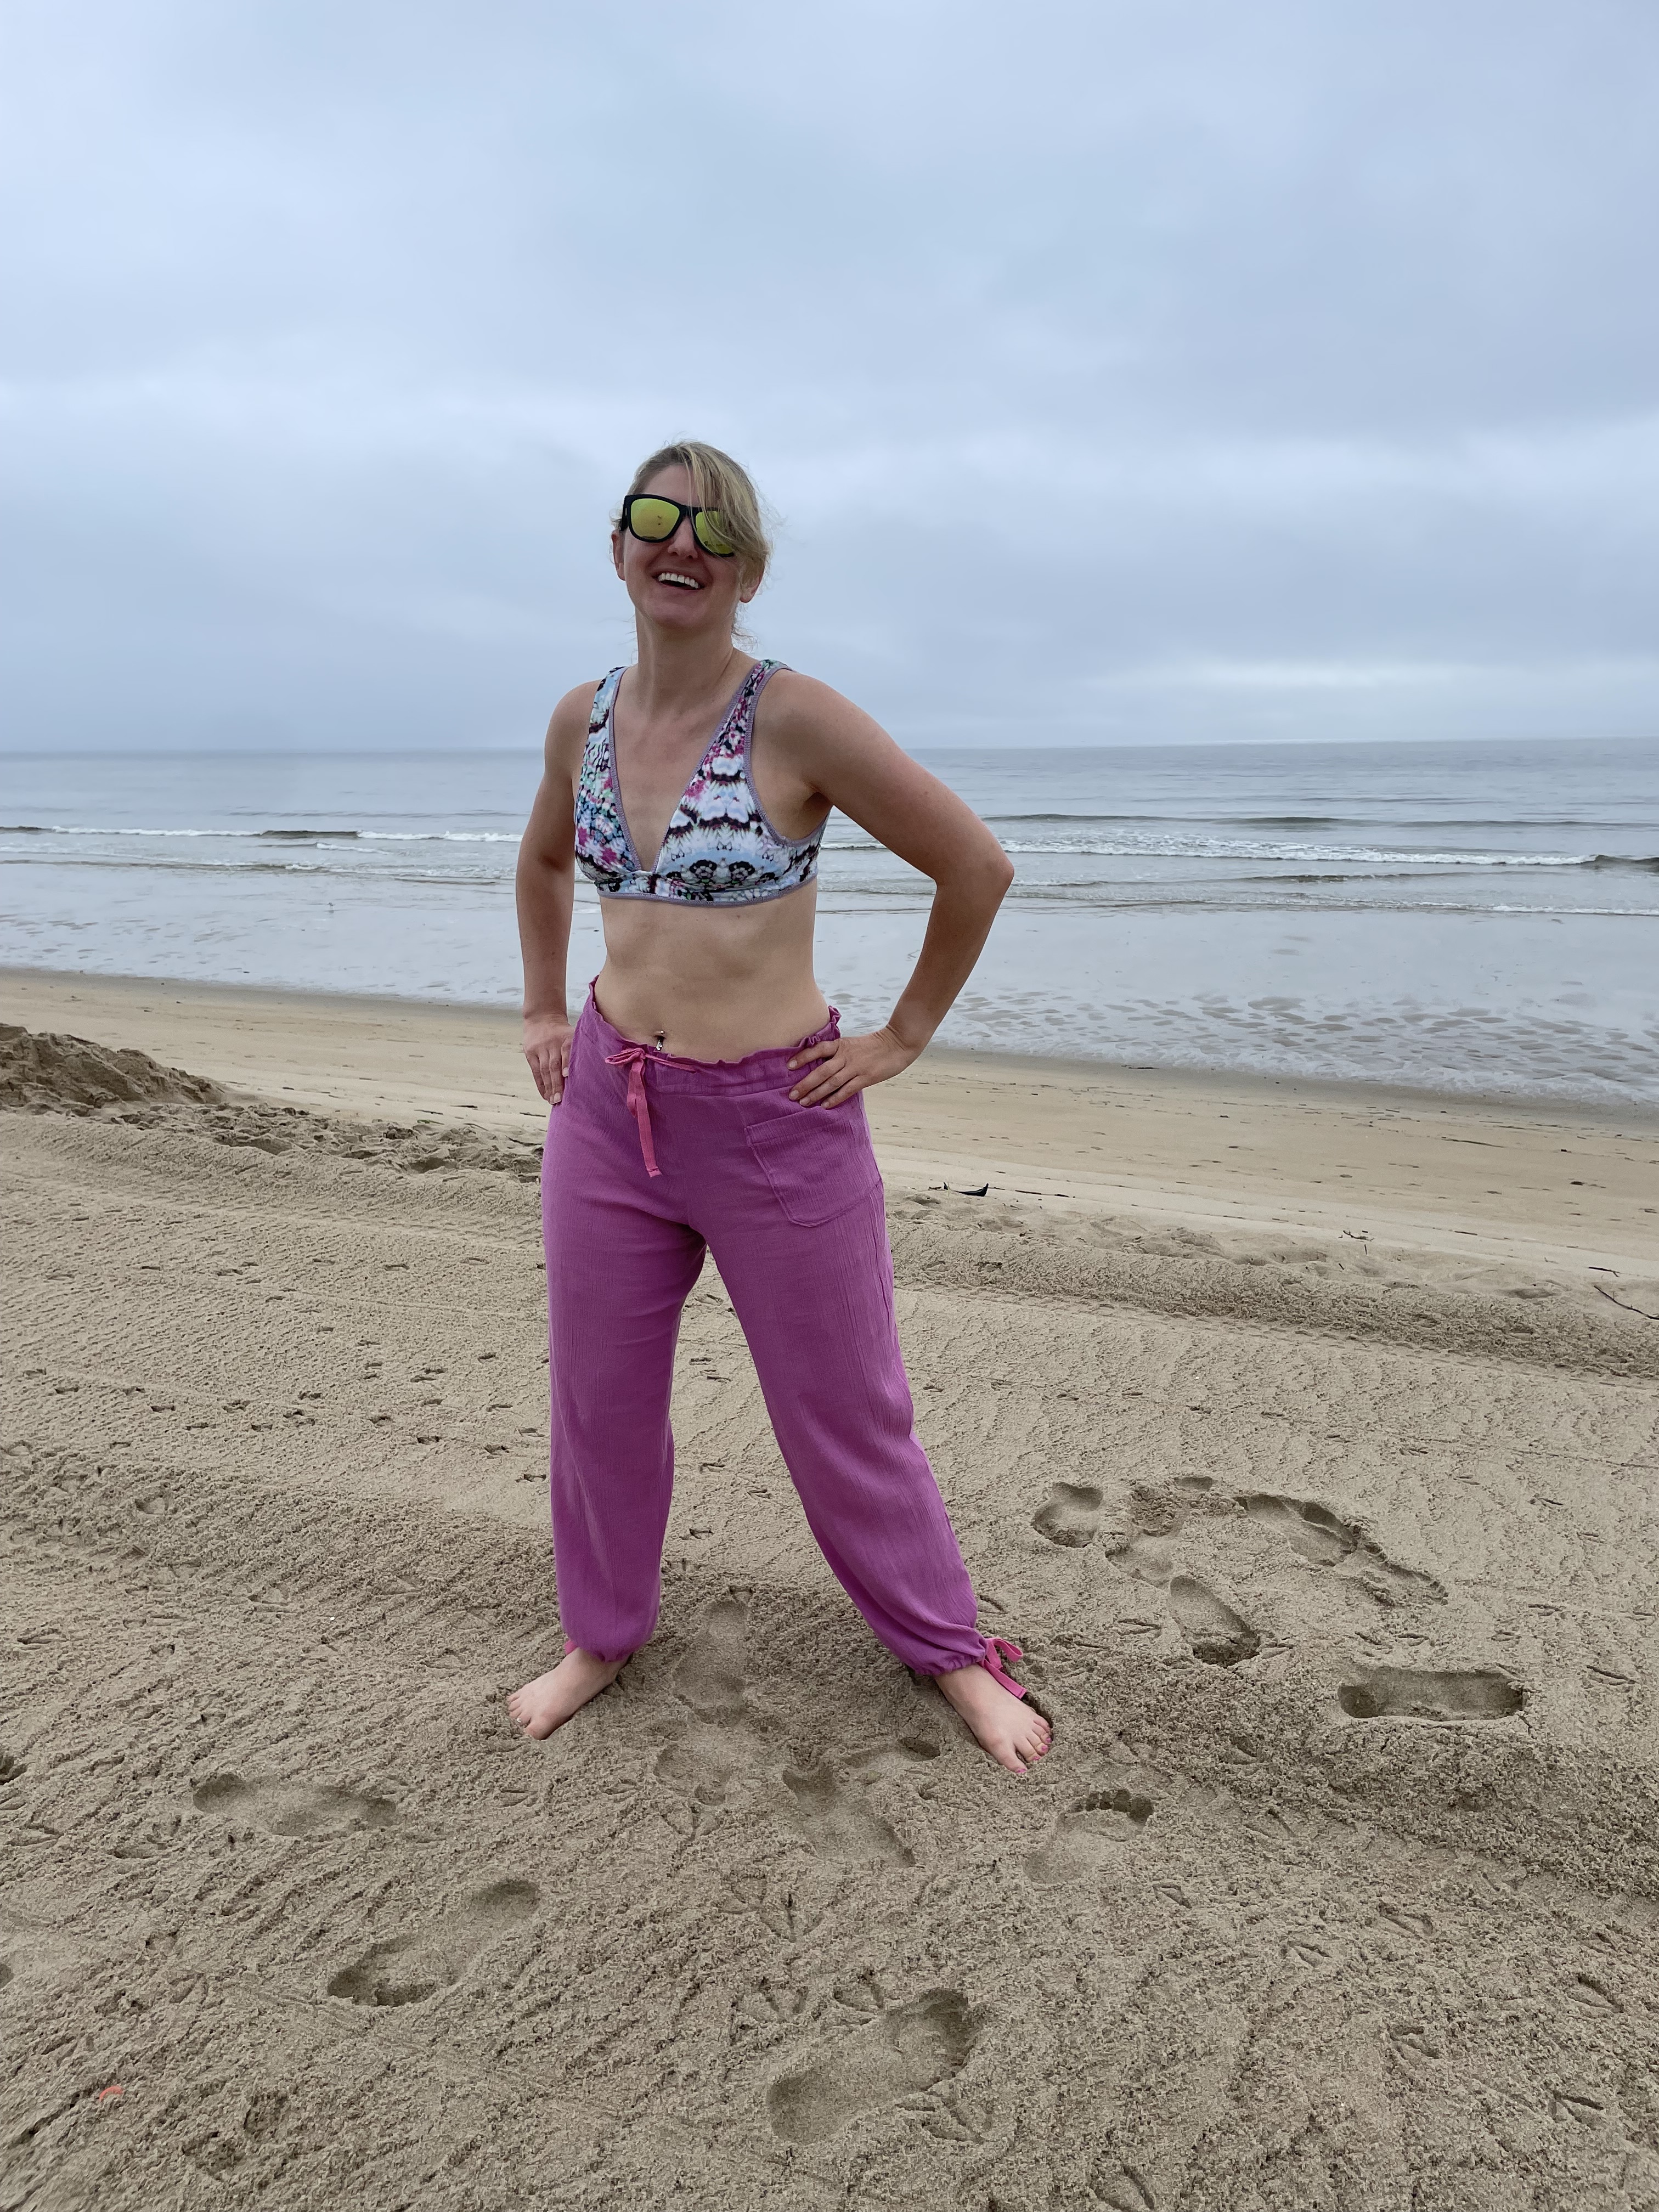
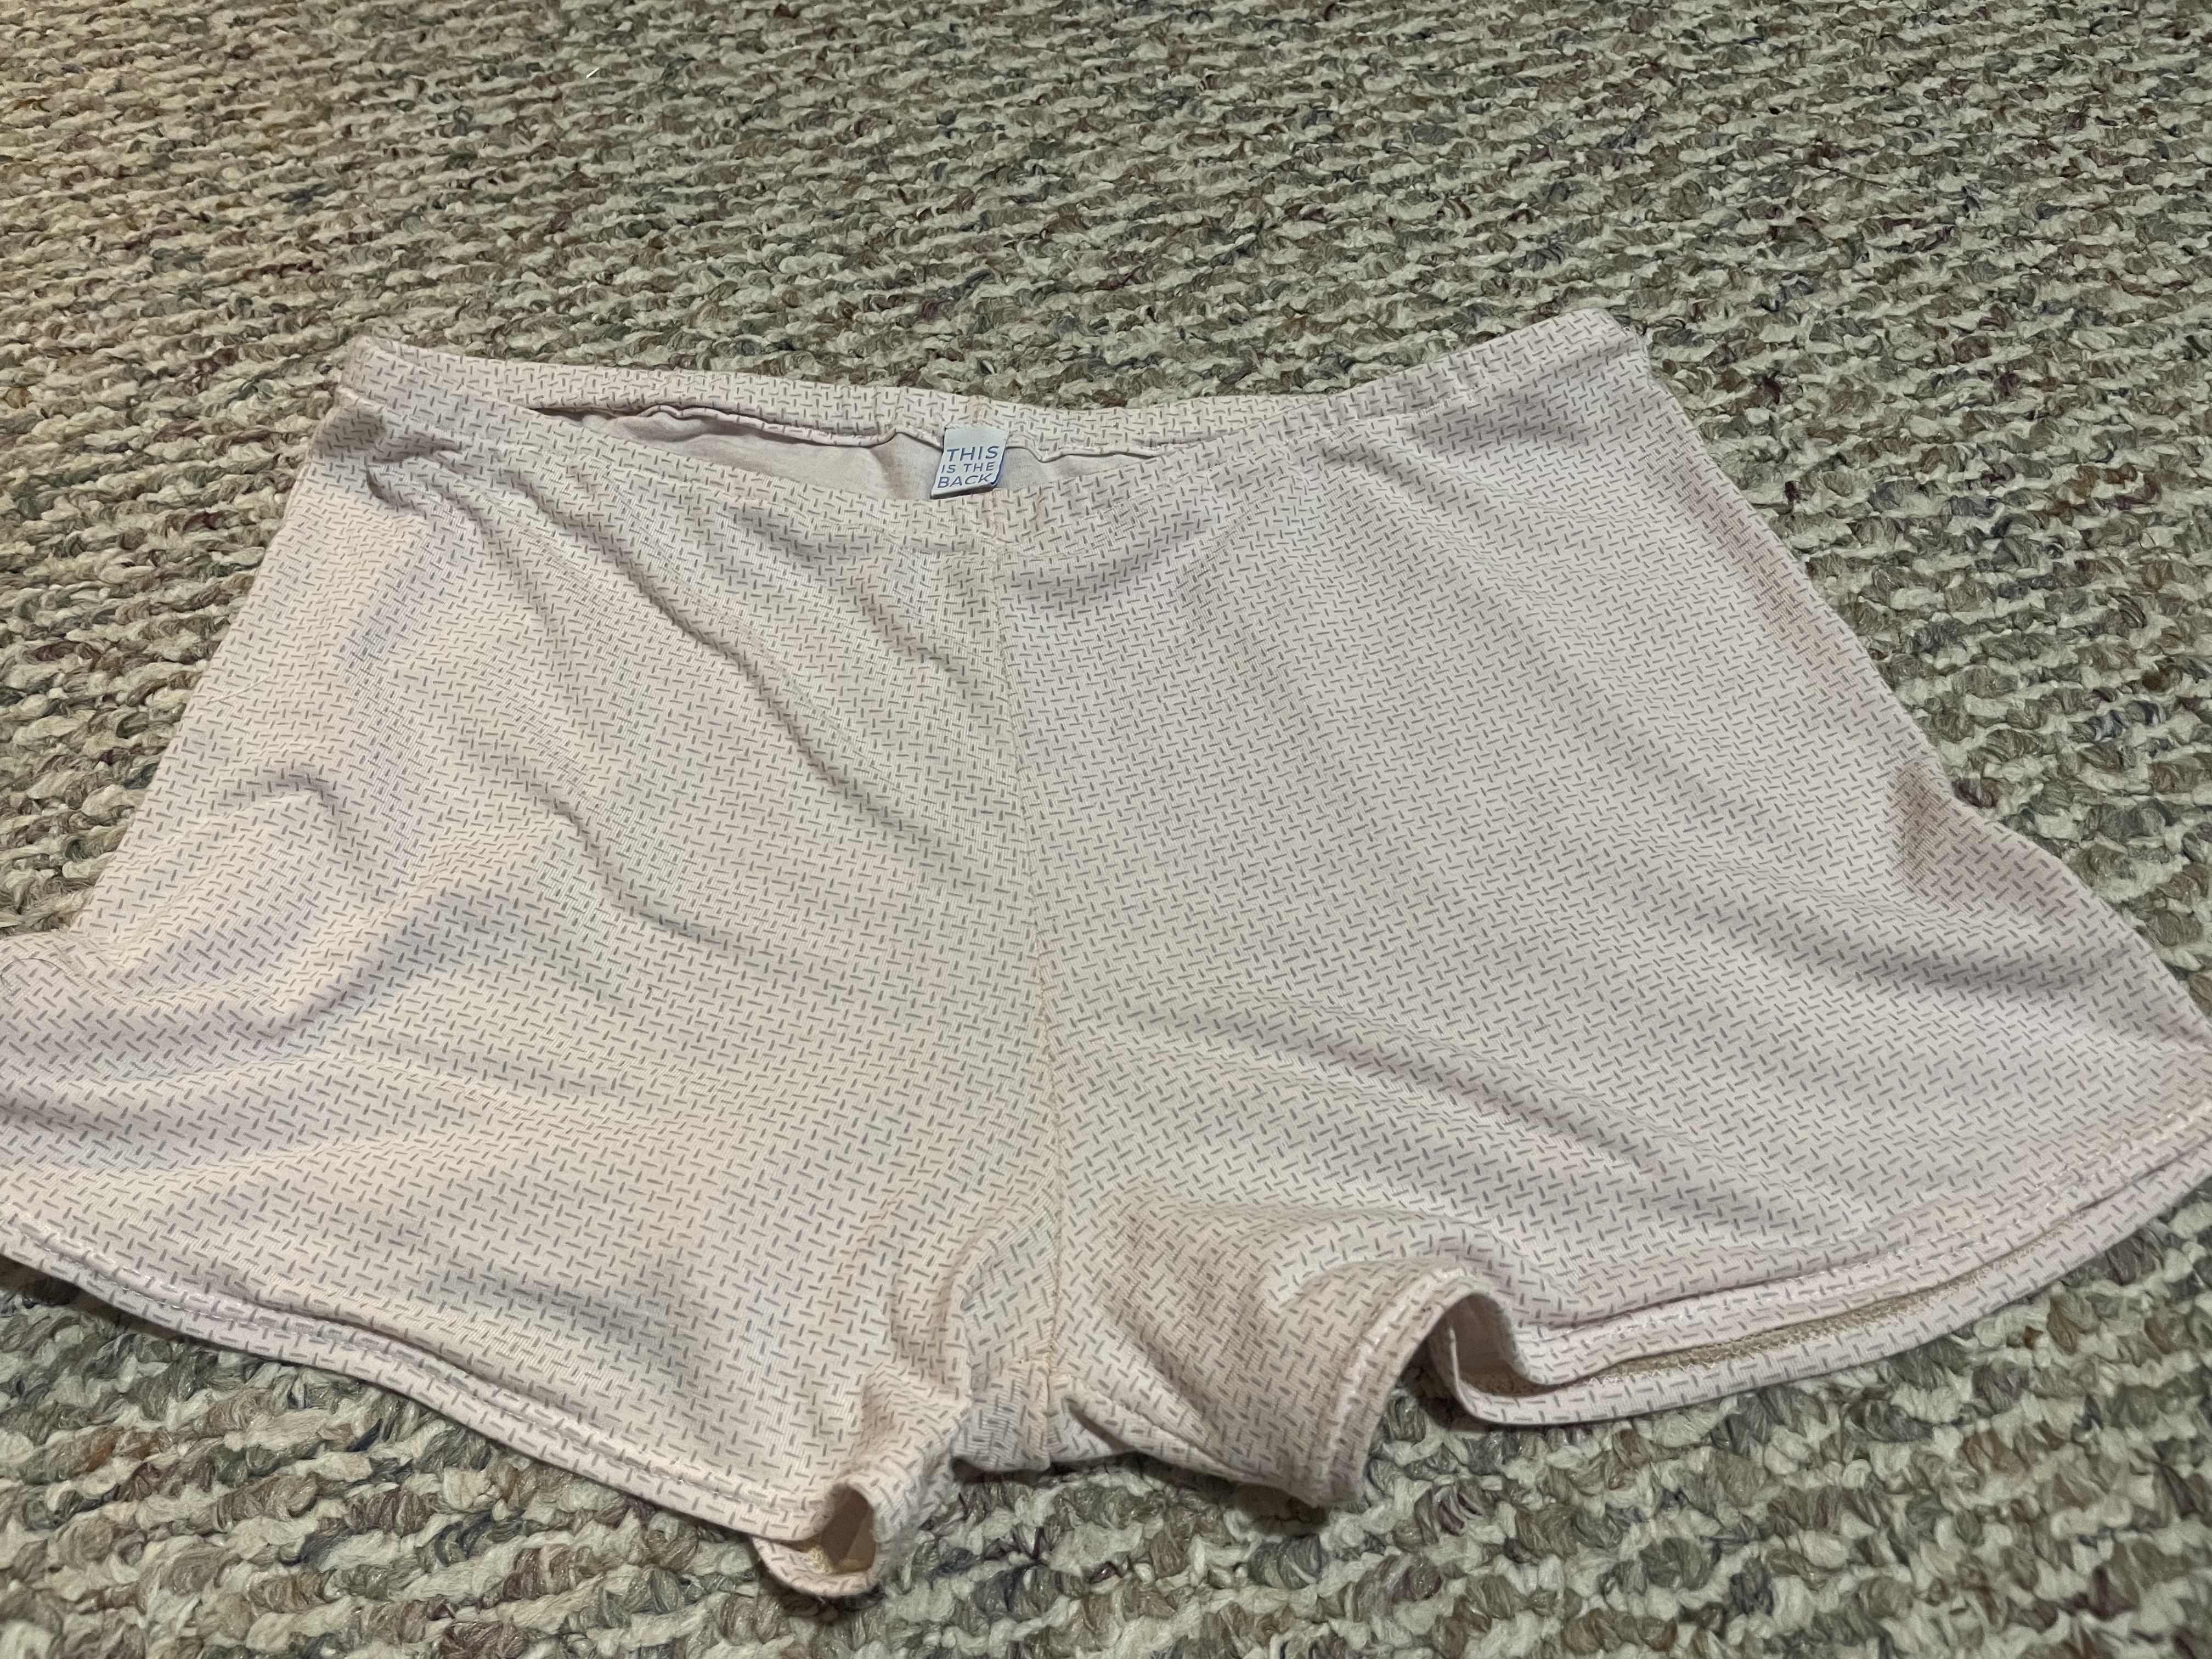
So glad to finally be able to use this fabric for something! And I have more leftover, so I may use it for some lounge pants or I may also make a pair of these great knit pajama shorts that I had self drafted a pattern for.

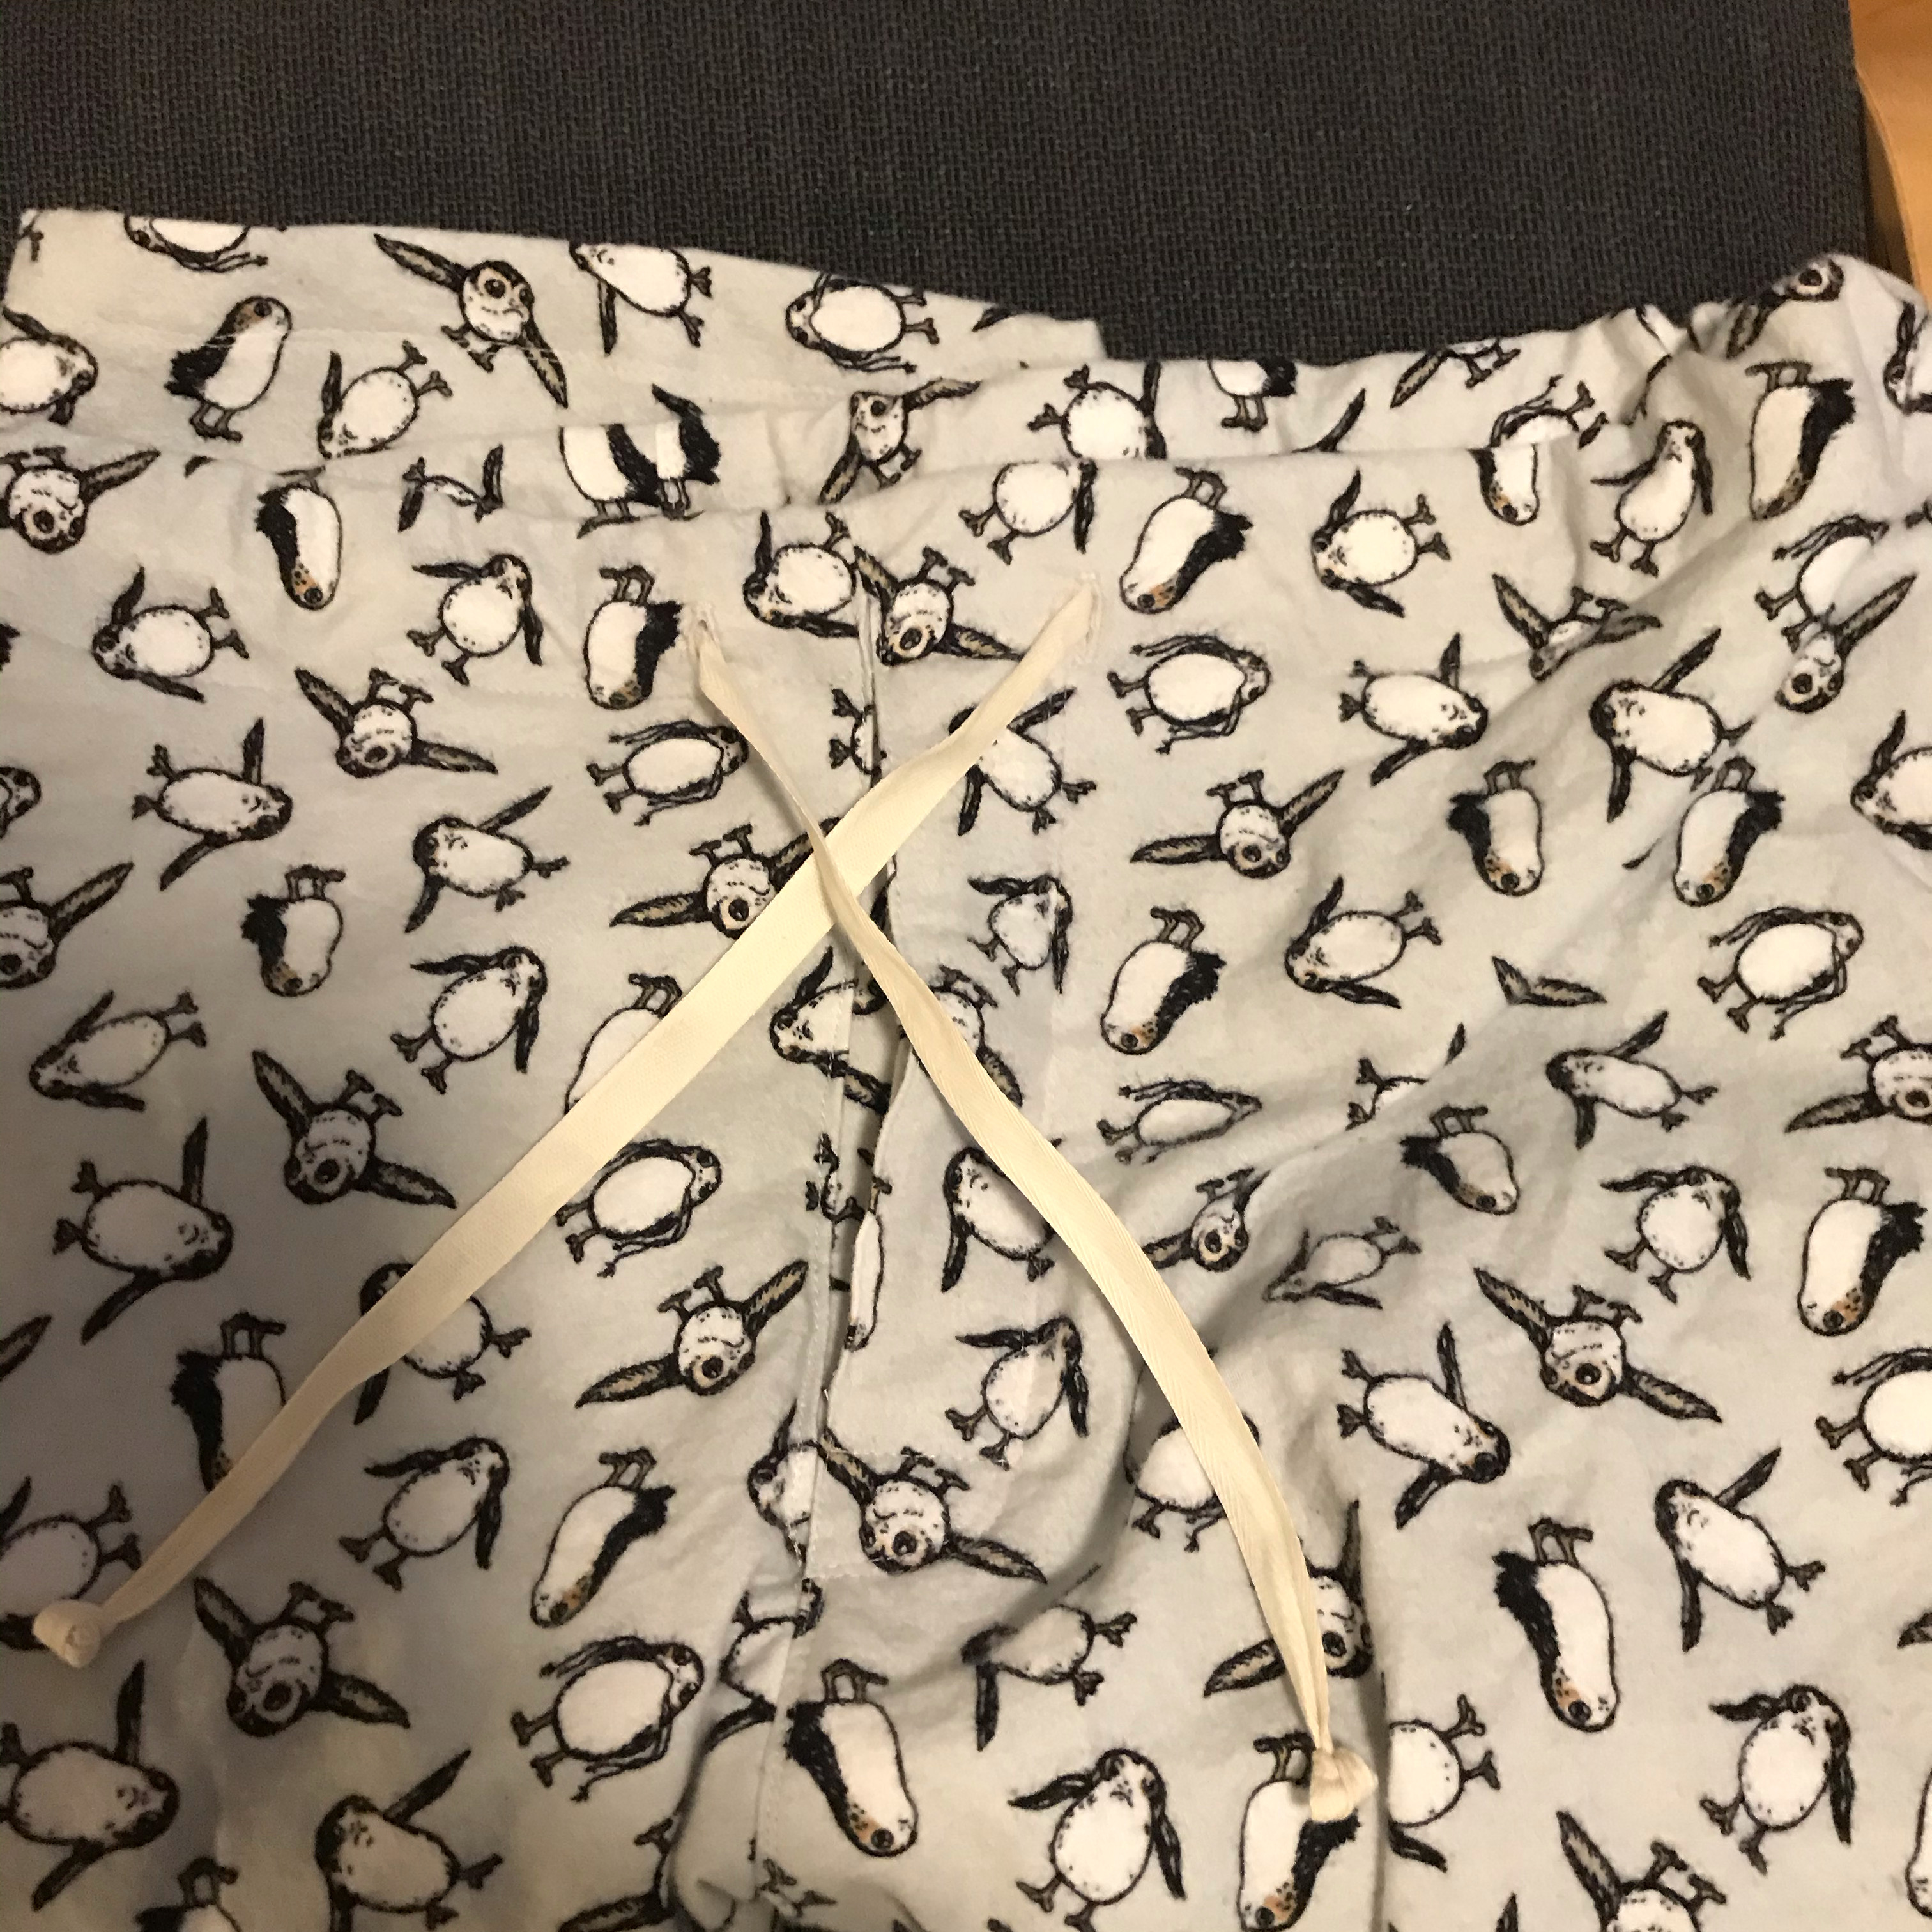
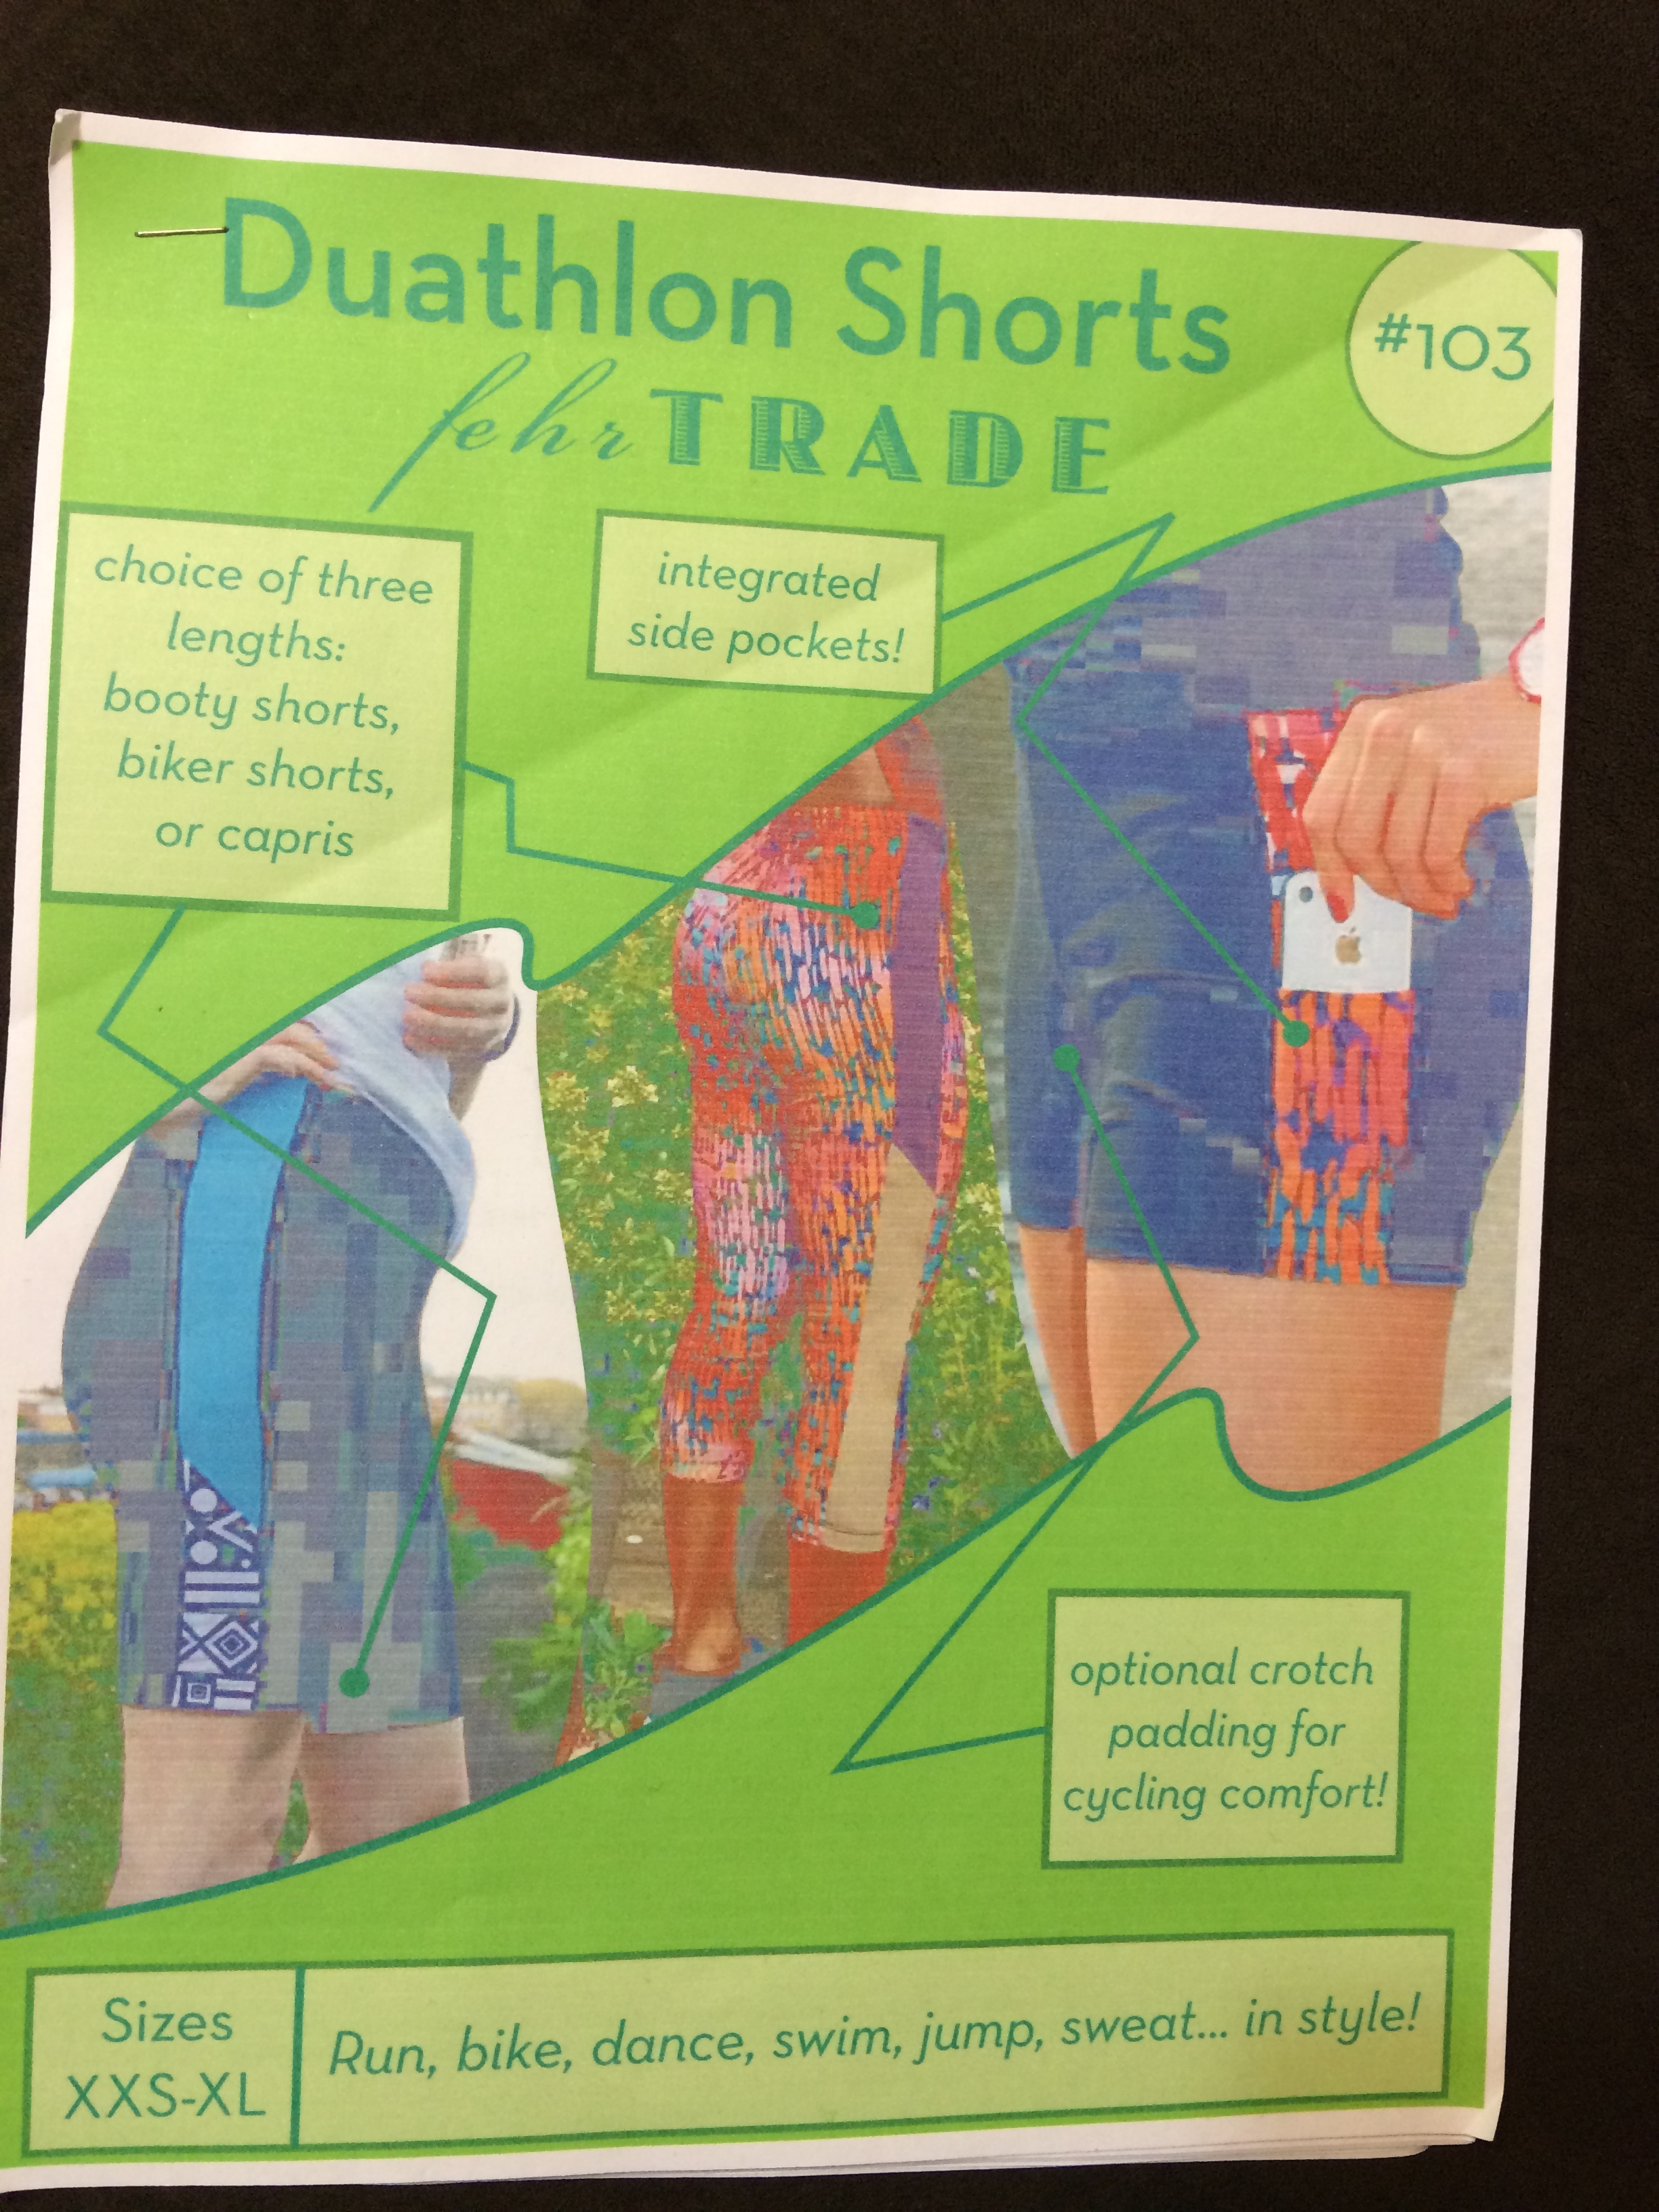
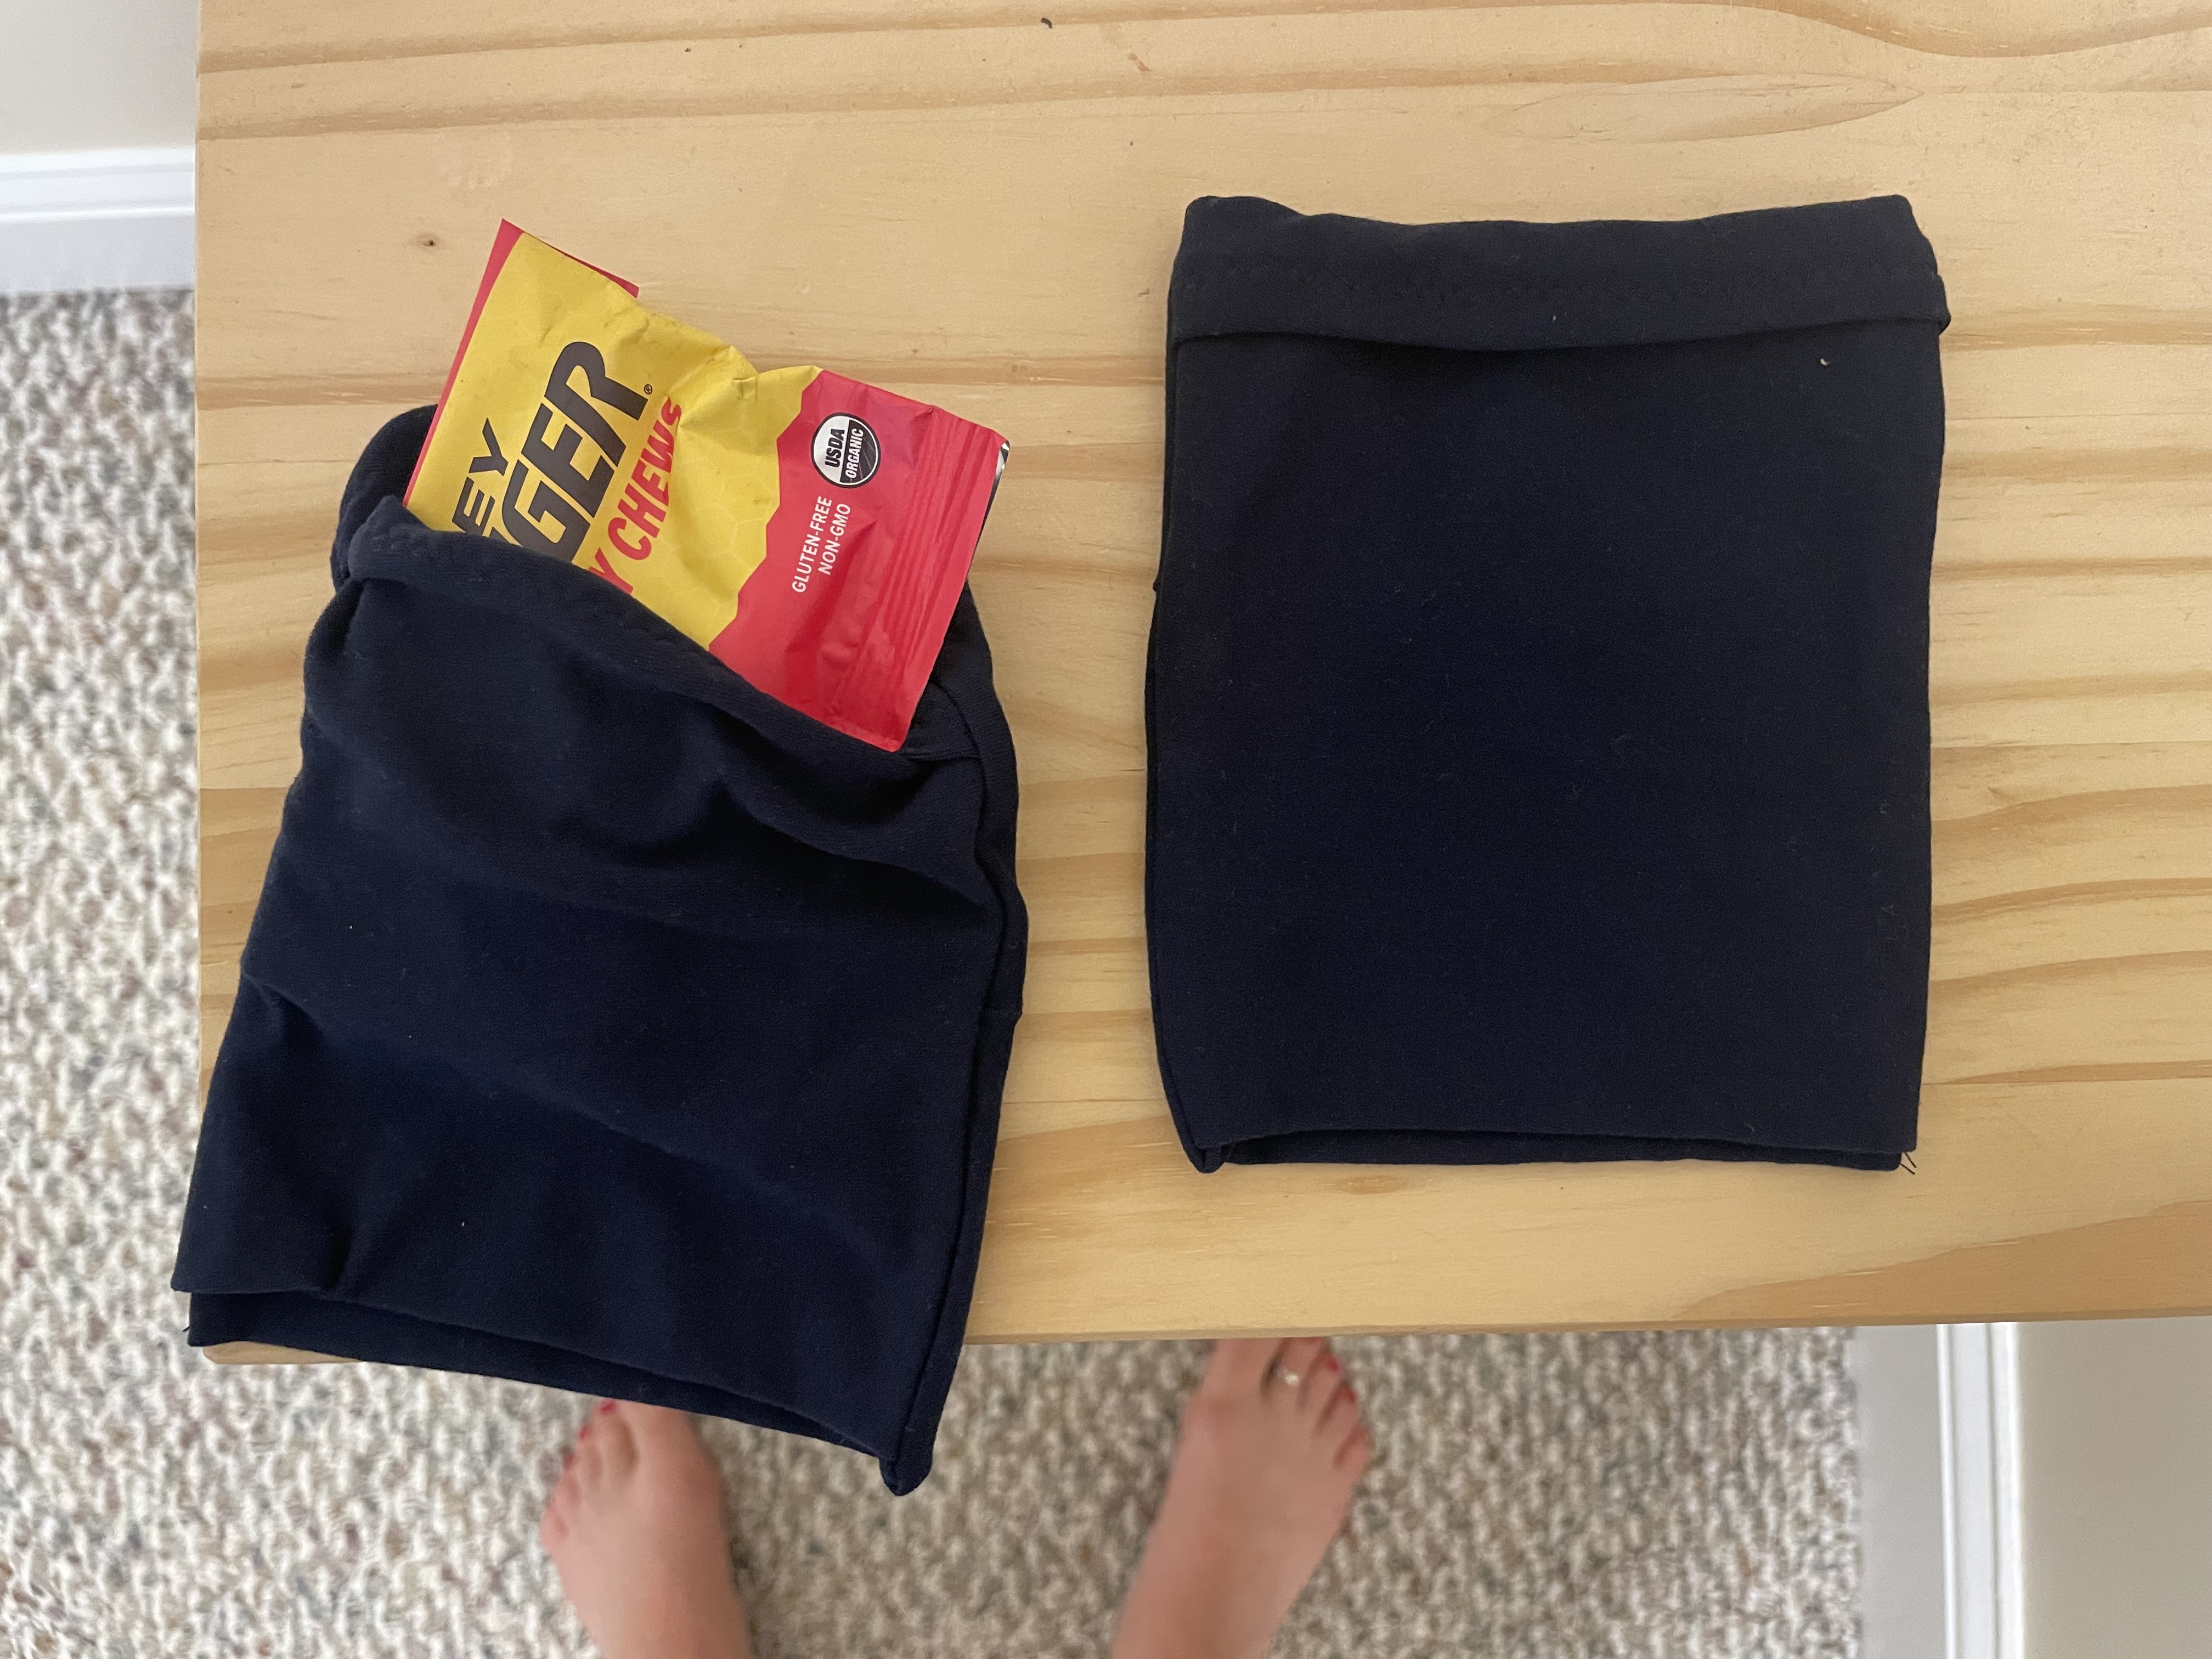
I was able to test out the shorts pattern on some leftover knit I had from a 1970’s style dress I made. All the pajama shorts I purchase seem to have ridiculously wide legs that tend to ride up in my sleep. I wanted something a bit more comfortable and these worked great. It could be a great way to use up leftover knit as well, which will help with my overall stash-busting project.
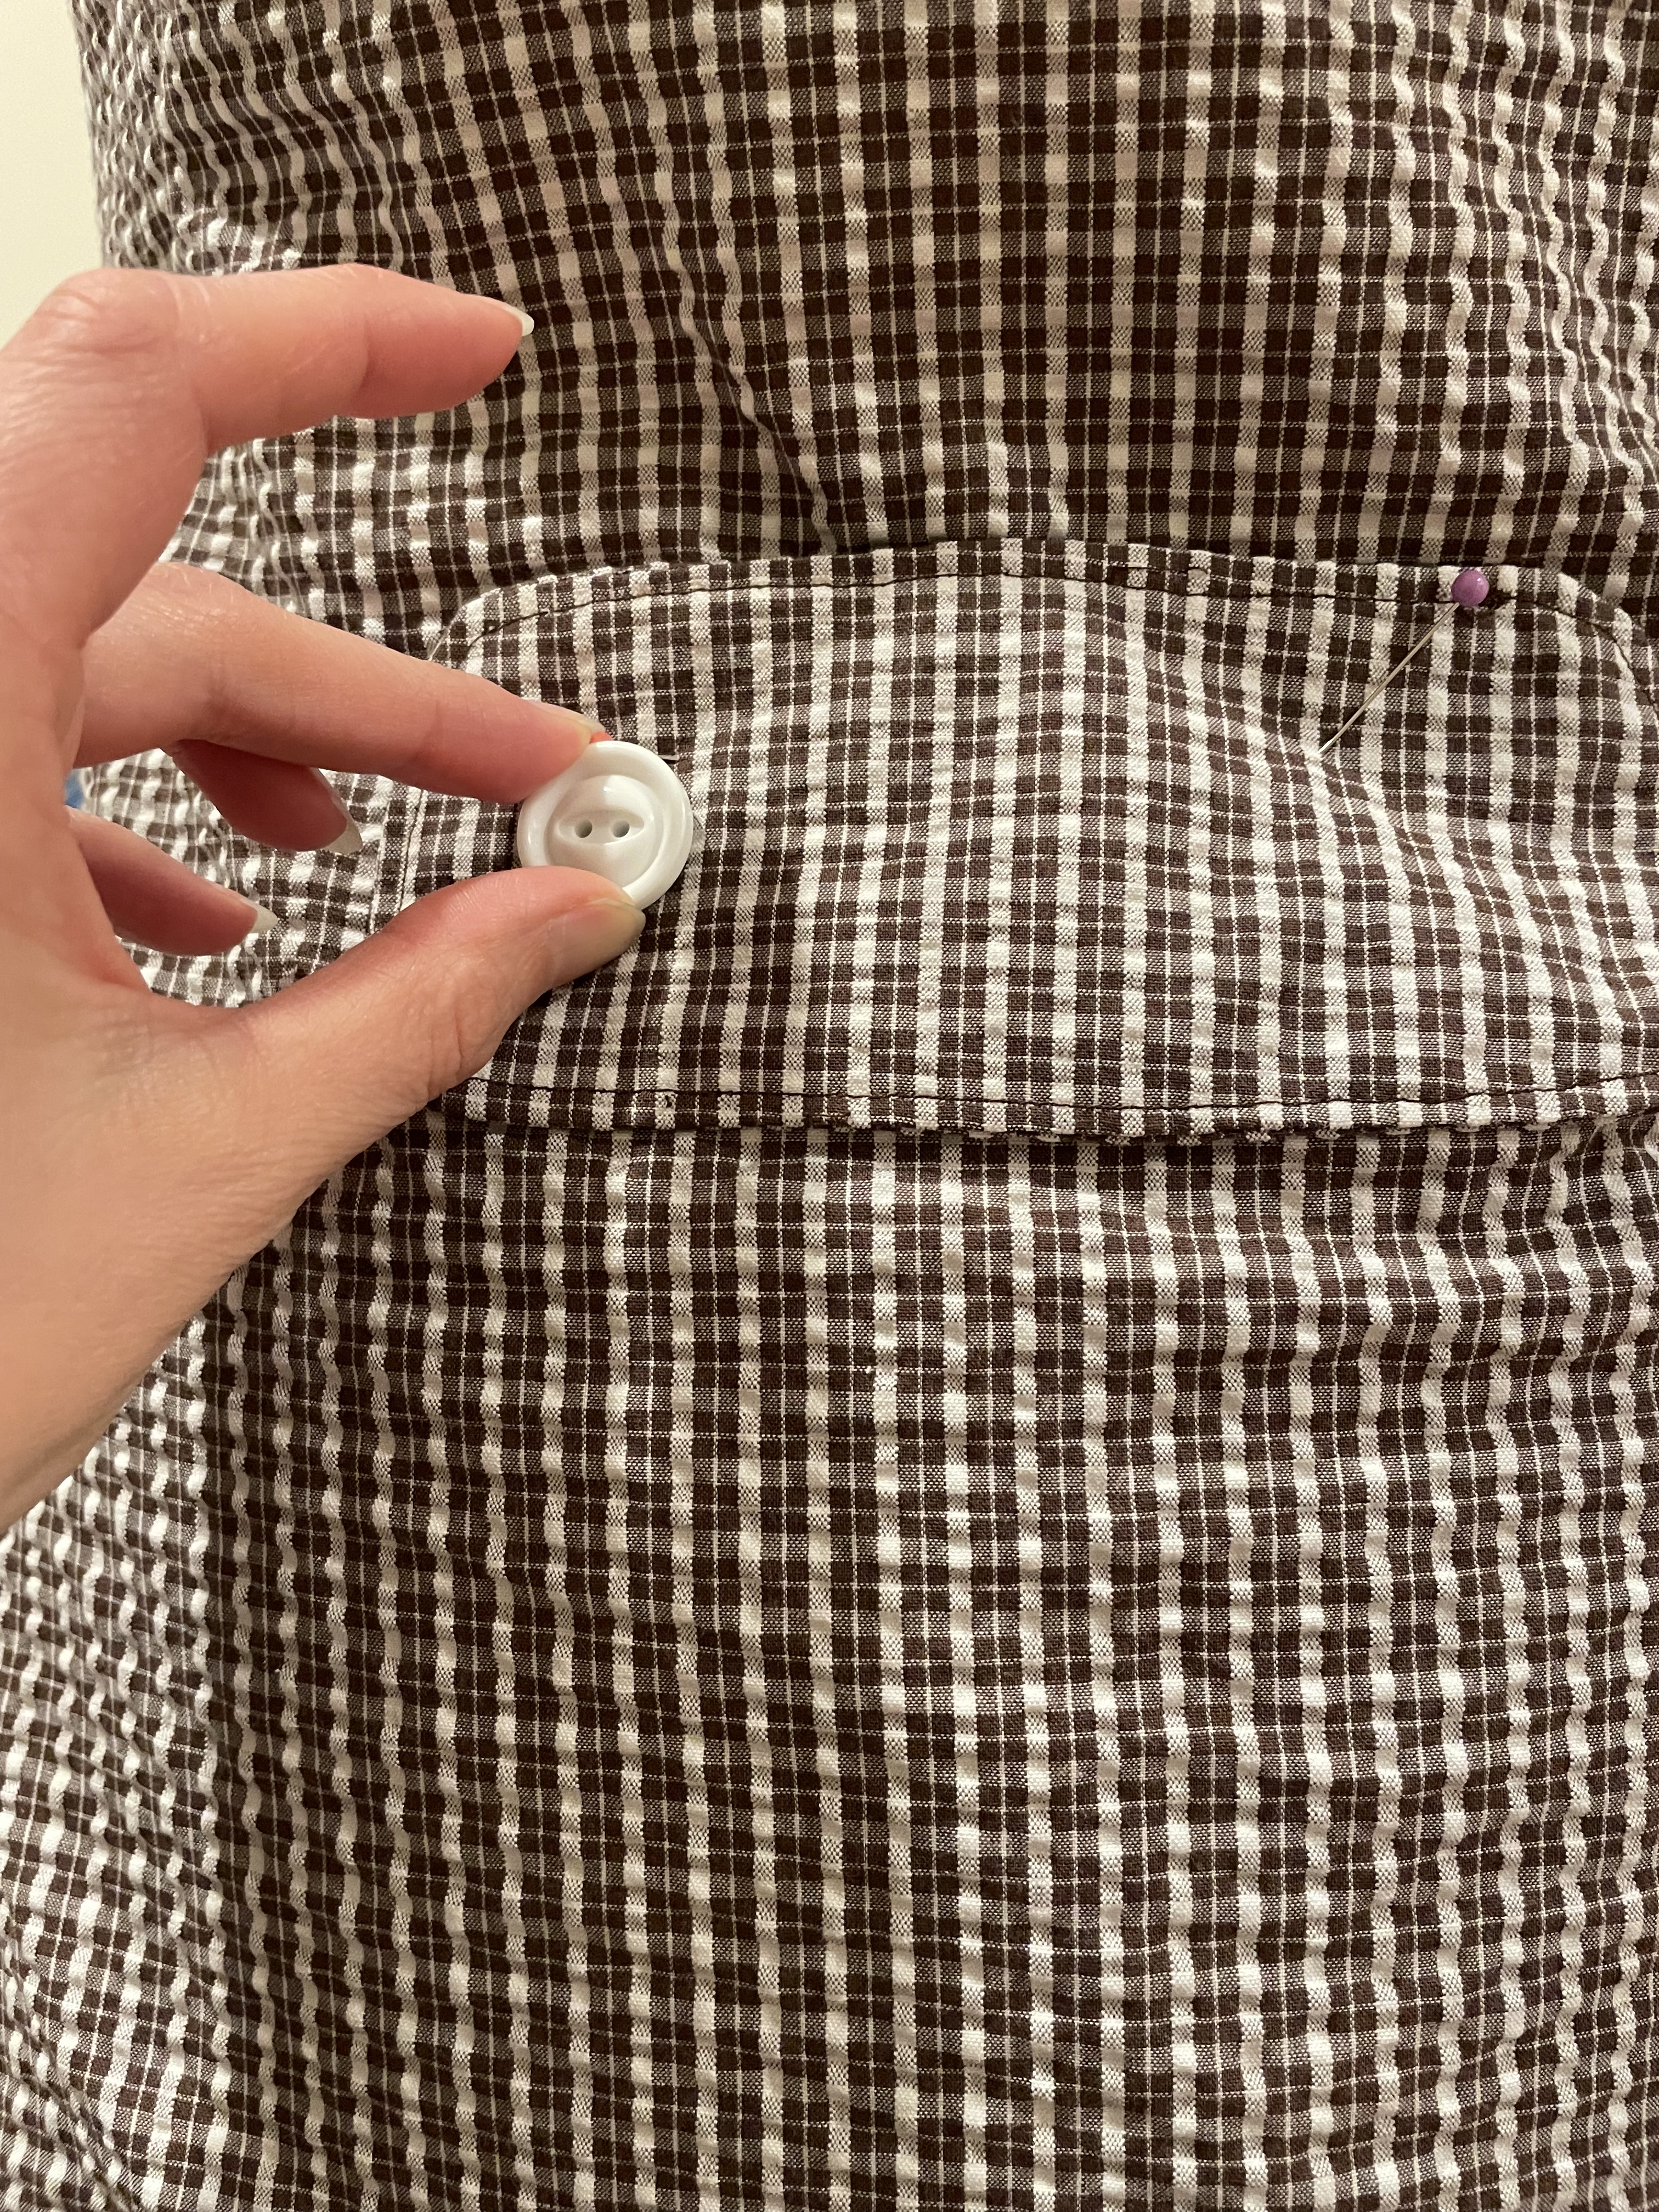
Up next for the month is making this cute sleeveless tie-top using McCalls 8620 (view C).
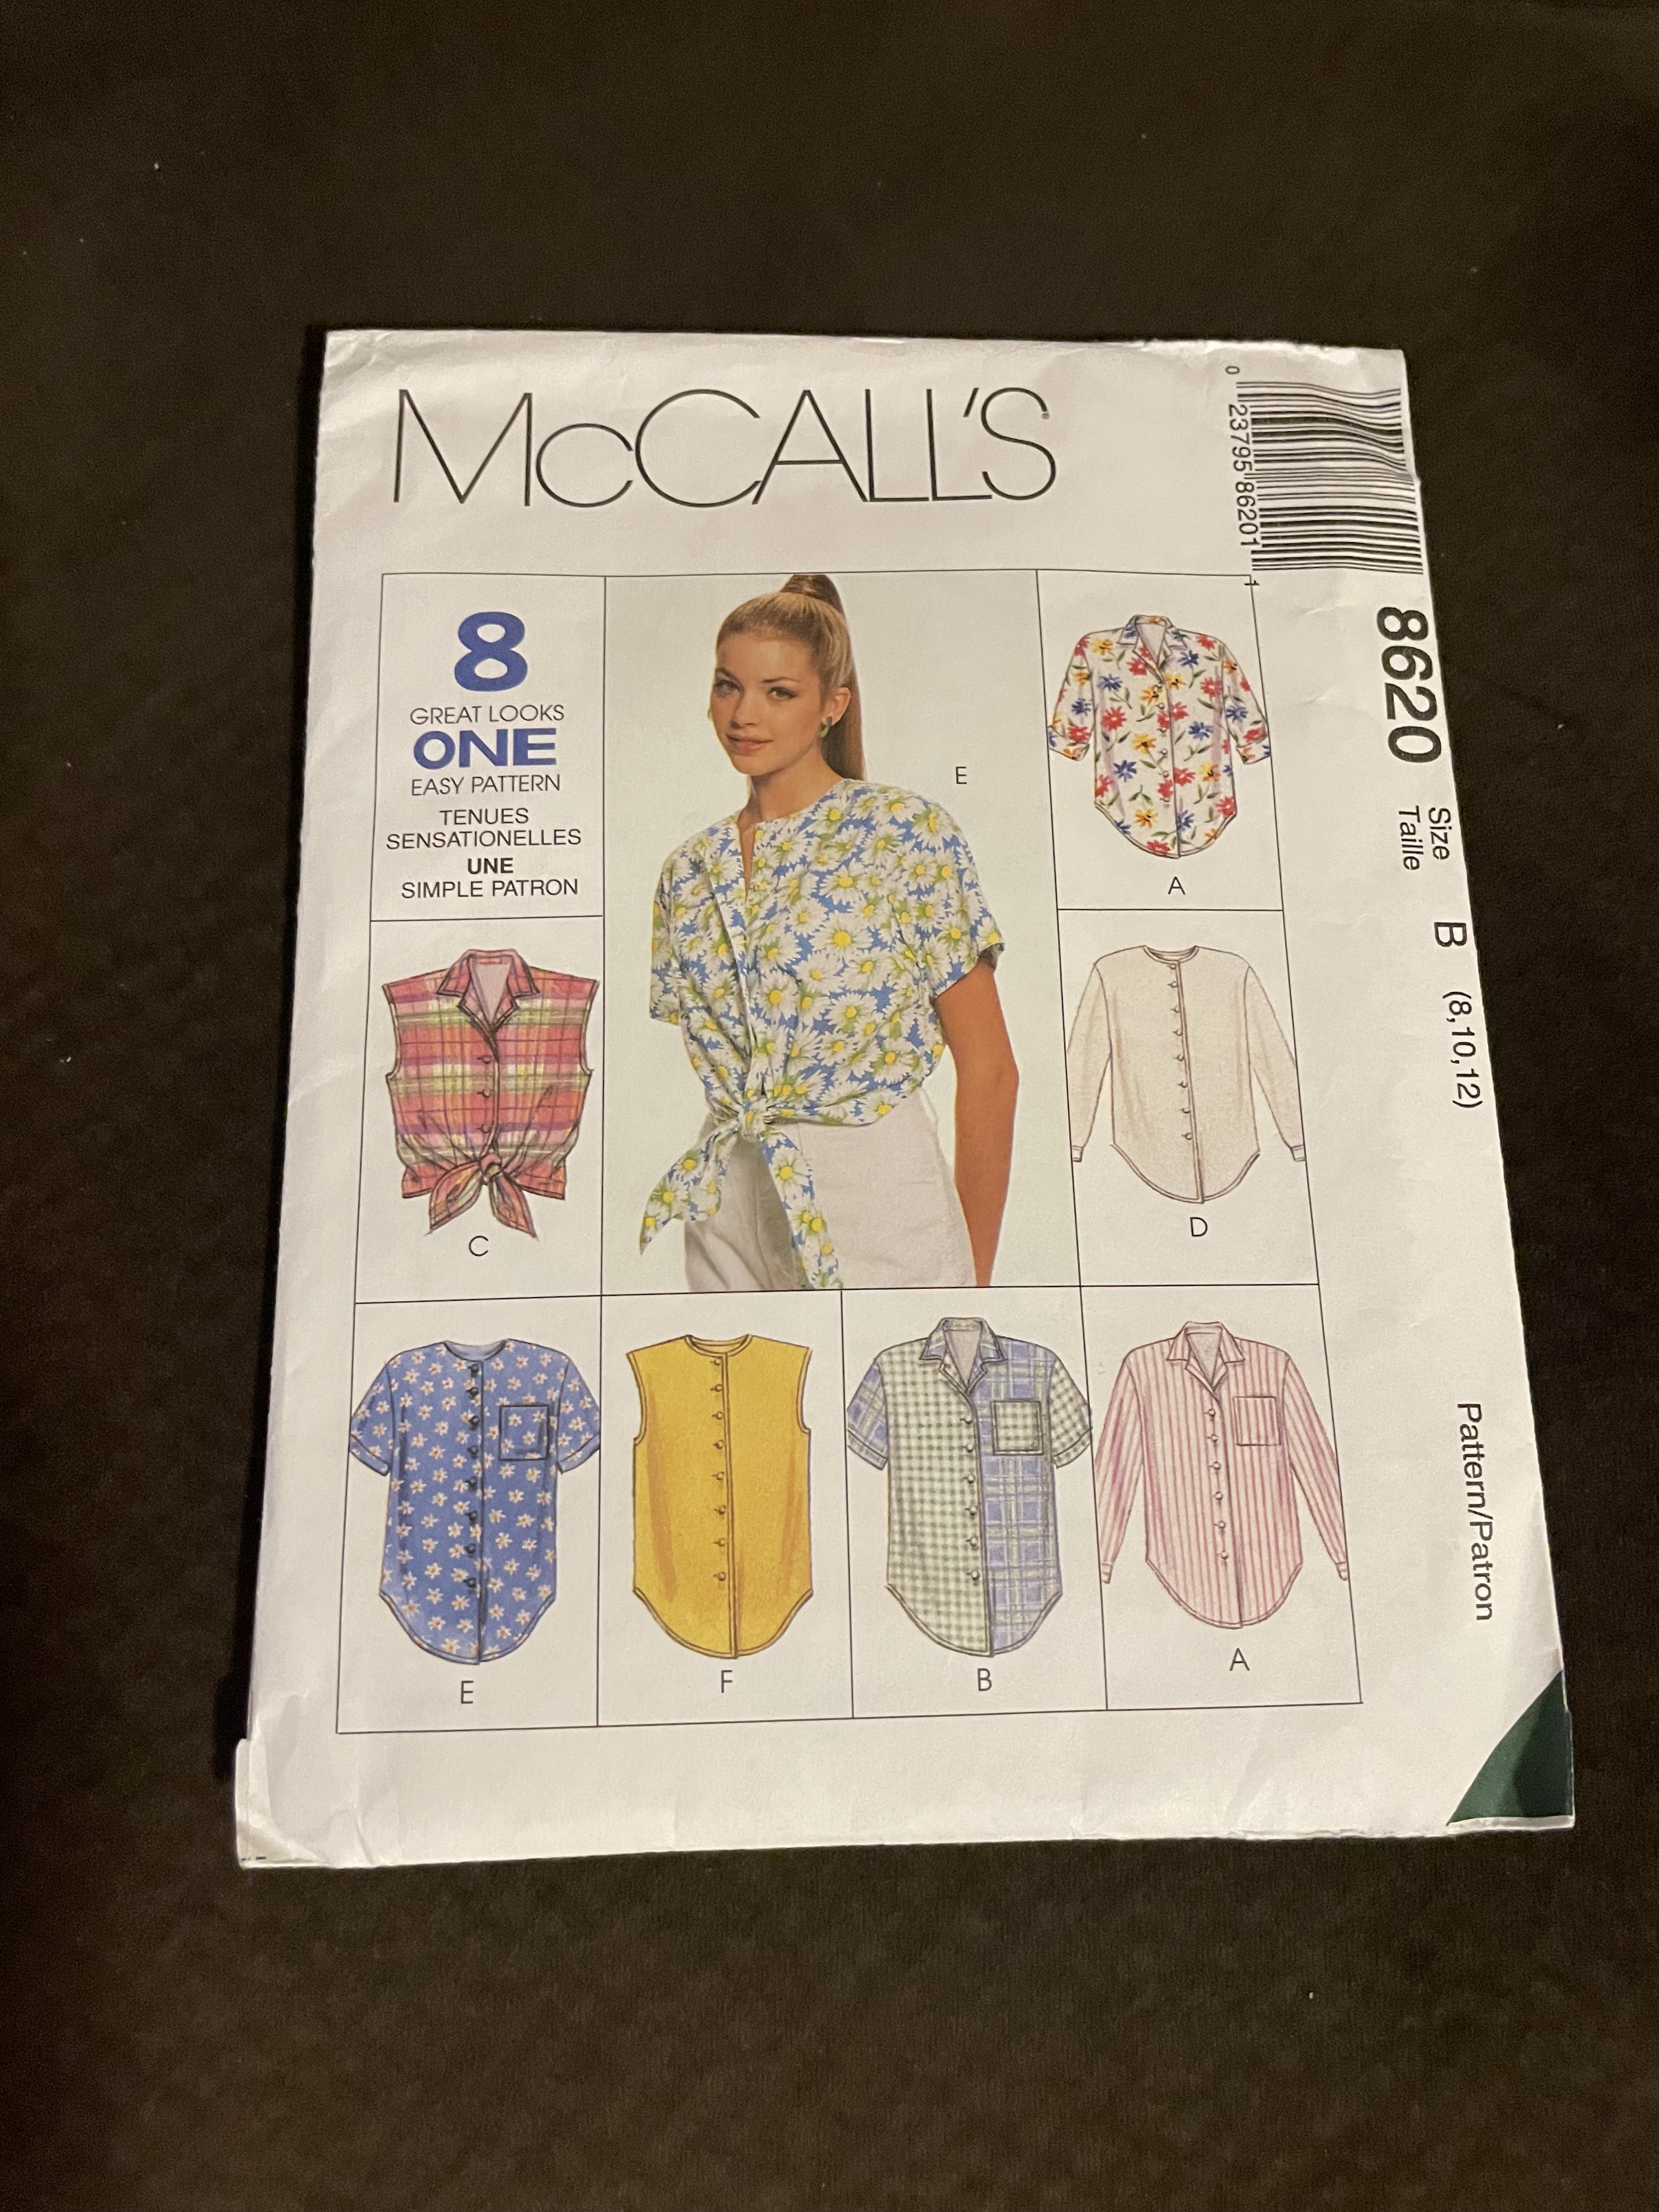
I’m trying out the fit on some lemon-print cotton I bought in Montreal. I had a feeling this pattern would need some adjusting and so far I’ve been proven right. The collar on it just doesn’t seem to match up to how it’s supposed to fit on the shirt. I think if I make it smaller it could work better. I may also have to extend the front facing a bit too so it can reach where it needs to go. It’s odd that the facings are cut along with the main shirt front. Folding it in the way the pattern described was extremely confusing. It took a few tries and 3 times unpicking the stitches before I figured out what they were trying to do. I was able to figure it out by actually pressing the facing in place first to see how it needed to land. Anyways, this one will never be perfect, but I’m confident my next one could be great if I take my time and figure it out right. I did shorten it a bit, but so far it doesn’t seem to need too much size adjusting, which is lucky.


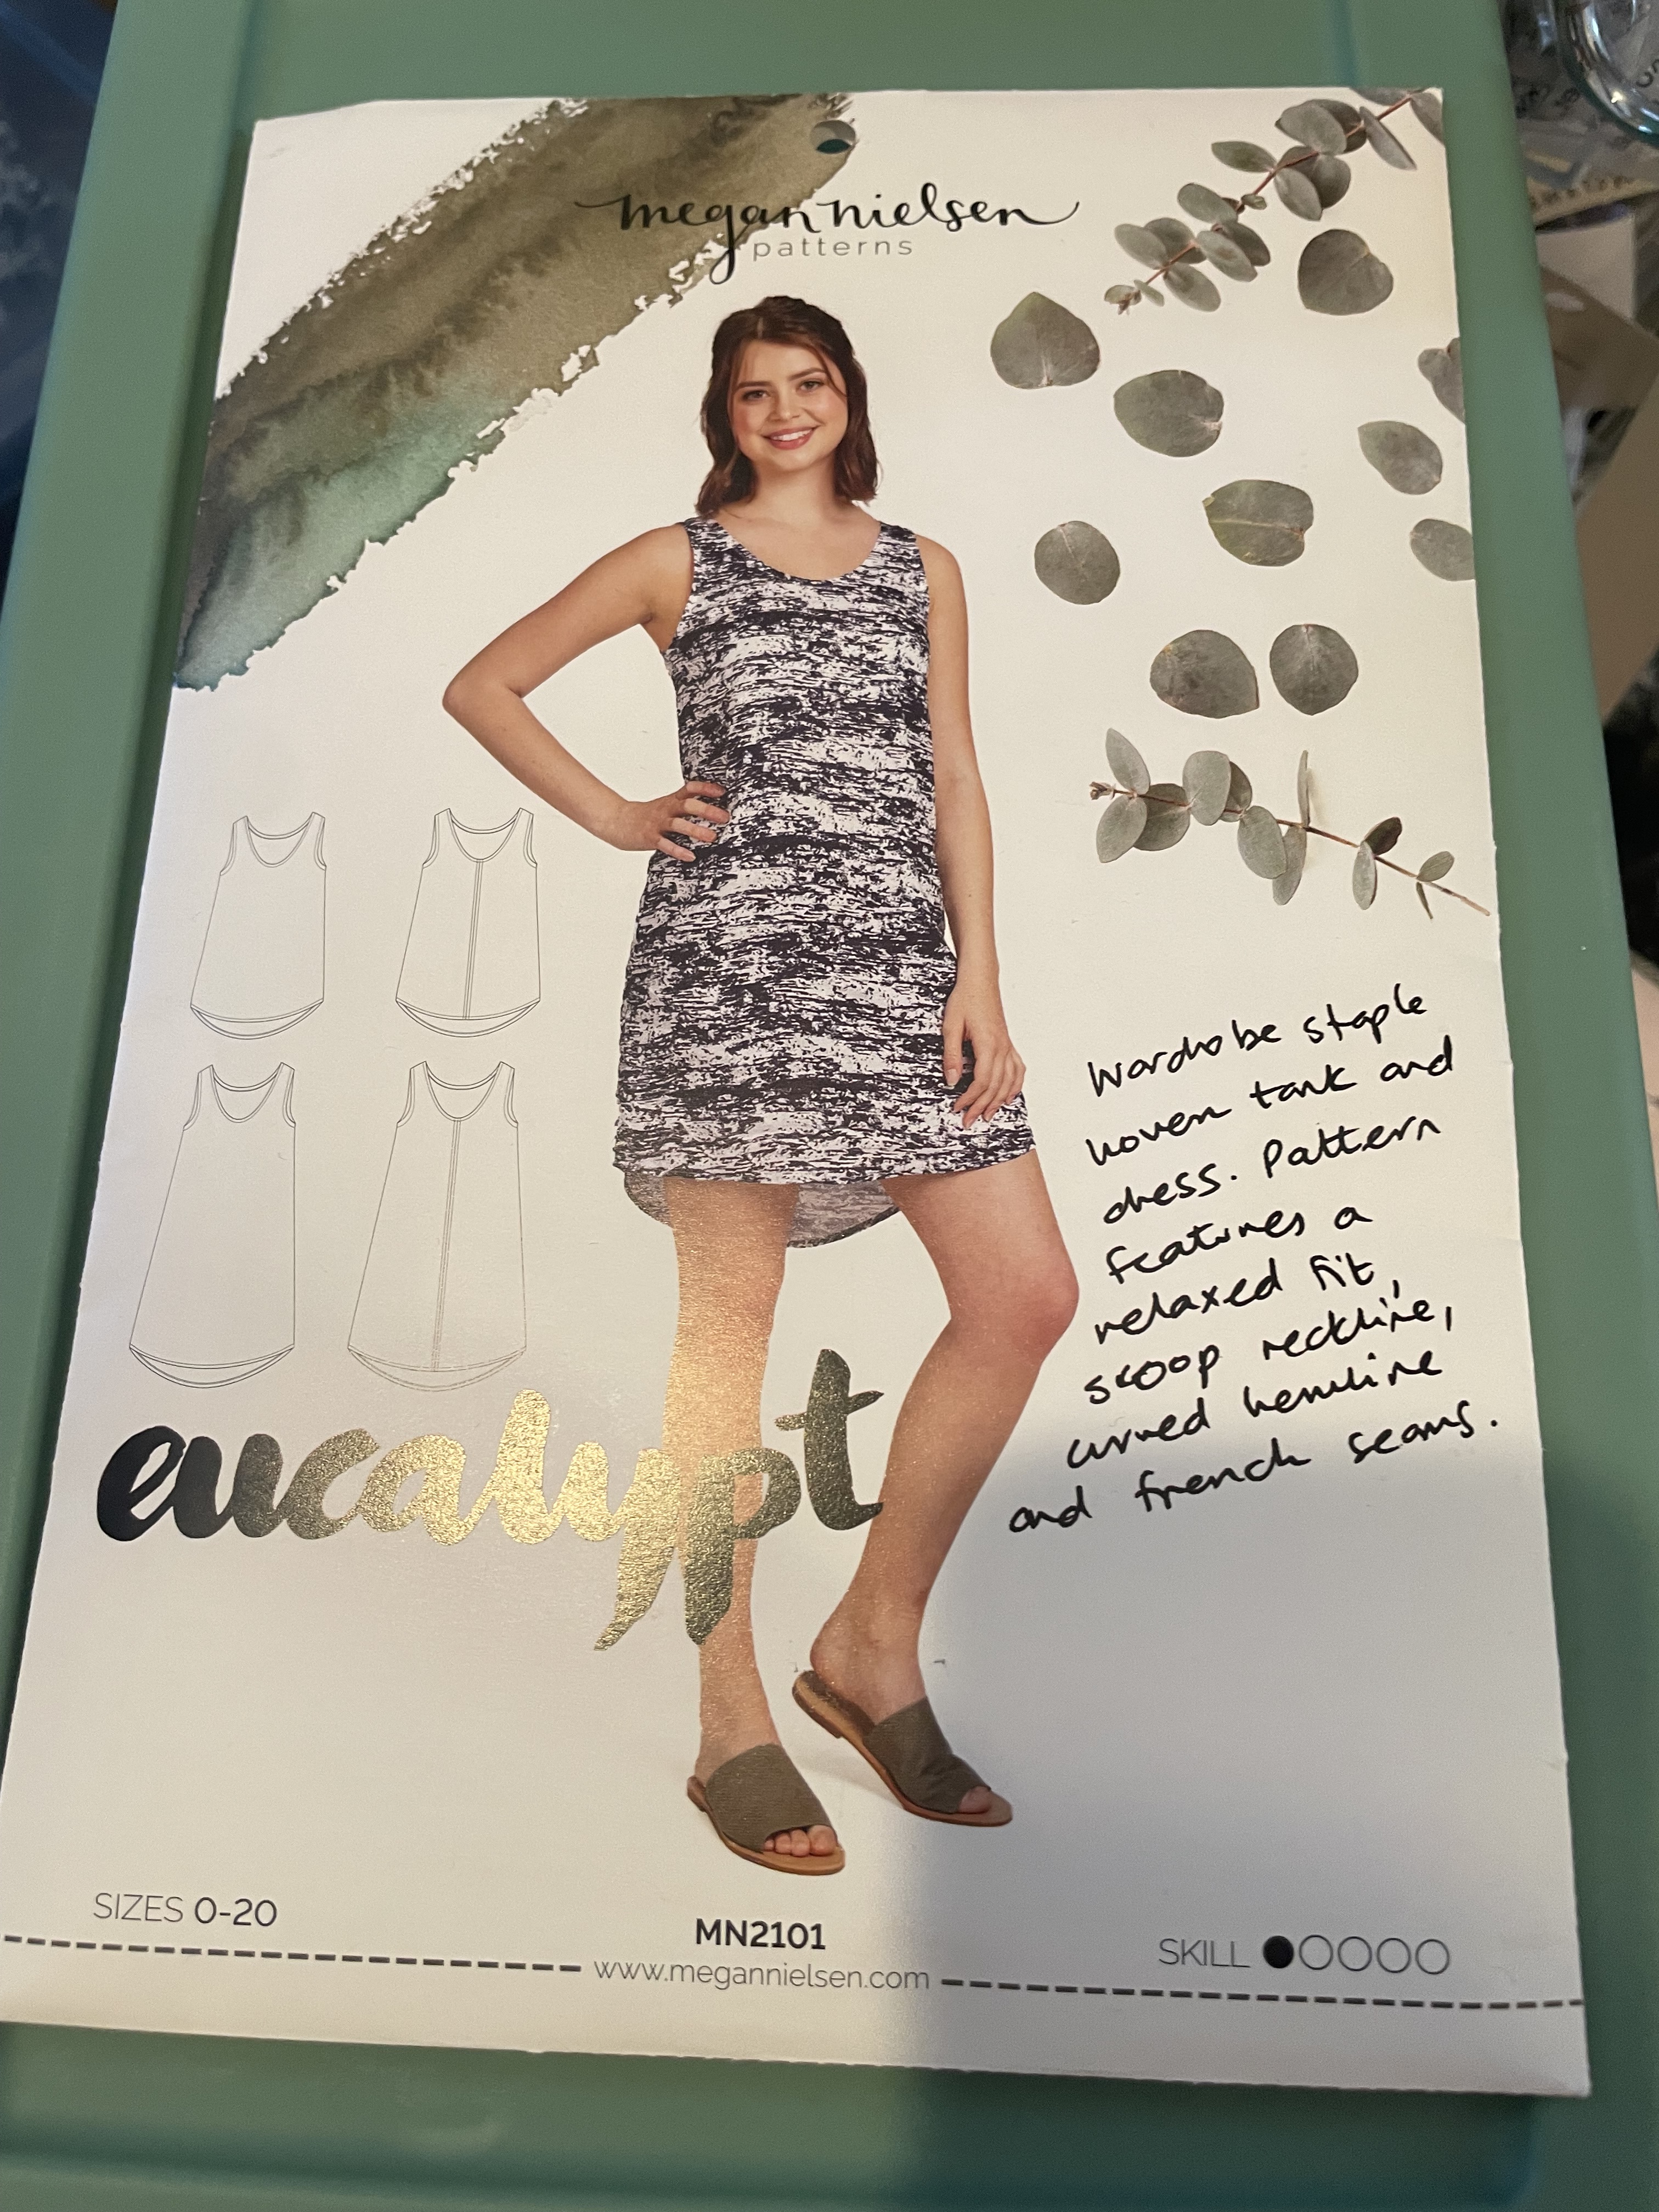
I also started the bodice on my summer sundress, but I quit to cut out some button-up shorts out of some scrap denim. This is another test garment as I’m not sure I can get the fit right on the first try. I have some anchor print (I think it’s Chambray?) that I’ve really wanted to do something with. I think this may be the perfect pattern for it, but I need to make sure. I’ll get to the dress eventually, but it’s a high possibility it won’t be ready for this summer. But you never know.