I’ve seen so many cute long knit skirts lately worn by people at work. So I thought, why not make my own! I had just bought myself a serger – exciting news. So this was the perfect project to test out my skills.
Not much to say about this one. I had used this pattern before, but this time I decided to try view C, but with the yoke I had constructed for view D. It’s pretty basic, with just a back panel and a front panel, and the yoke pieces to form a waistband.
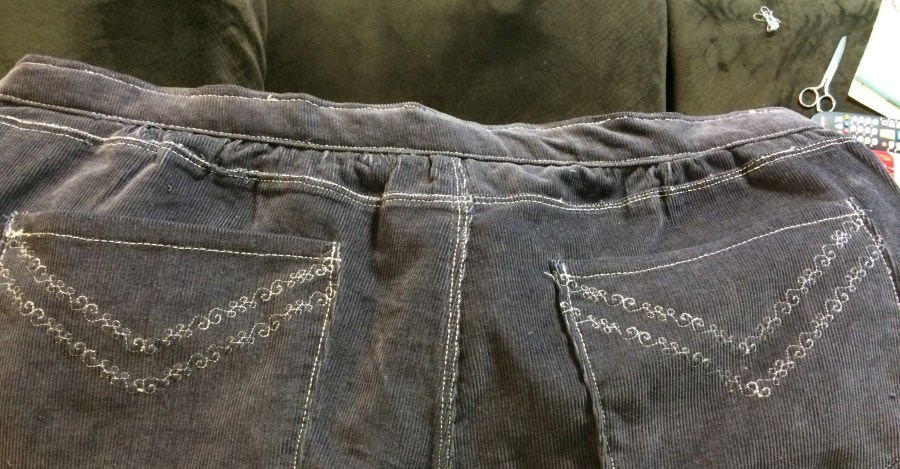
Yikes! This project fell of a cliff fast. Okay I’m being a bit dramatic – it’s not a total disaster. These just didn’t end up being the fabulous everyday pants I imagined. I tested these pants out using an inexpensive purple corduroy I bought in preparation for this nice green corduroy that I want to use for the real deal . After making a few jeans with this pattern, I think I’ve decided I don’t like it too much. This is unfortunate because it means I will probably have to start all over again – more test fabric, more fitting adjustments. Well maybe the practice will do me good.
I’ve been kind of down on my sewing lately. Things are just not coming out as nice as I want them and it’s been a frustrating few weeks. This could be why I haven’t been writing in my blog – I have been working on projects, but have no feelings of satisfaction. Also, it seems most visitors are getting to my blog by searching for “amateur in bikini” but that is another issue.
For the past few months I have been piecing together some corduroy pants, which I am affectionately naming Grape-Cord. I am using a blue jean pattern that I have actually made a muslin of way back in the early days of my blog. My biggest accomplishment to date is the fact that I can now spell corduroy without looking it up. No, just kidding, I’m having some wins on these.
What is working…
Drafting a new pattern for a better fit
1. Adjusting the pattern for size
I have big hips and big thighs. There, I said it. It makes jean shopping a frustrating task that usually ends in tears and typical sewing patterns for bottoms don’t work so well. I end up making the size for my measurements and the crotch ends up around my knees. So I decided to try to adjust the pattern on this one. I added a good Continue reading “Striking a new corduroy: part 1”→
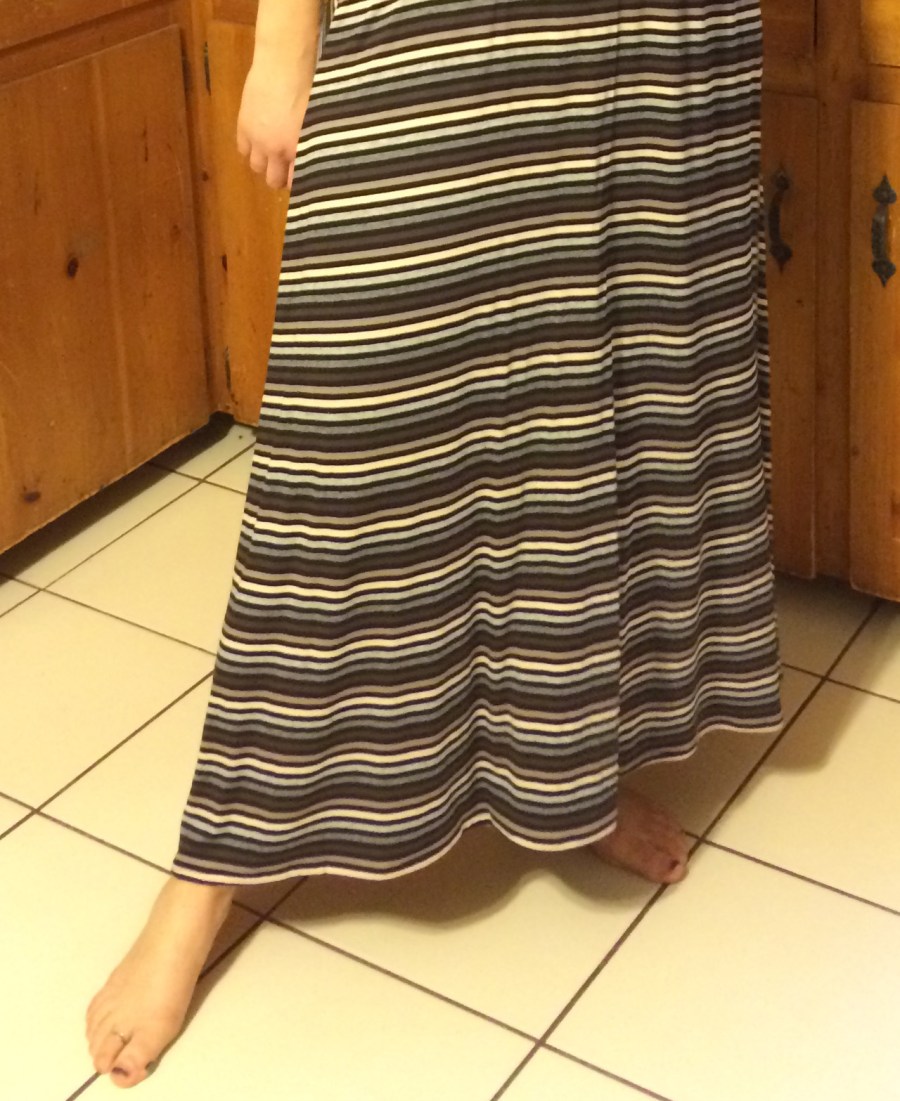
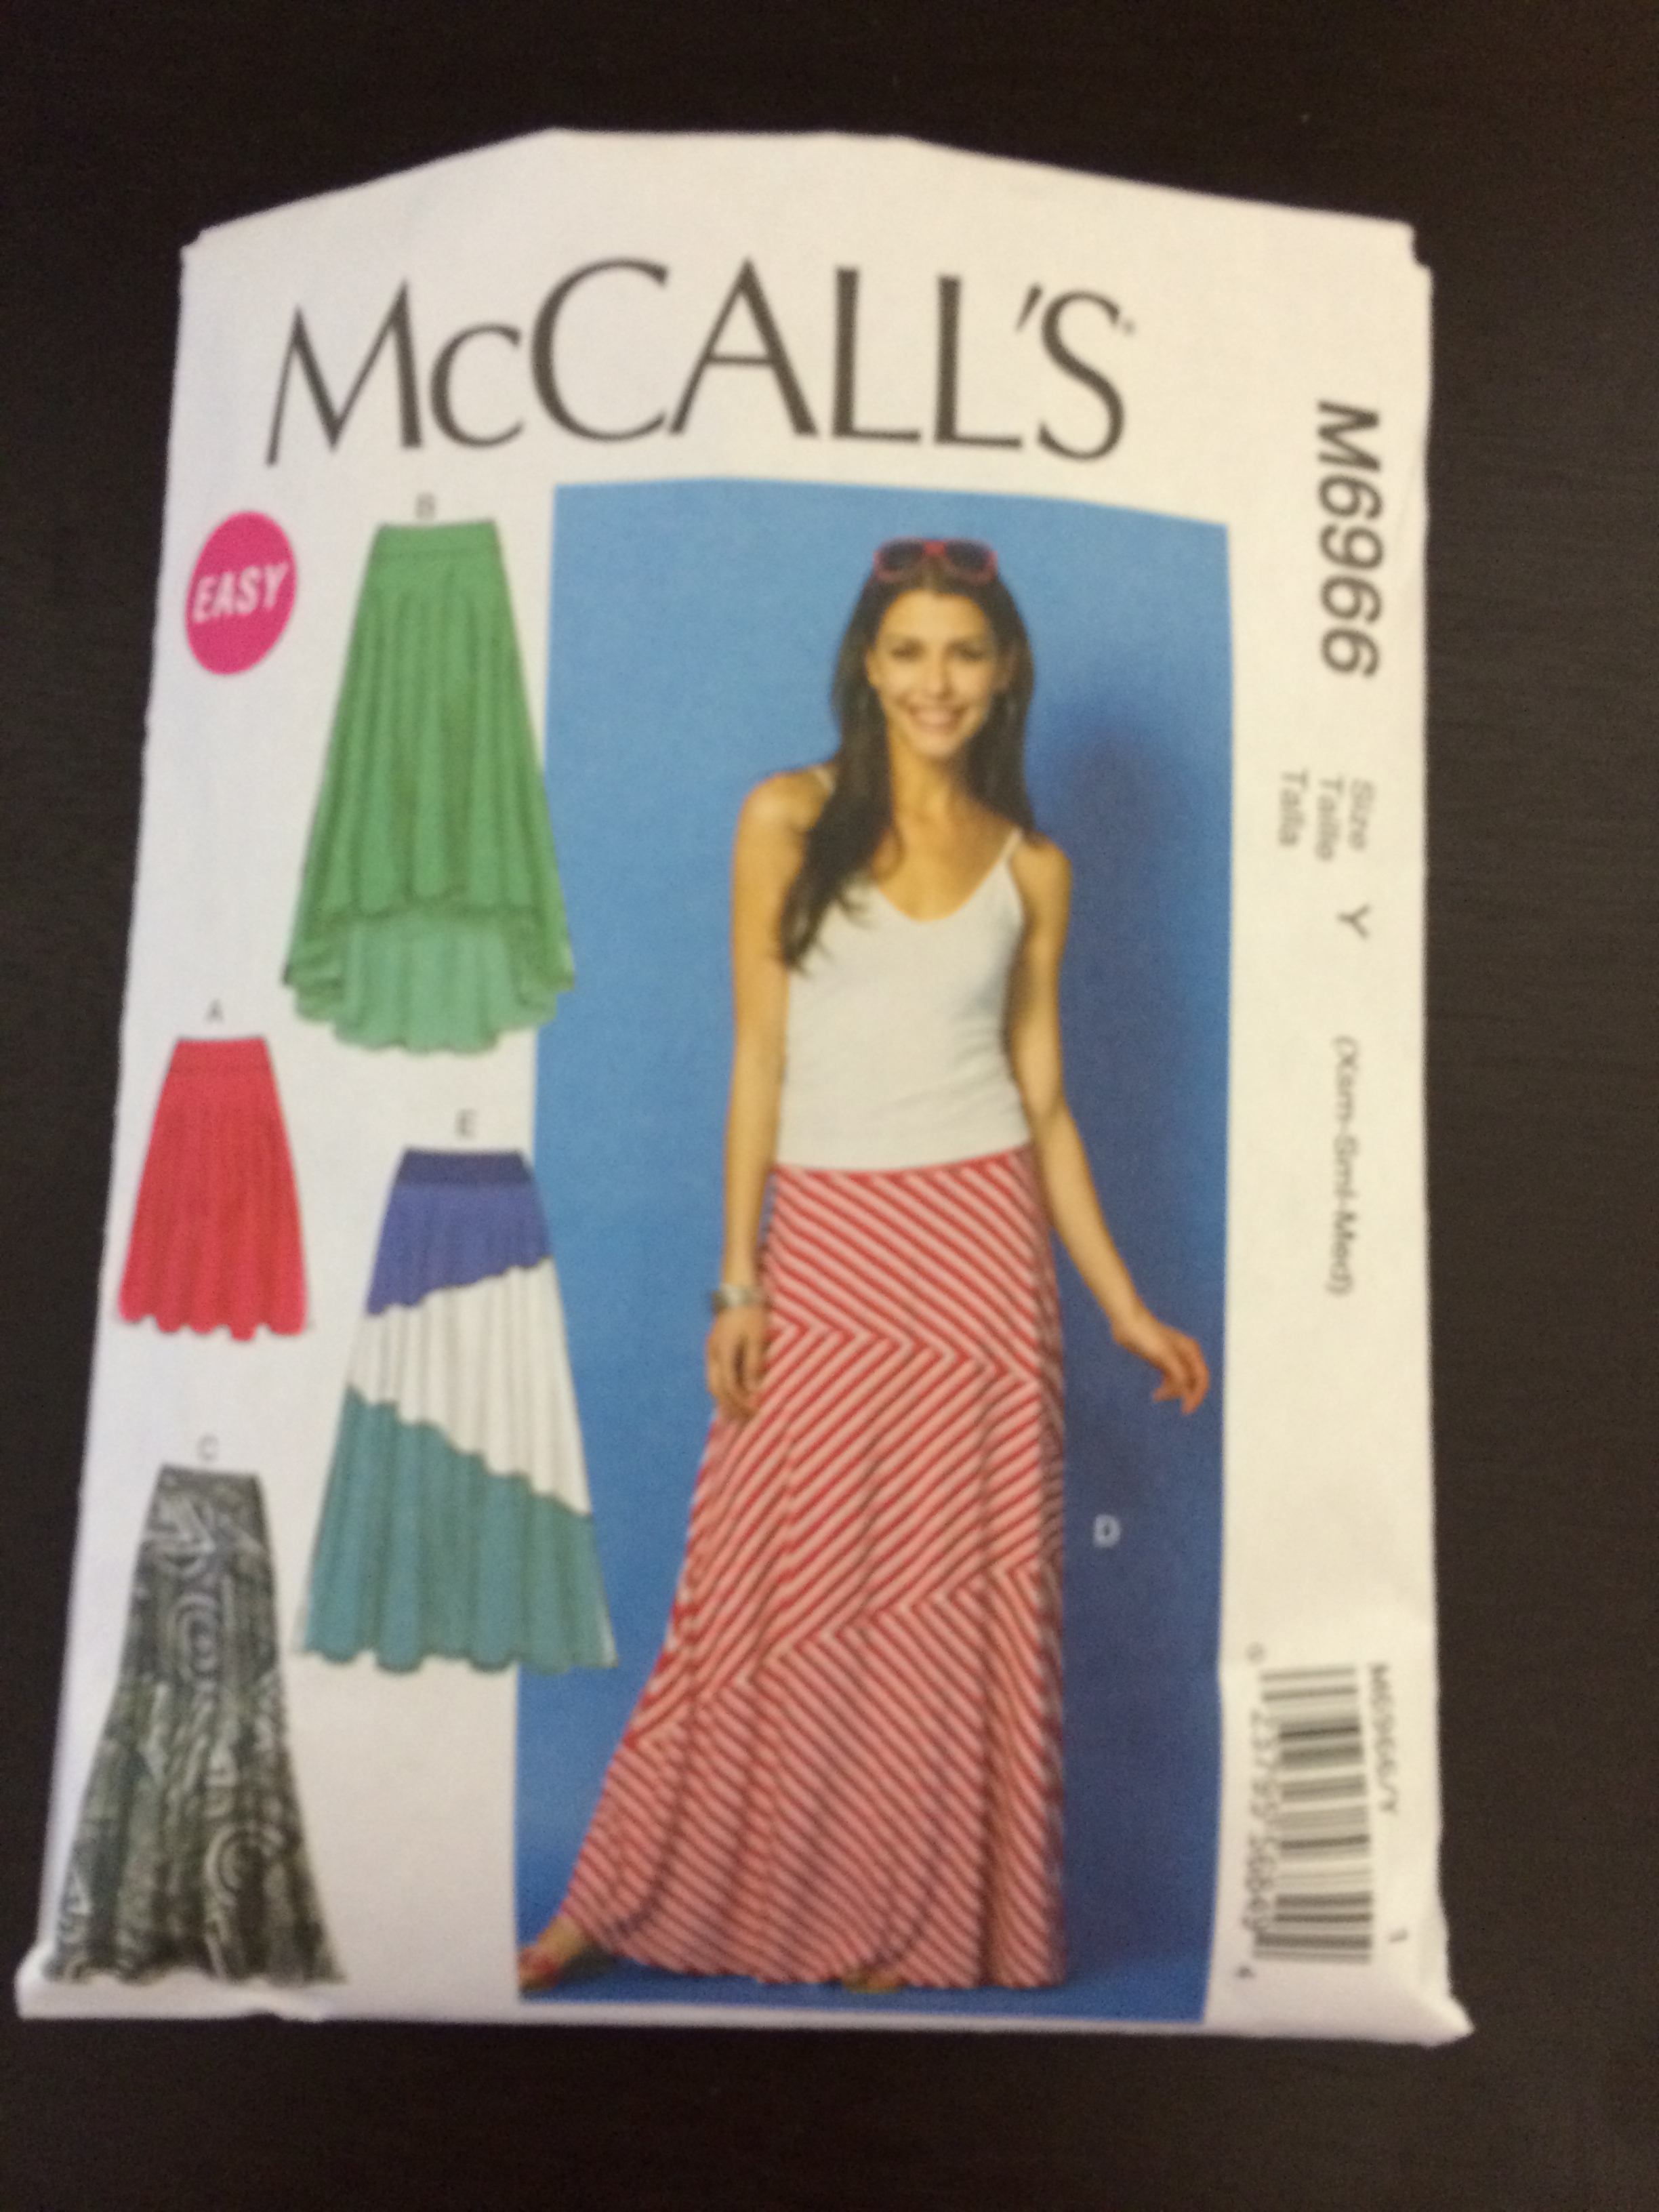
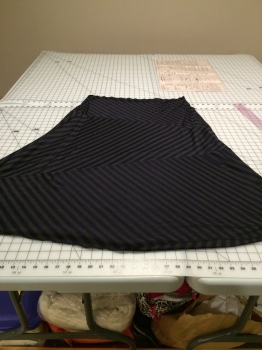
These skirts were inspired by the many striped knits skirts I’ve seen people wear at work. I saw this pattern online, and thought my skirt would really stand out having the stripes going in different directions (view D). Those diagonals were intimidating – there seemed to be a lot of room for error if I cut wrong. But if I did it correctly, I would have a skirt that was not only me-made, but something you would see in stores as well!
My first attempt was a wearable muslin in a charcoal gray knit. I needed to make sure I could actually make this with bias seams before I ruined my striped material. Turns out cutting out those pattern pieces on the bias was harder than I thought, but not for the reasons I originally thought. I bought 3 yards of fabric, thinking it was a bit excessive but safe. It worked out in the end, but if I make this again I may buy an extra half yard to avoid the cursing and the sweating. Fitting the pattern pieces so the diagonals match up perfectly took some creative adjusting, and every time I thought I had it with one piece, I adjusted for the diagonal and it would overlap another piece. Gah!
Advice: try to fit the two largest pieces first (bottom back and front) and then work your way to the next biggest. Trying to go by the picture for laying out the pattern does not work.
I tried to make sure the pieces were all going to fit before I cut, but its tough when you are cutting two pieces from the same pattern piece. These pieces were so large so I don’t think that folding the fabric would work in this case. The good news is if you have successfully cut everything out, the hard part is over.
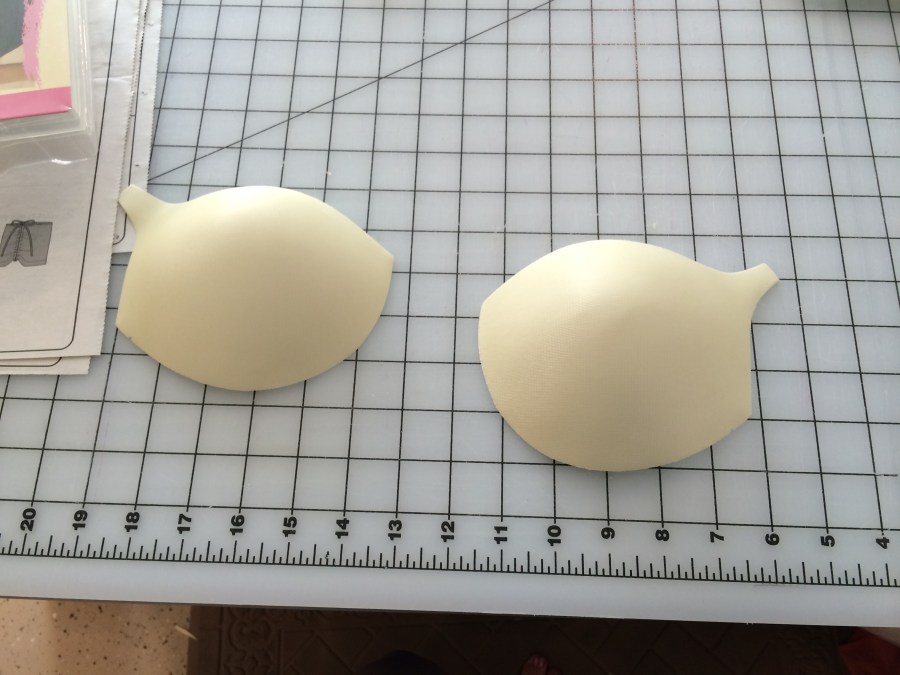
Well I thought this post would be about my issues with putting bra cups into a bathing suit for the first time, but that was actually one of the easiest parts of this pattern. Since my first attempt at a bathing suit was so successful, I thought I would try a different style from this pattern. I thought the triangle top would be a good one to try, but I felt it would need some cups…for shape.
Unfortunately, this pattern did not provide an easy adjustment to add these. There was an option to add foam, but that is not something I have seen or could find online. The directions called for sewing each piece of lining to each of the separate front pieces. This was not an option since I needed to sew the cups between the material and the lining. Sewing the two lining pieces together was a bit difficult, but I got it to work. And with a few stitches, I secured the cups in the right spot under the lining, and being careful not to let the stitches show on the front side. I could use that front seam to my advantage – no stitches showed and the cups were securely in place.
Now the real hard part of this suit was the straps and that darn drawstring. I spent hours flipping those inside out. My fingertips were completely red Continue reading “One Suit, Two Cups”→
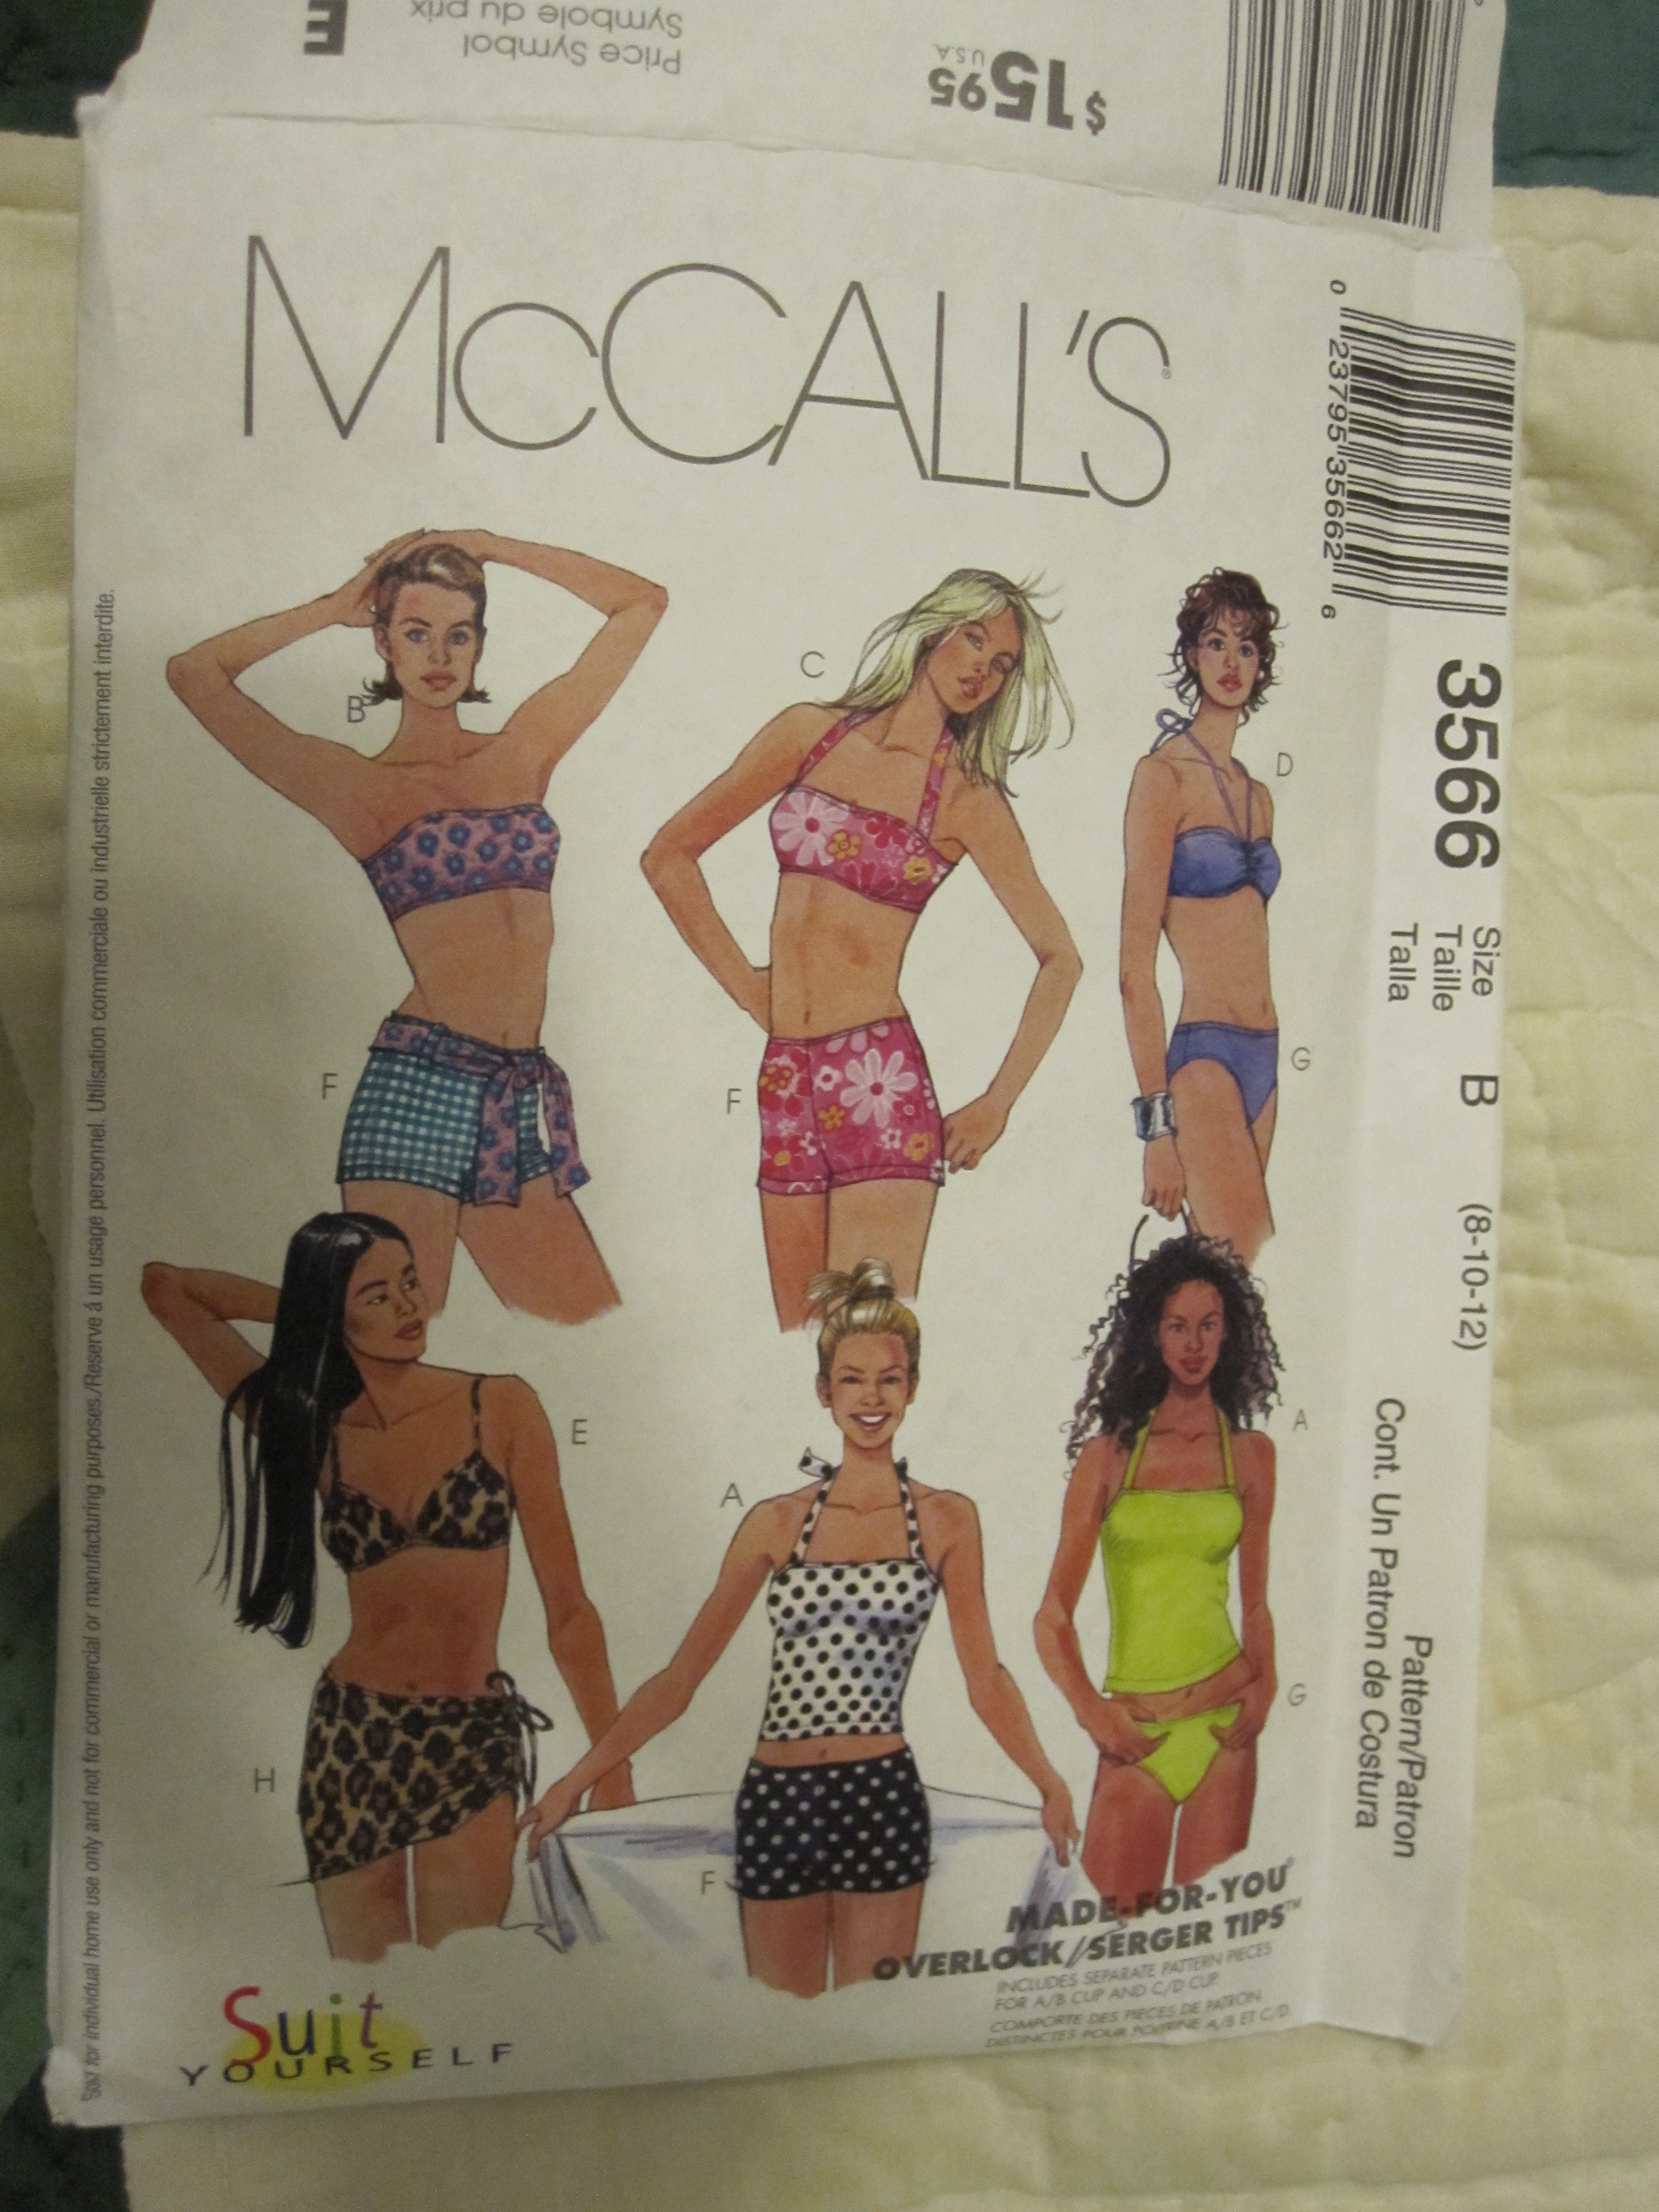
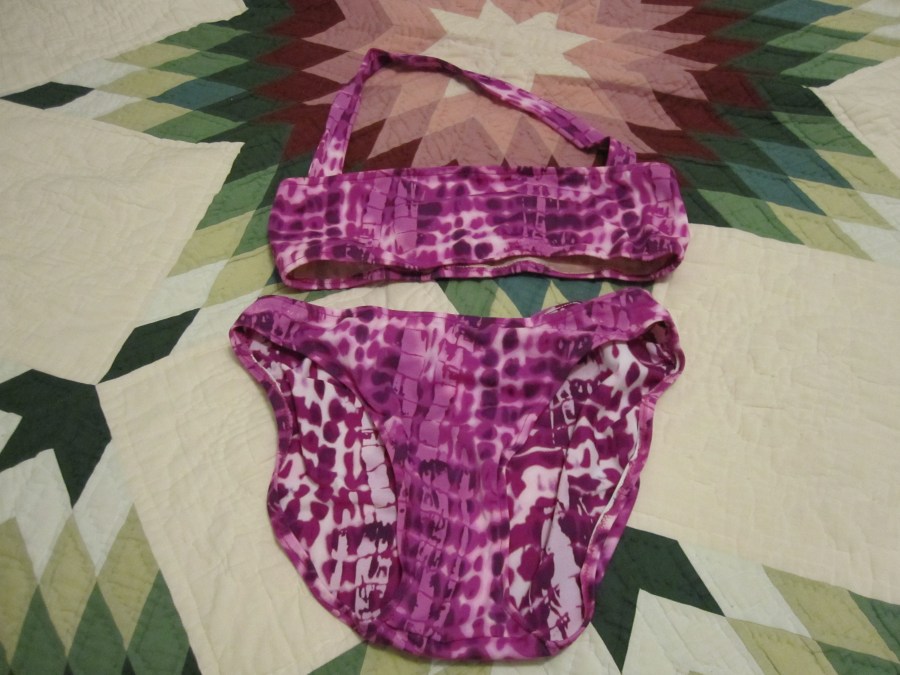
Nothing says summer like outdoor BBQs, Mungo Jerry, and new swimsuits! I have plans to make two, and I even cut out two separate suits, but I only had time to make one this past weekend. What I love is that you don’t need a lot of material to make a bikini, so I got these less-than-a-yard “scraps” at Fabric Place Basement in Natick, MA. The pattern is out-of-print I believe, but I had a hard time finding one that I liked. It’s from the late 90’s, but I think the suits featured here are still in fashion. I decided to make top C and bottom G.
I want to start off by saying I felt like I was cheating a bit, because I actually used my mom’s brand new electronic sewing machine – “Mega-Weapon.” (Yes this is my name for the machine, my mother would never call her machine Mega-Weapon). She had recommended I use a stretch stitch for these, and since I didn’t have time to figure it out on my machine, she told me to use hers. This thing is insane – you change stitches with the touch of a button and it cuts, pulls in the bobbin, and does the back stitch all automatically as well. I don’t know, it was cool to use it, but I think I actually prefer Continue reading “In the Summertime…”→
I’ve been kind of frustrated lately. With my new job, long commute and social obligations, it’s been tough getting a decent chunk of time to finish my sewing projects. Which means nothing to blog about. However, last weekend I did end up taking a trip to Oldie’s Marketplace in Newburyport, MA and I had a great find.
I’m thinking this is from the 1970’s and I got it for $3 (plus tax). I’ve been looking for a pattern for a casual knit dress and I think this could be fun. Hopefully all the pieces are in there :o)
I’ve been really enjoying looking at old patterns lately and I can literally spend hours on Etsy just browsing through them. The challenge is that they usually come in one size, so sometimes you can’t find what you want. This one might be slightly big on top, but should be easy to adjust and shouldn’t be too much of a problem since it’s made for knits.
What do you think? Any fun “throwbacks” you working on right now?
I found some gold shiny slight stretch denim at Sewfisticated Fabrics, my favorite discount fabric store for $1.99 a yard. So thought I would give making blue (well gold) jeans a shot. I actually bought two jeans patterns, but I really liked the simplicity of this one. McCall’s does a good job of writing clear and concise directions that even a beginner sewer can follow. There is also an extra insert that explains how to adjust your pattern to fit, which is actually pretty useful. This is not my first attempt at pants, and I seem to always have trouble with the sizing. Even though I measure and adjust, it always seems like my pants come out 2 sizes too big. I decided to go for a smaller size this time when I cut. This inexpensive piece of gold denim would be a perfect experiment for some other pants projects I had in mind with some really nice corduroy I had bought. But I also thought it looked kind of cool and I thought I could make it into a sort of novelty fashion jeans to wear for certain occasions. When I tried them on, they were a little tight and reminded me a little of…
Hmmm….maybe I can still make them work.
On My Back Pocket
The pattern is designed very logically and very consistent with the way most jeans are constructed. It starts with two front pockets which I used cotton muslin for, and a zipper which you will need to cut and stitch to form a new zipper stop. As much as I hated basting (and oh I HATE it so), it is really important to baste with pants. I was more diligent with it for this project and I think it really made a difference. These also featured a mini right pocket that you see on most jeans which was an easy addition and a nice touch.
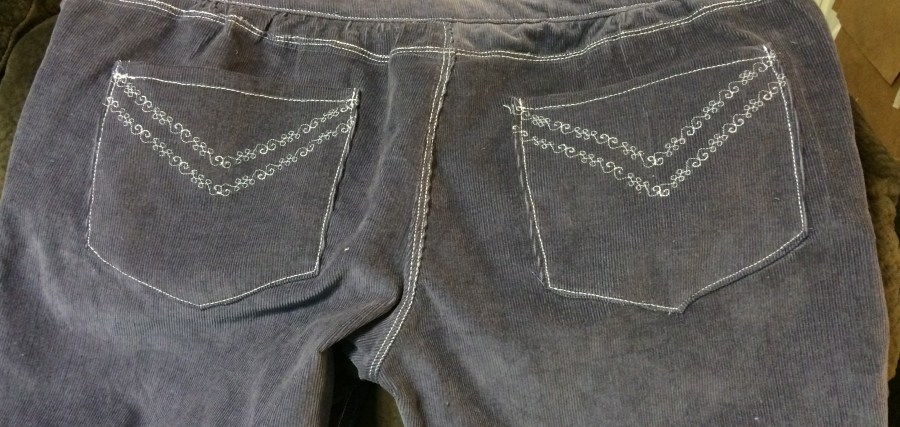
The other decision I had to make had to do with the back pockets. I kind of wanted some sort of embroidered design to give these a personal touch. I went with this fleur-de-lis design since I’ve always liked the design and it complements my French heritage. I found a picture online and traced the outline with a pencil onto some tear-away embroidery paper. I pinned the paper to the back and traced the outline with my mom’s newer sewing machine on a tight zig-zag stitch threaded with some lovely gold thread. Then, I just tore away the paper from the back and was left with these decorative back pockets.
Another thing I learned was how easy belt loops are to make. My other pants attempts did not include them, but now that I know how easy they are, this may an addition to all my pants. It’s basically a long rectangle that is folded over from each end (the long way), sewed along both sides, and cut into 4 inch strips. Designing a pattern piece for these in the future will not be difficult.
Waistband Blues
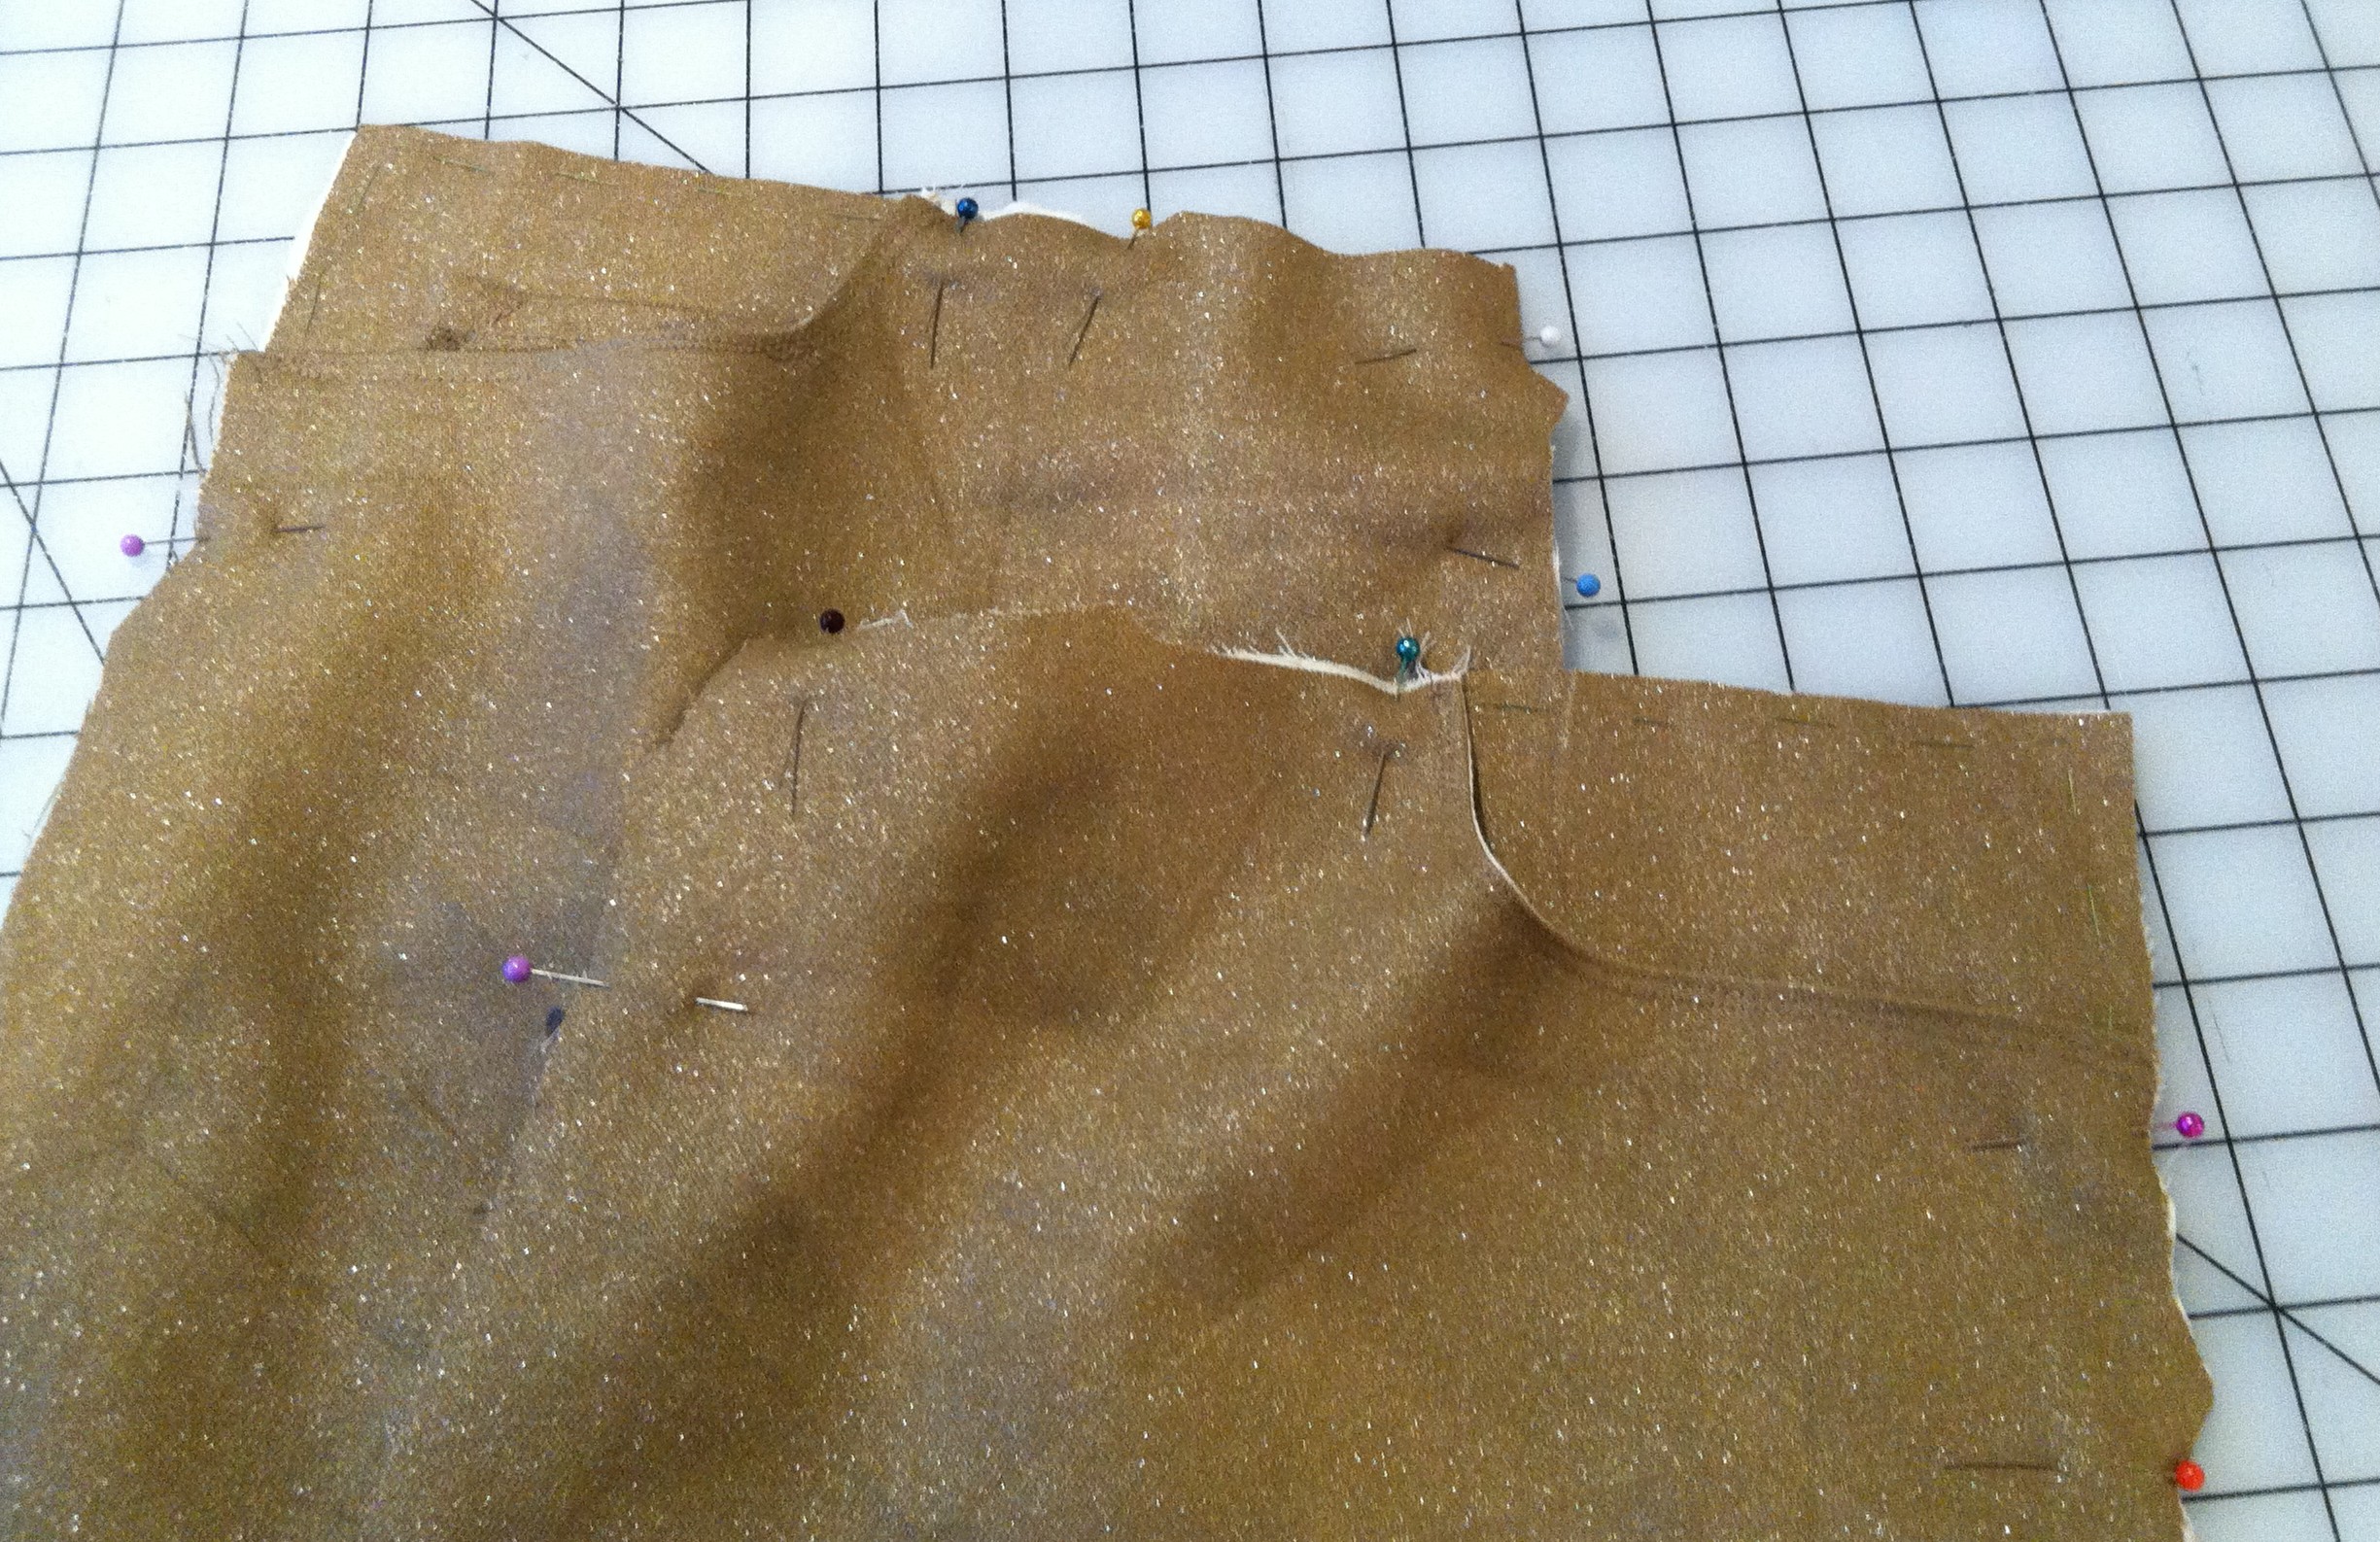
The real issue I had with these jeans was the waistband. For a few possible reasons, the waistband ended up significantly smaller than the waist of the pants. I think there is a reason it is supposed to be smaller – probably to give a more fitted look in the waist. You are meant to ease stitch around the top of the pants and pull the thread in a little to “ease” the material to fit the waistband. There were two reasons I had trouble with this: 1) The thread continually broke when I tried to pull it, probably due to the stiff material. 2) I could not sew the waistband on without huge bunches in the fabric, which looked terrible. I had hit a real roadblock. The only thing I could think to do was cut a new waistband and give extra room so I could fit it around easier. Unfortunately I did not have enough material to cut a new waistband, so I had the idea to cut it in two pieces and sew a small seam down the middle. This was a success even if the back of the waistband now has a seam, which I don’t like. Luckily, this is just an experiment and I can use these learnings for my corduroy pants and other jeans I may make.
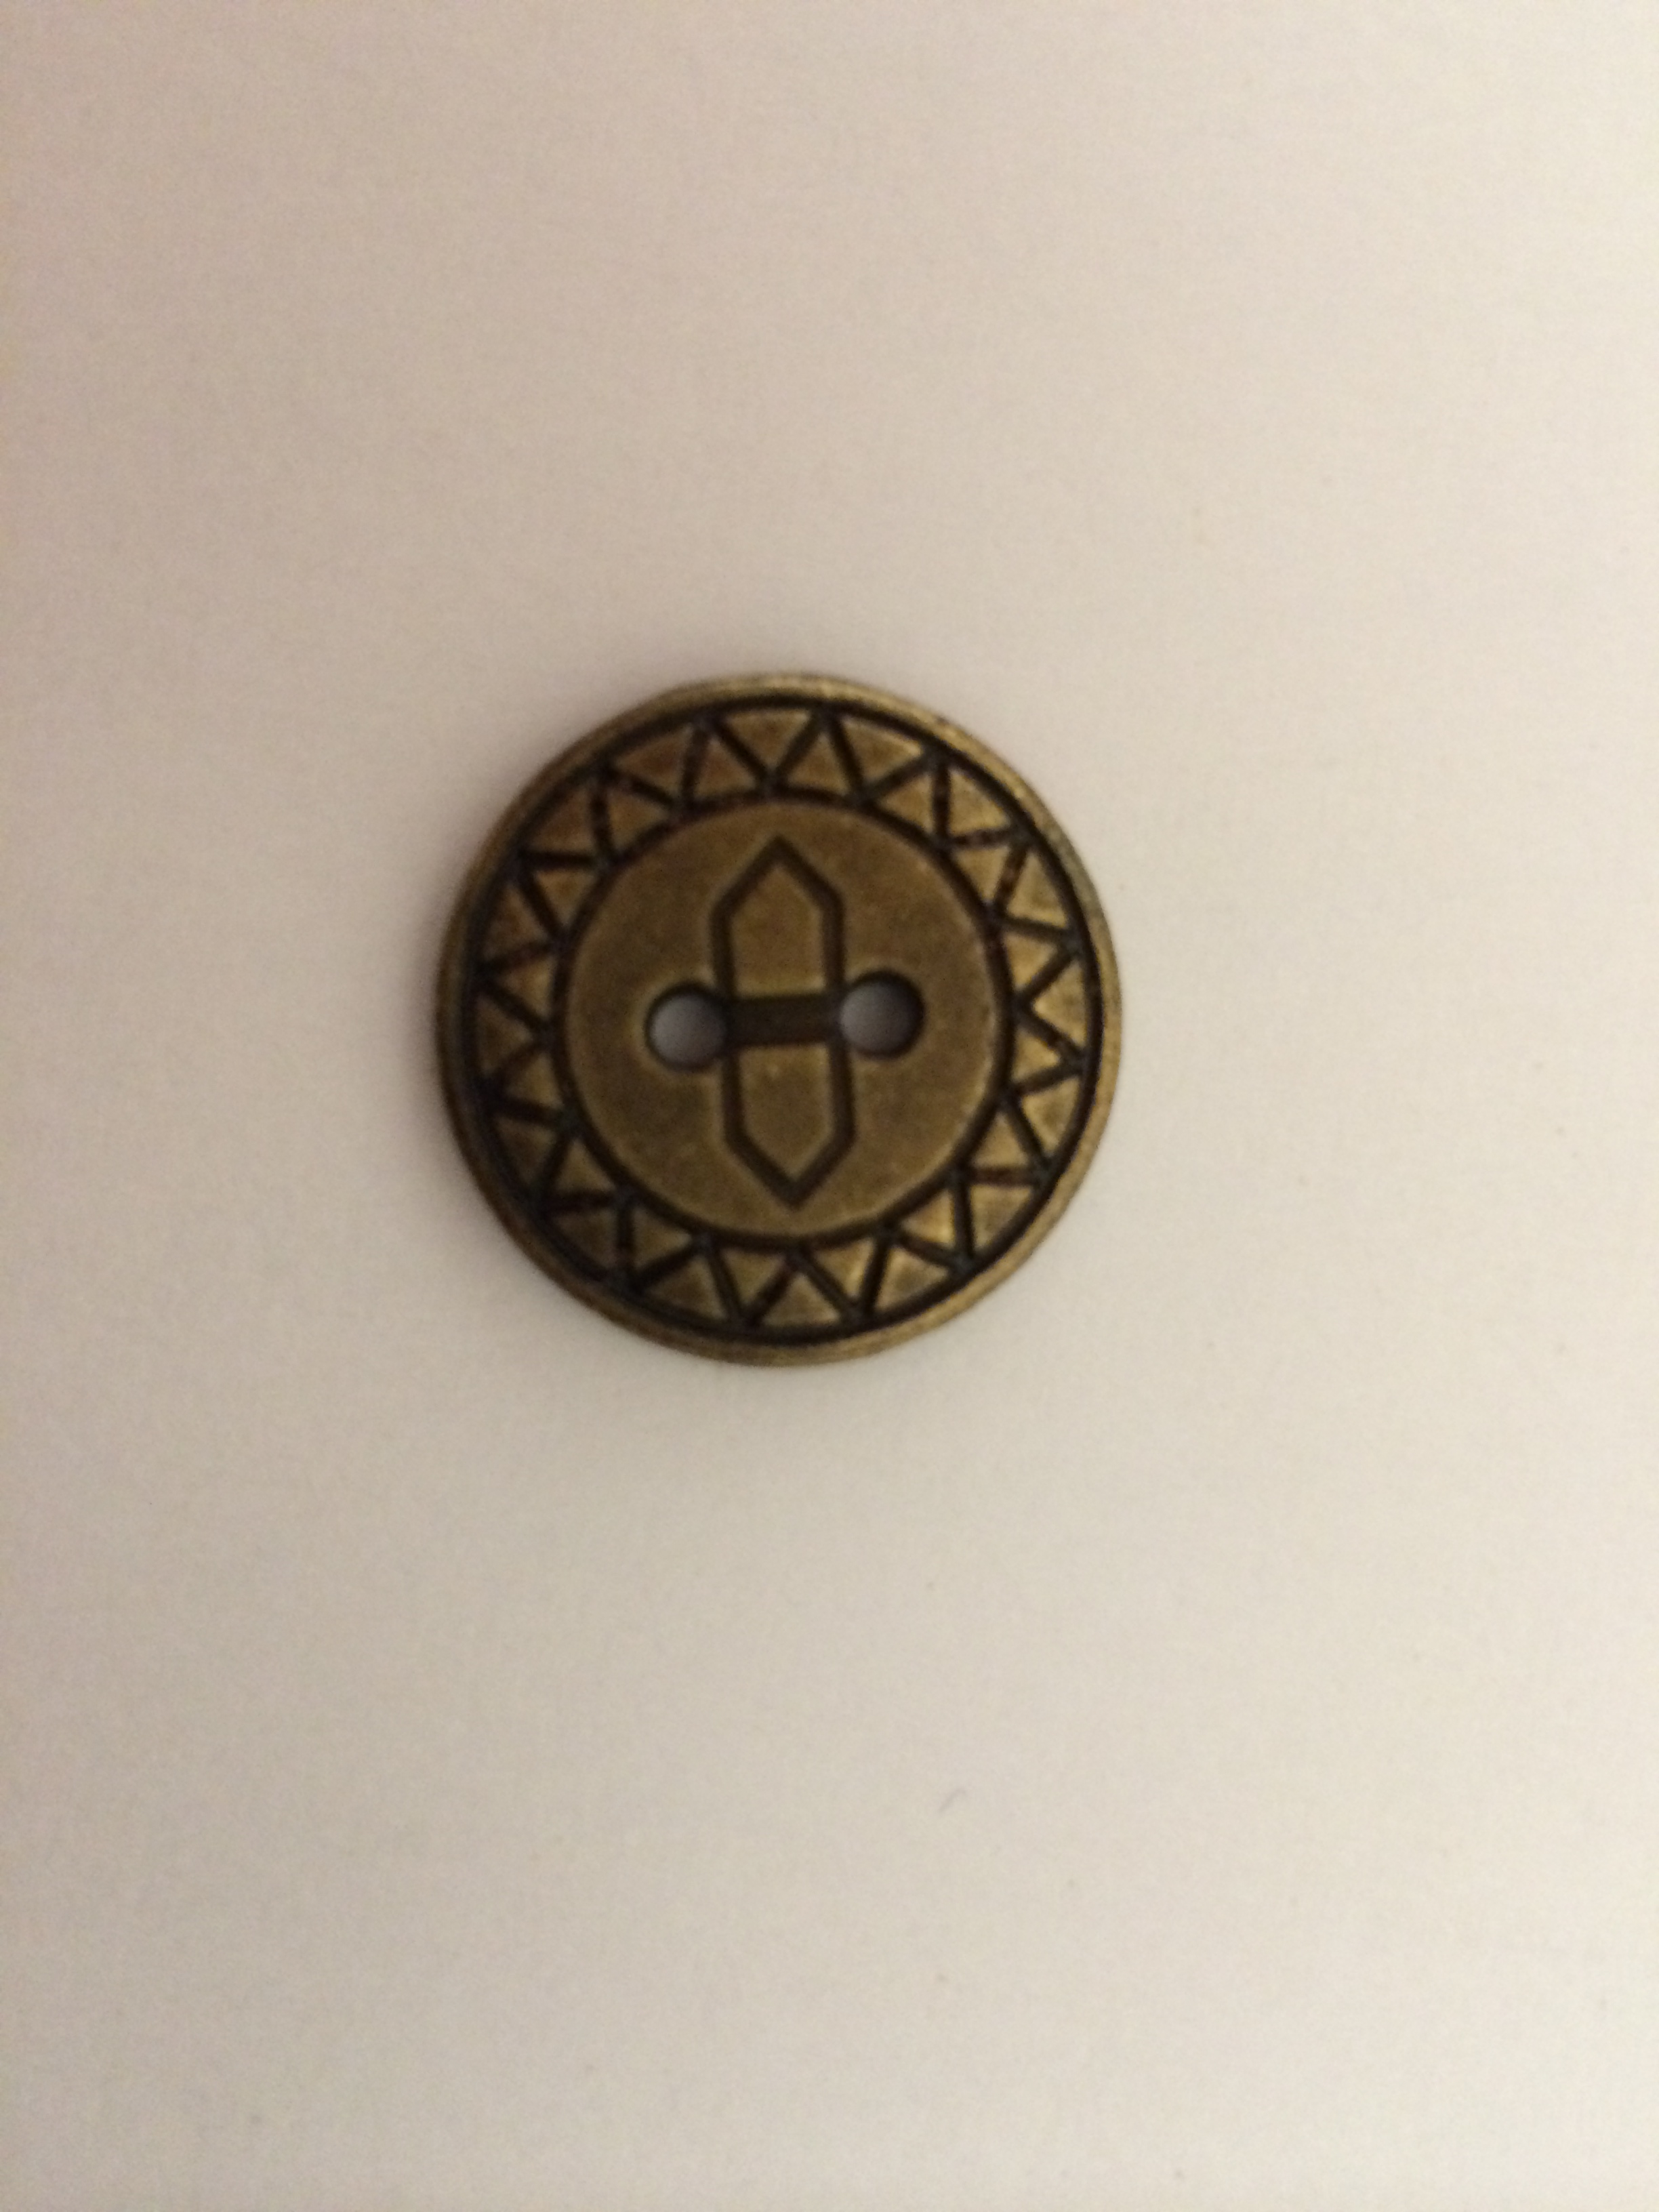
The last step, which still needs to be done, is to add a buttonhole and button to the waistband. I was able to find a great button by looking through a giant vat of 25 cent buttons at a local fabric store. Gold-blinger jeans. If I ever need to dress like a service droid, I’ll be all set. But more importantly, I will be able to use these jeans to create a new adjusted pattern for other pants projects. More to come on that later. (Bonus: click on C3PO for a special surprise)
From this angle, you cant even see the back seam on the waistband. You may think that the belt loop is covering it, but unfortunately that is not the case. I really need to get better at measuring.