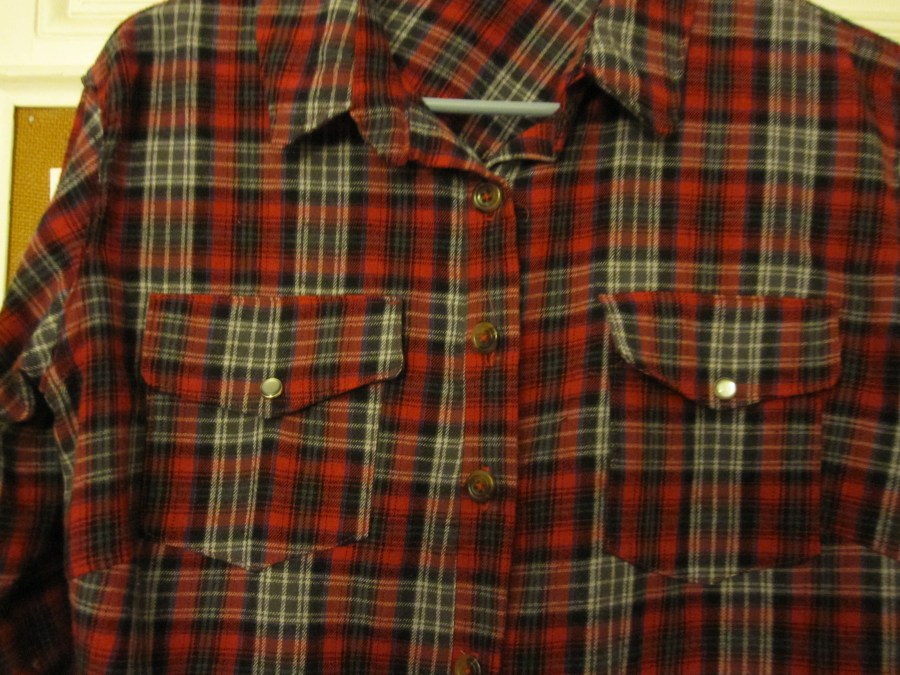
Pattern: Sewaholic Granville shirt (1501)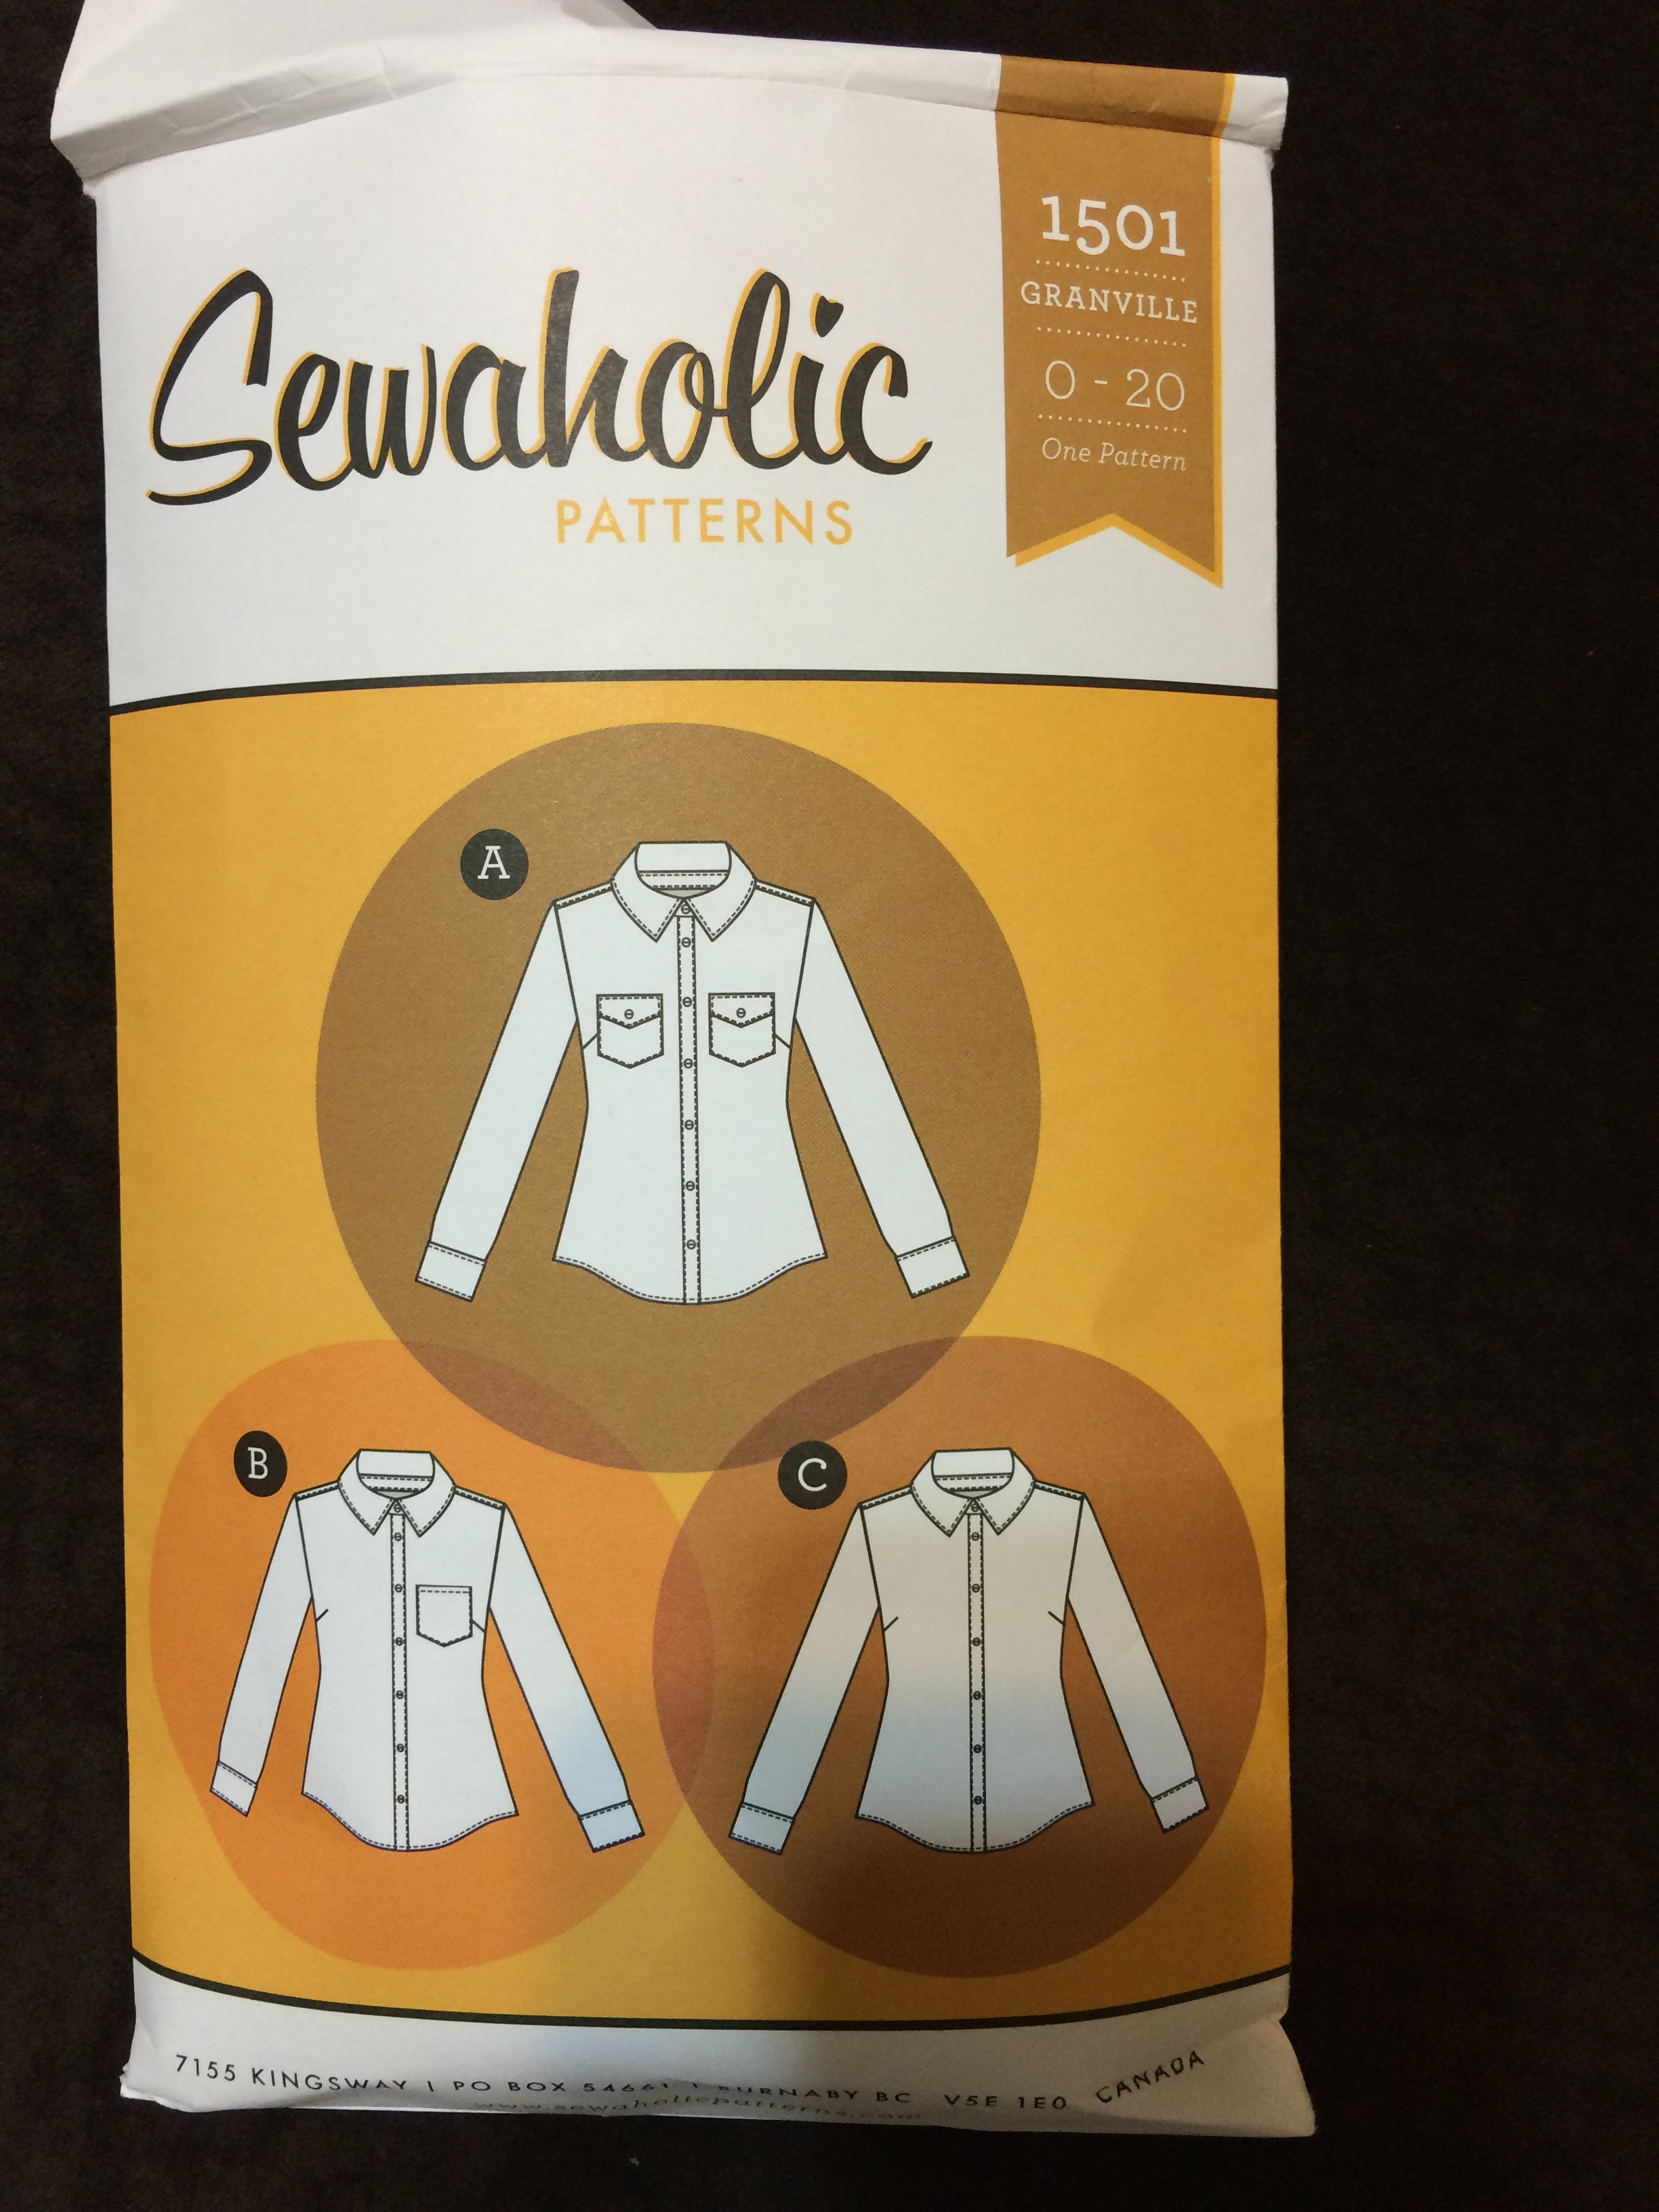
New skills acquired
- Plackets
- Collar & collar stand
- Flat-felled seams
I grew up in the 90’s. This was the decade where I awkwardly lived out my teen years and a few young adult years as well. Say what you will about the grunge music movement, but for a self-conscious pre-teen who had spent most of her childhood bullied mercilessly, that music felt like ecstasy inside my head. I remember spending many hours listening to Nirvana’s Nevermind over and over to try to numb my pain. And I actually spent an entire family vacation to Arizona with the Pearl Jam Vs. album constantly pumping into my ears. People say that music was depressing, but life can be depressing when you become a teenager. The music mirrored all my thoughts and feelings about growing up and trying to find my place in a world that didn’t seem to want me. And the flannel! Flannel shirts were the style – a part of the anti-fashion movement that was sweeping the country. We were no longer going to spend money on brand names and store logos. We would look in thrift shops and re-purpose old clothes from our parents. It was casual and comfortable and a way to rebel against corporations.
I miss my flannel shirts.
Anyways, this fashion craze was all finished when I went on to college. By then everyone was dressing like Brittany Spears, and my old 1970’s t-shirts just looked weird. But now, in 2015, I see flannel shirts coming back in a big way. Although instead of the boxy, loose-fitting and mostly un-attractive plaids, they seem more fitted with brighter colors. I figured it was my duty as a GenX/GenY to get on this new/old trend.
And what better way to rebel against corporations than by using an indie pattern! I chose the Sewaholic granville shirt because I heard great things about the collar construction and they also make patterns specific for my body type. The shirt is nicely fitted but I wanted it a little loose to kind of get me into that Reality Bites frame of mind, so I cut out a size 10. I think that when I make this as a regular button down shirt I would go a size smaller as this one has plenty of room.
There were so many extra things involved with making a full button-down blouse. For one thing, I had no idea what a placket was. As I followed the directions, I held my breath the whole time, not knowing how it would come out.
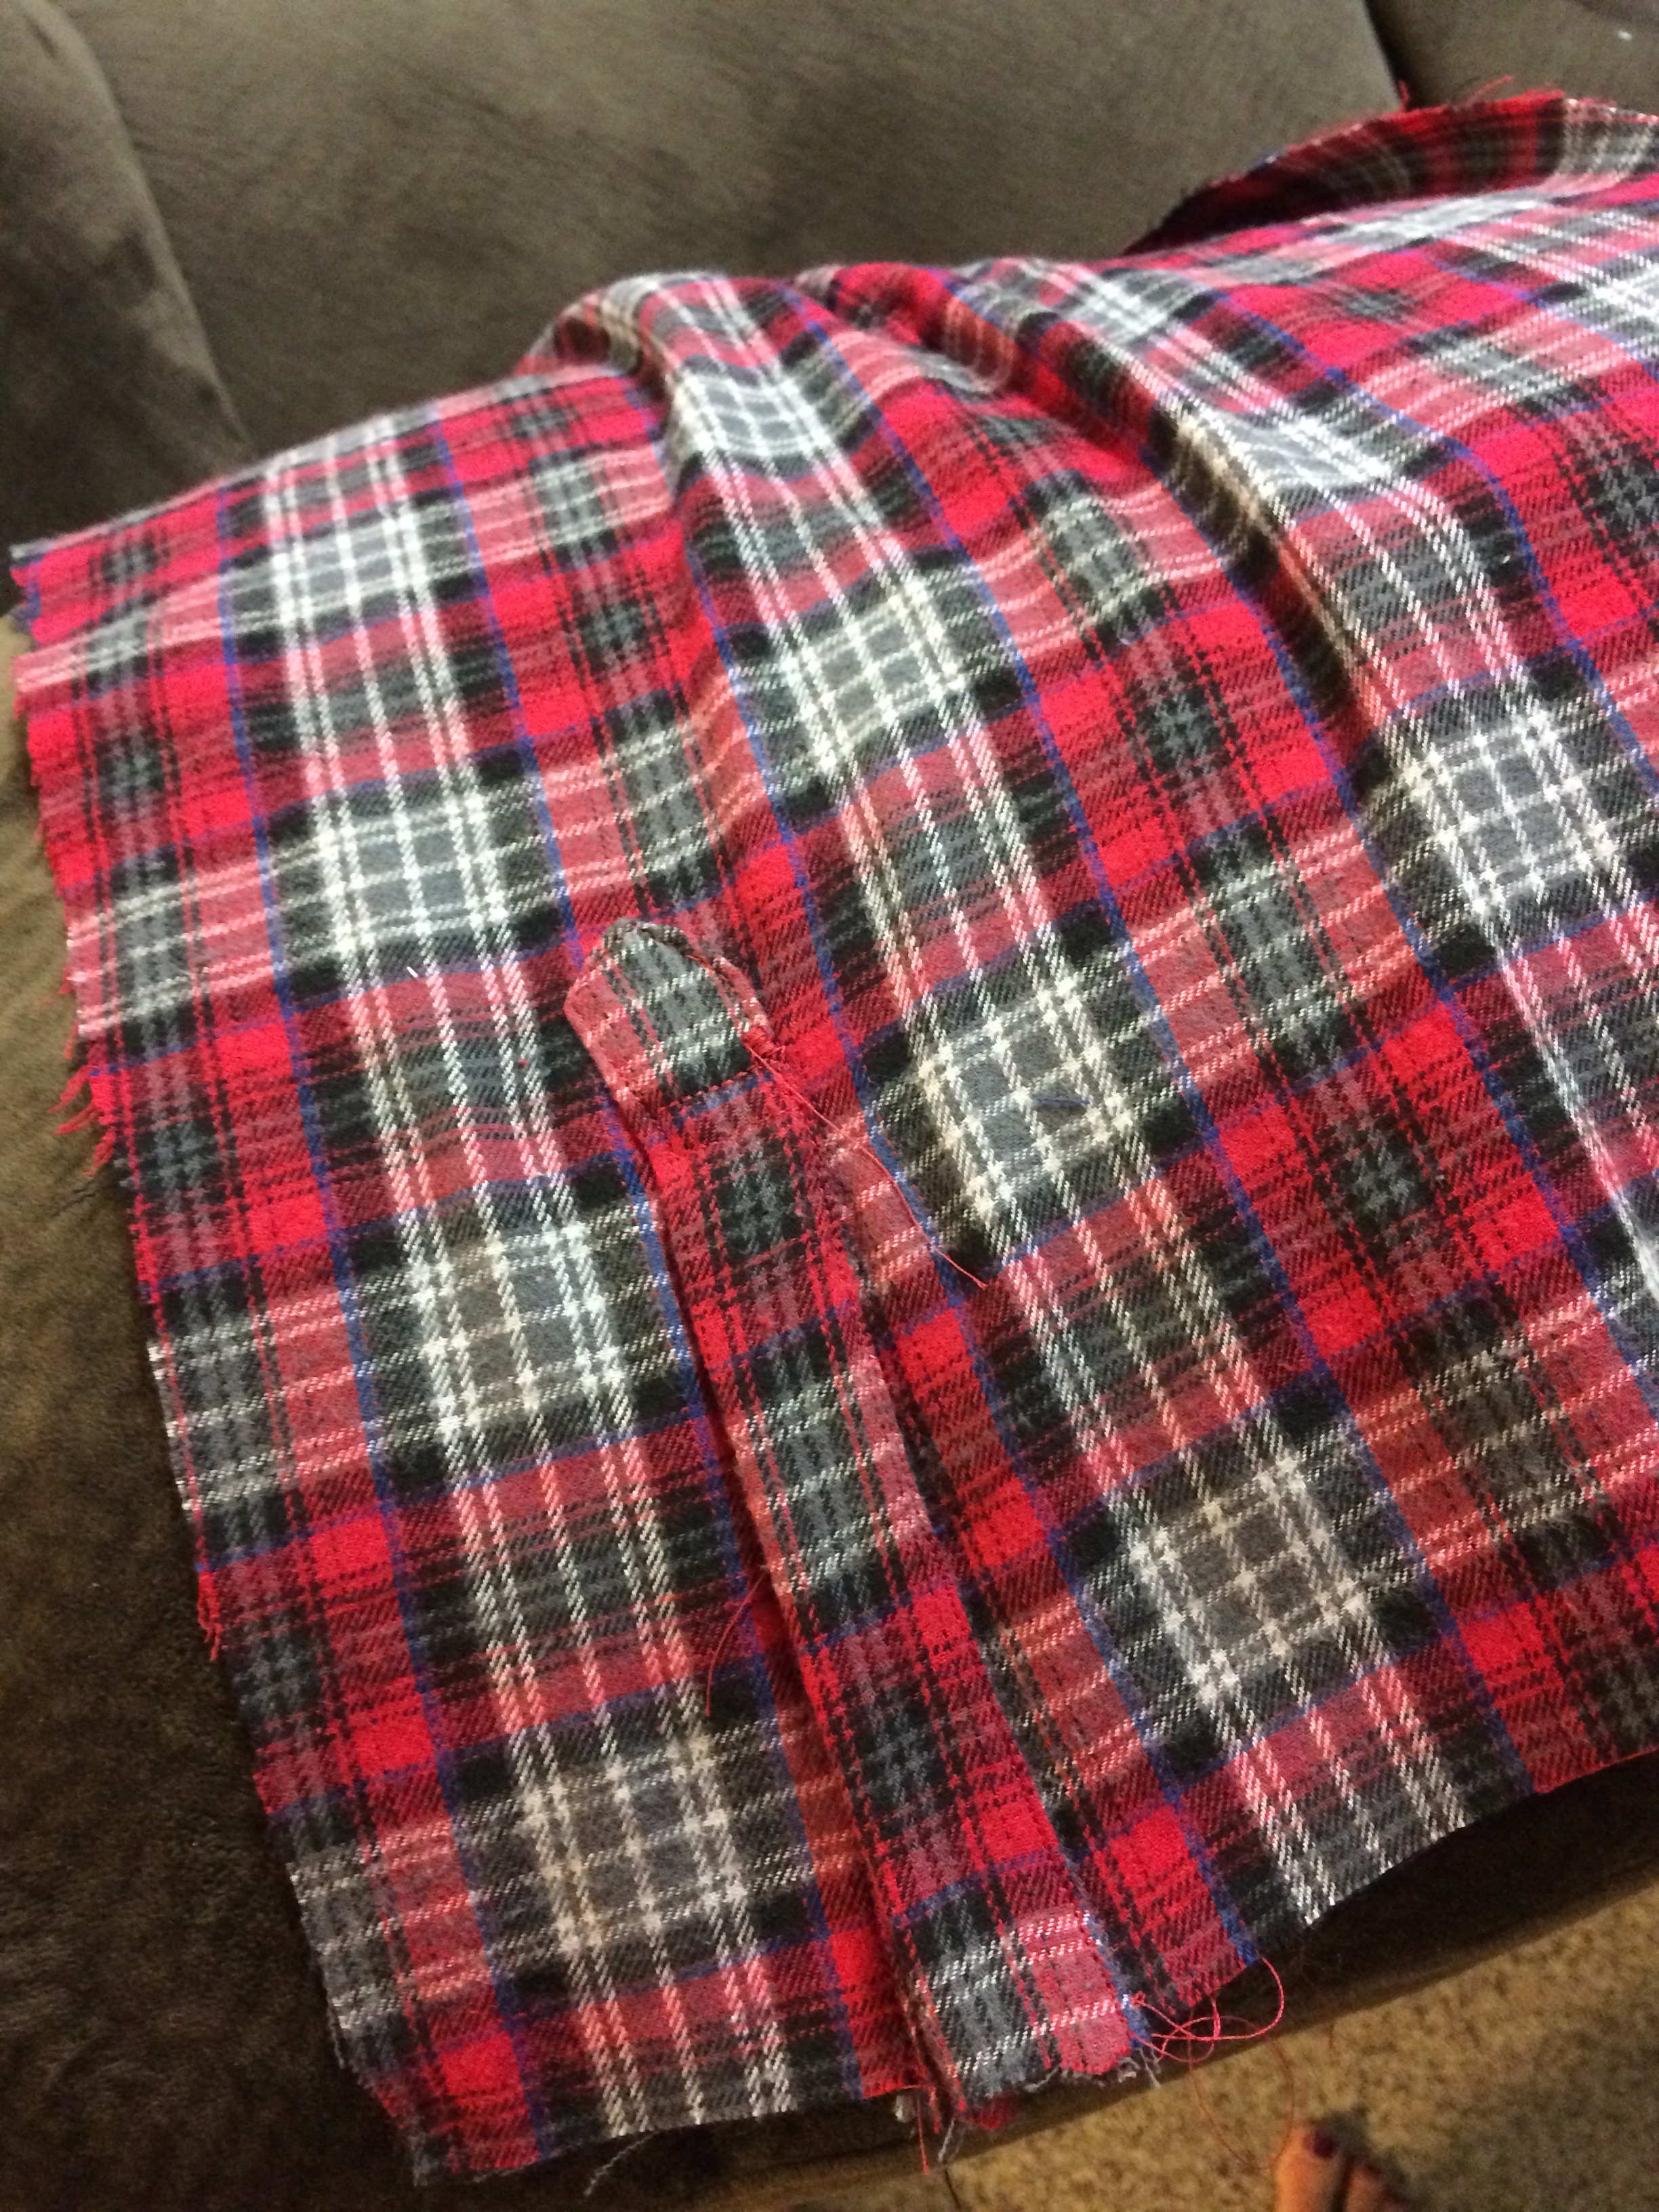
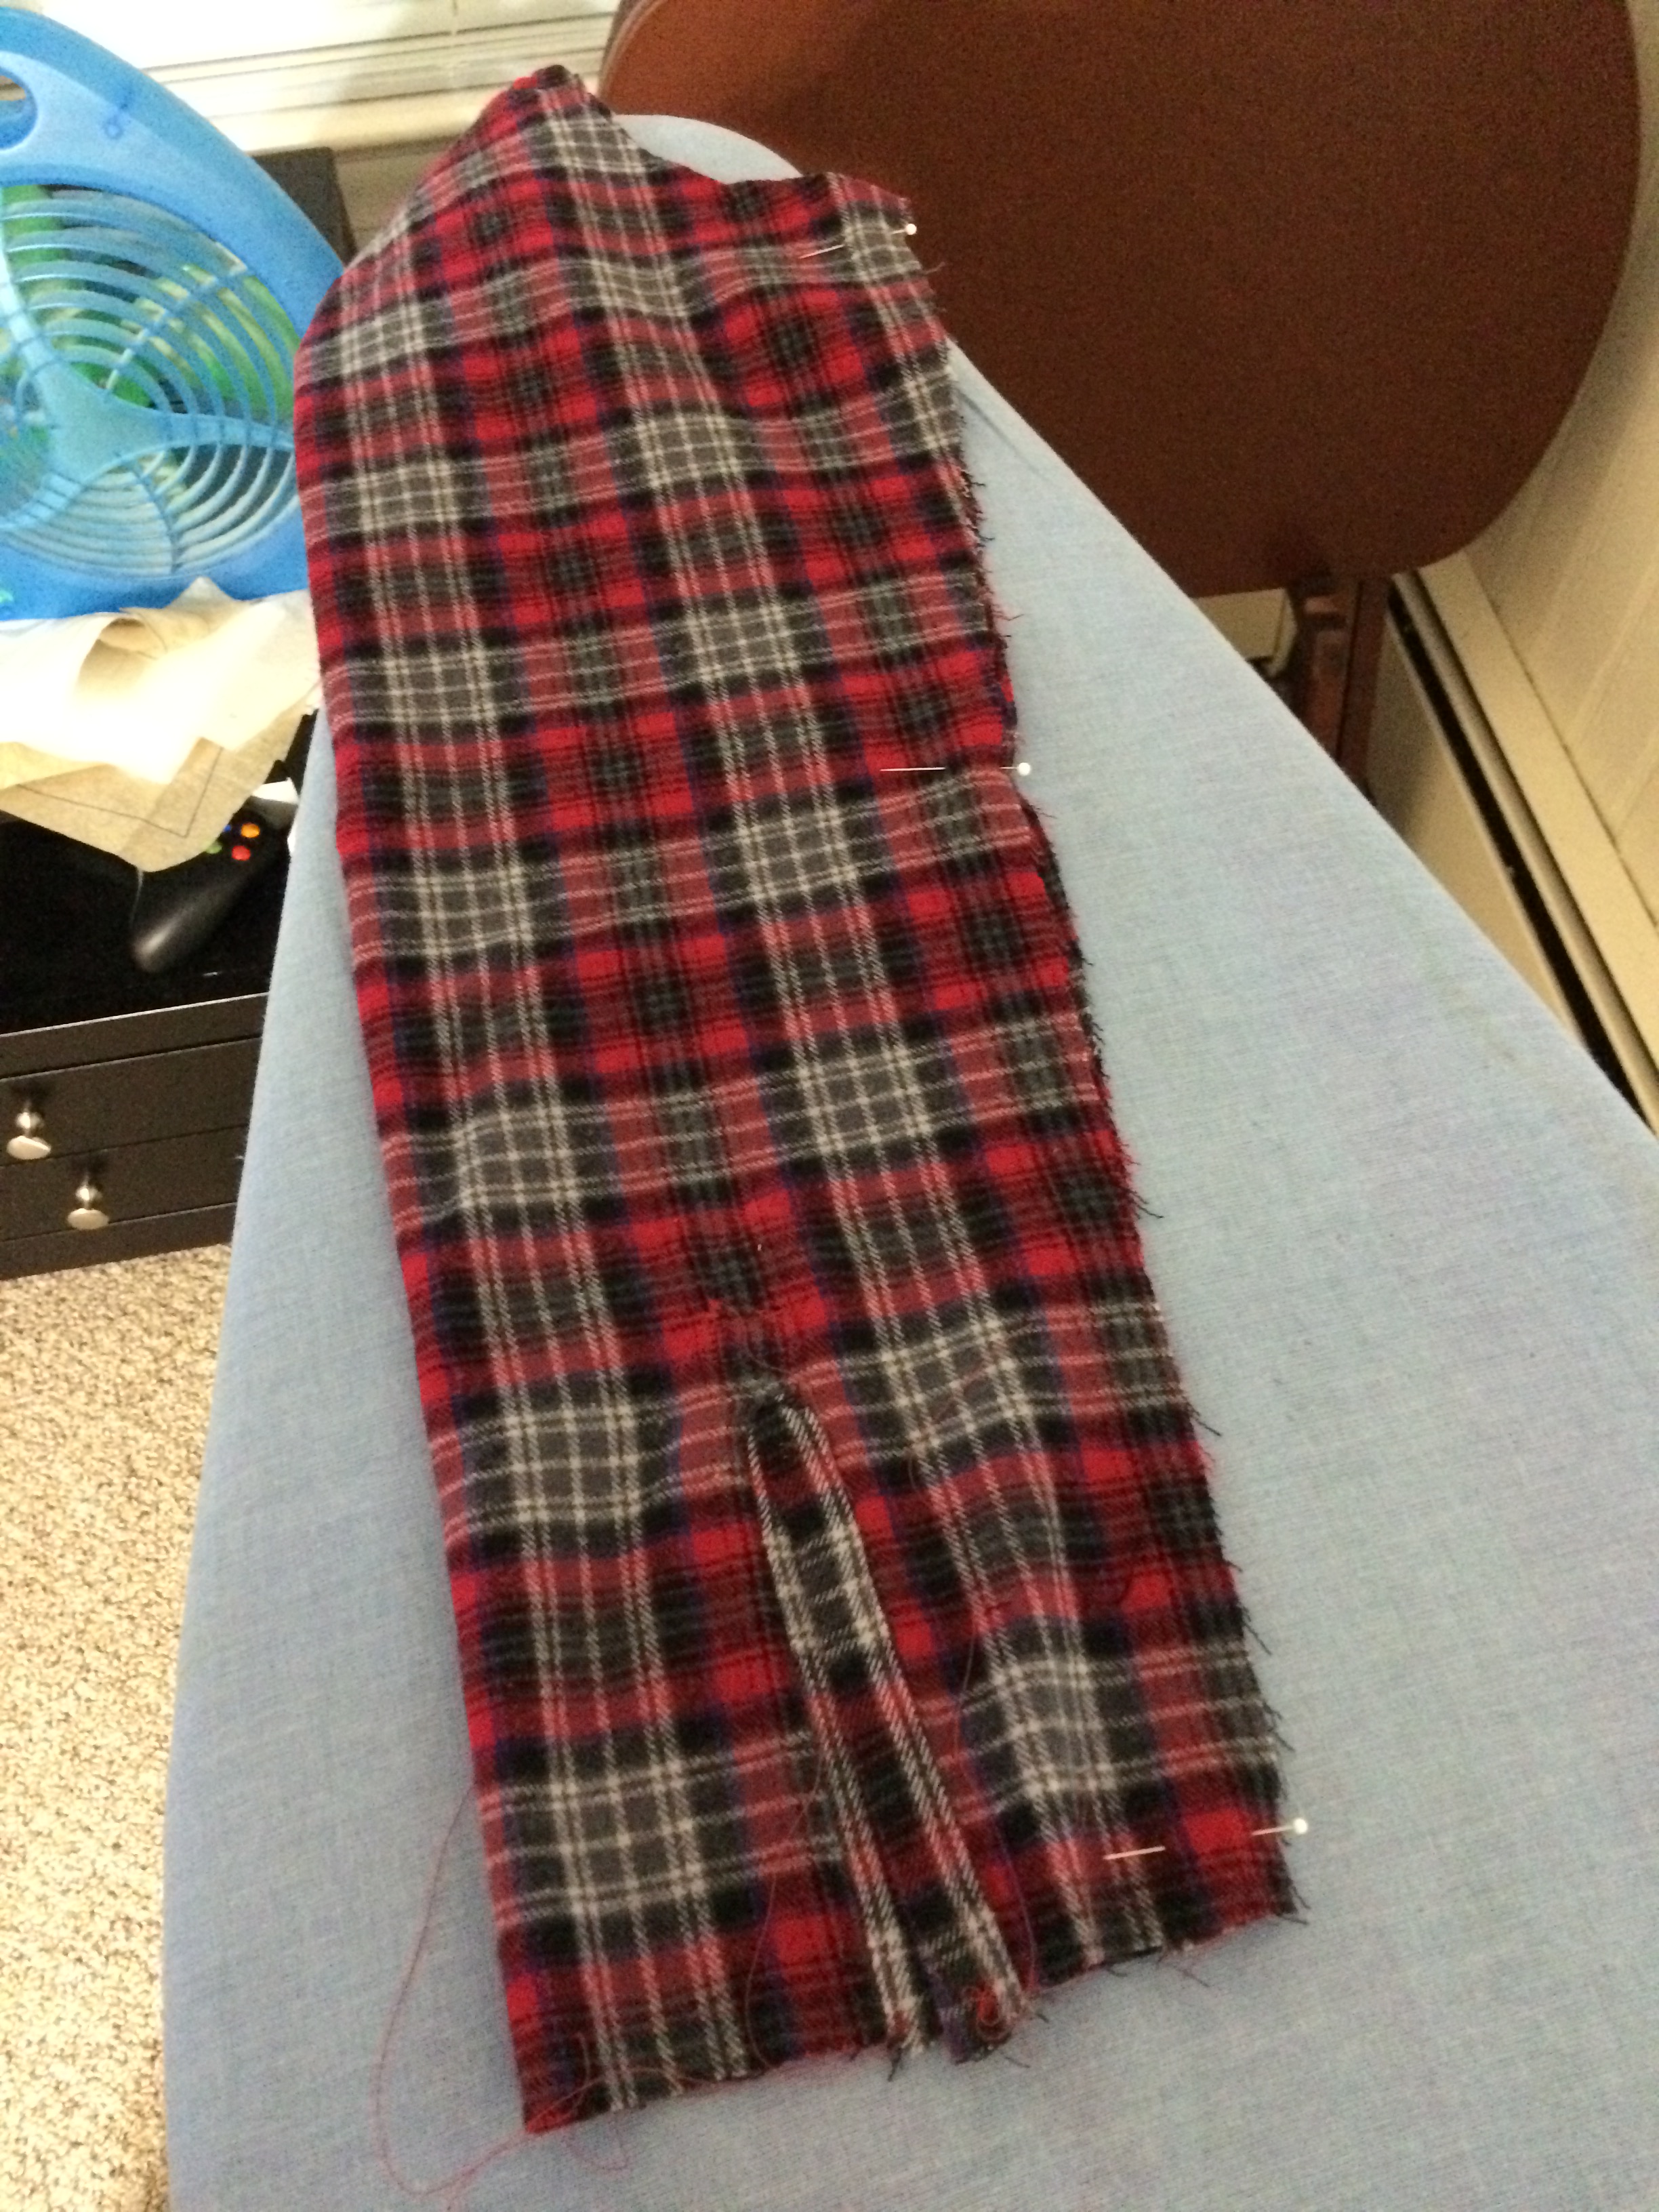
Especially since it involved cutting a slit on the sleeve. The directions on this pattern were detailed, but I got the impression I was supposed to already know how to sew a placket on. Or what a placket was even. The online tutorials were more helpful and had step-by-step pictures which helped.
***My advice is to look through all of these ahead of time when making this shirt, especially if you are new to shirt-making.***
I think it came out okay for my first try. It was hard to make the folds as crisp as they were in tutorial picture, but I also think that is hard to do with flannel since it tends to stretch and bunch more than shirting material. To make that “house-shaped” point you kind of have to fold the material under to create the desired shape, which was not that obvious from the directions or the tutorial. It was also quite hard to do this neatly, but I am hoping using different material might make this process smoother next time.

I also had no prior knowledge of the concept of collar stand and collar. This was slightly easier although I did get thrown off by which side of the collar stand(interfaced vs non-interfaced) was supposed to be attached to the shirt. I still have no idea if I assembled this right.
But I did go the extra mile by making a collar stand template, as directed in the online tutorial. I’m glad I did this, even though it was extra effort and required me stealing a file folder from work. It does give the stand a neater shape, even though I think I actually used it upside down. Next time I hope to do better at this, because I now understand the template better after screwing this up the first time.
But the biggest blunder has to be the sleeves. I was plugging along and feeling pretty good despite these small errors. And I thought I measured everything appropriately, but after I sewed my placket on the sleeve, I wrapped it around my arm…and discovered the sleeve was way too long. And this is before the cuff was on it. I had never made a long sleeve shirt before so I didn’t even think to measure my arm or the pattern. Rookie mistake. I cut a little bit off the shoulder, which I know is no-no, but I had no choice. I wasn’t going to do that placket thing again. In the end, I just have to live with my monkey-arm sleeves. It’ll be fine when I roll them up, but I’m still kicking myself.
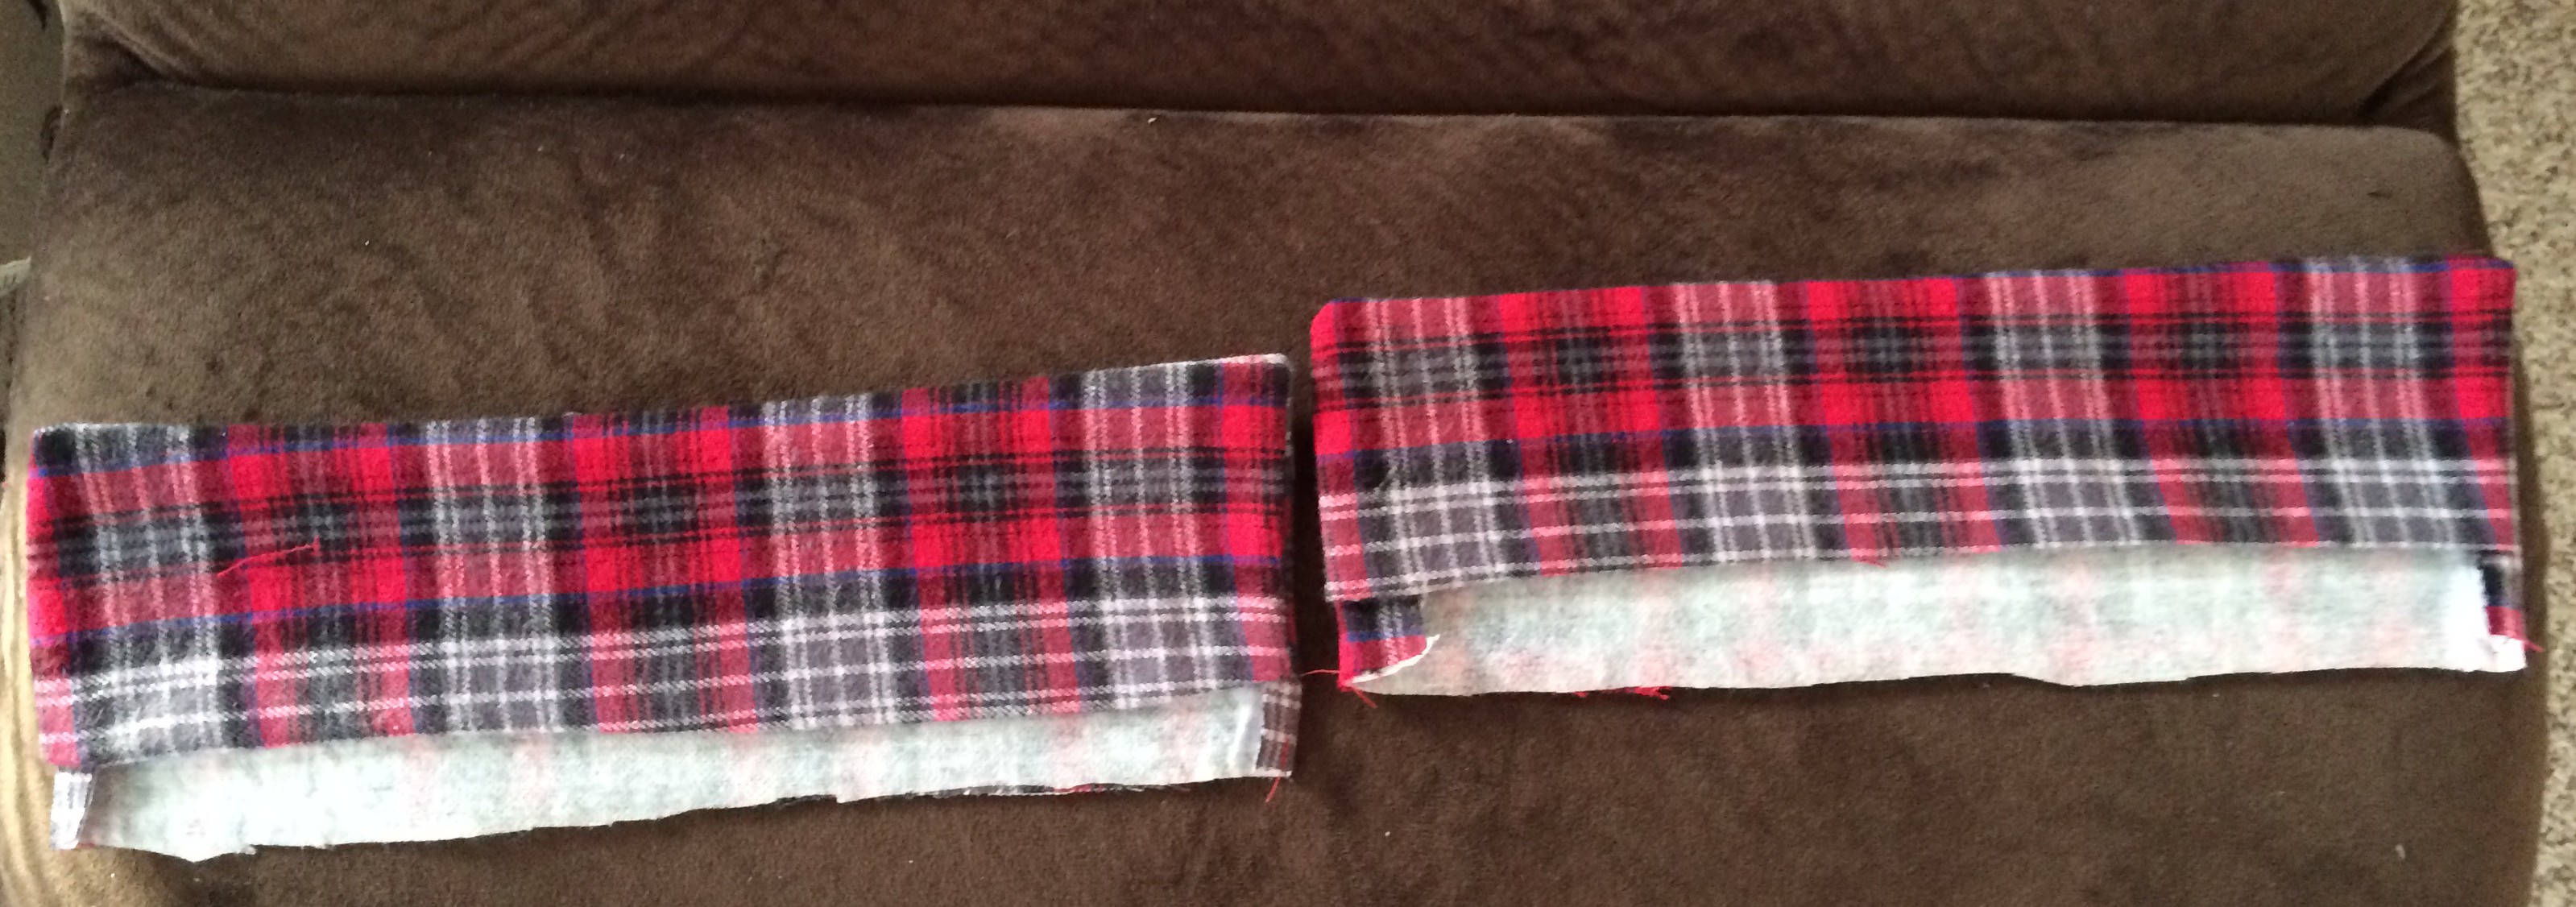
I assembled the cuff’s with no issue:
I also made the crazy decision to put pearl snaps on my pockets but have regular buttons on the shirt. I thought it would look cool, even though it doesn’t match. Now that I’m looking at it, I still think it looks cool – and very unique.

I call this a near-success, since I was able to get into the zone and figure everything out with no prior shirt-making abilities. At least now I have a flannel shirt that is comfortable, yet slightly fitted to avoid that boxy-look of the 90’s.

I even cut the back yoke on the bias. I really like the way it looks – although I actually did a flat-felled seam to attach the yoke which was unnecessary and also quite bulky. I believe the pattern directions attach the yoke in a way that finishes the seams, so next time I will just go with that.
For the sleeves, I also sewed using flat-felled seams which I think was the right choice, but it is really hard to do. Doing this type of seam finishing on a curve was harder than I thought so this didn’t come out as perfectly as I hoped either.

What I didn’t think to do is cut the pockets out on the bias. That would have been cool too. Now to sit back, relax and put on some Nirvana Unplugged.
Well that’s all for me. I’m Audi 5000!

Pingback: The flannel shirt A/B test | Threading Lightly
Pingback: Coming back from leave…with a leaf skirt! | Threading Lightly
Use to love my checked shirts, baggy Levi’s and boots. You could hide in those clothes, which as a teenager was what I wanted to do. Love your version and not sure I would be brave enough to try a shirt.
LikeLiked by 1 person
Cool! Love it, and well done with all the new things you’ve learnt! I’ve had the grainline Archer pattern cut out forever (about a year!) but not daren’t do it yet. 😳
LikeLike
The first part of this post made me sad. But the shirt is great, especially as you didn’t have a clue how to make one before you started. Virtually all these processes are pretty challenging, and with a checked fabric… Well done.
LikeLiked by 1 person
Thanks! Almost makes me want the cooler weather so I can wear it, long sleeves and all.
LikeLiked by 1 person