Tying up loose ends

In order to keep my momentum going this season, I go by the rule of ABC – Always Be Cutting. I need a steady stream of cut projects so I always have something to work on. This summer I was cutting new projects out when I could, even before I finished my current project. I’m wondering if it’s just to distract myself.

Even as I struggle to get projects completed, I decided to cut out some shorts out of some scrap I had, to test out another pattern for myself.

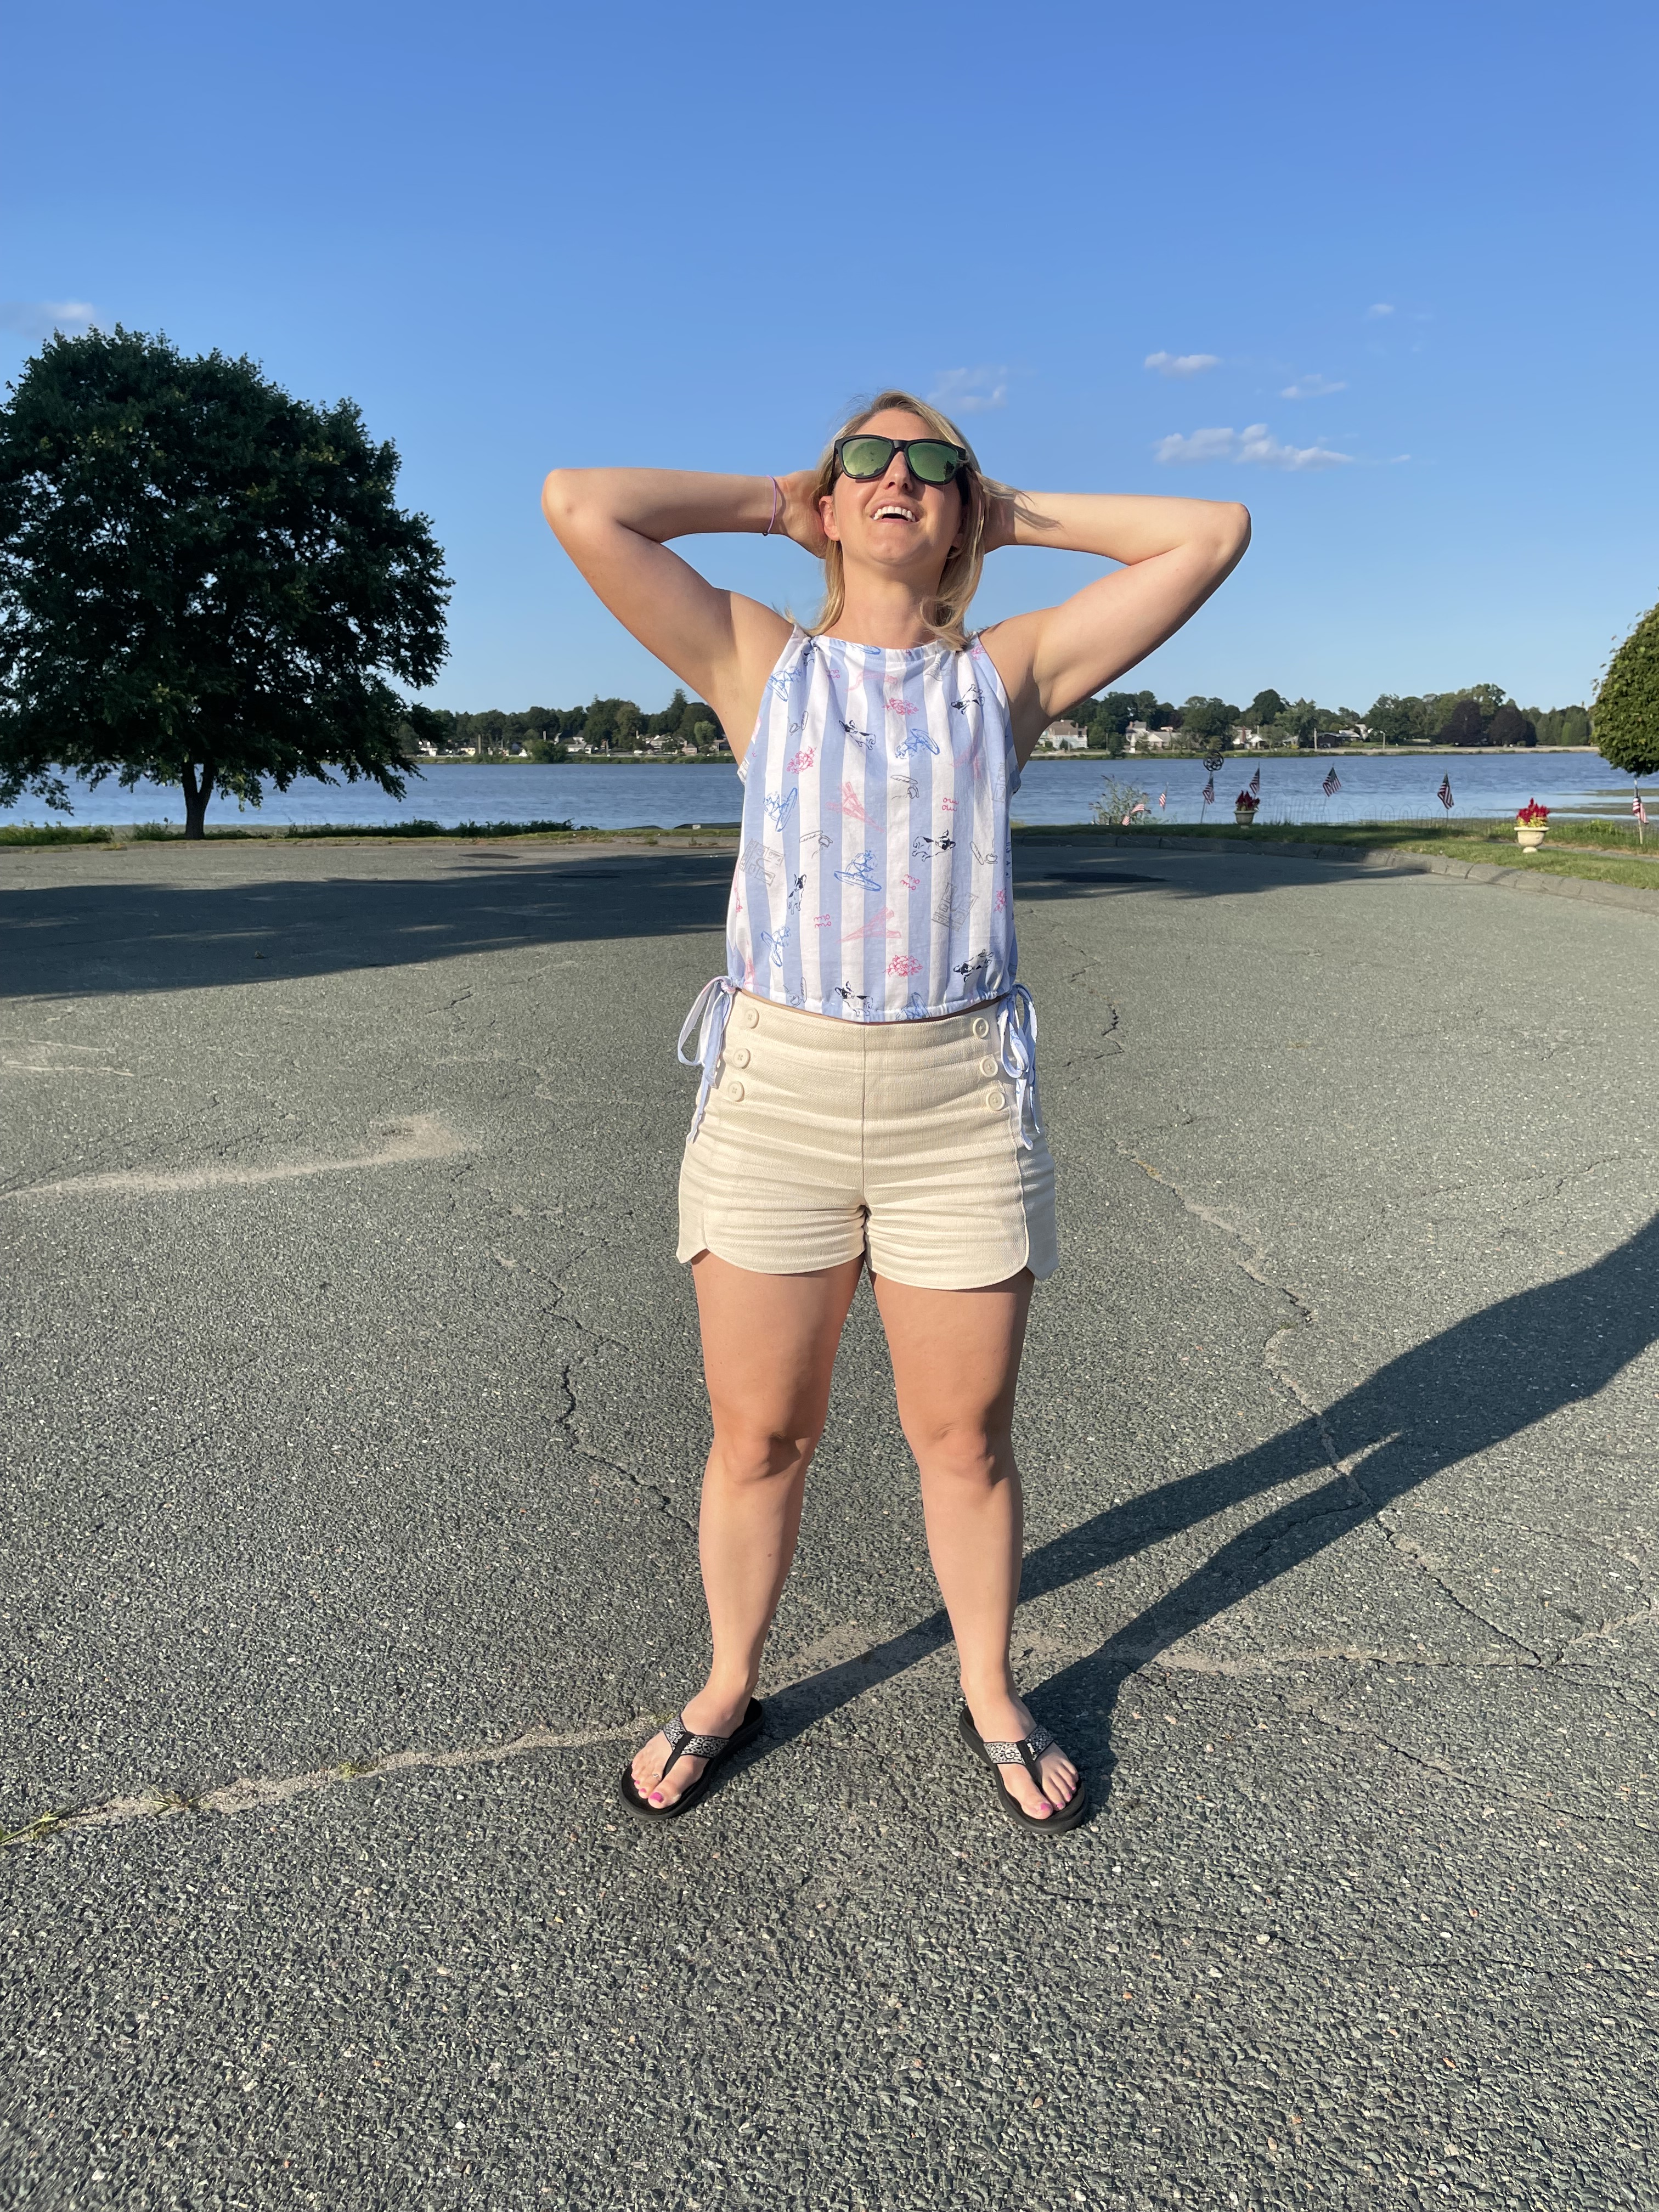
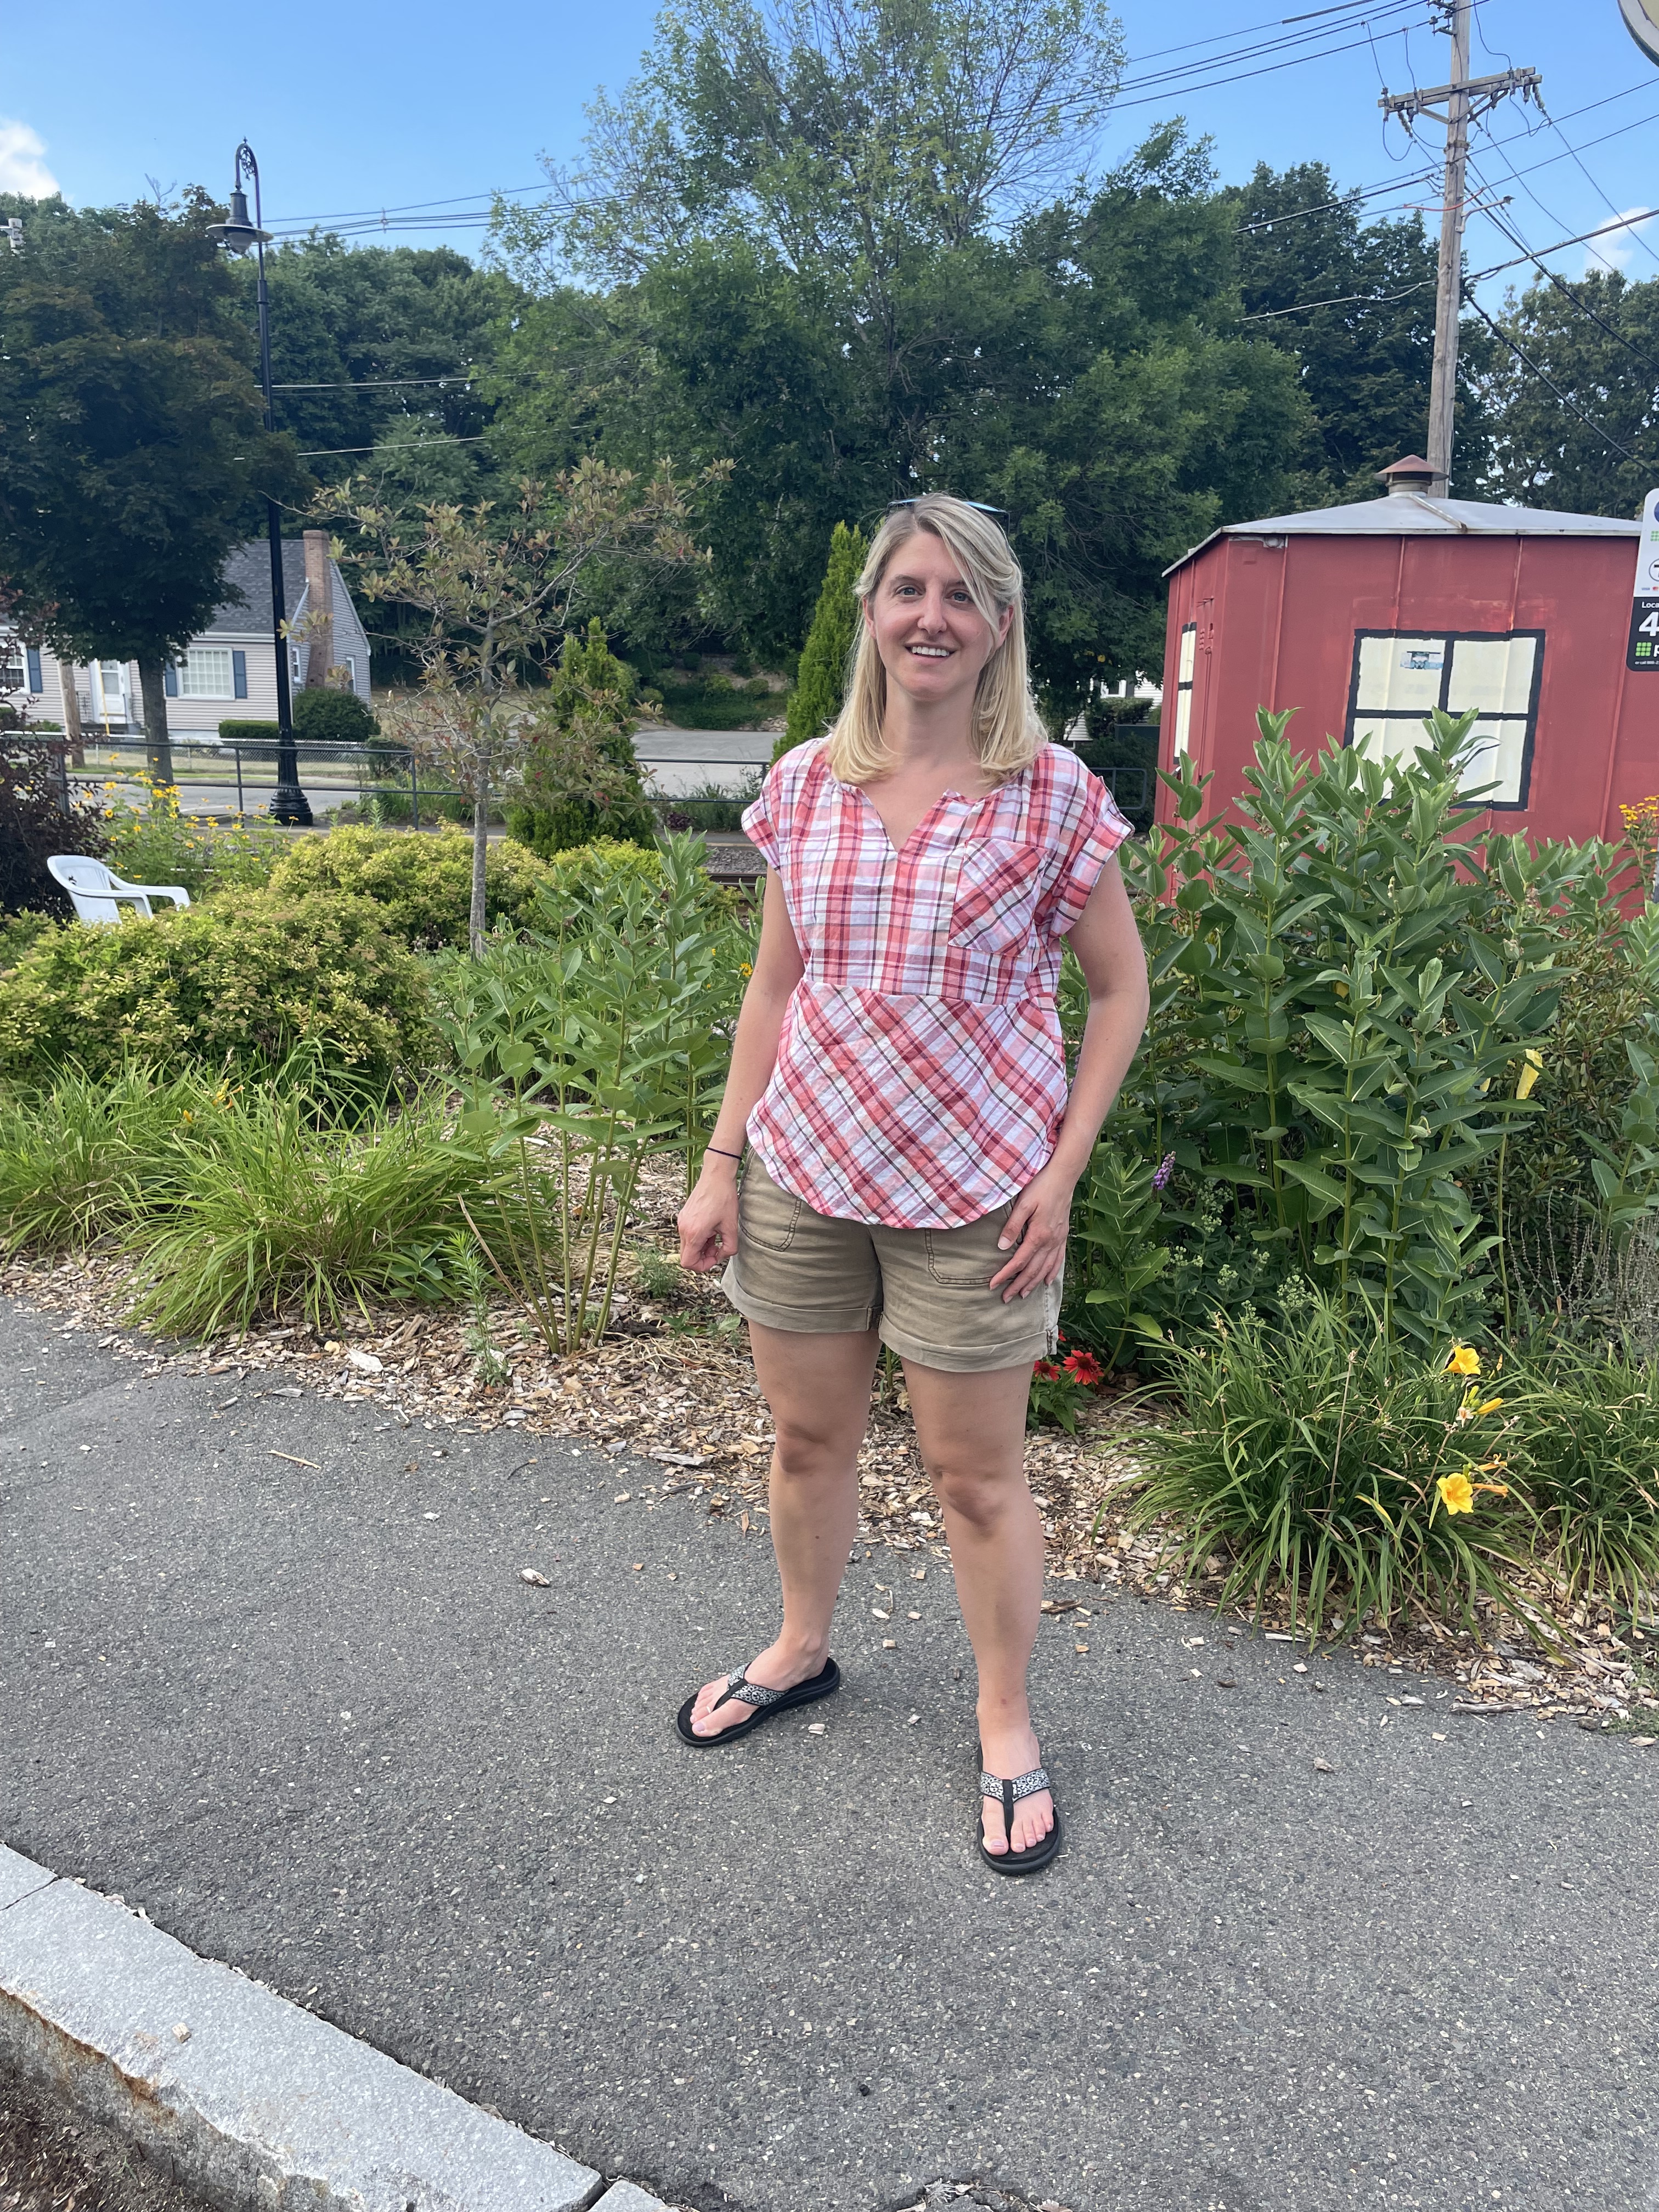
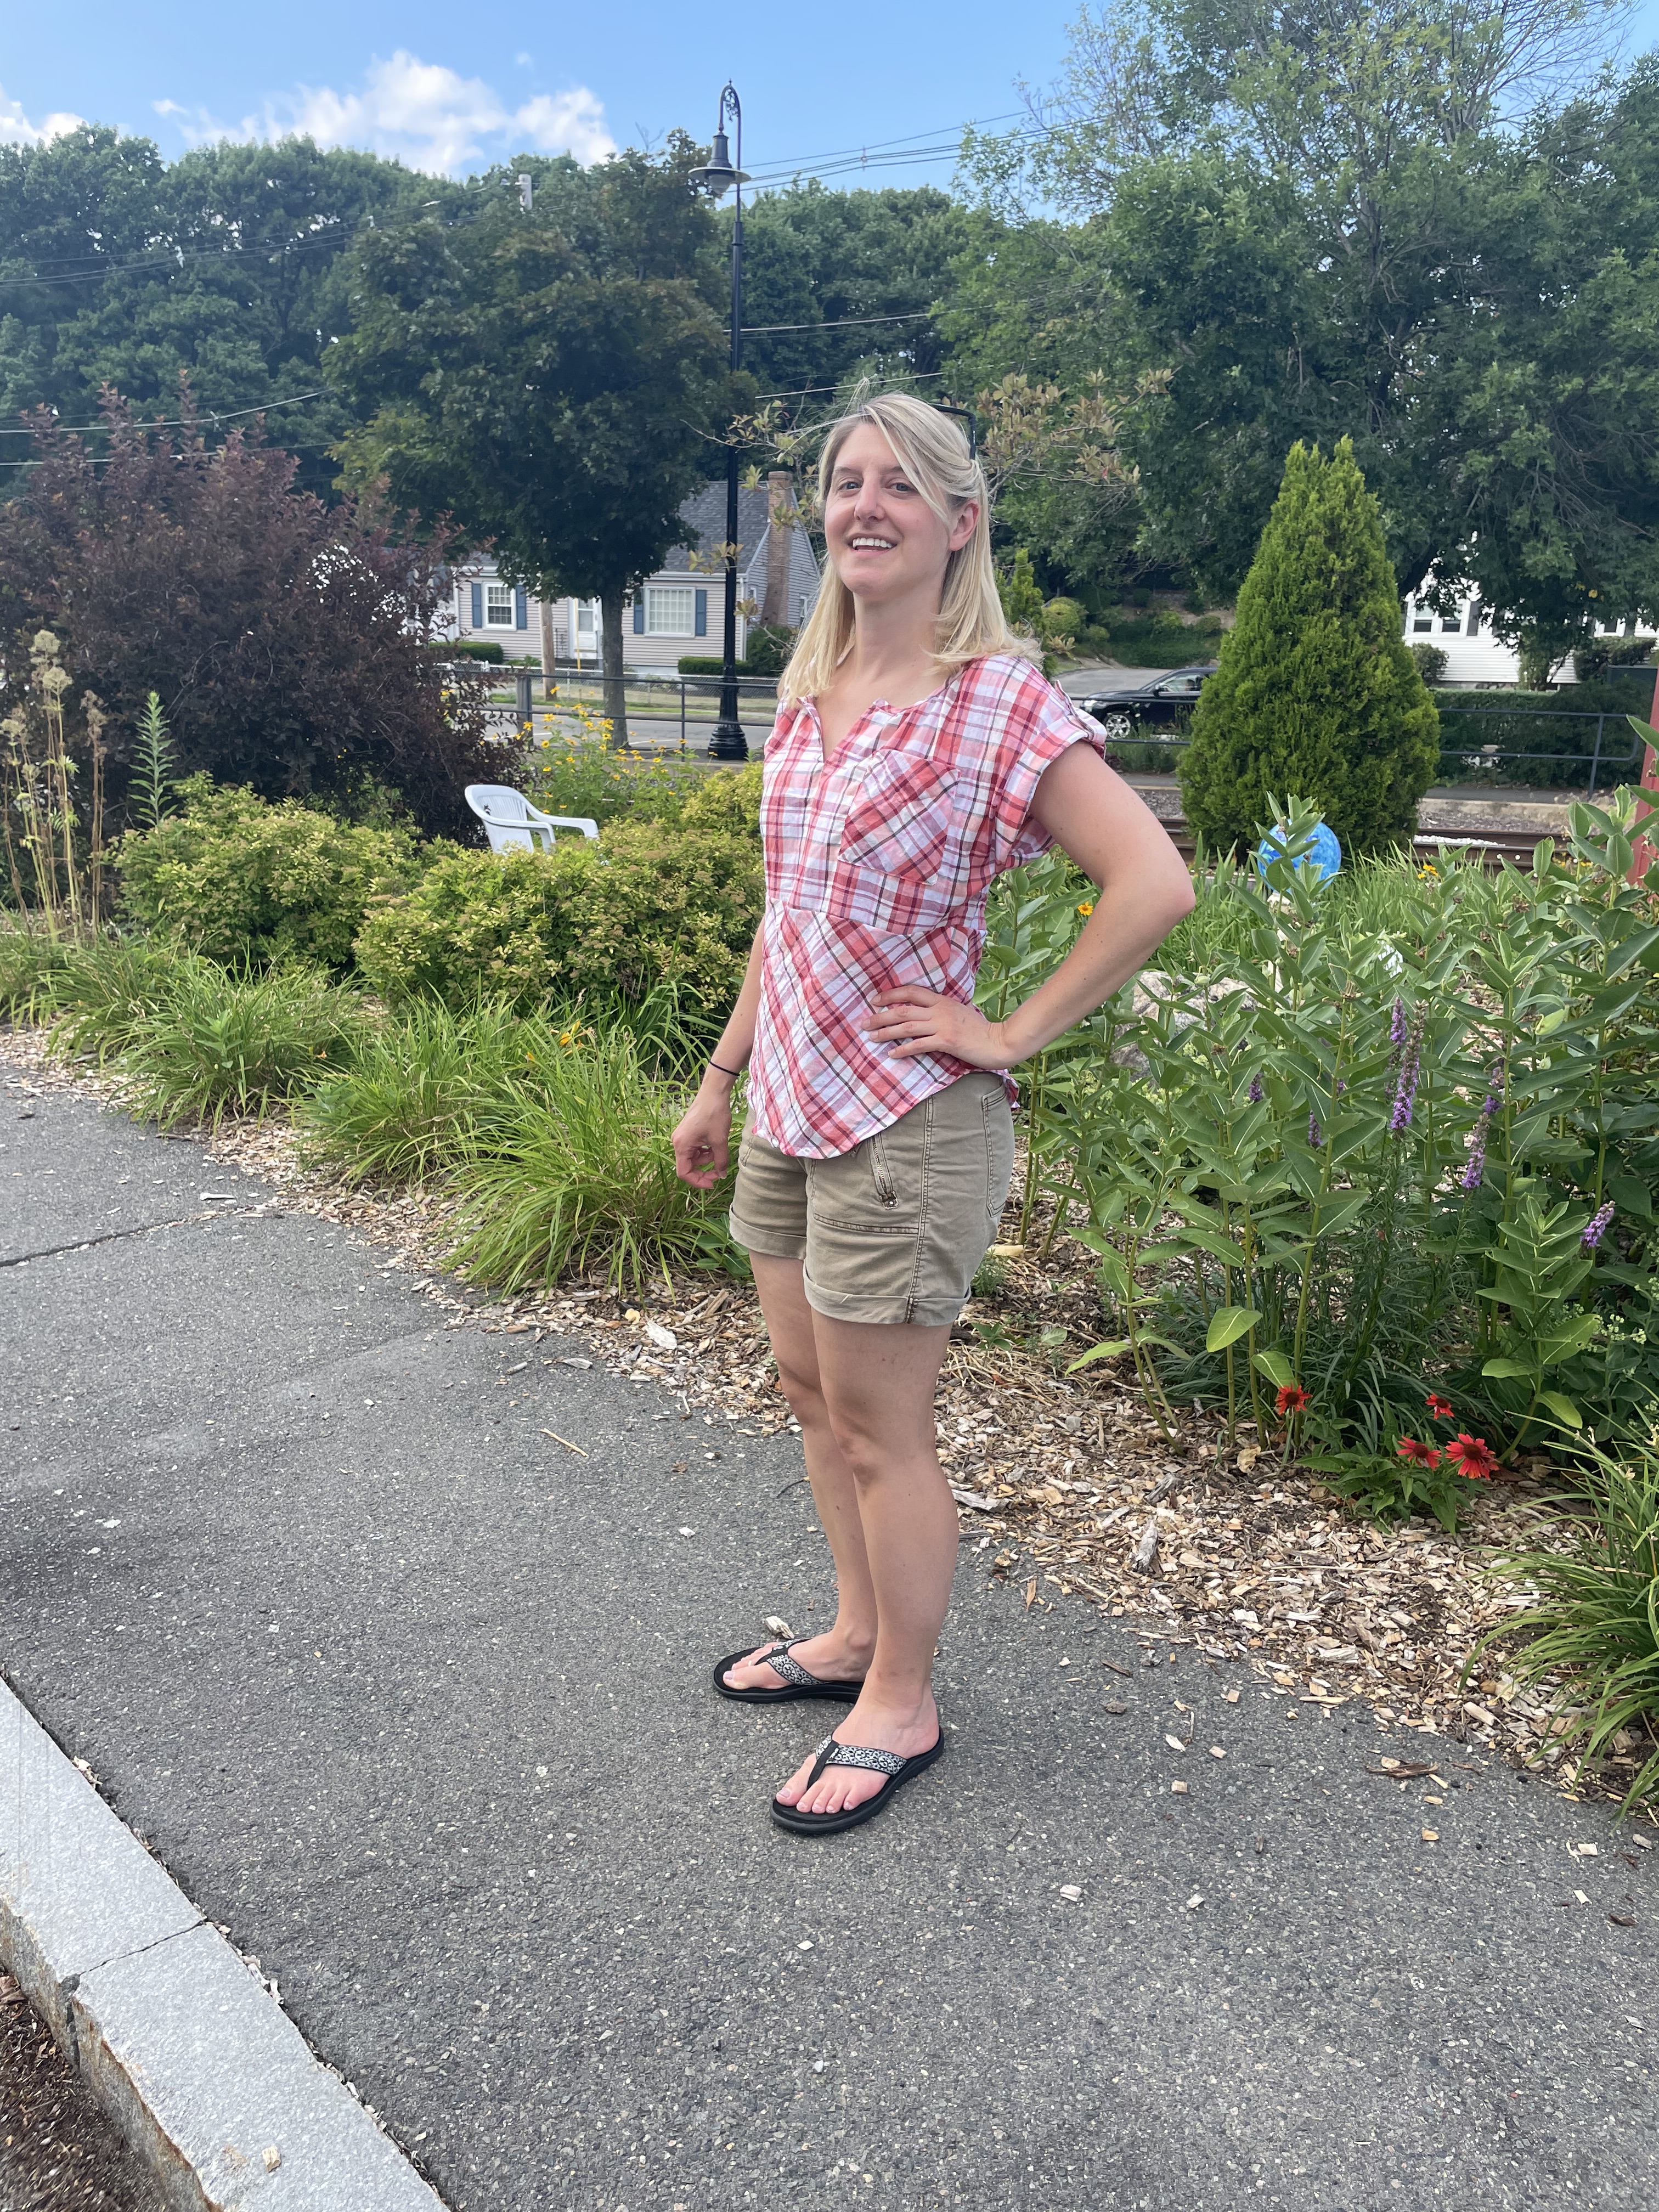
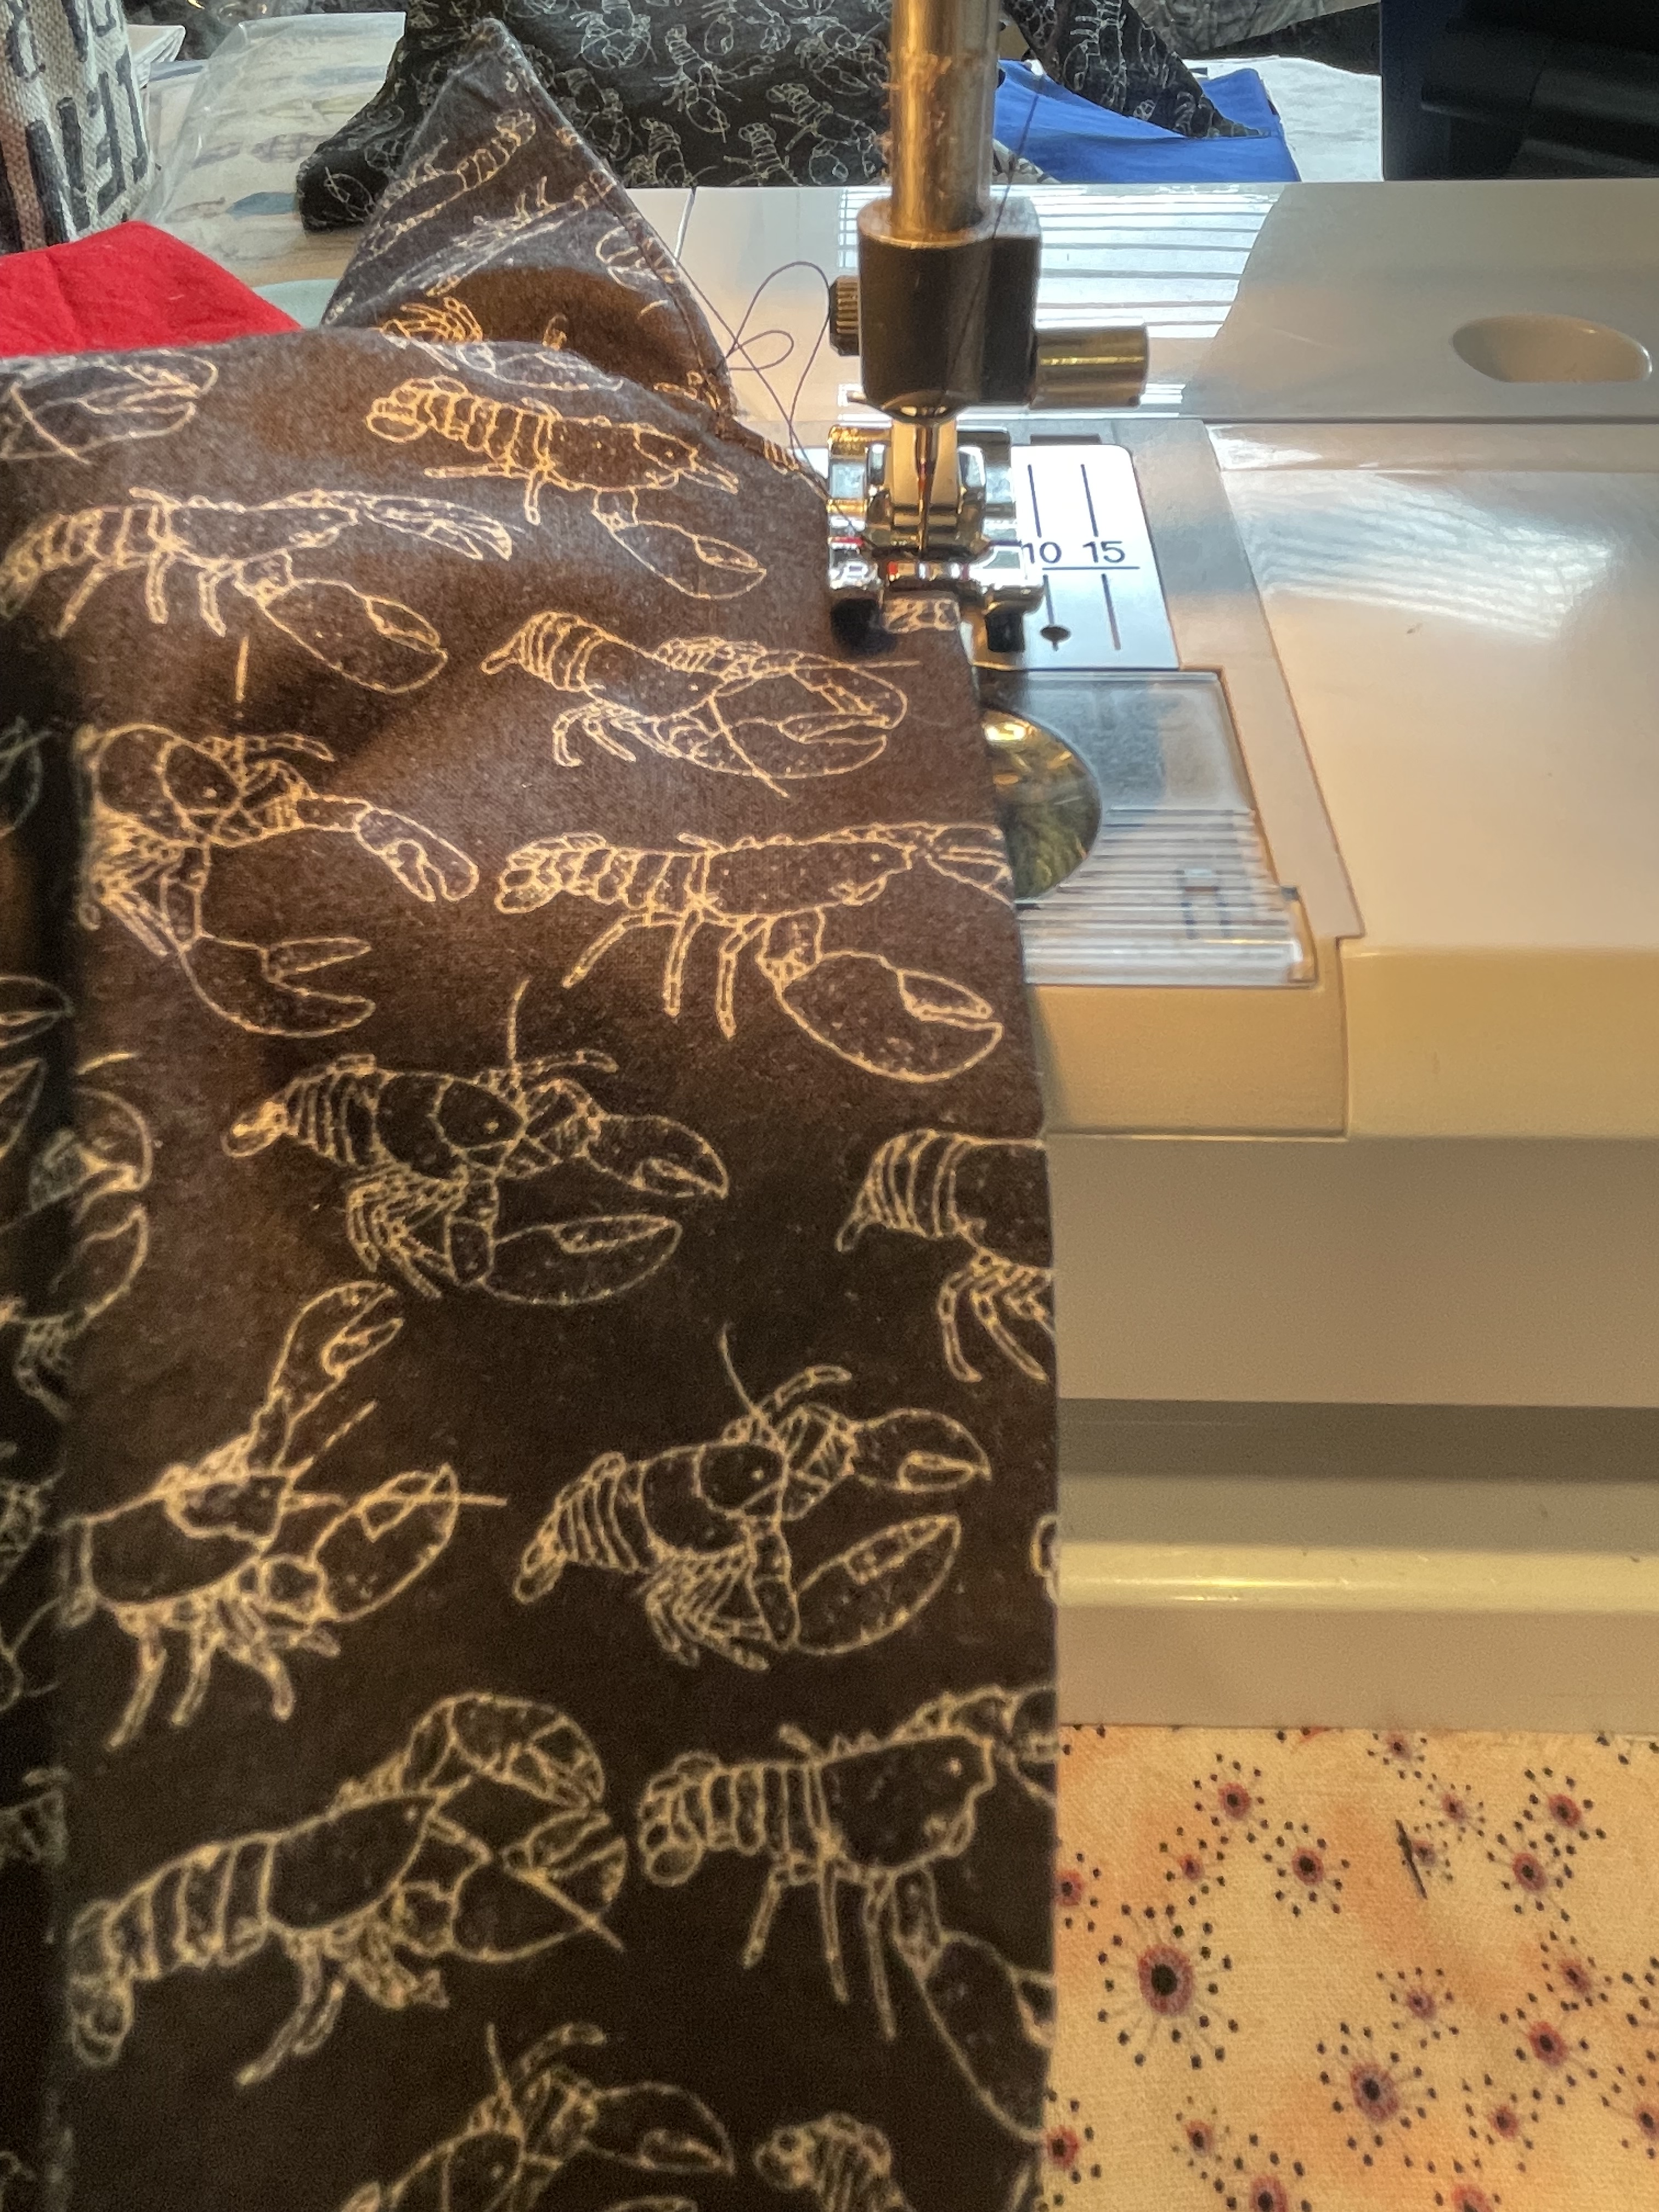
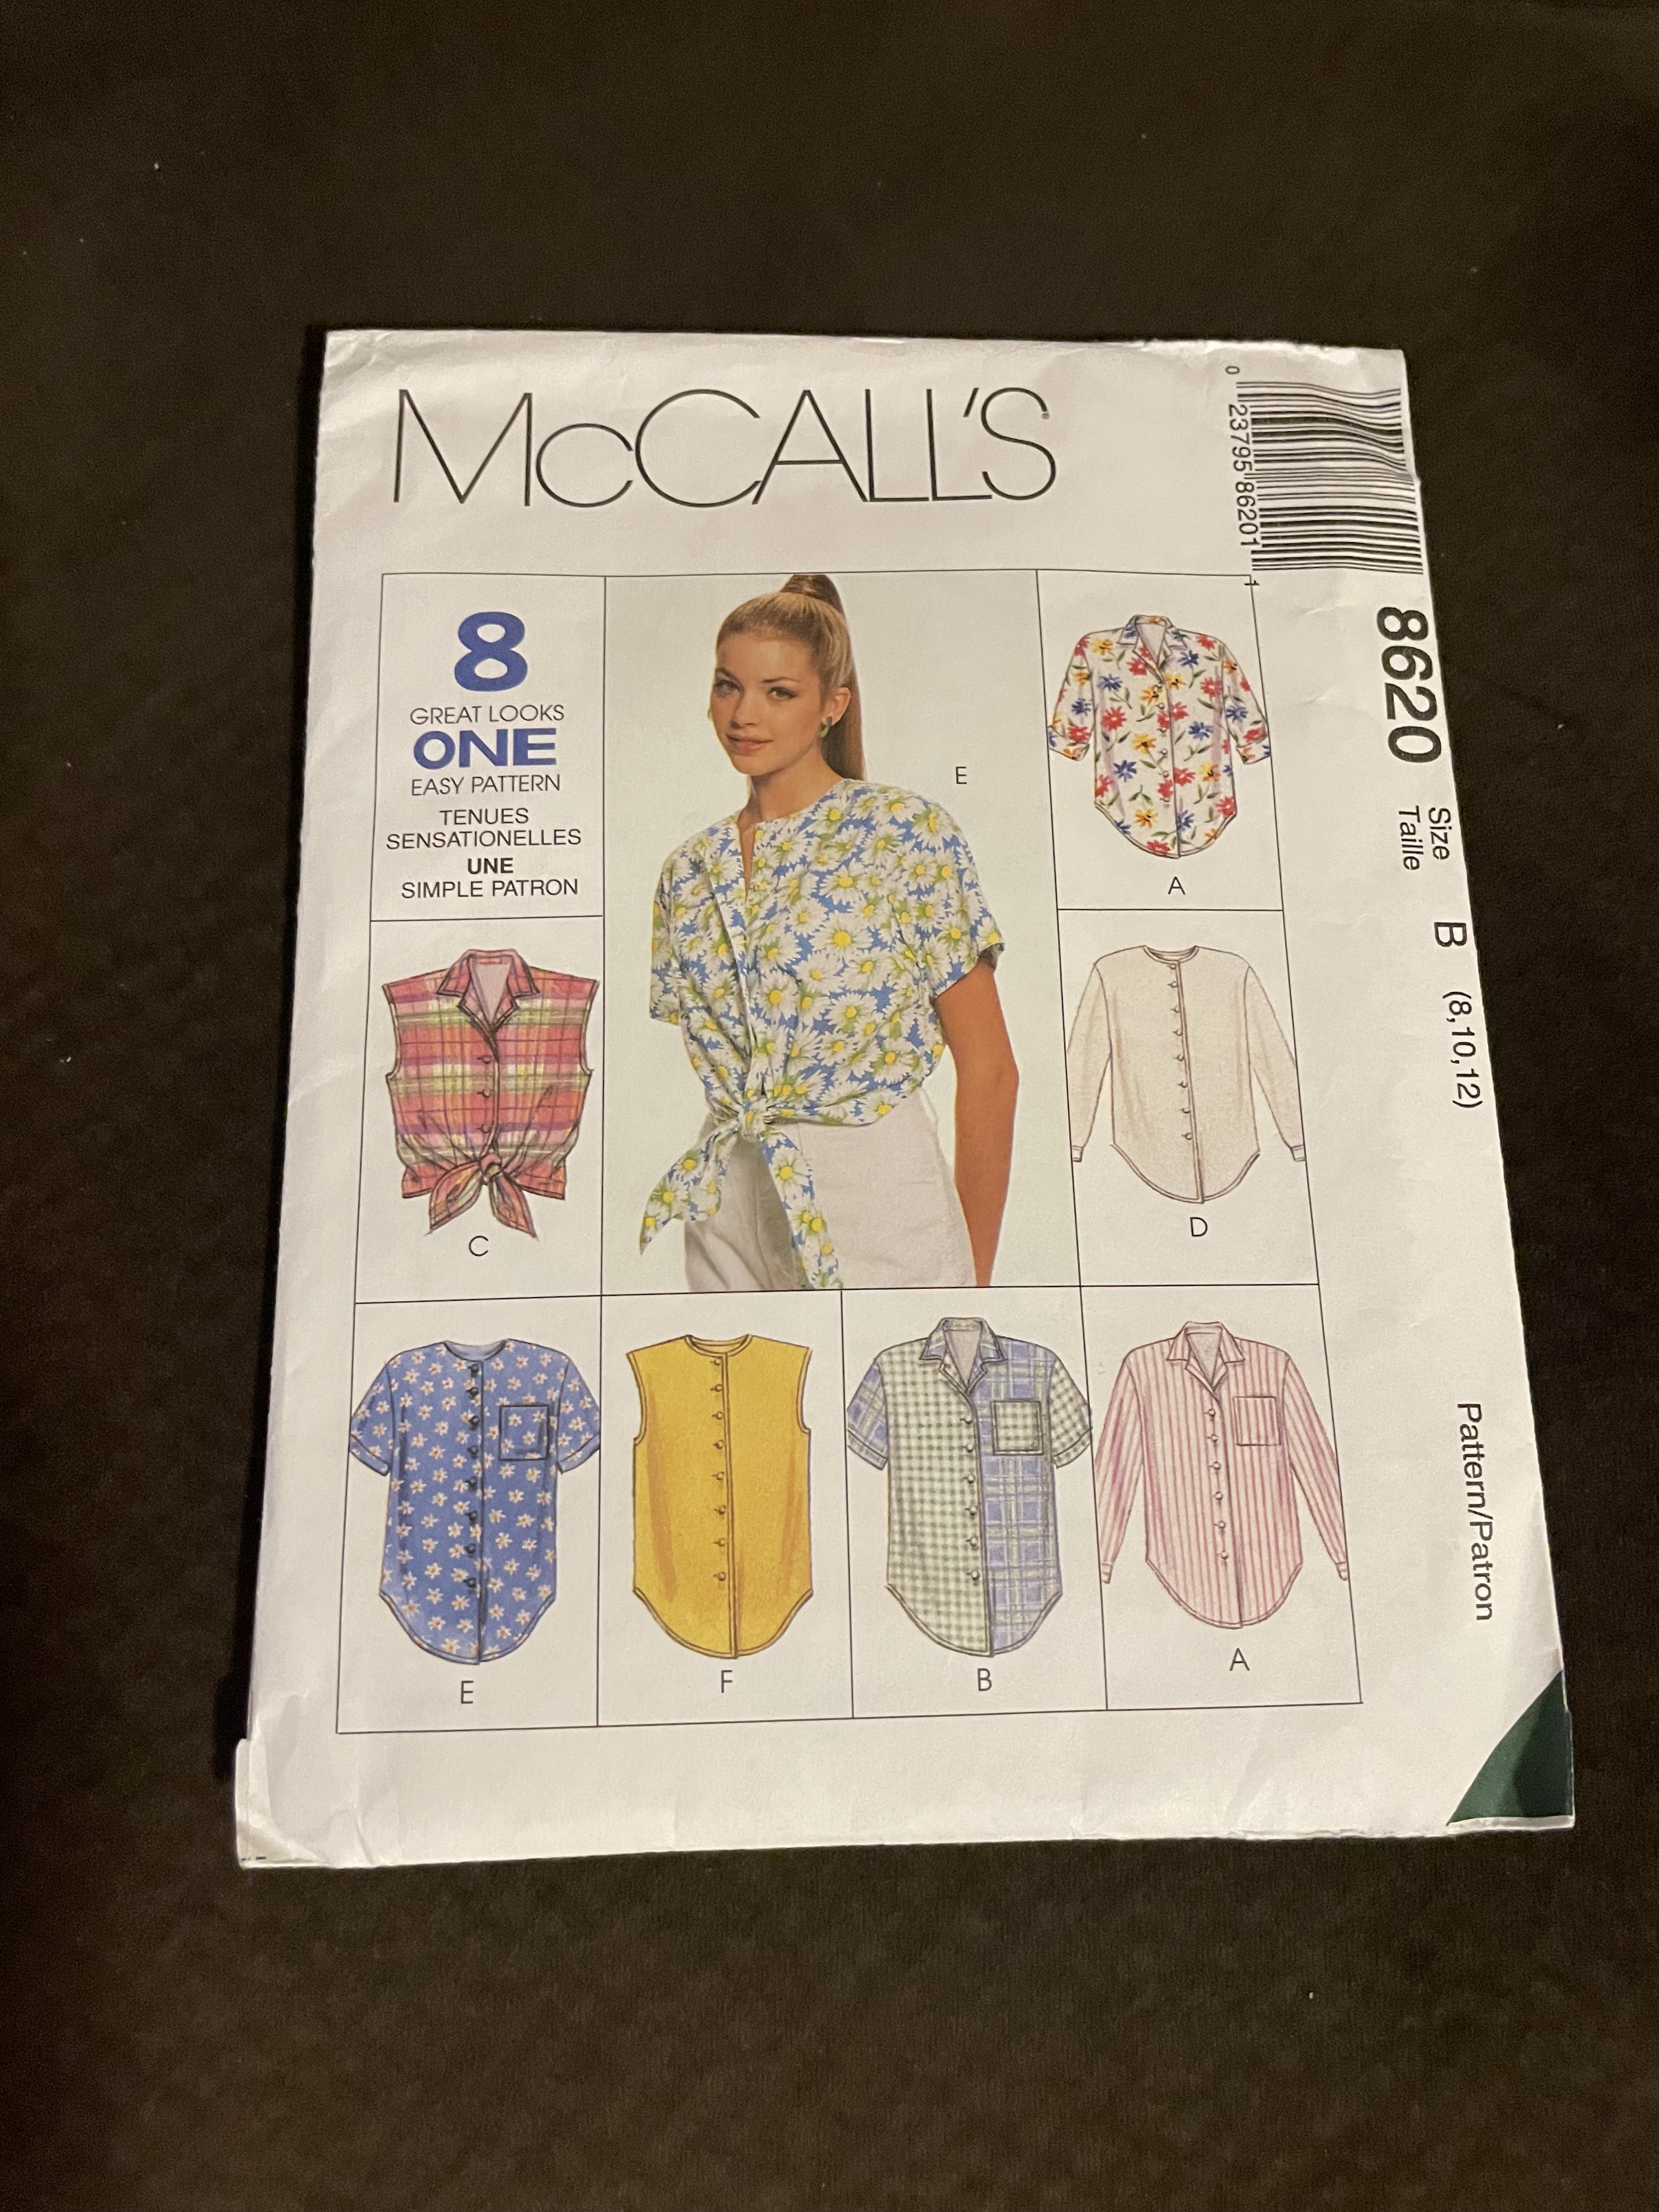
I’ve been away from my blog for awhile. The month of September was a blur. I went on a pretty long vacation to the Azores, so obviously I was not sewing. When I came back, it was pretty hard to get back into the groove of things. However, I was able to finish my 2nd tie front shirt, McCalls 8620, in a fun lobster print. I finished it just in time to take on my vacation and was able to wear it a few times out.

The view from our hotel room on Pico Island in the Azores. This ended up being the perfect shirt to wear out to dinner on those warm nights.

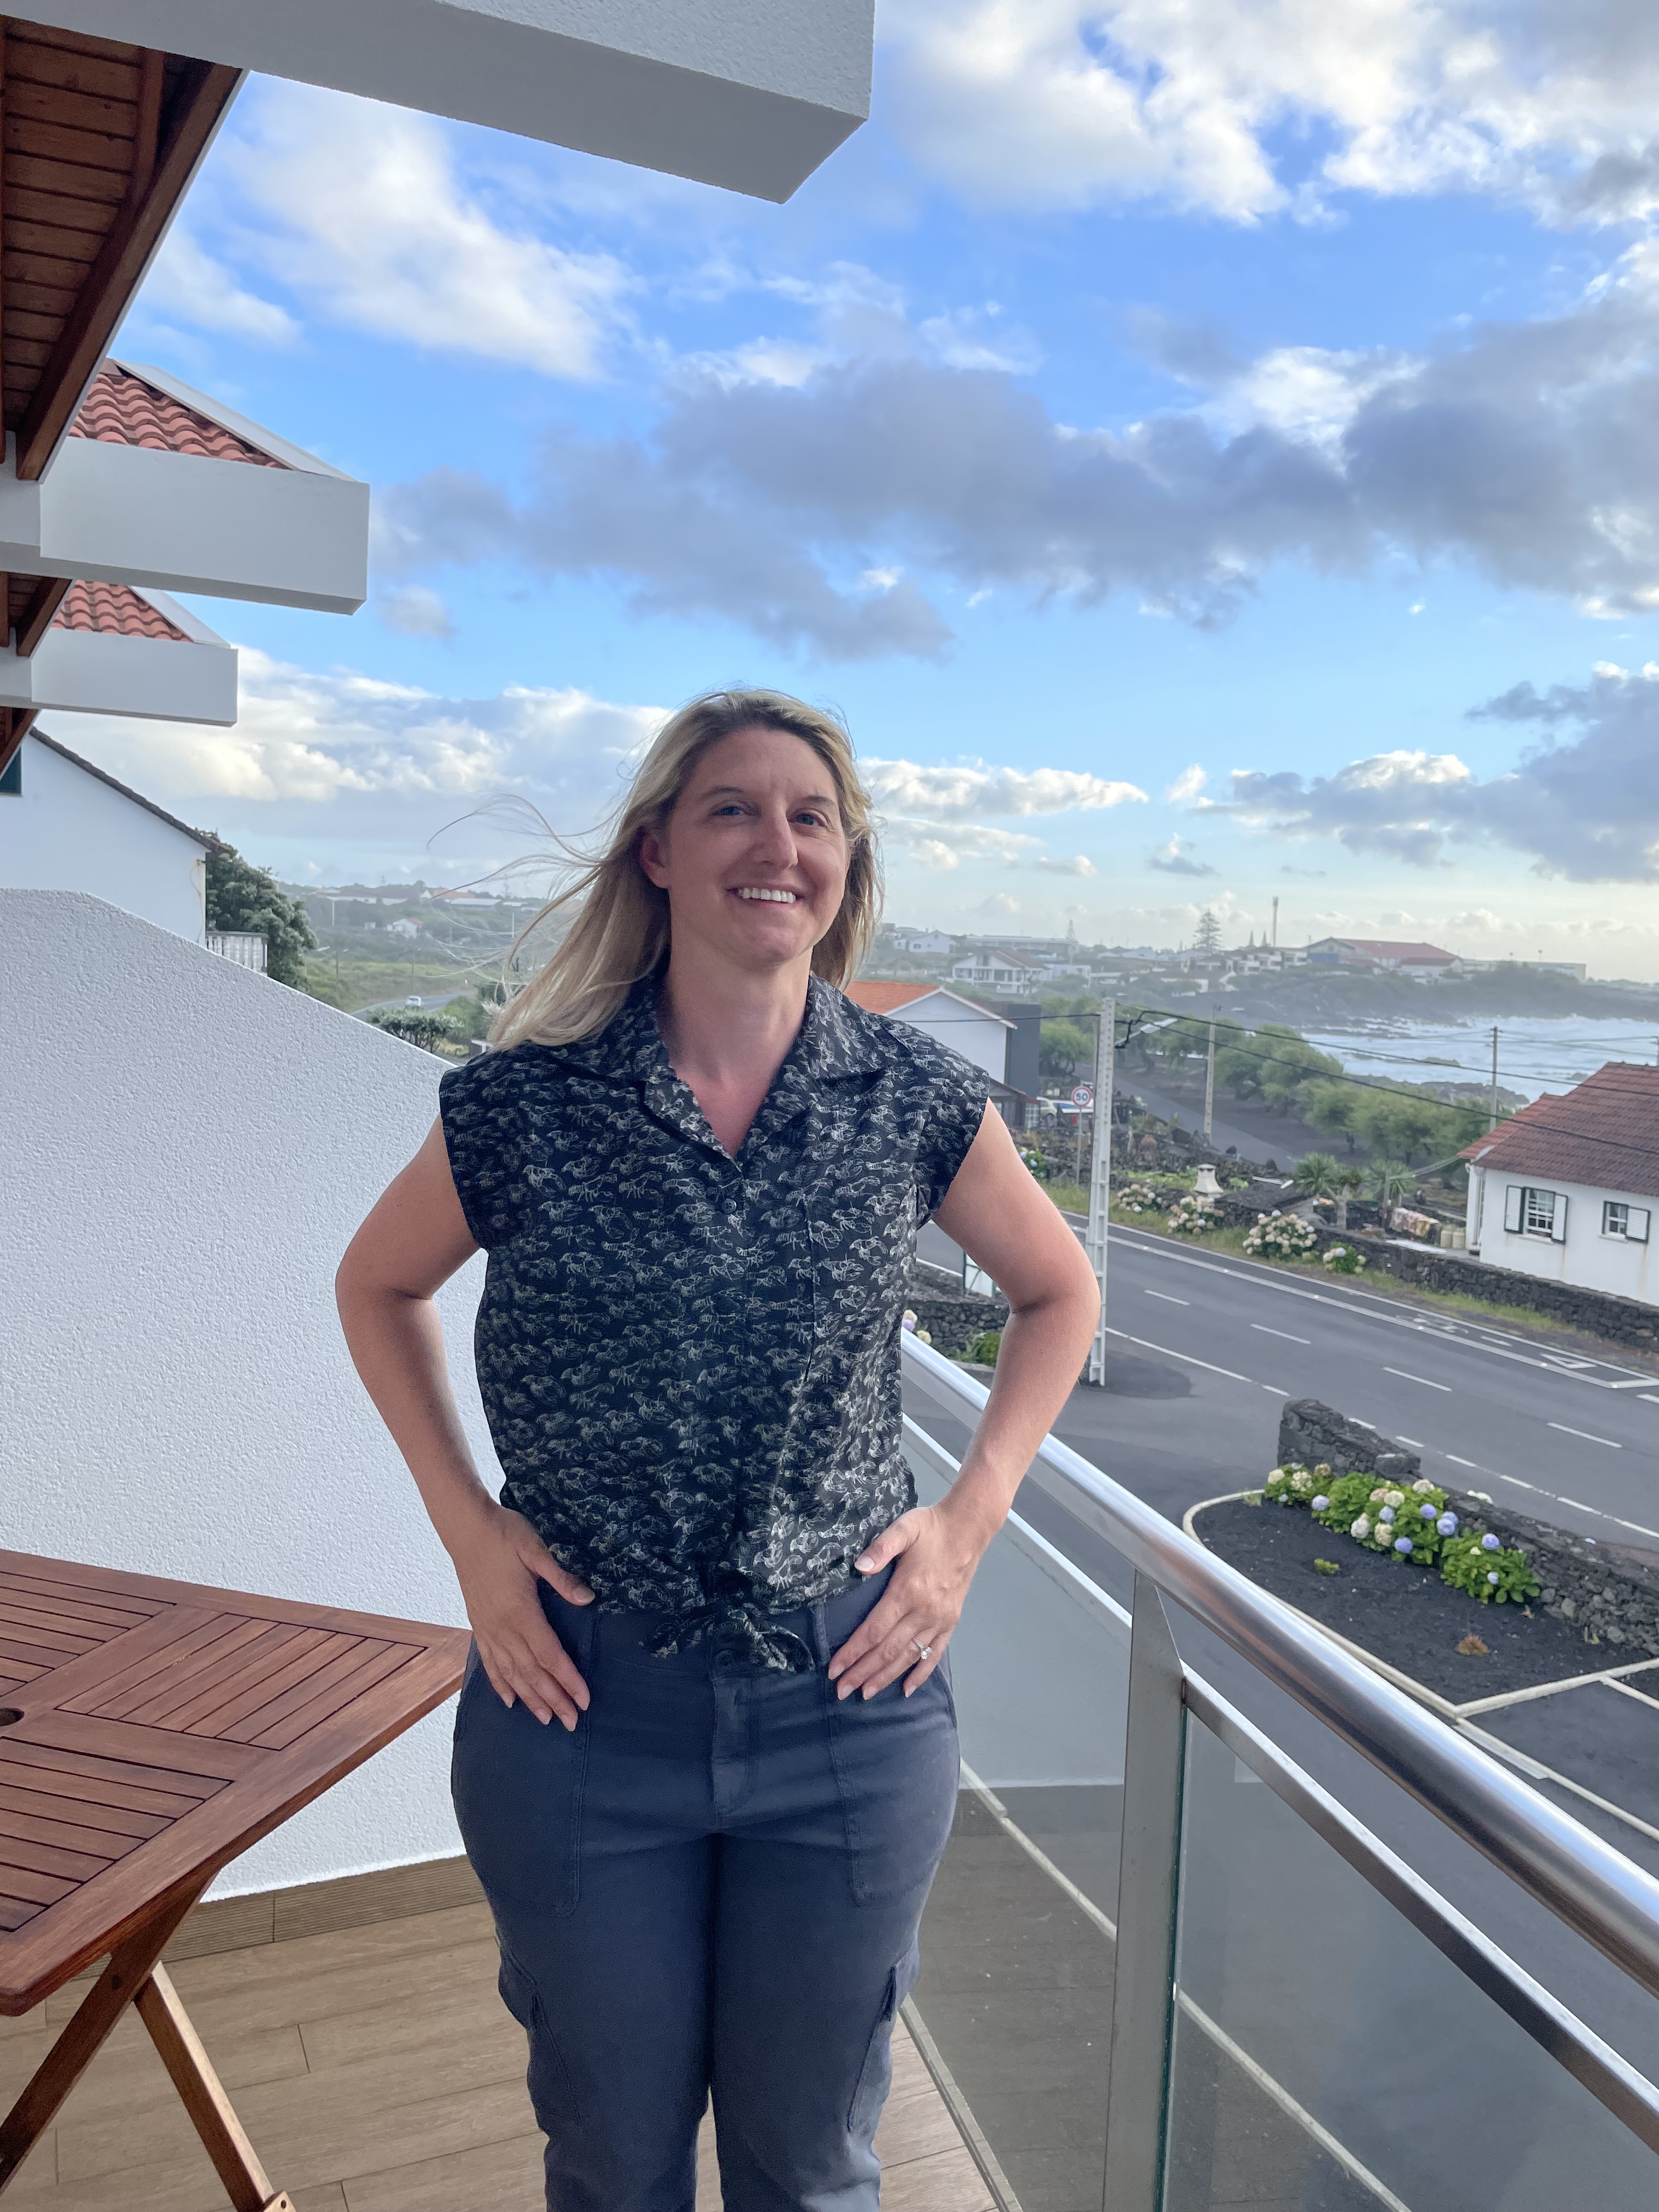
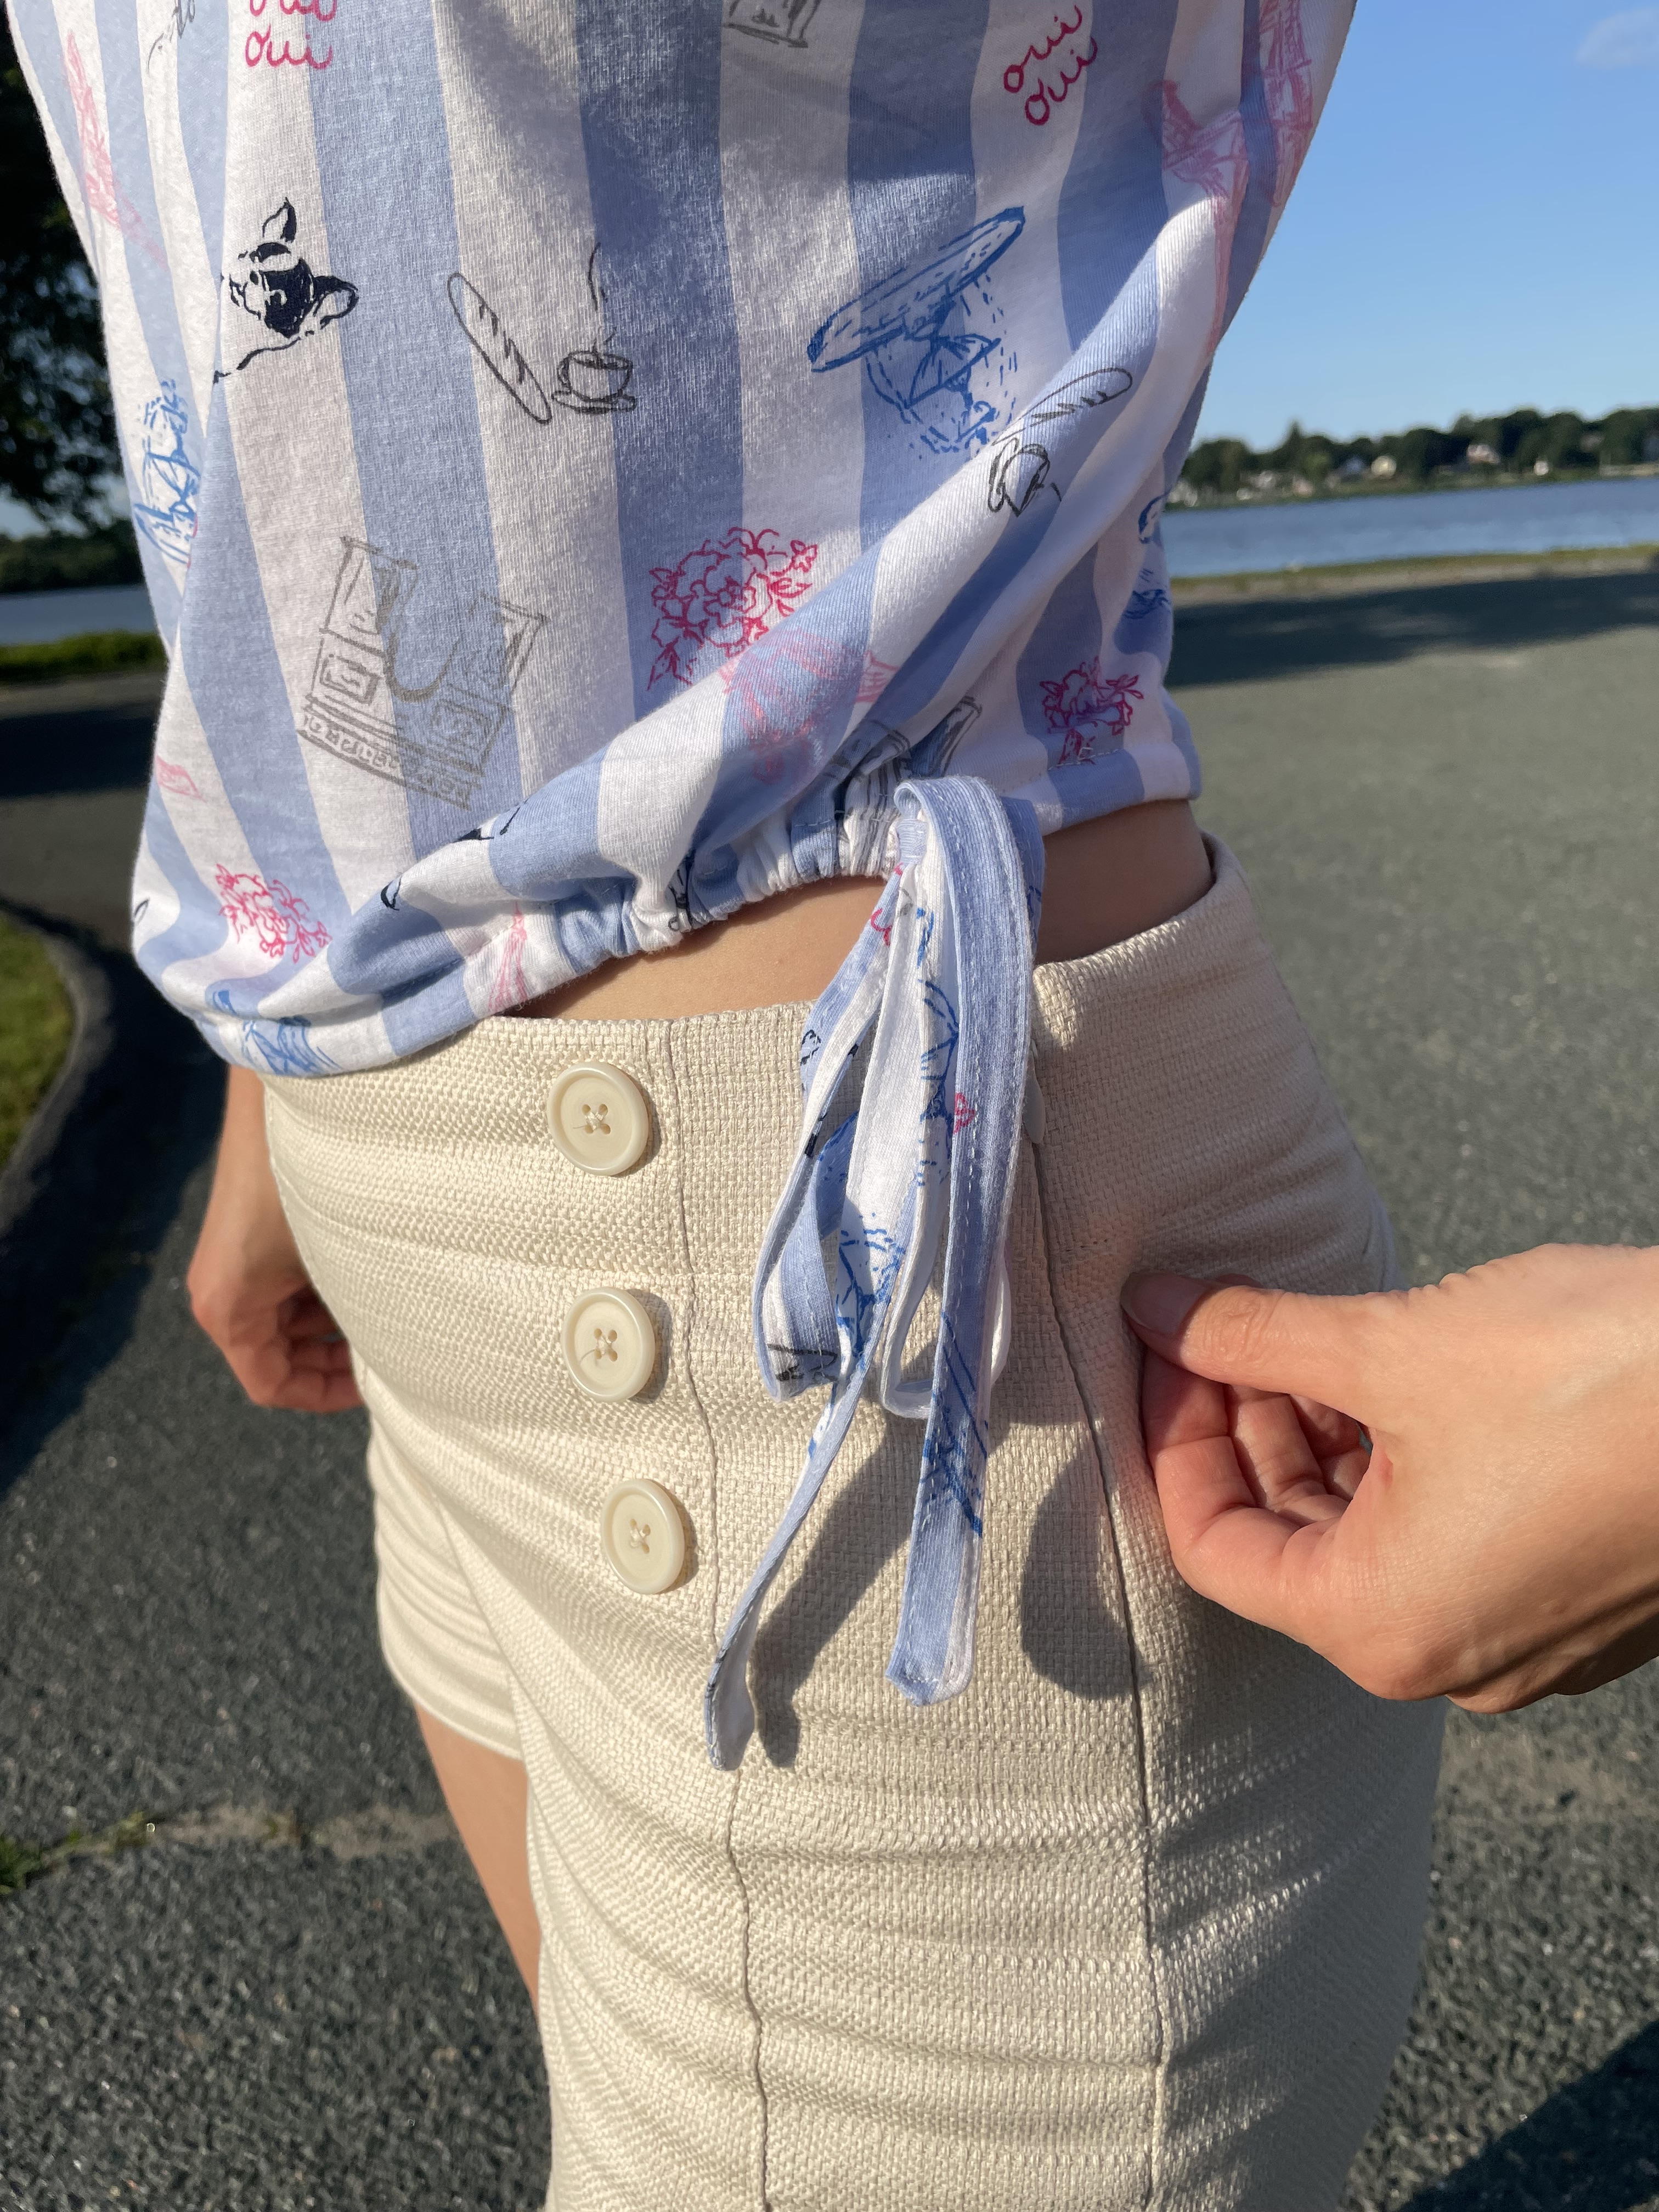
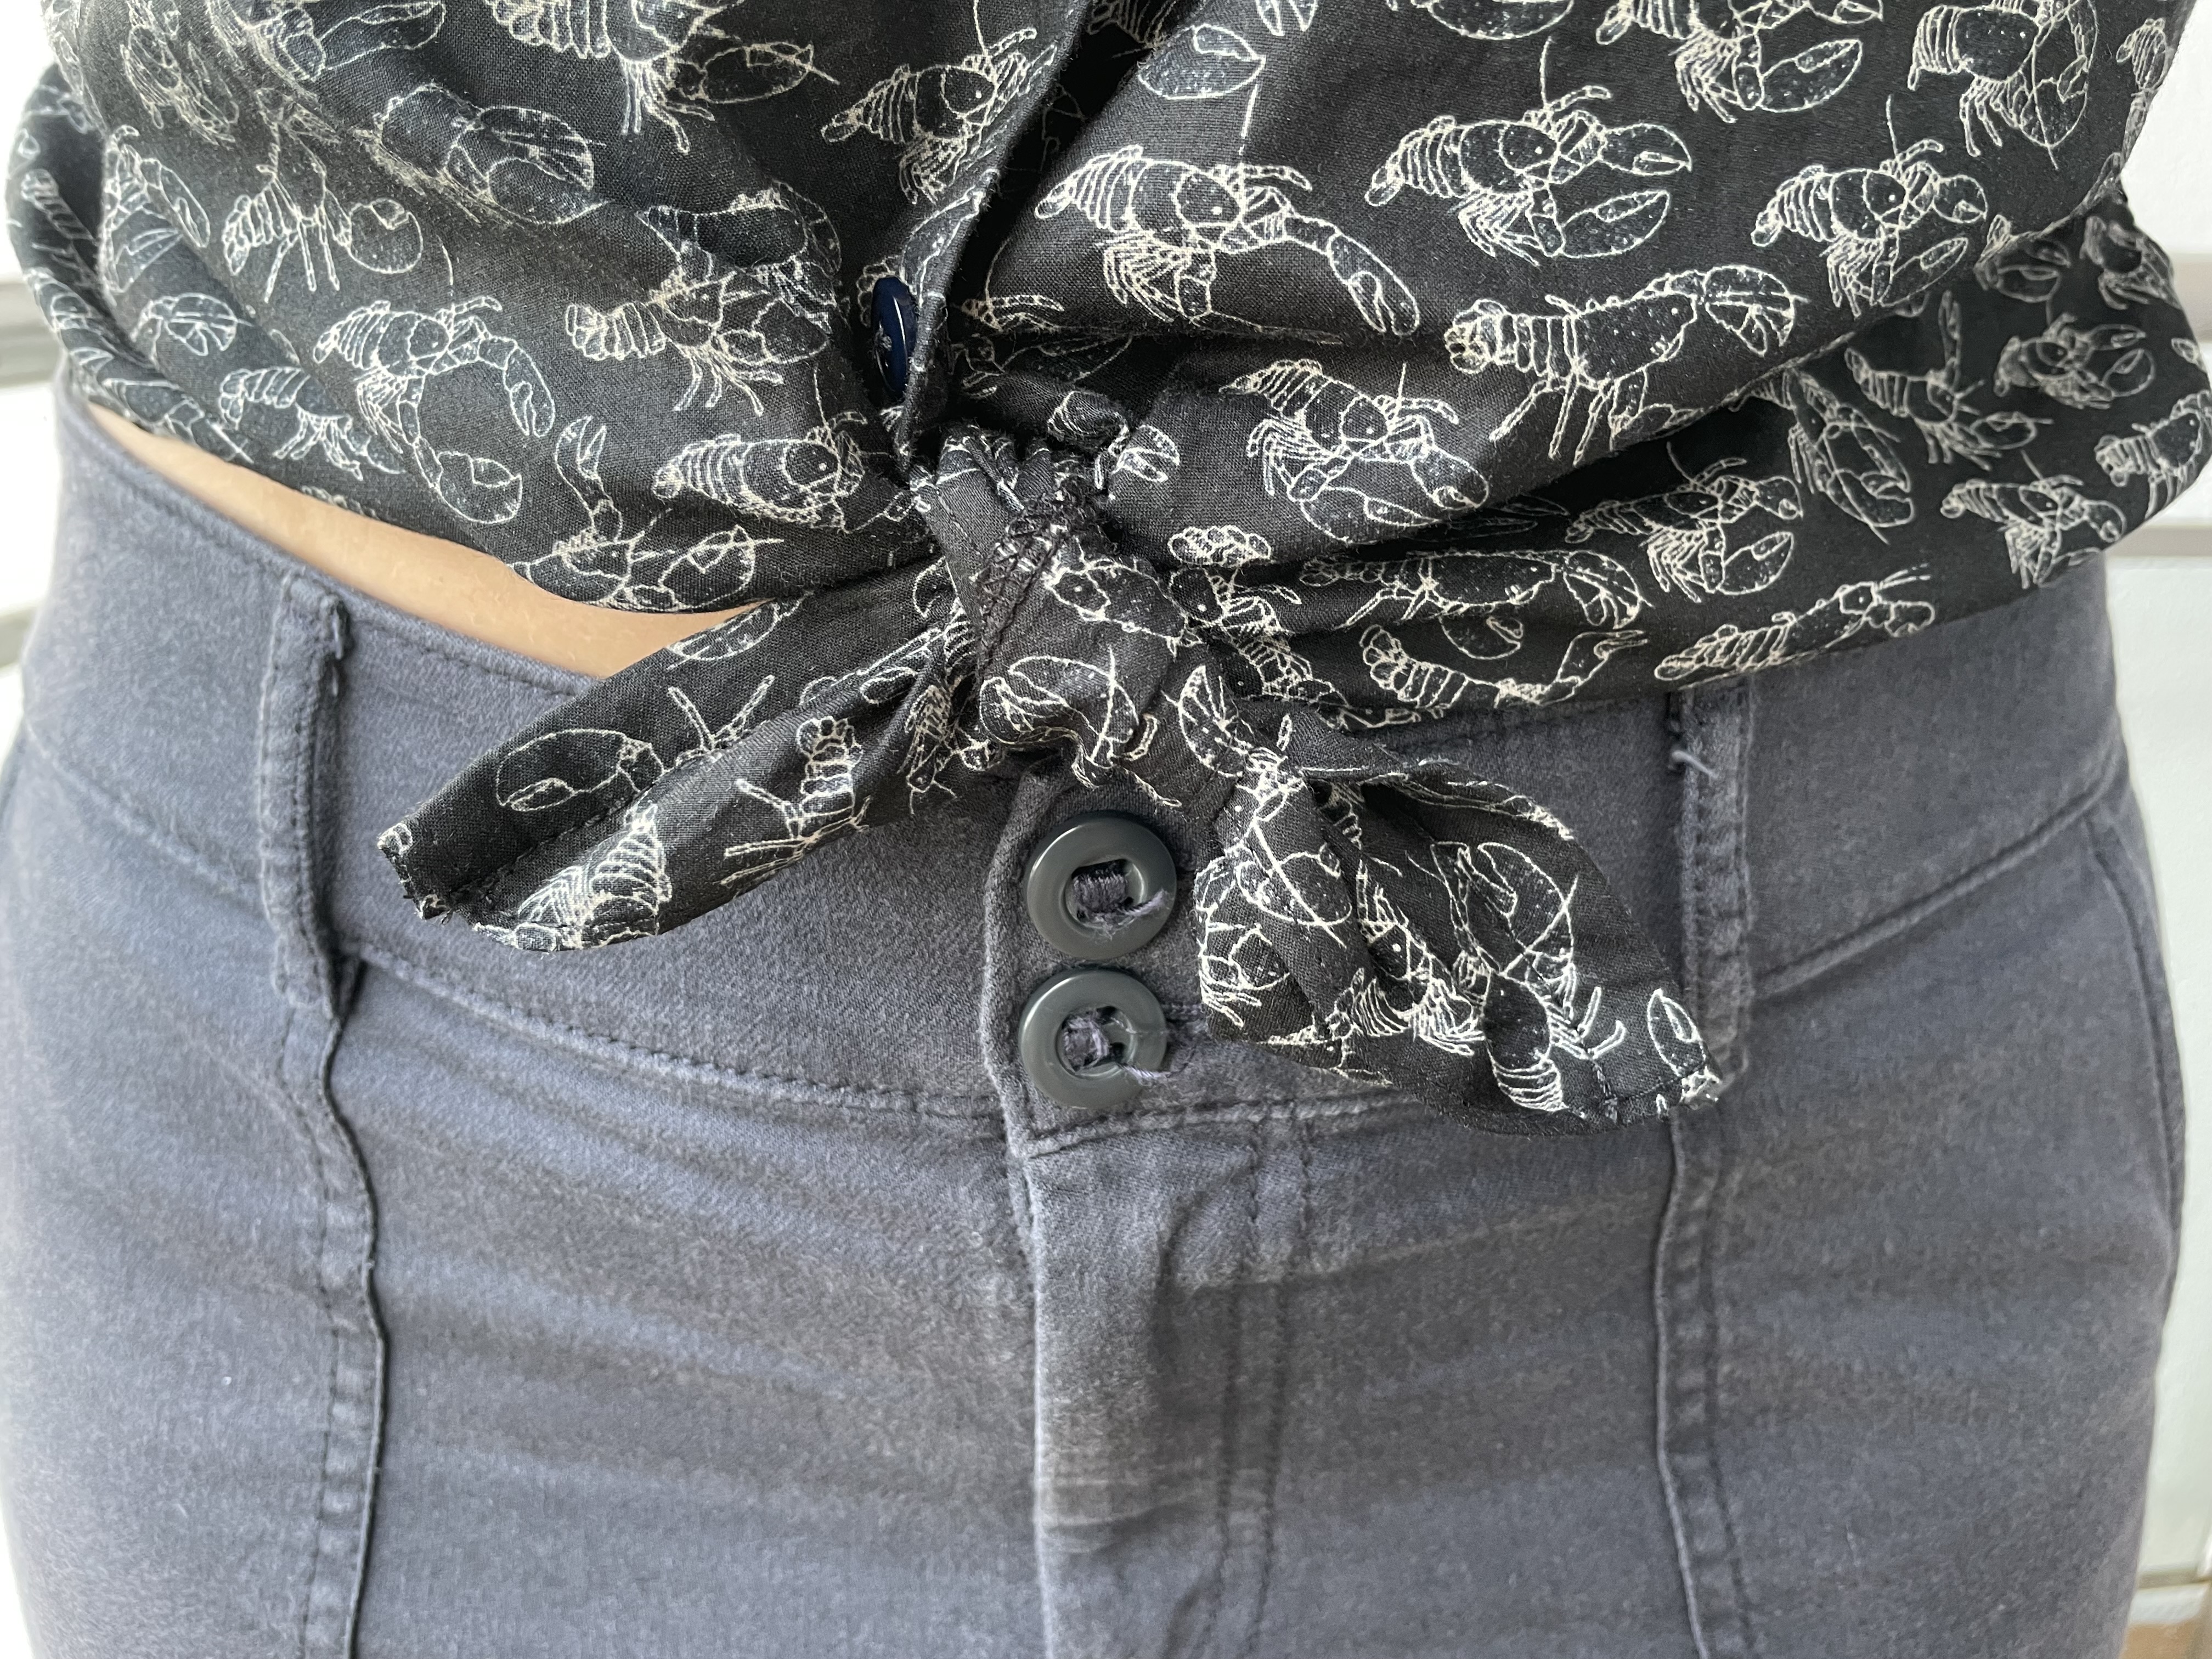
I think making the first one with some practice fabric really helped me get this one right. I ended up shortening the shirt as I didn’t really care for the length on the first one. However, when this shirt is tied up, it does feel a bit short on the sides, so I just need to be aware what pants I wear with it. I like the fabric a lot though, and this shirt definitely works best with a softer shirting cotton than the quilting-type cotton I used for the first one. I was also able to perfect the collar. I had to adjust the size on the facing section on the front of the shirt so that the front came out a bit to a point on the “lapels” and was able to be tucked away more cleanly on the inside.

Pretty much perfection! I Love the way the collar came out on this. Finally, maybe my collar curse is coming to an end.

The other issue I ran into was when I ordered the buttons online, only half the quantity came and they were unable to send me the right number in time. Luckily I found some black buttons in my stash – they were a little smaller than what the pattern wanted, but it was fine for this shirt. Unfortunately, I think these buttons might actually be navy blue, but they are pretty dark so it’s hard to tell. I think it worked fine, at least my eyes can’t really tell.

I’m not sure if I mentioned before, but I love this tool to get the buttonholes even on my shirts. Because I had adjusted the length on the shirt, I needed to make sure I still had enough fabric on the bottom for the tie in the front, therefore I had to adjust where the buttonholes would go. This gage ensures that no matter where I place the top or bottom button, I can figure out the rest of the buttonholes evenly without having to measure each individually. It’s definitely a tool that has exceeded its investment.

Even though September was a bust for sewing projects, I did manage to get some great fabric while I was on vacation. I actually found fabric that had specific images from the Azores, so I had to buy it. I’m thinking this would be good for a housewares type project or possibly a bag. I also got this great sportswear fabric that was very colorful and some baby wale corduroy with a print that reminded me of the decorations on the churches out there. I also got a few pieces from a store on Terceira island that seemed to be going out of business. I got some knit and stretch denim for a really good price. I love getting fabric on vacation, because whatever I make always reminds me of that trip.

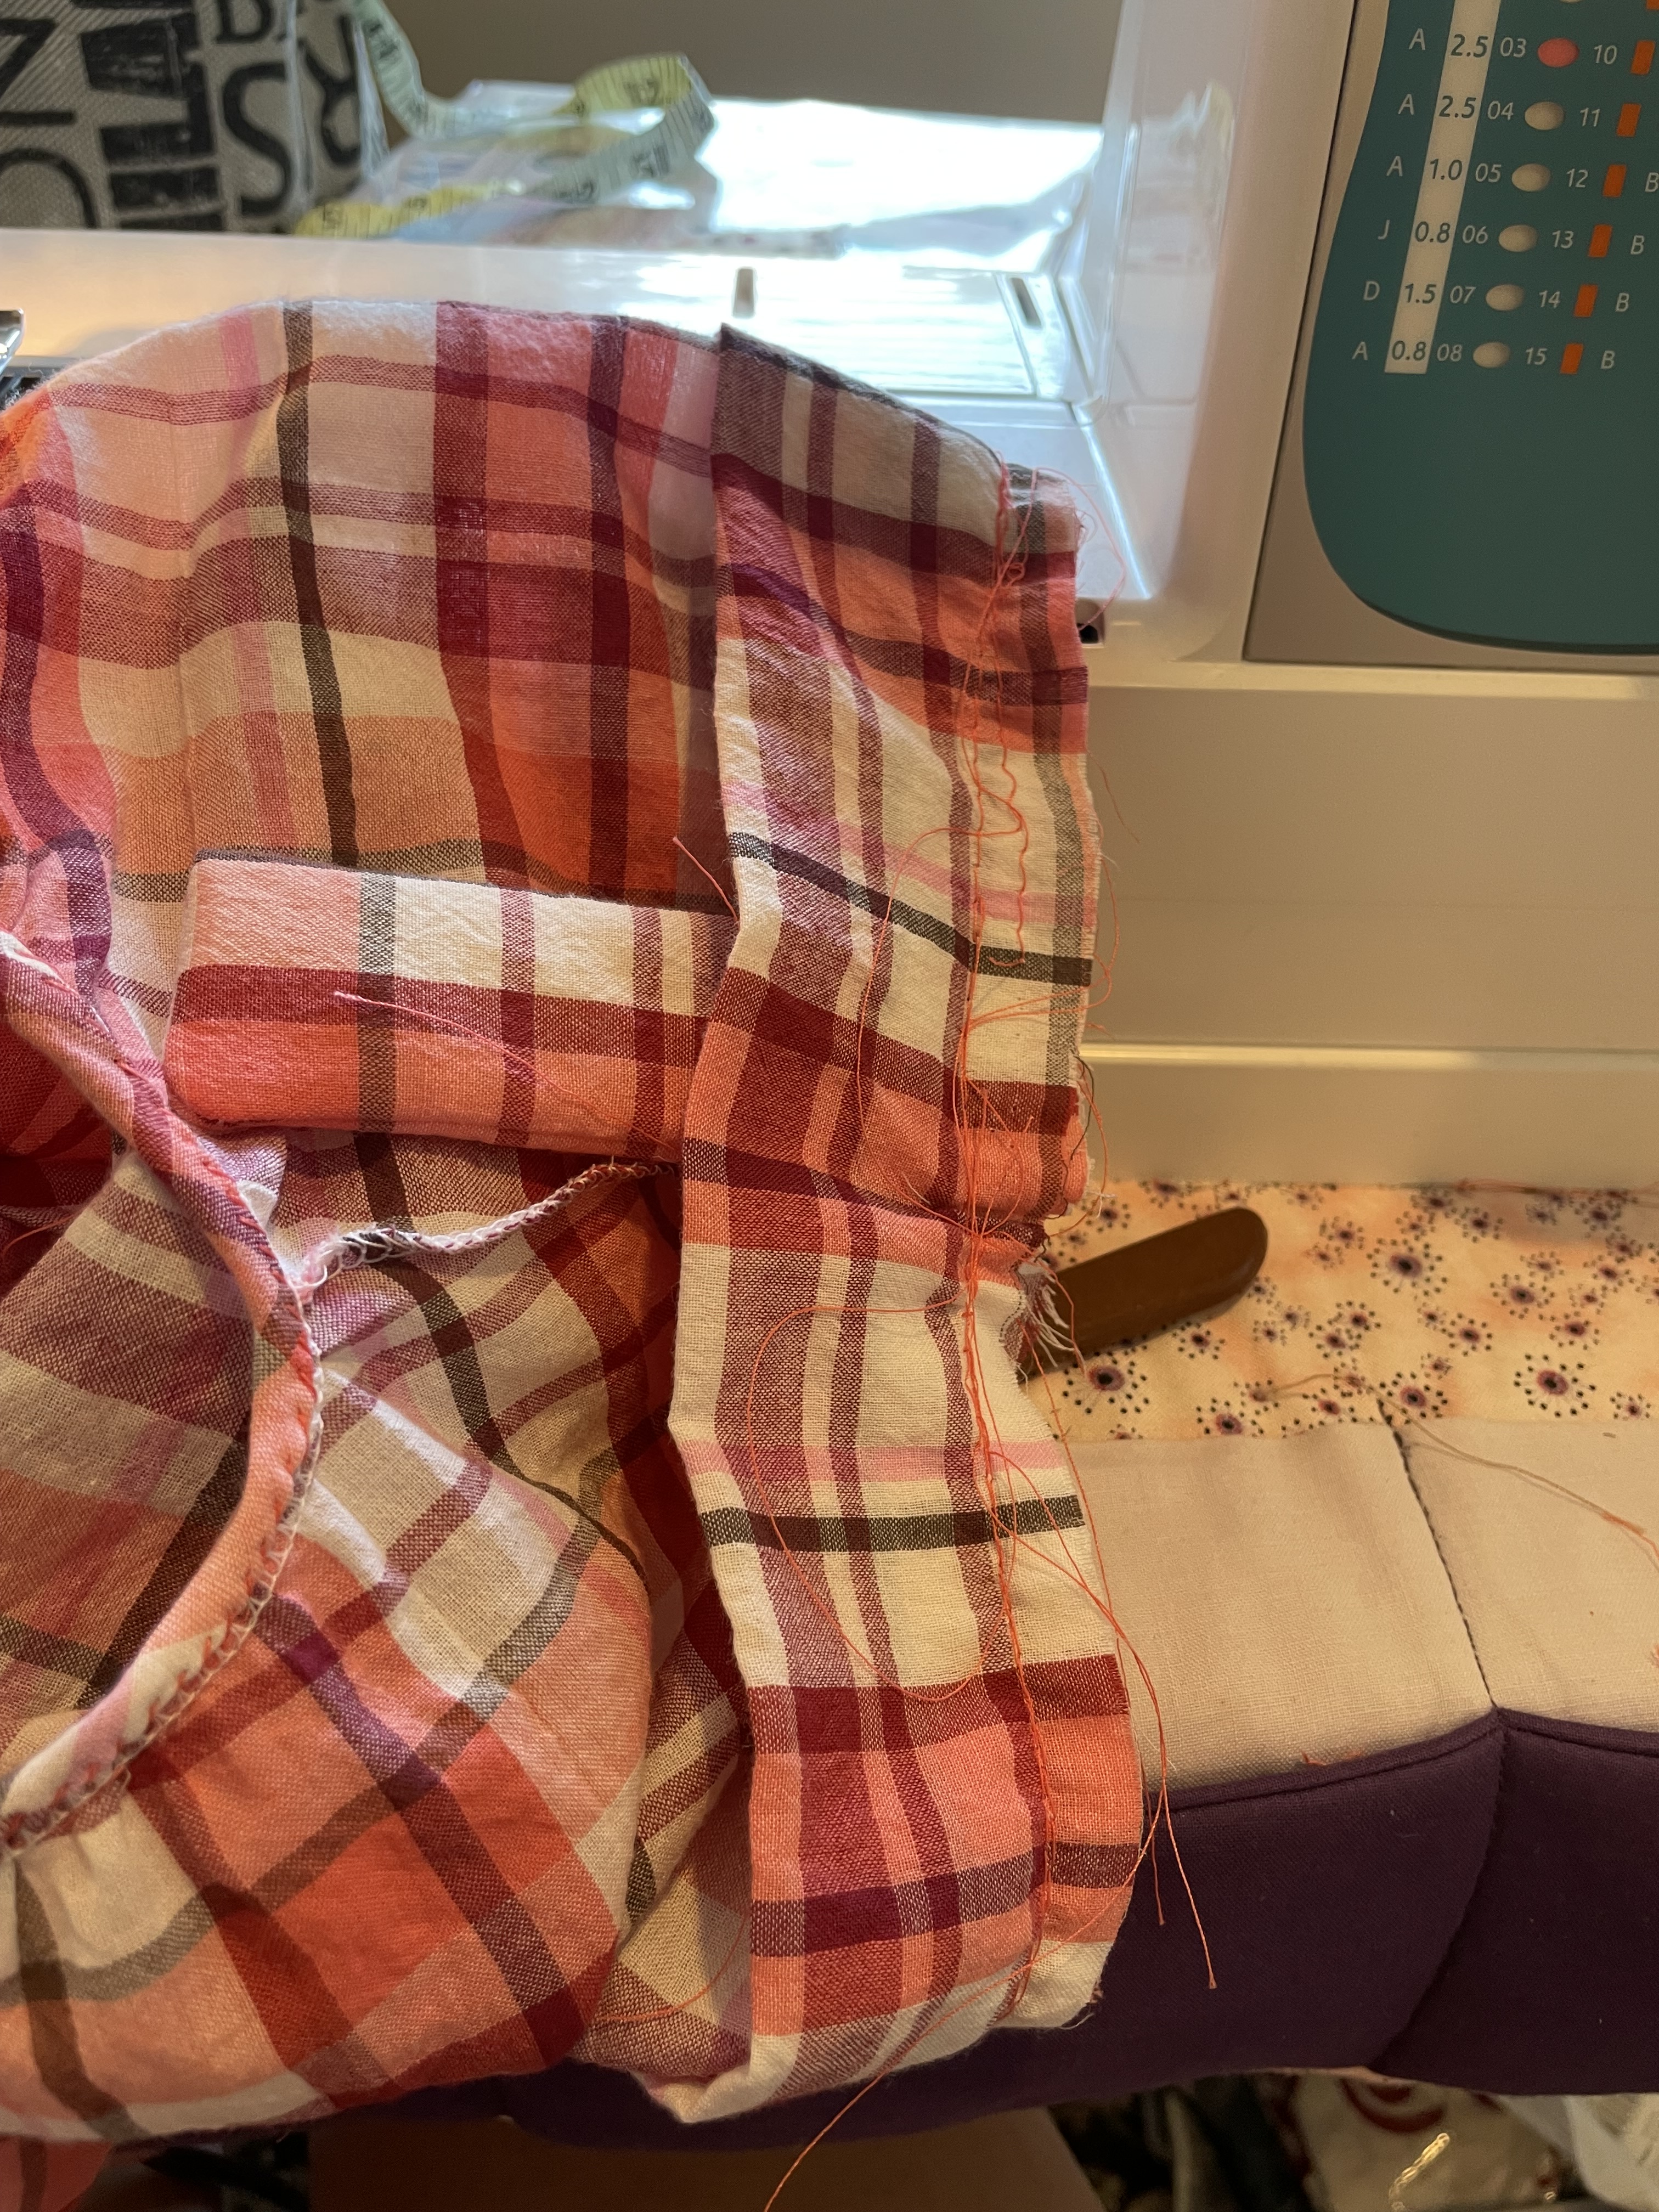
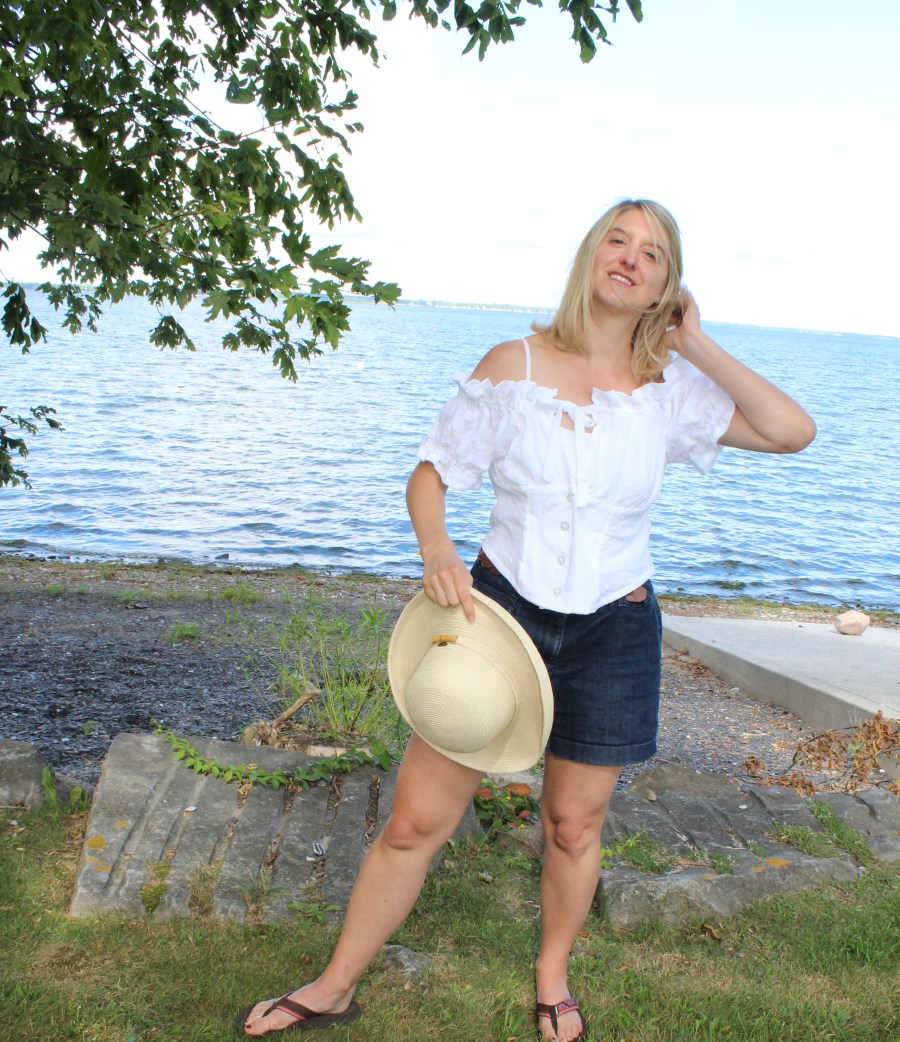
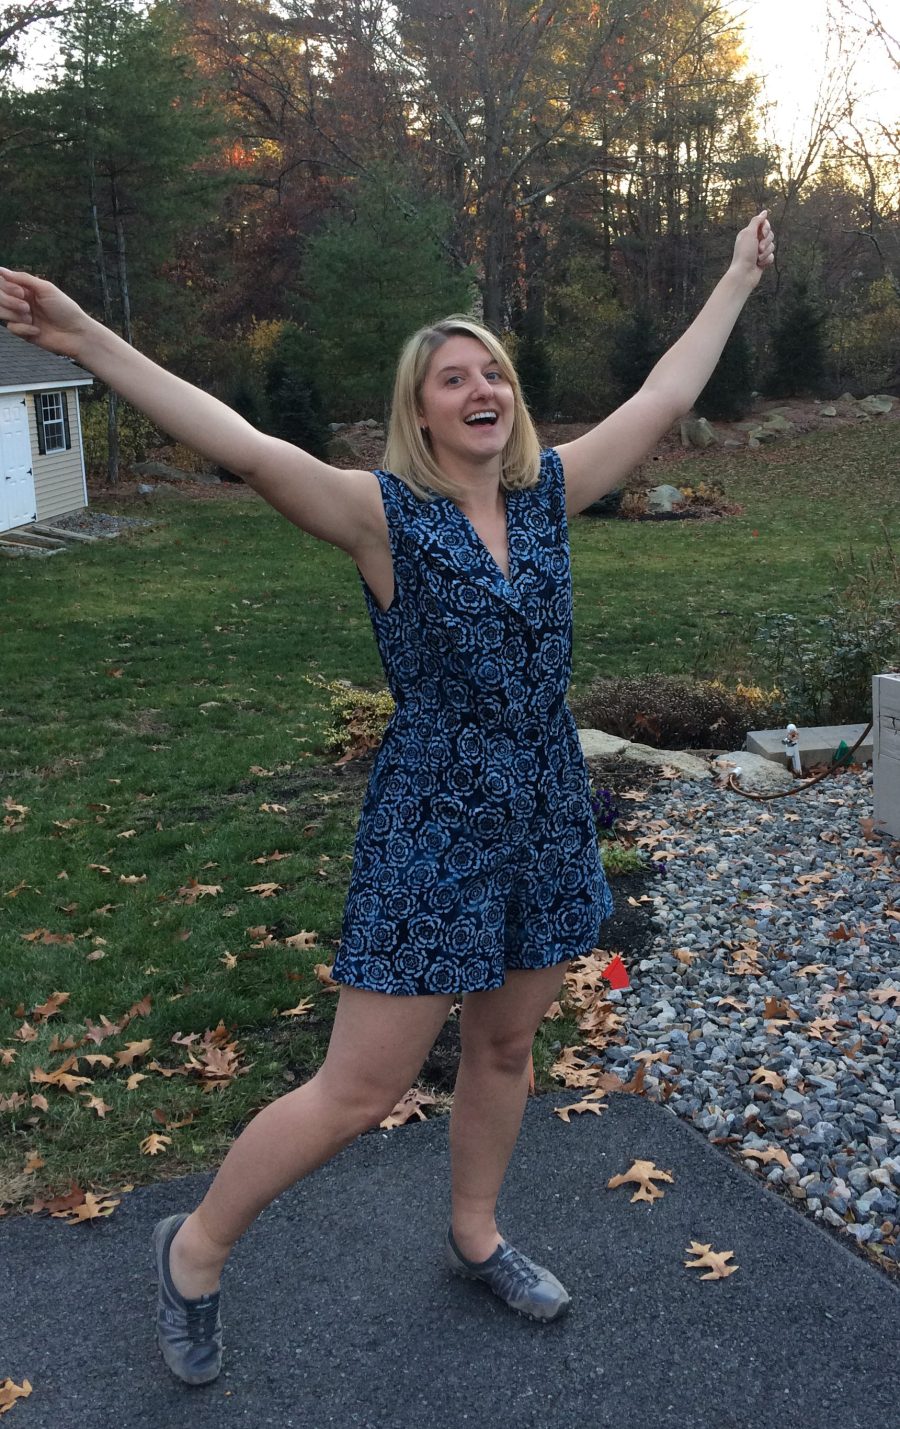
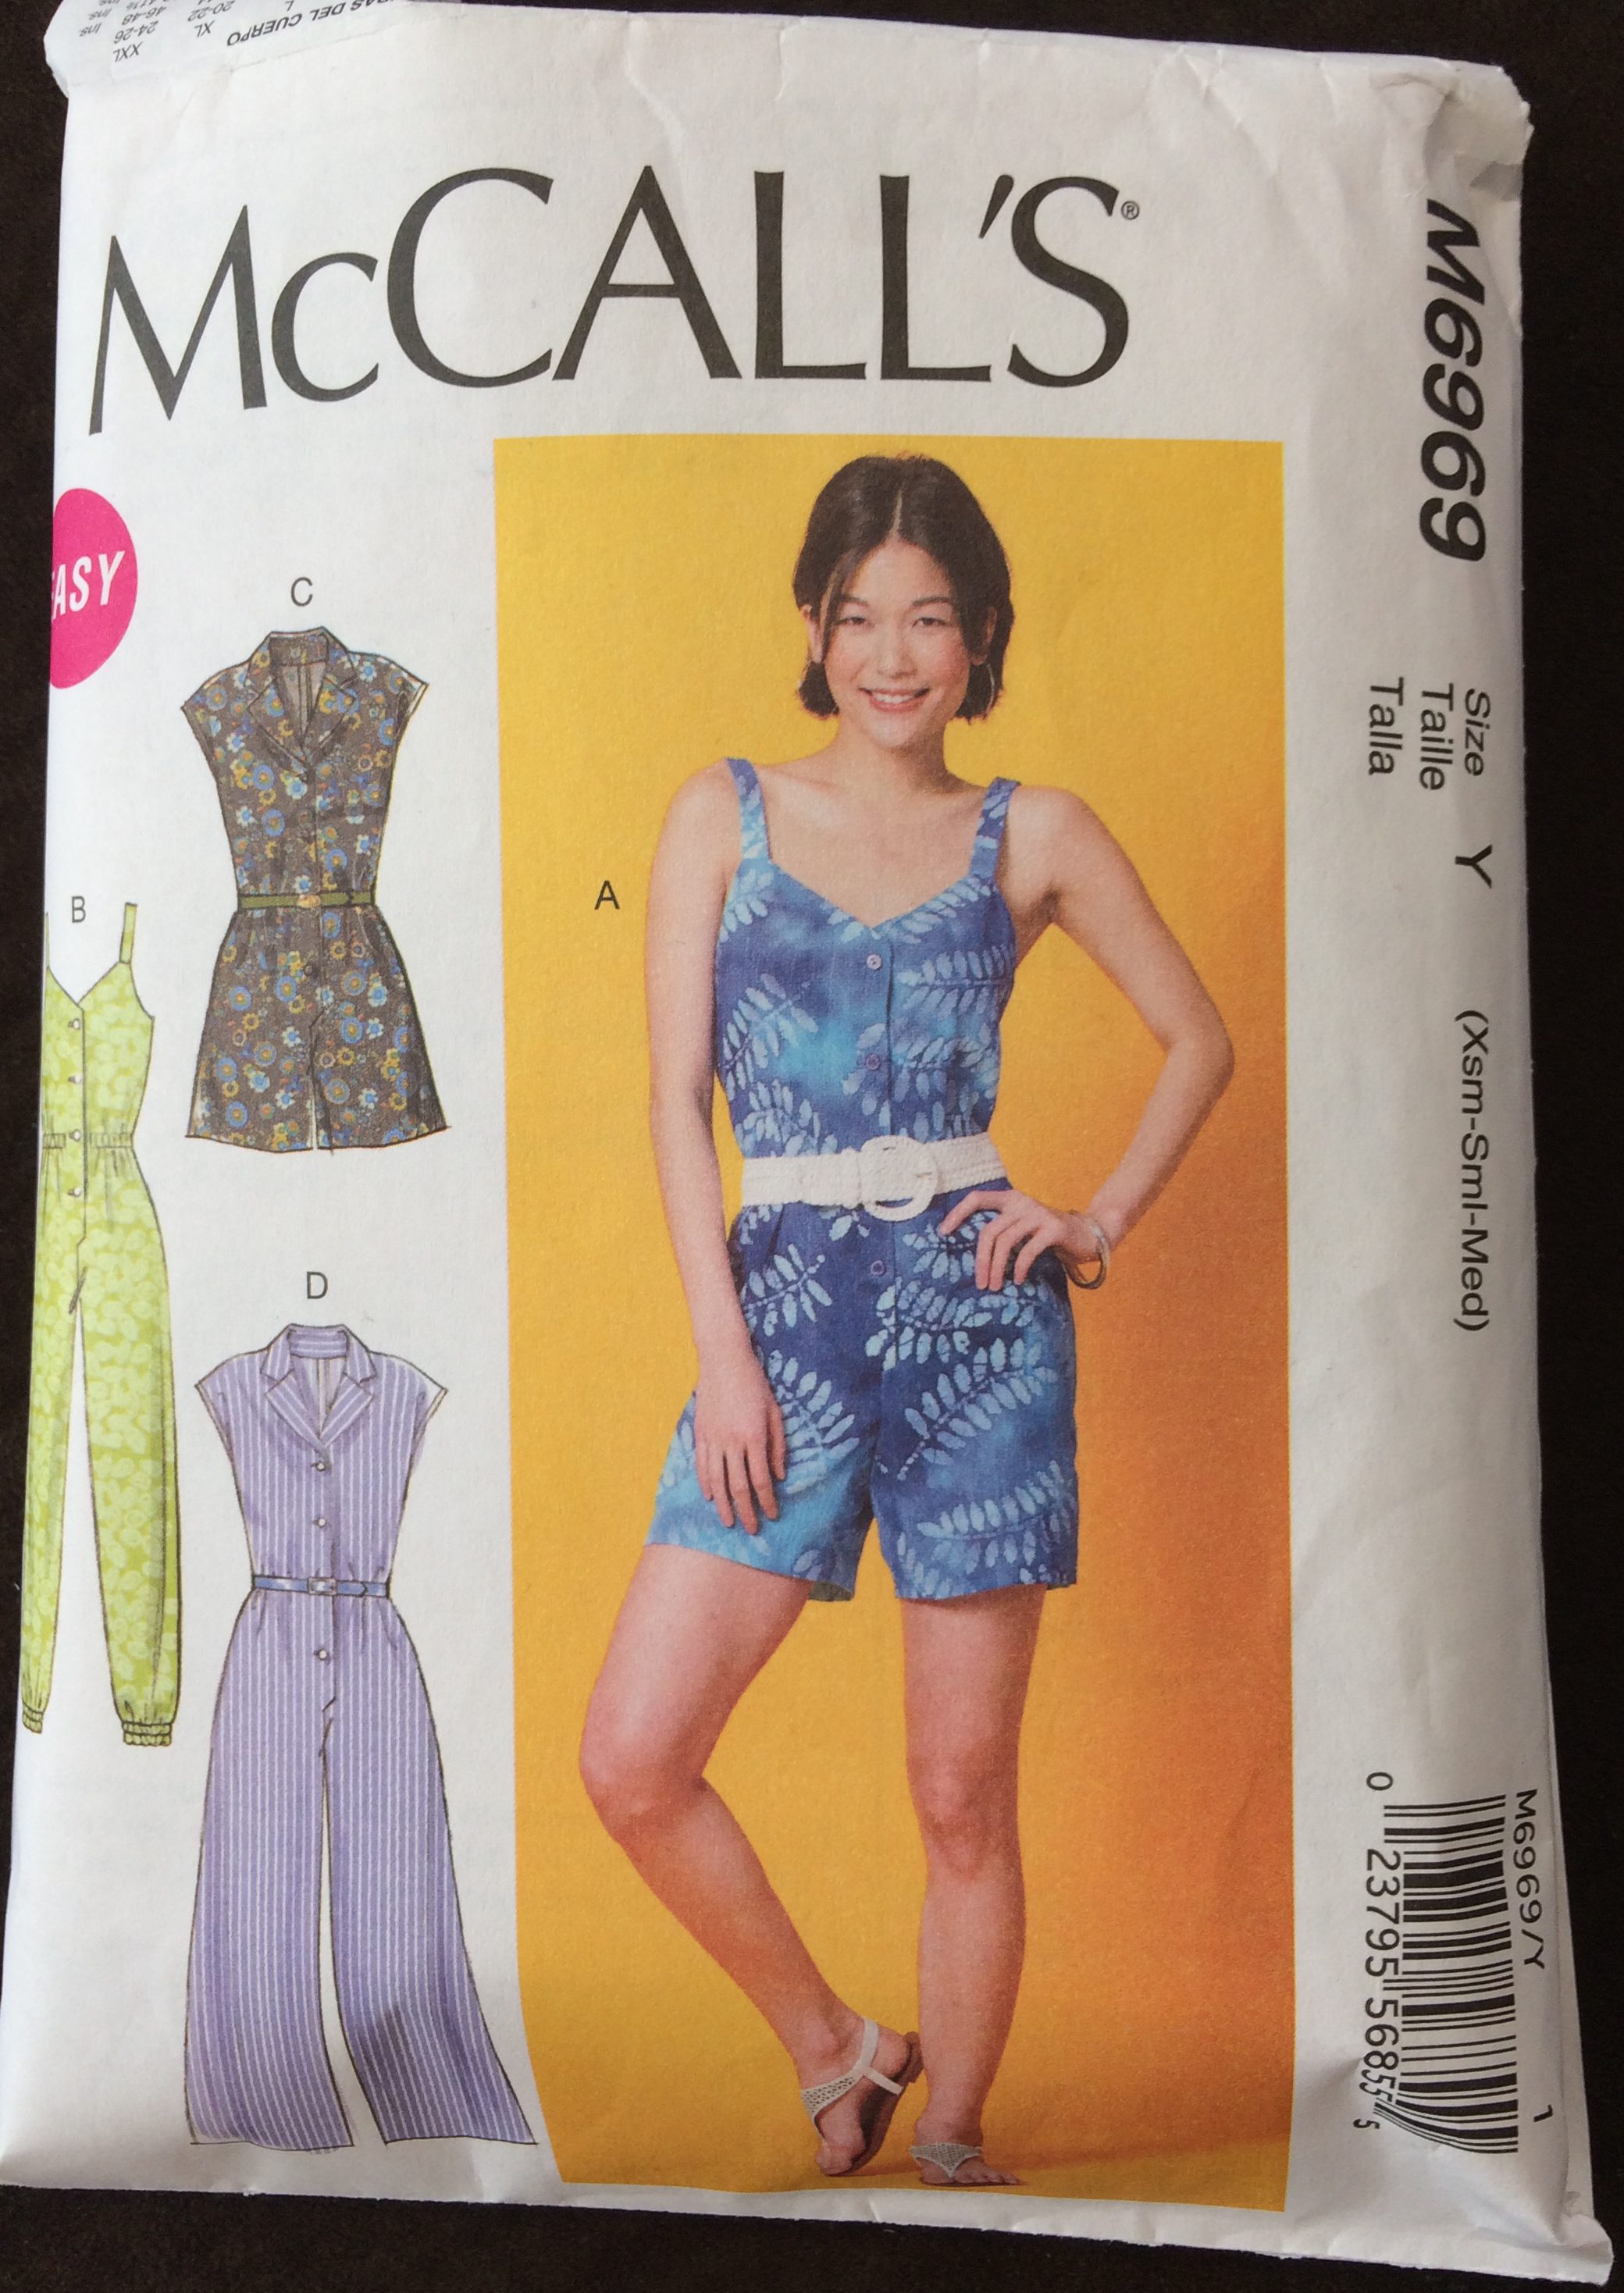
Now that I’m back to my regular schedule, I’m super excited to dive right into my sewing again. I didn’t get to everything I wanted for this summer, so some of these projects may need to be put aside for now. I did end up sewing up a starter sundress and I think I’ve worked out what the fit should be on my next one. The hardest part was the straps and figuring out how short to make them so they didn’t fall off my shoulder. Unfortunately as soon as I got the straps where I wanted them, the fabric must have had a flaw because it had frayed really bad from where it connected to the bodice. There is no way to fix this without taking apart the whole bodice, so I may be trying to sew it up by hand. Very disheartening that this may not end up being wearable, as I almost got the fit right. I spent way too long on it as is, because I ended up sewing the middle section on upside down and had to take the whole thing apart (I may get into that more on another post).

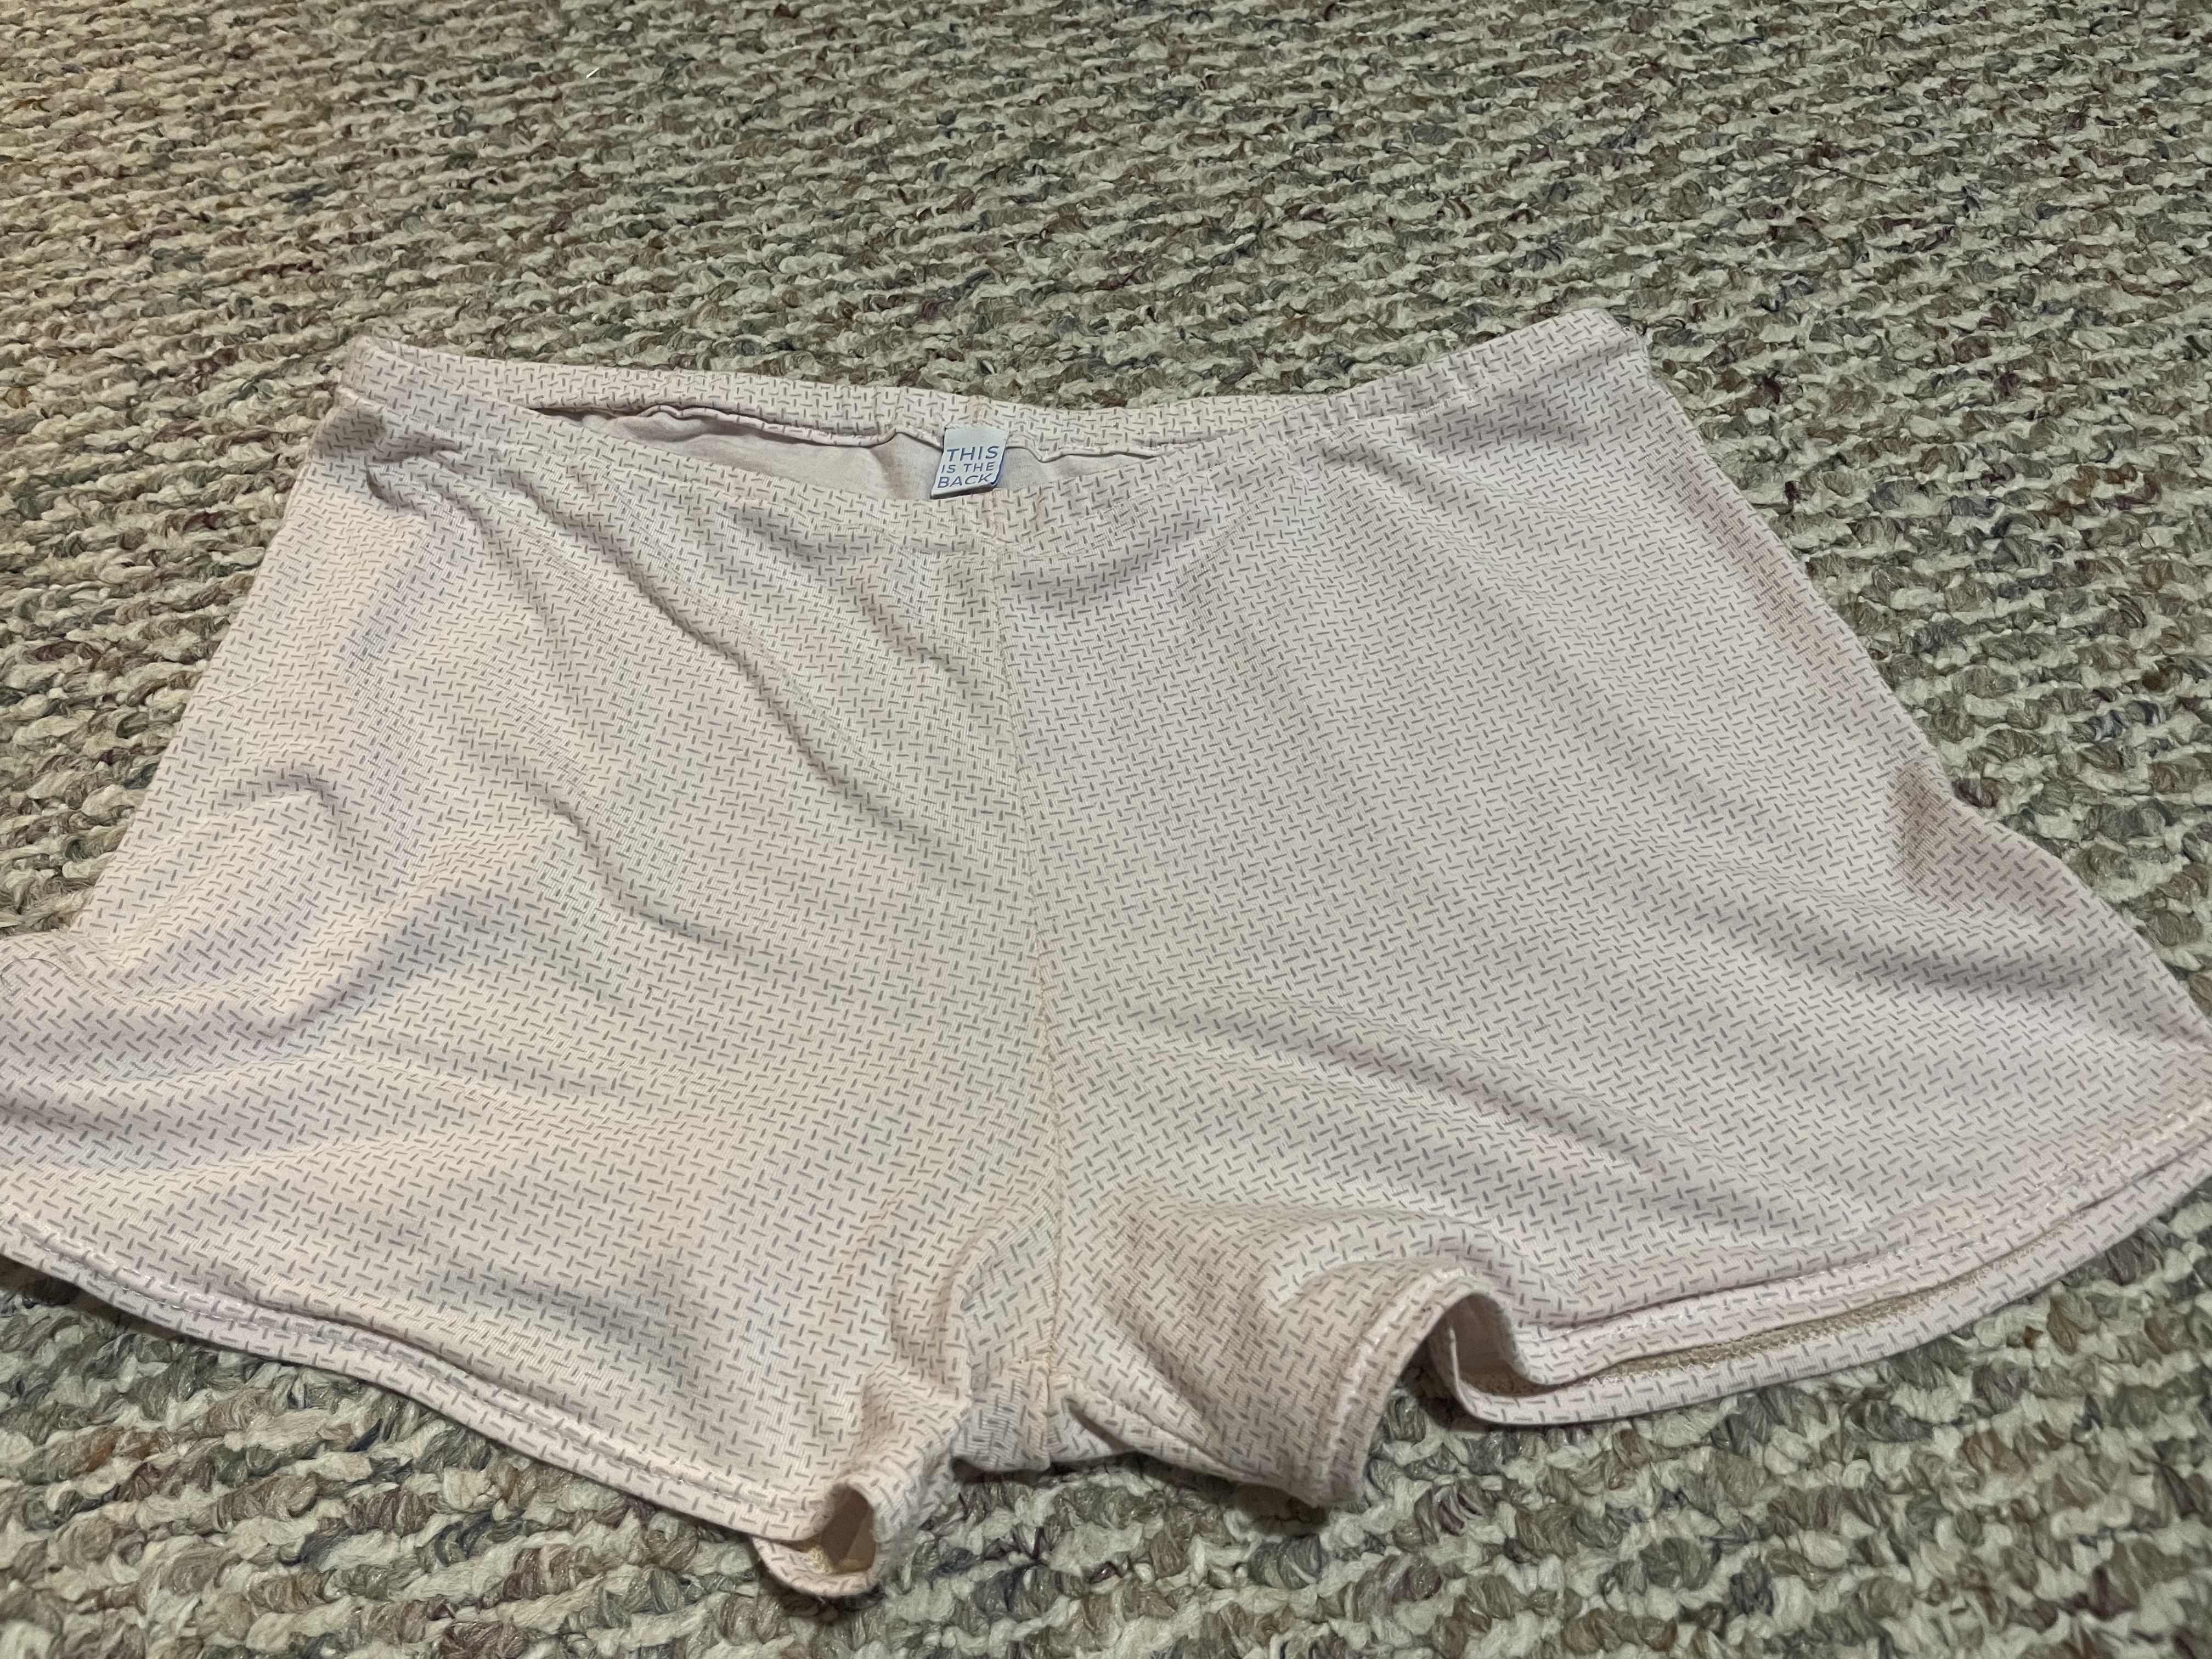
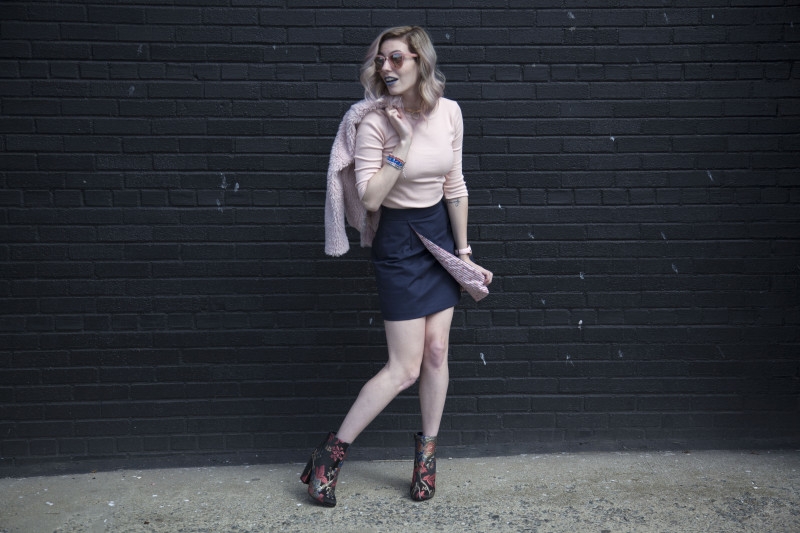
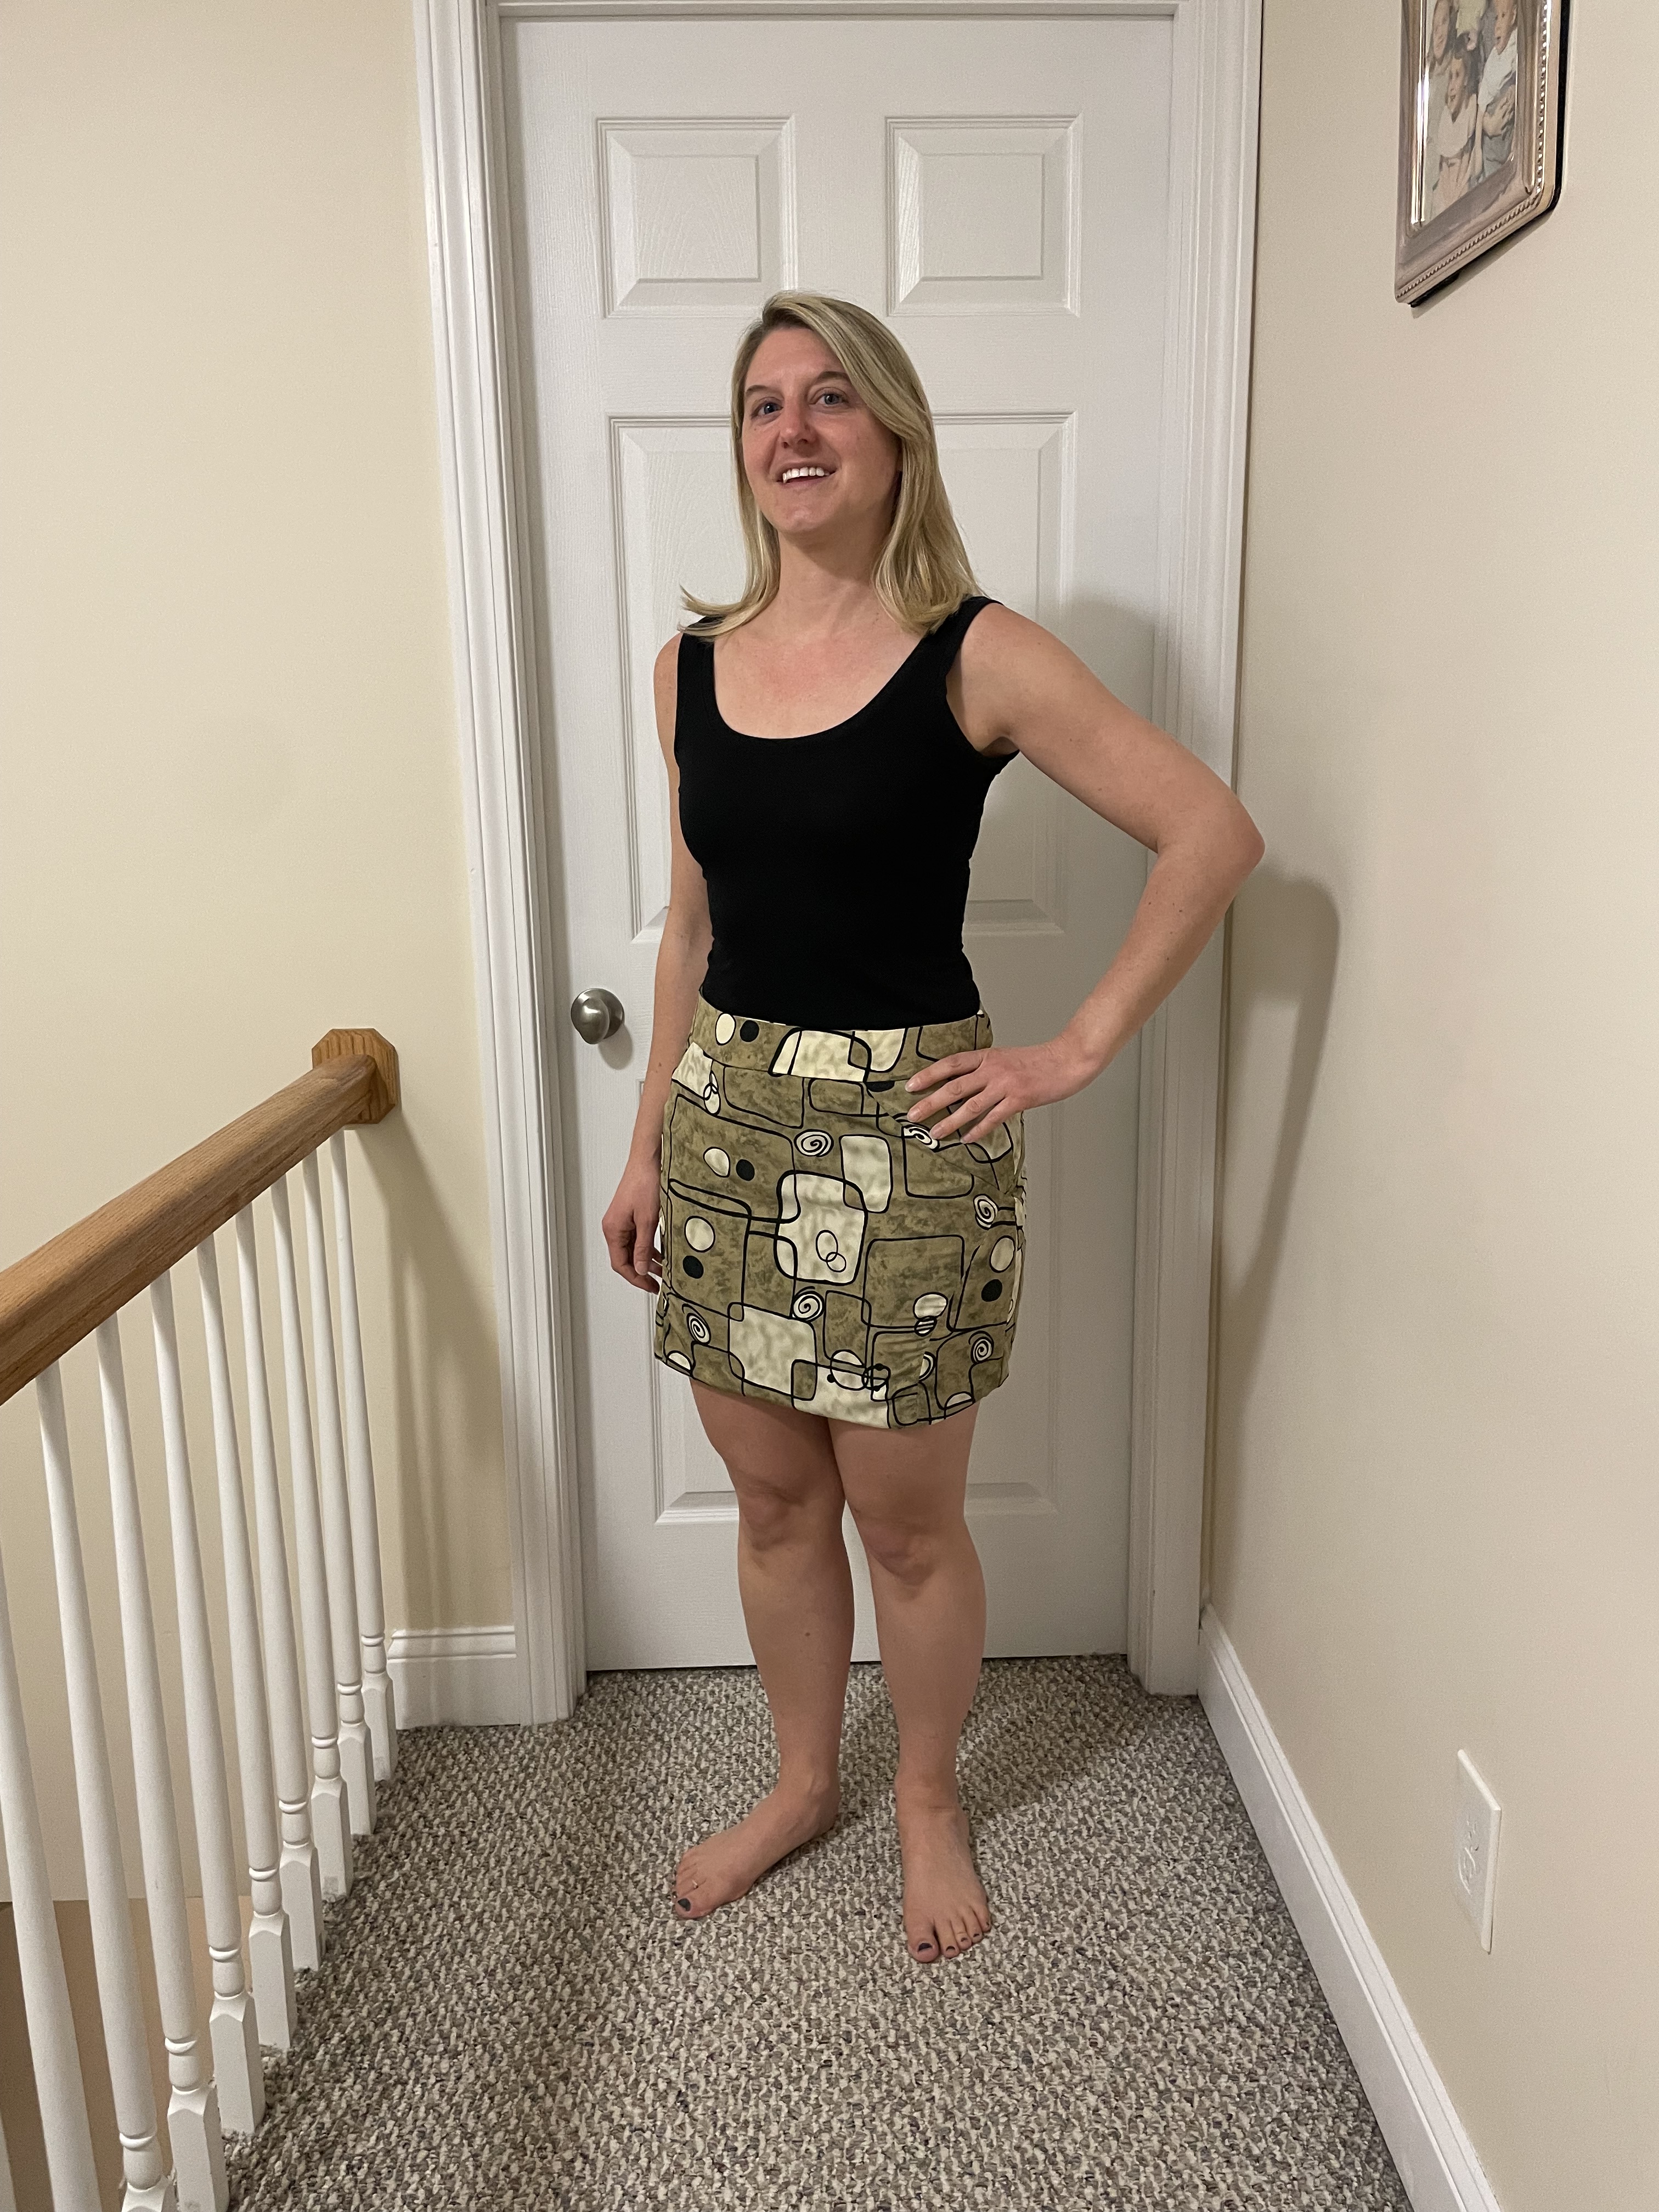
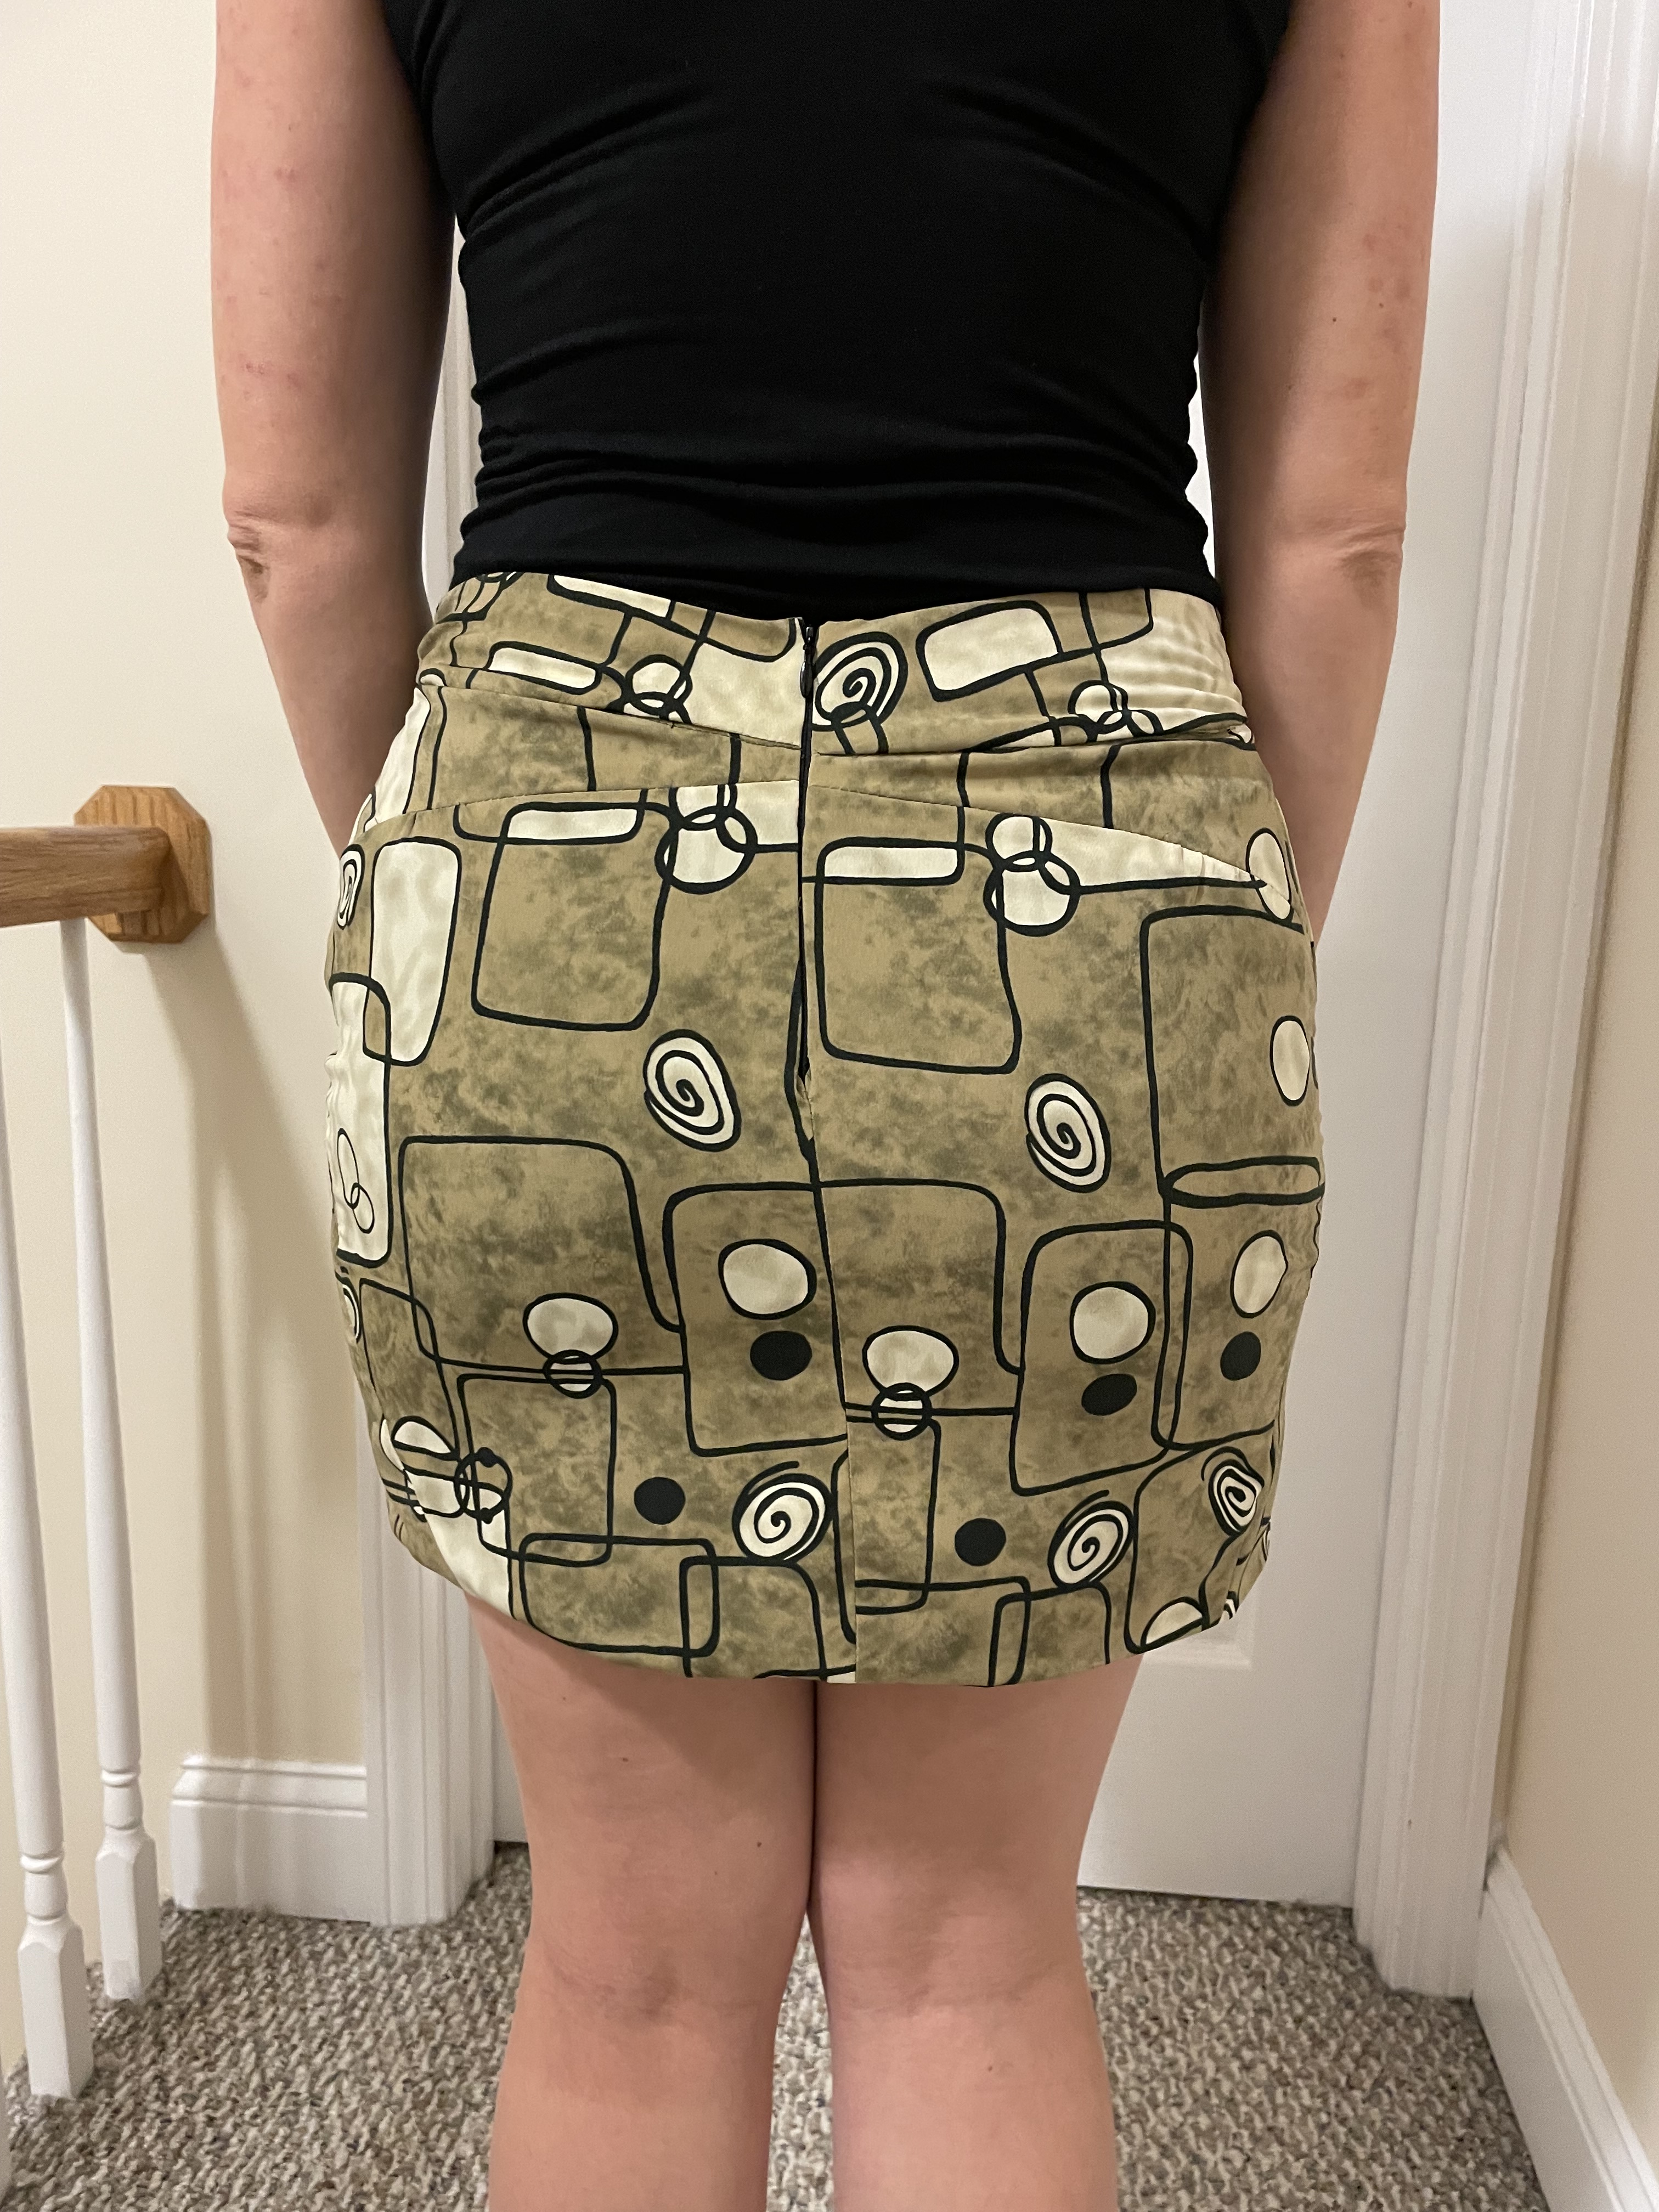
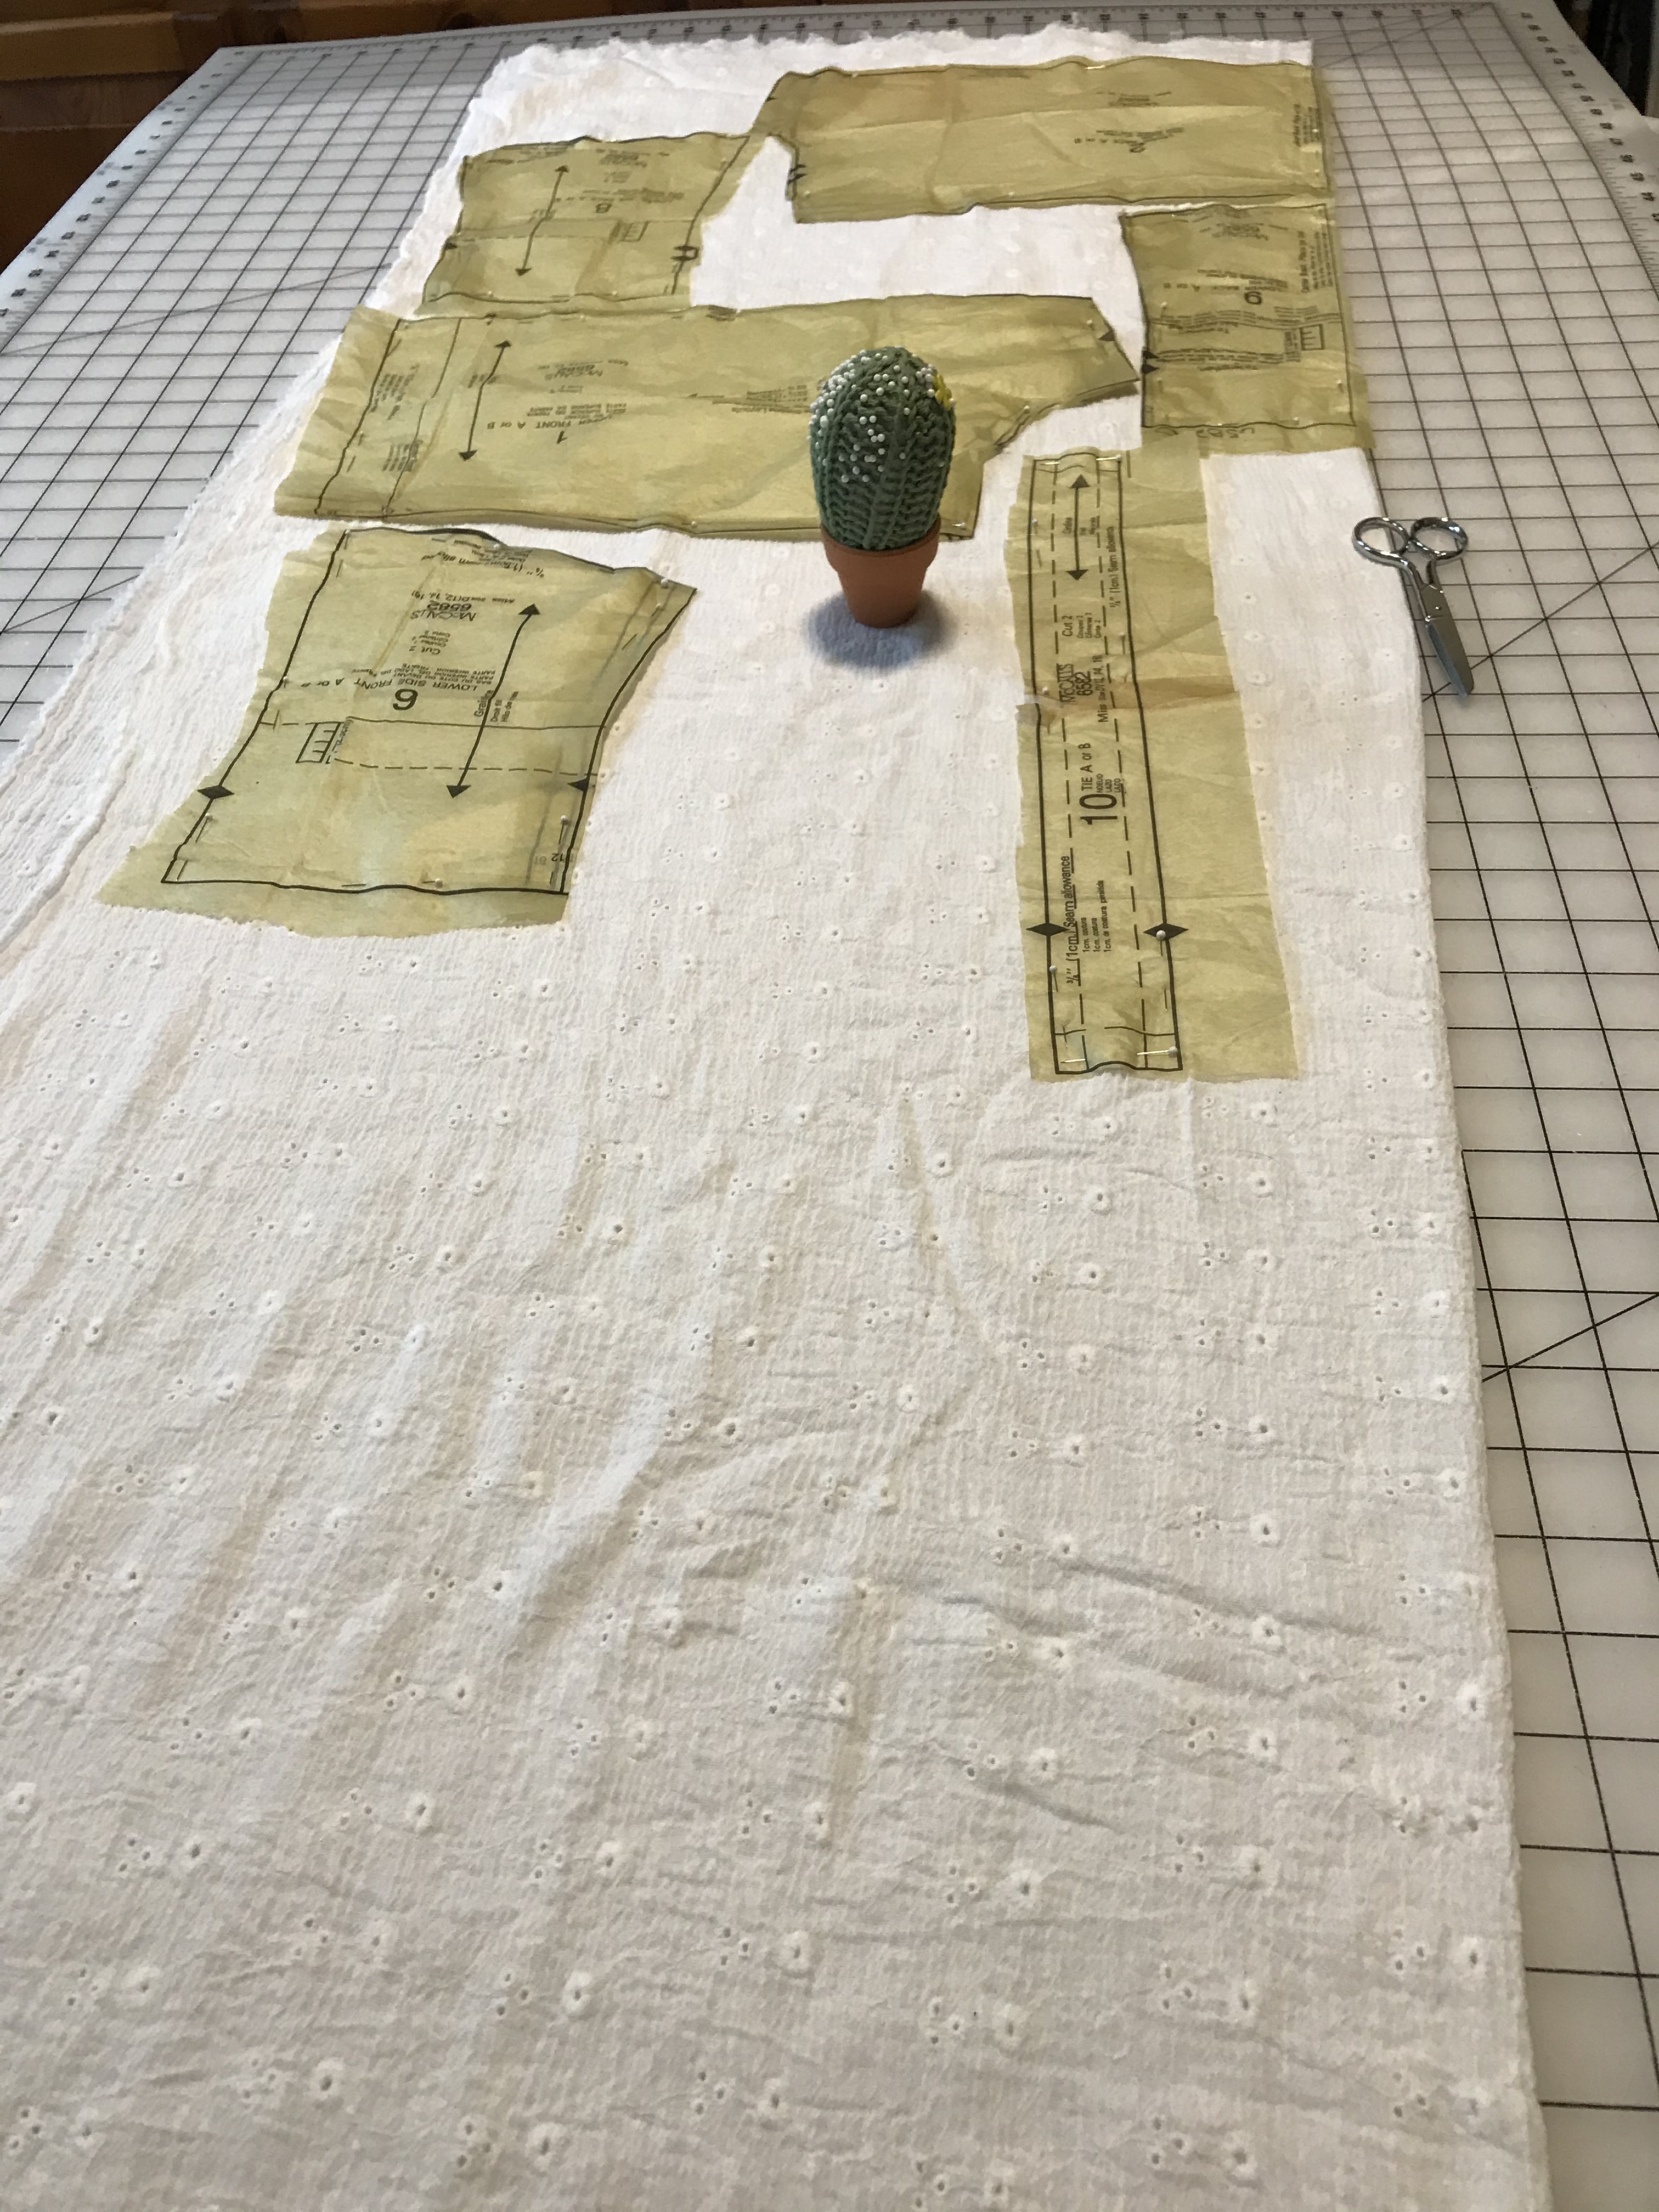
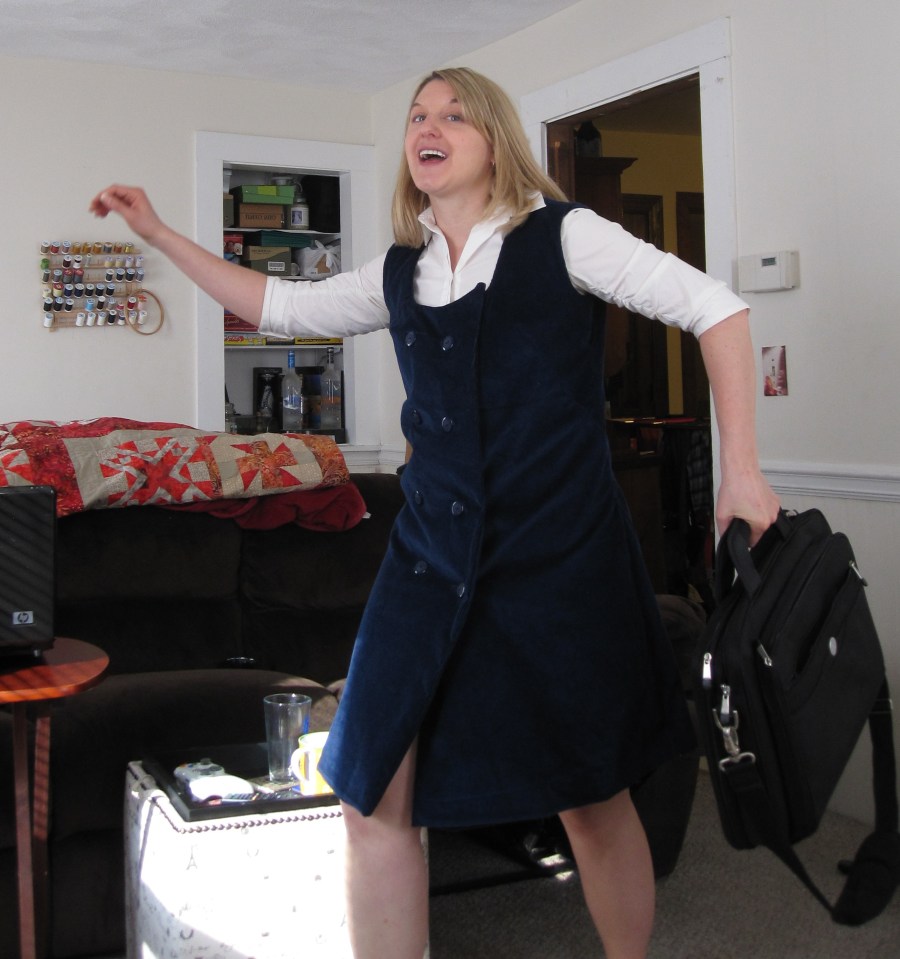
But with fall coming up, I’m also finally working on this corduroy skirt that I had cut out at the beginning of the year. I made this skirt before in a size 12, but it got way too big for me that it’s basically unwearable (and I’m even looking for a new home for it). I cut this out at a size 10, but on further examination of the sizing, I realized I should have cut out a size 8, so I trimmed it down a size. Let’s hope I don’t gain any weight this holiday season!

The Cure for the Summertime Blues…or When Life Gives You Lemons

Summer in New England does seem to go by too quickly and this year is no exception. It’s been kind of a strange season weather-wise, but I’ve been able to make the most of it with a beach day here and a hike there. I got caught in a few epic rain storms as well, ones where rain coats and umbrellas don’t seem to do much. I’m not going to get to do all the things I wanted to this summer, but I was able to finish my second Riley top. I am calling this one a success since I was able to lengthen it enough so it works with midrise pants and it looks good despite using the wrong type of fabric. The ties on these are a little wonky, but when its all tied up, I don’t think it will make much of a difference.

I even was able to make bias tape for this one with the fabric, although it didn’t quite press as well as plain cotton, which made for a very frustrating project.

There has to be a better way…I think I need a better tool to make bias tape if I’m going to be doing this more often…

Despite this, it worked ok for the facings. I extended the length of the top by 1.5 inches, so it still has a slight cropped look.

So glad to finally be able to use this fabric for something! And I have more leftover, so I may use it for some lounge pants or I may also make a pair of these great knit pajama shorts that I had self drafted a pattern for.

I was able to test out the shorts pattern on some leftover knit I had from a 1970’s style dress I made. All the pajama shorts I purchase seem to have ridiculously wide legs that tend to ride up in my sleep. I wanted something a bit more comfortable and these worked great. It could be a great way to use up leftover knit as well, which will help with my overall stash-busting project.

A very fast extra project for the month. I think this could be a great way to bust some stash and also give me more comfortable pajama shorts!

Up next for the month is making this cute sleeveless tie-top using McCalls 8620 (view C).

I’m trying out the fit on some lemon-print cotton I bought in Montreal. I had a feeling this pattern would need some adjusting and so far I’ve been proven right. The collar on it just doesn’t seem to match up to how it’s supposed to fit on the shirt. I think if I make it smaller it could work better. I may also have to extend the front facing a bit too so it can reach where it needs to go. It’s odd that the facings are cut along with the main shirt front. Folding it in the way the pattern described was extremely confusing. It took a few tries and 3 times unpicking the stitches before I figured out what they were trying to do. I was able to figure it out by actually pressing the facing in place first to see how it needed to land. Anyways, this one will never be perfect, but I’m confident my next one could be great if I take my time and figure it out right. I did shorten it a bit, but so far it doesn’t seem to need too much size adjusting, which is lucky.

I also started the bodice on my summer sundress, but I quit to cut out some button-up shorts out of some scrap denim. This is another test garment as I’m not sure I can get the fit right on the first try. I have some anchor print (I think it’s Chambray?) that I’ve really wanted to do something with. I think this may be the perfect pattern for it, but I need to make sure. I’ll get to the dress eventually, but it’s a high possibility it won’t be ready for this summer. But you never know.

Take Two for 2022: One last skirt

Patterns:

  • Juniper Skirt by Mood Fabrics
  • McCalls 6402

Okay, I know it’s already 2023, but I did happen to finish my last skirt just under the wire on December 31st, so I’m counting this as part of 2022.

This is the story of a fabric that I just couldn’t tame and multiple bad pattern choices. We start back earlier this year when I scored this rather unusual looking fabric with a designed I just loved. I knew I had to make a skirt out of it, but I just couldn’t quite figure out the style that would work for it. The fabric felt a bit stiff, until I washed it and realized it had more of a flowy quality than I first realized. To this day I have no idea what this fabric is – I bought it at a discount off a remnant table. I’m thinking it’s probably a type of polyester. I would never have predicted how hard it would be to sew with. Despite the fabric being somewhat thin, it was still difficult to get a needle through. I opted for a microtex needle in my machine, which worked well enough.

When I first saw the Juniper Skirt pattern from Mood Fabrics, I thought I had found the perfect match. I just needed to get some lining, but what do you use for lining when you have no idea what the main fabric even is? I decided on some black rayon twill that I could easily order online. I figured it was also synthetic material, so shrinking wouldn’t be an issue. All in all this seems to be the only correct choice I made as this did make a good lining which gave the skirt the right amount of structure. This was the first time using a free pattern from Mood Fabrics – they seem to make a lot of good ones and I had been curious to try one of them out. The directions on the website seemed easy enough to follow with detailed photos, however there were a few times I felt lost or that the directions were not complete. Where I think I went wrong is when I had to sandwich the overskirt between the front and back panels. I thought I had figured it all out, but somehow the skirt just didn’t line up right and to this day I’m not even sure why it’s off. I just know I’m unable to wear it as it is just crooked. It was one of my most disappointing moments in sewing history as I thought the style with the front flap seemed to fit with what I had pictured for this skirt. I was so baffled as to where it all went wrong, that I opted not to try again even though I had enough fabric for a second skirt. I was afraid it was the fault of the pattern and I would just end up wasting more fabric.

The overskirt section does not line up right when this skirt is on and I couldn’t figure out a way to fix it where it would fit properly.

The one thing I liked about this pattern was there was no hem – the lining was cut a little shorter than the actual skirt and then you sew the lining to the bottom of the skirt. When the lining is lifted towards the waistband, the main skirt gets folded over, which creates a clean finish with no hemming required. I liked this look so much I decided that whatever pattern I chose for my next attempt, would use this method instead of a traditional hem.

I didn’t want to give up on this skirt, so I was on the lookout for another pattern. One with maybe a similar style. I found the McCalls pattern in my stash and thought it had potential. I had wanted to make view E as I thought that front drape would look similar to what I had in mind for this fabric. However the more I looked into it, I could not figure out a way to line the skirt with that pattern. It would take skills I do not have in order to hack it to create the hemline I wanted. So then I looked at view A. This version was lined and so I could attempt my lining trick with the hem. And I figured that maybe the diagonal panel design might actually look cool with this geometric type design. For some reason I had some trouble understanding this pattern as well and the pieces didn’t really line up the way I think they should have. The results were…well the only good think I can say about the skirt is that it fits me. It tends to bunch up a bit when I move, so I’m not sure it will work as a wearable skirt. At least not one that I will want to wear often. I did end up getting the hem I wanted with this, however I do wonder if my changes to the pattern is another reason why this skirt doesn’t fall correctly. On a good note, it is one of the only skirts I’ve made where the waist is the right size and tapers in appropriately, so maybe I am getting better at something from this exercise.

In conclusion, my second skirt ended up being better, but I still didn’t get what I wanted out of this fabric. And I’m not sure if the problem lay with the fabric, which I admit was more difficult to work with than I first thought, or the patterns themselves. The confusion I had is probably on me – my lack of experience with sewing may be a main factor in why I couldn’t get these right. It doesn’t feel great to end this year on a failure (or at least a non-success), but I guess that’s life sometimes.

2022 is over, but I probably will still attempt some do-over projects in this coming year, since I love improving on stuff I’ve already made. I am still mulling over what my focus for this year will be and I think I have something so stay tuned! This past year has mostly been pretty triumphant with my sewing projects and I am looking forward to continued success into the next year. Happy New Year to my readers and hope to see you in 2023!

Summertime and the sewing is easy

Pattern: McCall’s M7571, View C

I have a new favorite shirt for the summer. I found this very soft cotton shirting in my stash and it looked like I only really had enough fabric for a short sleeved shirt (especially with plaid matching). I was thinking of just making a simple button-down, but lately I’ve been really into shirts with the deeper armholes, sort of like the batwing sleeves. I have another purchased plaid shirt I wear all the time and I think I was looking for something similar. In my search for a pattern, I came across this pattern from McCall’s, and I was intrigued. It definitely was something different than just a plain blouse and I liked the wide sleeves with the cuff. I went for view C, since I was working with plaid, however I did add the sleeve tab shown on view D.

This pattern is pretty decent for beginners. The only real confusing directions I encountered was the section on attaching the sleeves. It just wasn’t super clear that these were not attached like normal sleeves, because they are meant to fold up like a cuff. The seam you are making ends up on the outside of the shirt, and it’s hidden when the cuff is folded up. None of this is really mentioned, so if you didn’t realize it, you may just sew it on like a normal sleeve. I decided to tack two ends of the cuff, so it stays folded. I’m also glad I added the button tabs as it’s one more thing to hold that cuff in place.

These are cuffs, not really sleeves, so they are sewn around the outside with the shirt inside out.
The cuff is folded up so the seam is hidden. I added the tab and button and also a few tack stitches to keep it folded.

I serged the seams, mostly out of laziness, but maybe I was just burnt out on french seams from my bird blouse. My biggest concern for this shirt was that the style would make me look like I had a big protruding stomach, but I actually think the bias plaid at the bottom has a slimming look. I think that I’ve gotten the most compliments about this shirt – or at least the most comments about how people want one for themselves. It actually didn’t take too long, even considering the neck band is slip-stitched on. People who know me, know how much I hate hand sewing, but this shirt is definitely worth it. I don’t think I could have found a better use for this fabric and I’m so glad to have another comfortable plaid shirt exclusively for summer.

I decided to wear this while testing out our new drone for the first time. I thought it would be so cool to get a drone shot of my new shirt. Unfortunately being so new to flying, we couldn’t figure out how to get a decent overhead shot.

When we were trying to get closer…the drone almost crashed into me and I had to run out of the way.

Well at least you can see the shirt here!

Something to strive for another time I guess. For now, I guess just regular photos of my new makes.

The Eyelet of the Beholder: It’s a 90’s kind of summer

Pattern: McCall’s #6582

When I was young and growing up in the 1990s, I had this white summer top that I absolutely loved, made from eyelet fabric. I wore it for many years until the armpits got discolored and gross. I can’t remember when I exactly retired the top, but I remember trying to find one that looked similar, with no luck. Fast forward to just a few years ago when I found some very soft cotton eyelet material and even though it wasn’t exactly the same texture as my beloved top, it still gave me an idea to try to make a summer top with it.

It was hard to remember exactly what the top looked like, but I remember it buttoned up the front and was cropped very short to show off my midriff. Replicating this would not be possible, especially since I am now in my 40’s and there is no way I would be able to pull off something like that. But I did want to make something cute, so the search was on for a pattern that could make use of this airy fabric.

I found this great pattern on Etsy, a real 1990s style top with that off the shoulder look that used to be pretty popular. I liked the fitted bottom and buttons up the front. If nothing else, I figured this could be a great experiment for the summer.

The V-shape on the bottom section is really what reminded me of my old beloved top. It wasn’t an off-the-shoulder style like this one is, but I do love how soft the fabric is with this new version. In the end I would say this one was a success, even though I probably won’t wear this one as much as my old shirt back in the day. I also need to figure out the right camisole to wear underneath, as this one is definitely pretty revealing up top.

Continue reading “The Eyelet of the Beholder: It’s a 90’s kind of summer”
Gray mid-weight sweater

Winter is…over

Patterns:

  • McCall’s M6796, View DMcCalls 6796
  • Vogue V8956, View C

Since it is now July, you would think that the fact it’s not winter any more would be obvious to me. It is, but I realized that with all the craziness in the last six months, I forgot to blog about some of my winter projects. I’m particularly proud of both of these garments, and not just because I actually completed them in the season they were intended for, but because they both came out really nice. The sweater I am most proud of, since I’ve gotten a lot of compliments on it and was able to wear it quite a bit, even as winter was thawing out a bit.

Gray mid-weight sweaterI am especially proud of the purely decorative buttons on the collar – I definitely chose the right ones for top.

Close up of collar
The lines on this really look as close to perfect as ever. I think this lightweight sweater knit was really the perfect fabric for this project.

This garment got a lot of wear this past season, since it matched a lot of things and Continue reading “Winter is…over”

Happy romper

Ready to romp! My summer one-piece that almost didn’t happen

Pattern: McCalls 6969 (view c)McCalls 6969

Well that is a very interesting pattern number.  I only just realized this as I am writing it out.  I assure you I didn’t purchase this pattern based on that!

What can I say. It is well into November and in New England, the air definitely has a chill.  Every morning I have to scrape a layer of frost off my windshield.  Leaves have pretty much fallen off all the trees and Thanksgiving is next week.  Yikes!  What happened?

This summer brought many changes – the biggest one being a new job and a new commute to work.  I’ve also started getting more involved in my running club and have been racing and training, despite suffering from a nasty sprained ankle injury.  Somewhere in the midst of all these changes, I started a summer romper.  This was a project I have wanted to try for awhile, having bought the pattern years ago.  This summer I saw someone in an arcade wearing a romper and it rekindled my desire to make one.  Never mind the fact I probably wouldn’t wear it that often and one-pieces don’t always flatter me.  Luckily I had some rayon to burn!  As summer drew to a close and the September obligations piled up, I started to cut into my fabric and piece the body together.  Things were going okay…..

Under the collar

Here is where the directions stopped making sense – when I had to install the collar.  I re-read it several times and I still couldn’t figure out what I was supposed to do, so I actually Continue reading “Ready to romp! My summer one-piece that almost didn’t happen”

hooded overshirt

Southwestern Over-shirt: Joys in the hood

Pattern: McCalls stitch n’ save 6681M6681

Skills acquired:

  • Homemade bias tape
  • Hoods!

There comes a time in every sewist’s life when they realize they are still learning.  I’ve been killin’ it on so many projects lately (with some minor complications), I really thought I was heading up to the big leagues.  Then I had to make a hood.  I don’t know why this baffled me so much, but looking back on it, it all seems rather stupid.

First of all this pattern is labeled “easy” right on the front.  This should not have been as much of a challenge as it was.  I think some unclear writing and my own inexperience with making a hood contributed to this lesson.

Let me step back a minute on this one.  I chose this pattern because I wanted to make something else besides pajama pants with this cotton flannel I had bought when on vacation in New Mexico.  I specifically searched for patterns for flannel fabric and figured for this type of native-american-like print some sort of over-shirt would be nice.  I thought this pattern looked cute with the hood and everything so I decided to go for it.   Continue reading “Southwestern Over-shirt: Joys in the hood”

A tribute to lounge wear – a few variations

Patterns: Sewaholic Tofino pants, McCalls M6681 & free-form pantsSewaholic Tofino

Skills acquired:

  • Adding pockets
  • Piping 

I’ve made some PJ pants in my time, in fact I’ve made a lot recently.  I decided to consolidate them all in one post, for more efficiency (another one of my job skills – companies take note!).

Pajama pants are probably the most basic garment there is.  It’s the perfect thing to make when you are first learning to sew.  You don’t really need a pattern, there are no zippers and they are made from basic cotton fabric.  There are ways to dress them up and build off the simple design, but for the most part there is nothing easier.  The most basic patterns have two pieces for the front and two for the back.  These all get sewn up pretty much how you would imagine (even the order doesn’t matter too much) and you end up with two legs.  The waistband gets folded down, an elastic is added, the pant legs are hemmed…and voila!  Something you can lounge around in that you made all your own.

Put it in your pocket

I wanted to make my boyfriend a new pair of lounge pants since I felt like I could improve upon the pants I had made him a while back.  He said to me, “If you do make another pair, could you add pockets?”  Hmmm…this was something I never thought of.  There aren’t too many patterns out there that include pockets on such a garment and I didn’t really trust myself to figure this out on my own.  I found this handy tutorial online and decided to experiment with some pants I was going to make myself, just so I could get it right.  I had a remnant of flannel which I really liked, although I did not have enough to make full length, which is why these are cropped.

PJ Pocket pants

It was all pretty straightforward, however I kept messing up because I had a hard time Continue reading “A tribute to lounge wear – a few variations”

The end of an era jumper

Pattern: McCalls 2075 (vintage 1969)McCalls2075

Oh!  Wouldn’t it have been great if I could have finished this right when Mad Men was ending!  Of course that was last May, almost a year ago.  As I watched the final season, I really wanted to make one of those vintage jumpers from the ’60’s.  I think I even had this pattern already.  But work ramped up and I never got around to it.  My mom gave me some royal blue corduroy last fall and I thought, “This will be perfect for this.”  But again things were busy at work and I only managed to cut it out.  As the year ended I started buying the buttons and some of the other notions I would need.  I started making the darts, but had to set it down as the holidays approached.  Obligations and lack of time again.  In January I began to chip away at it, step by step.  But I couldn’t quite finish it until mid-February, especially with all that hand sewing.

But this is called the “End of an Era” jumper for another reason.  A few weeks ago, I lost my job.  I have gone through this a few times, but it’s still never an easy thing.  Especially when it’s just due to some business deal that has nothing to do with you – some company buys another one and wants to clean house.  And suddenly I went from being busy every Continue reading “The end of an era jumper”